Wet on Dry Watercolour Technique
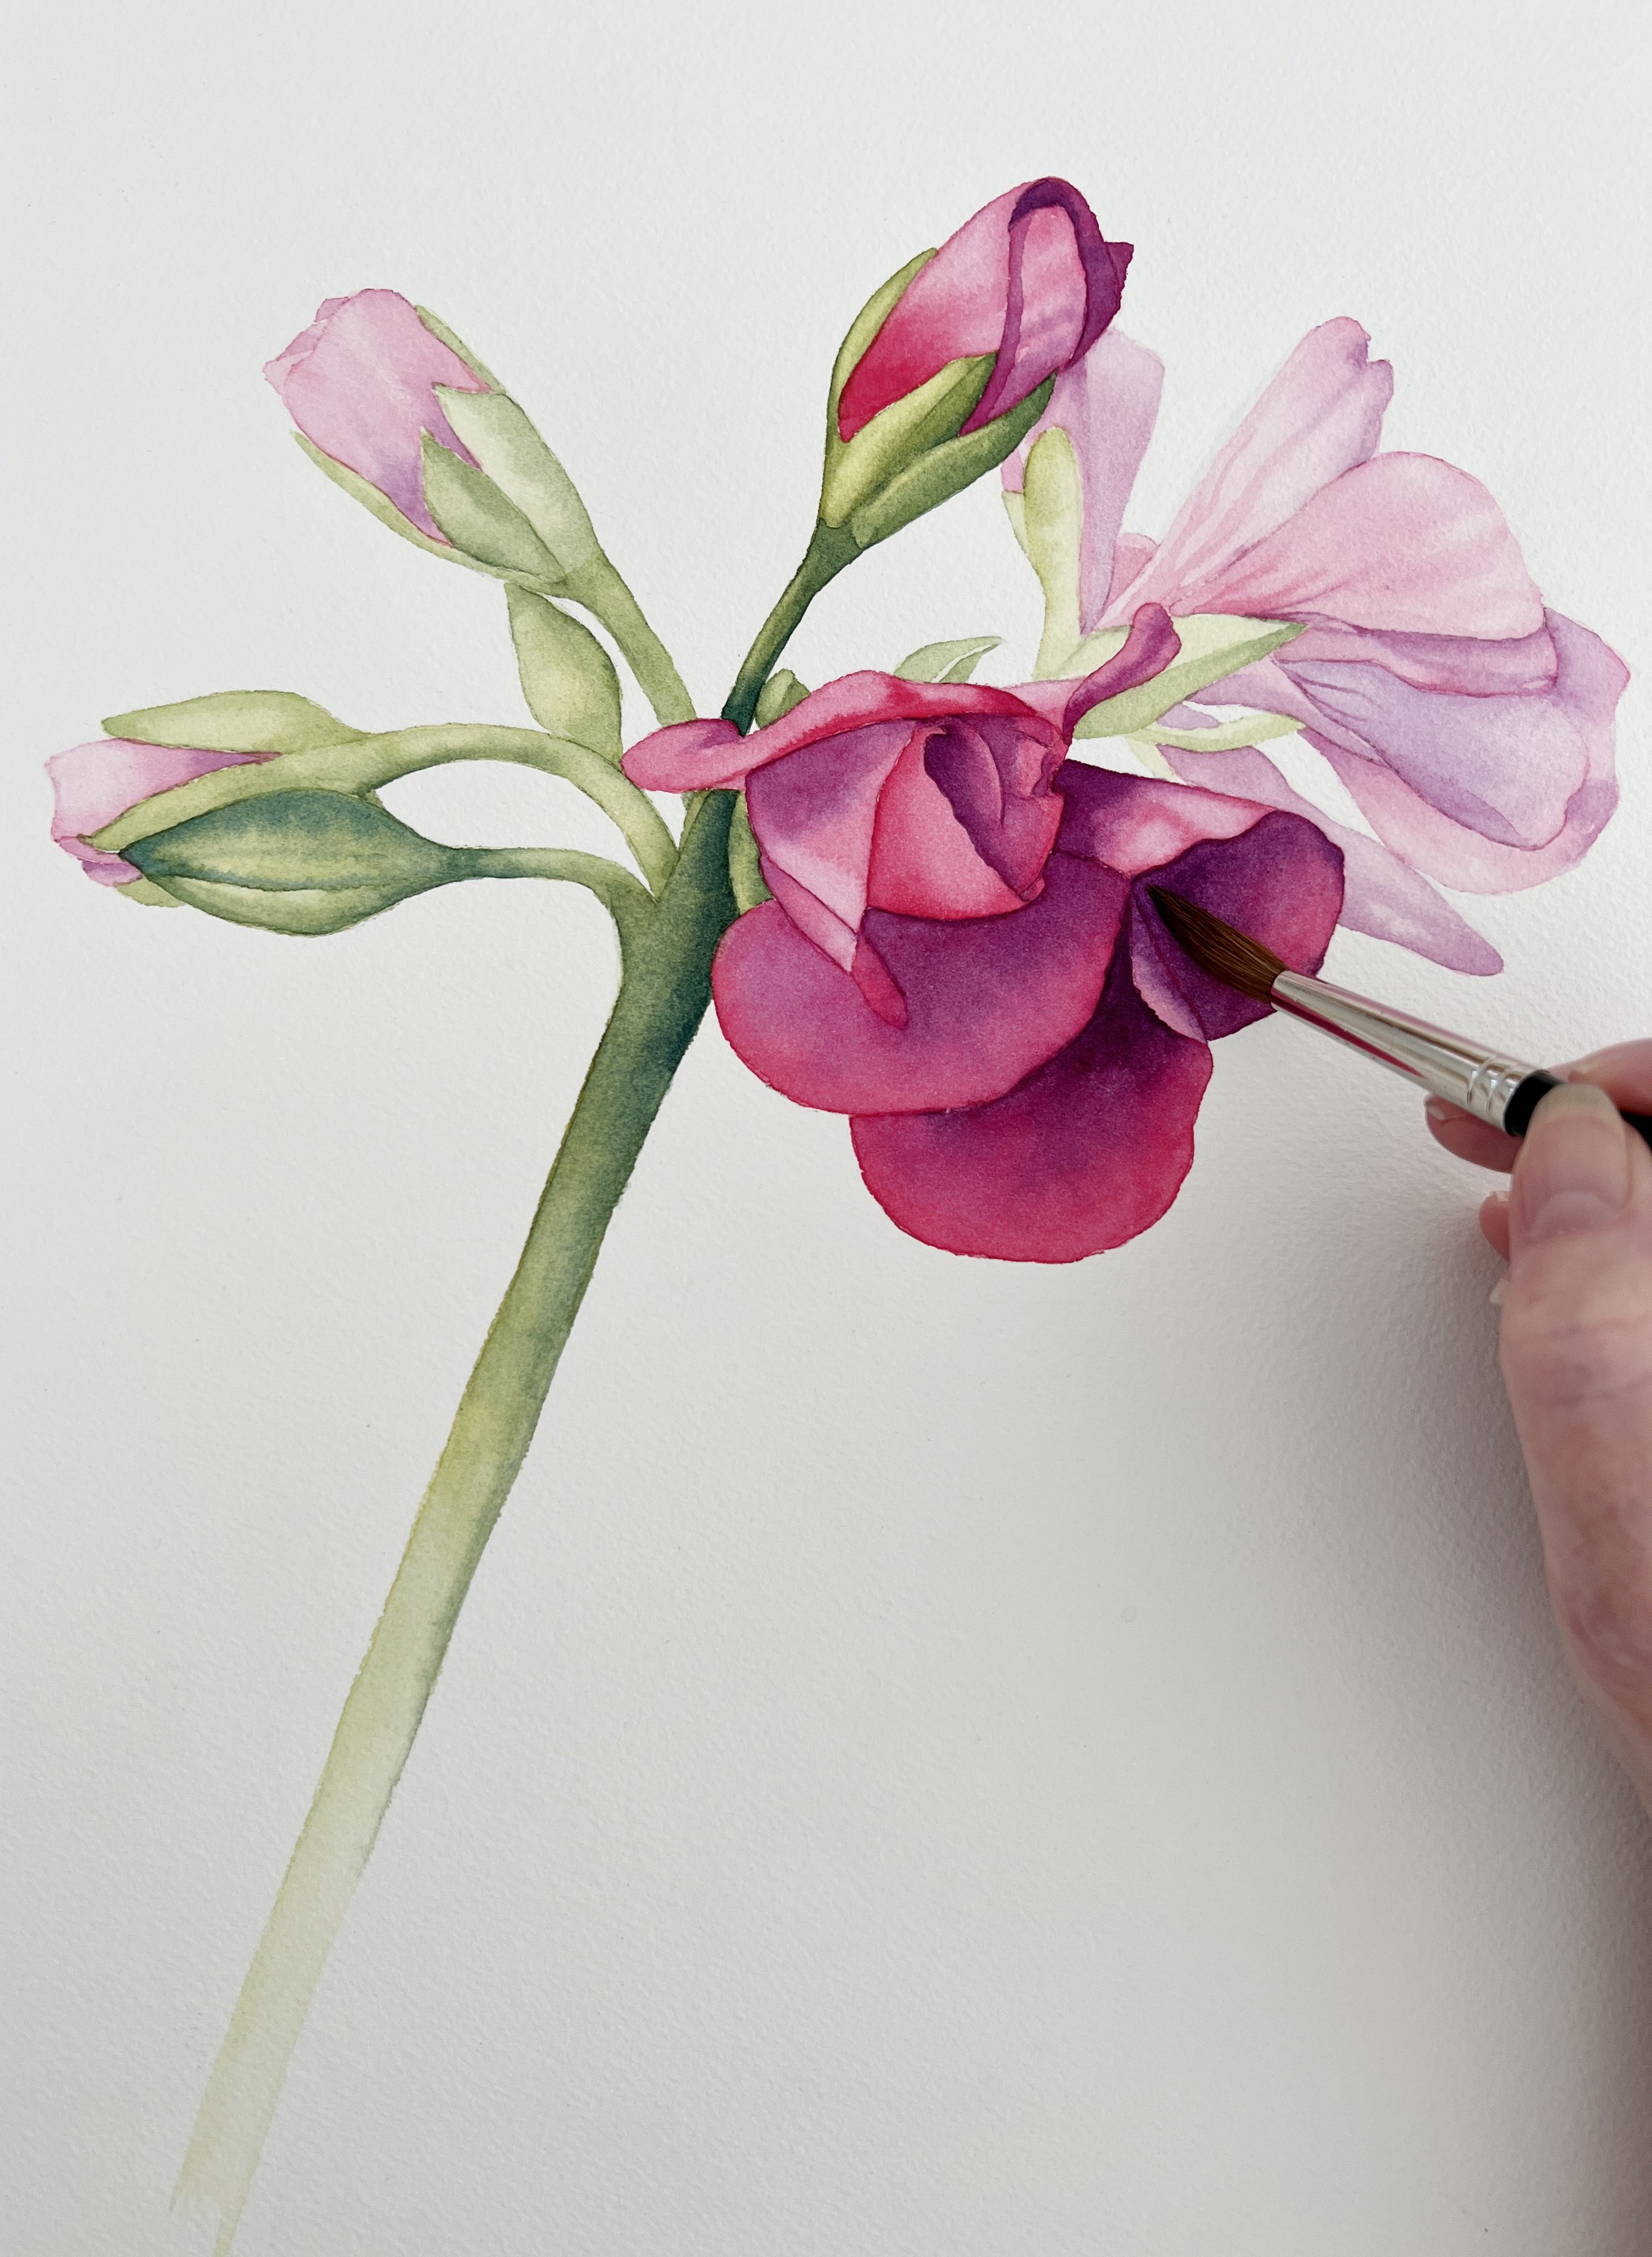
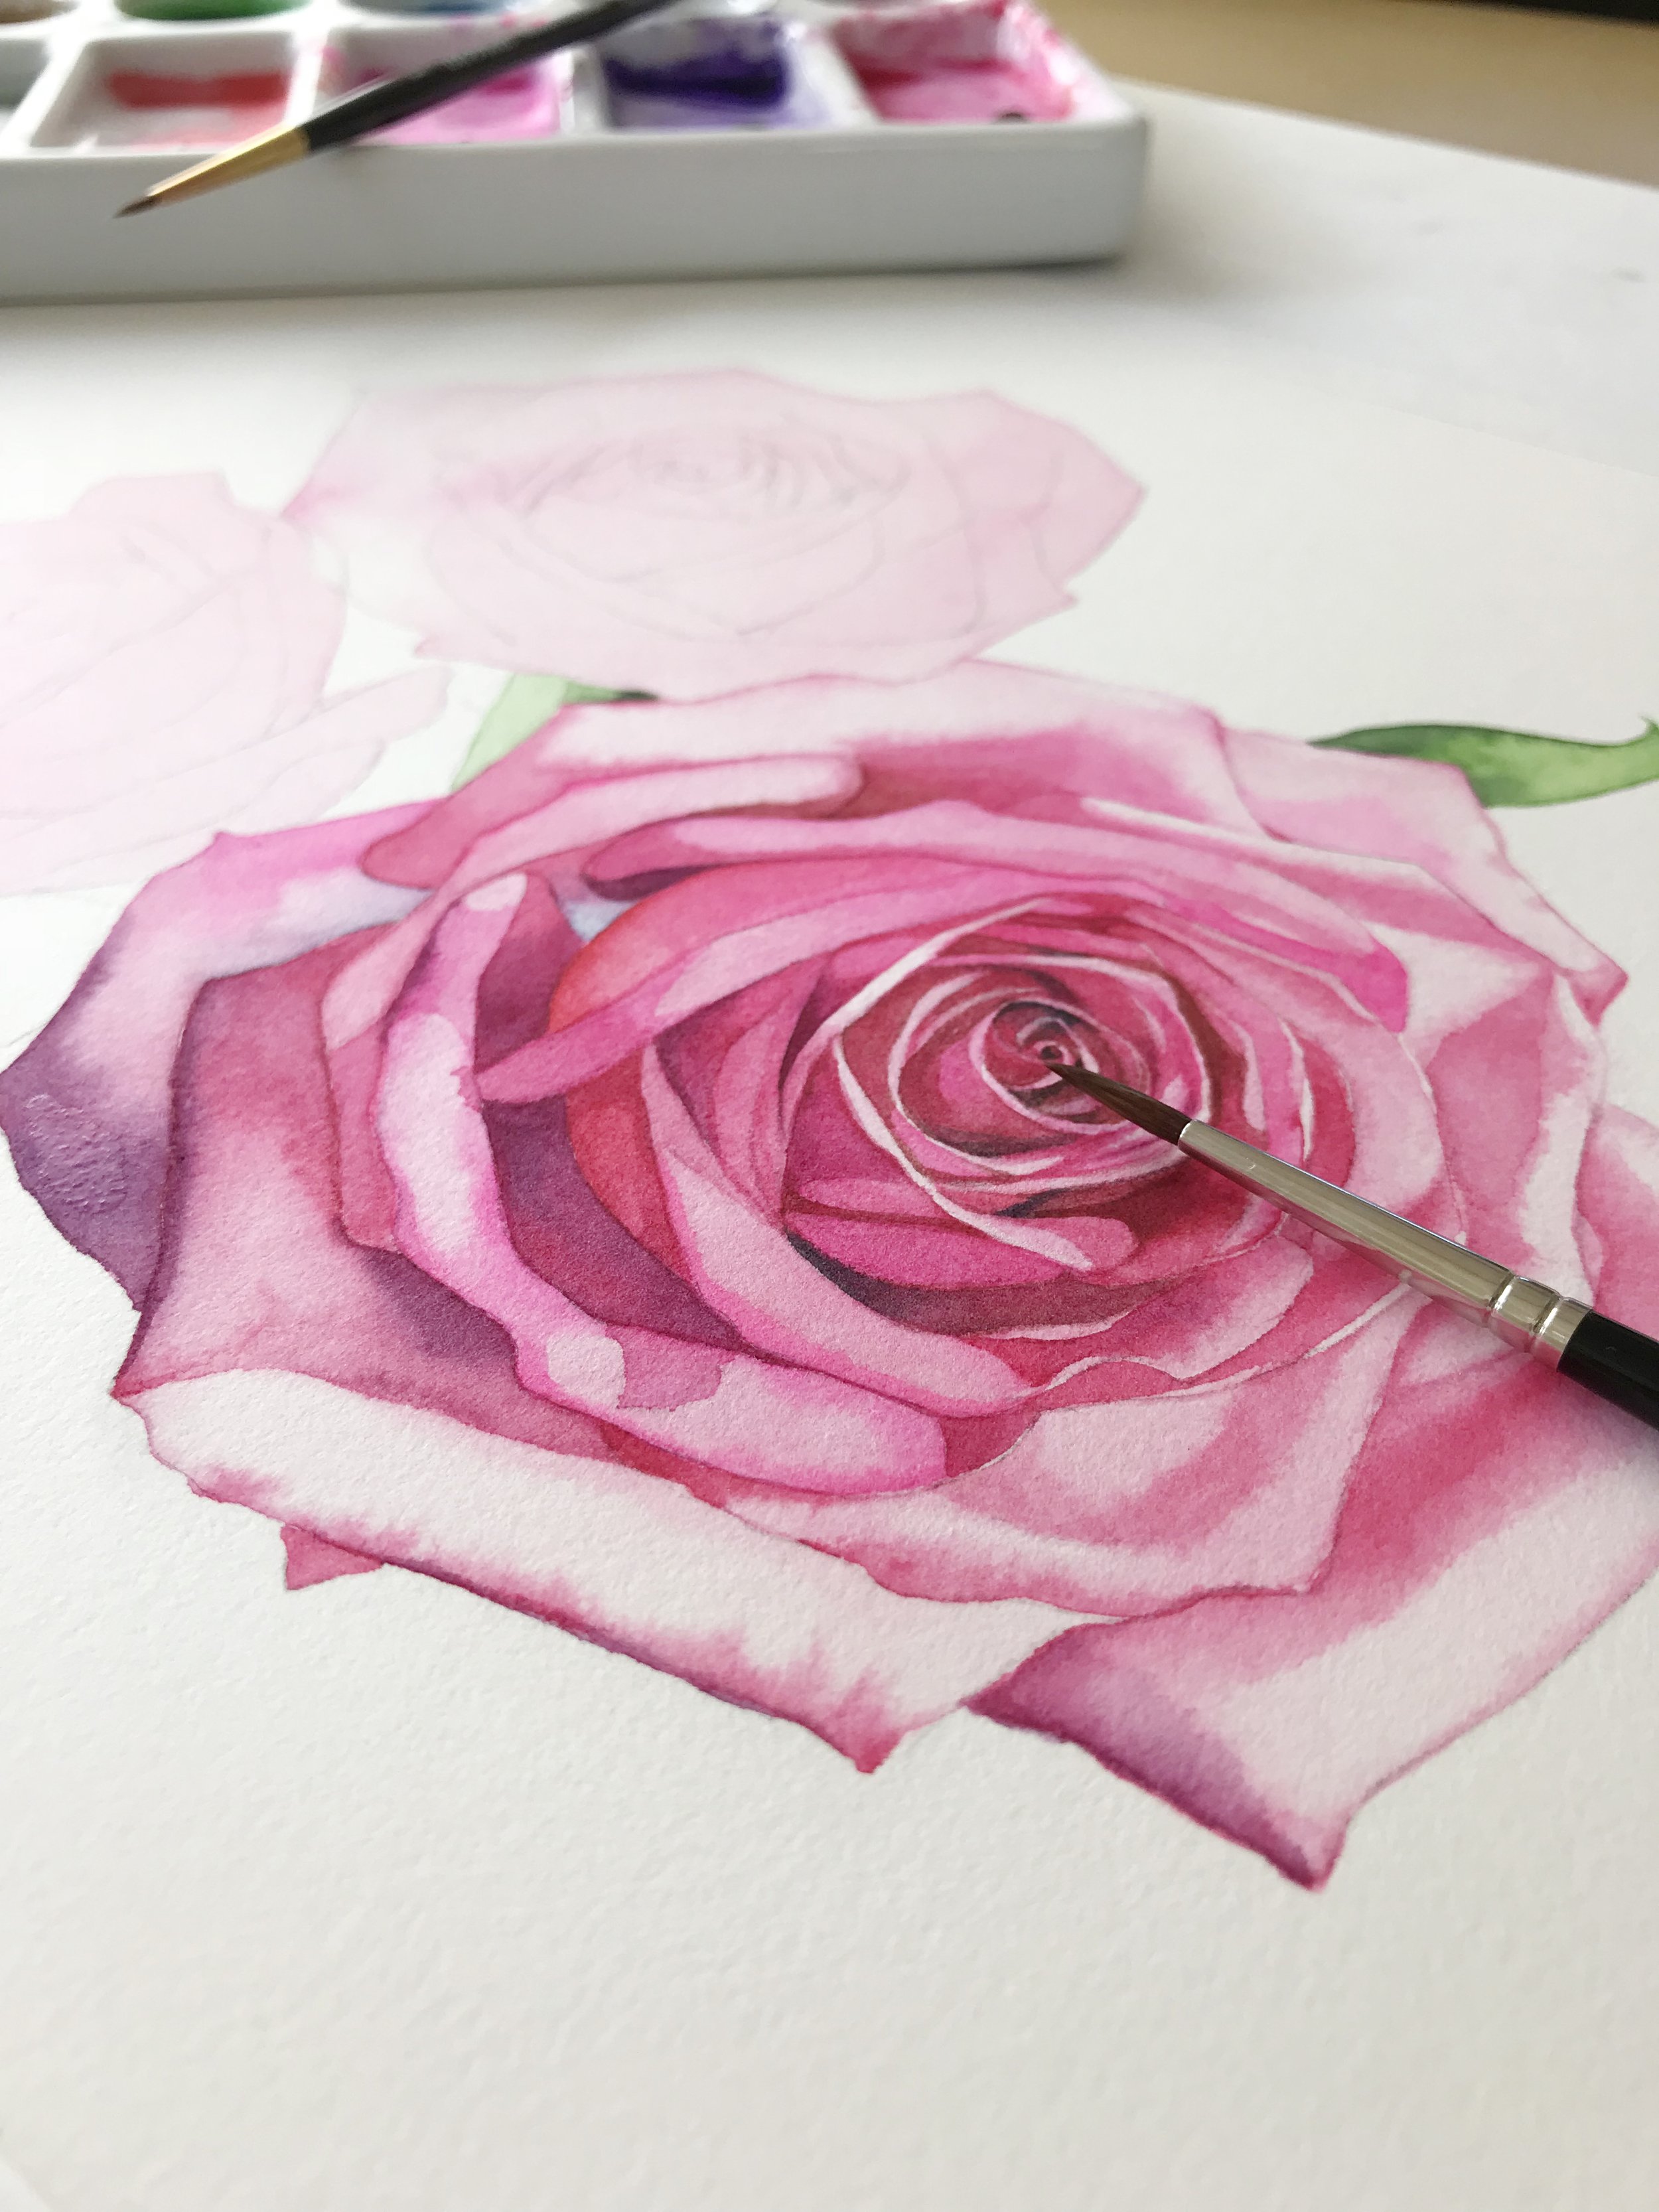
A painting of a Geranium in watercolour
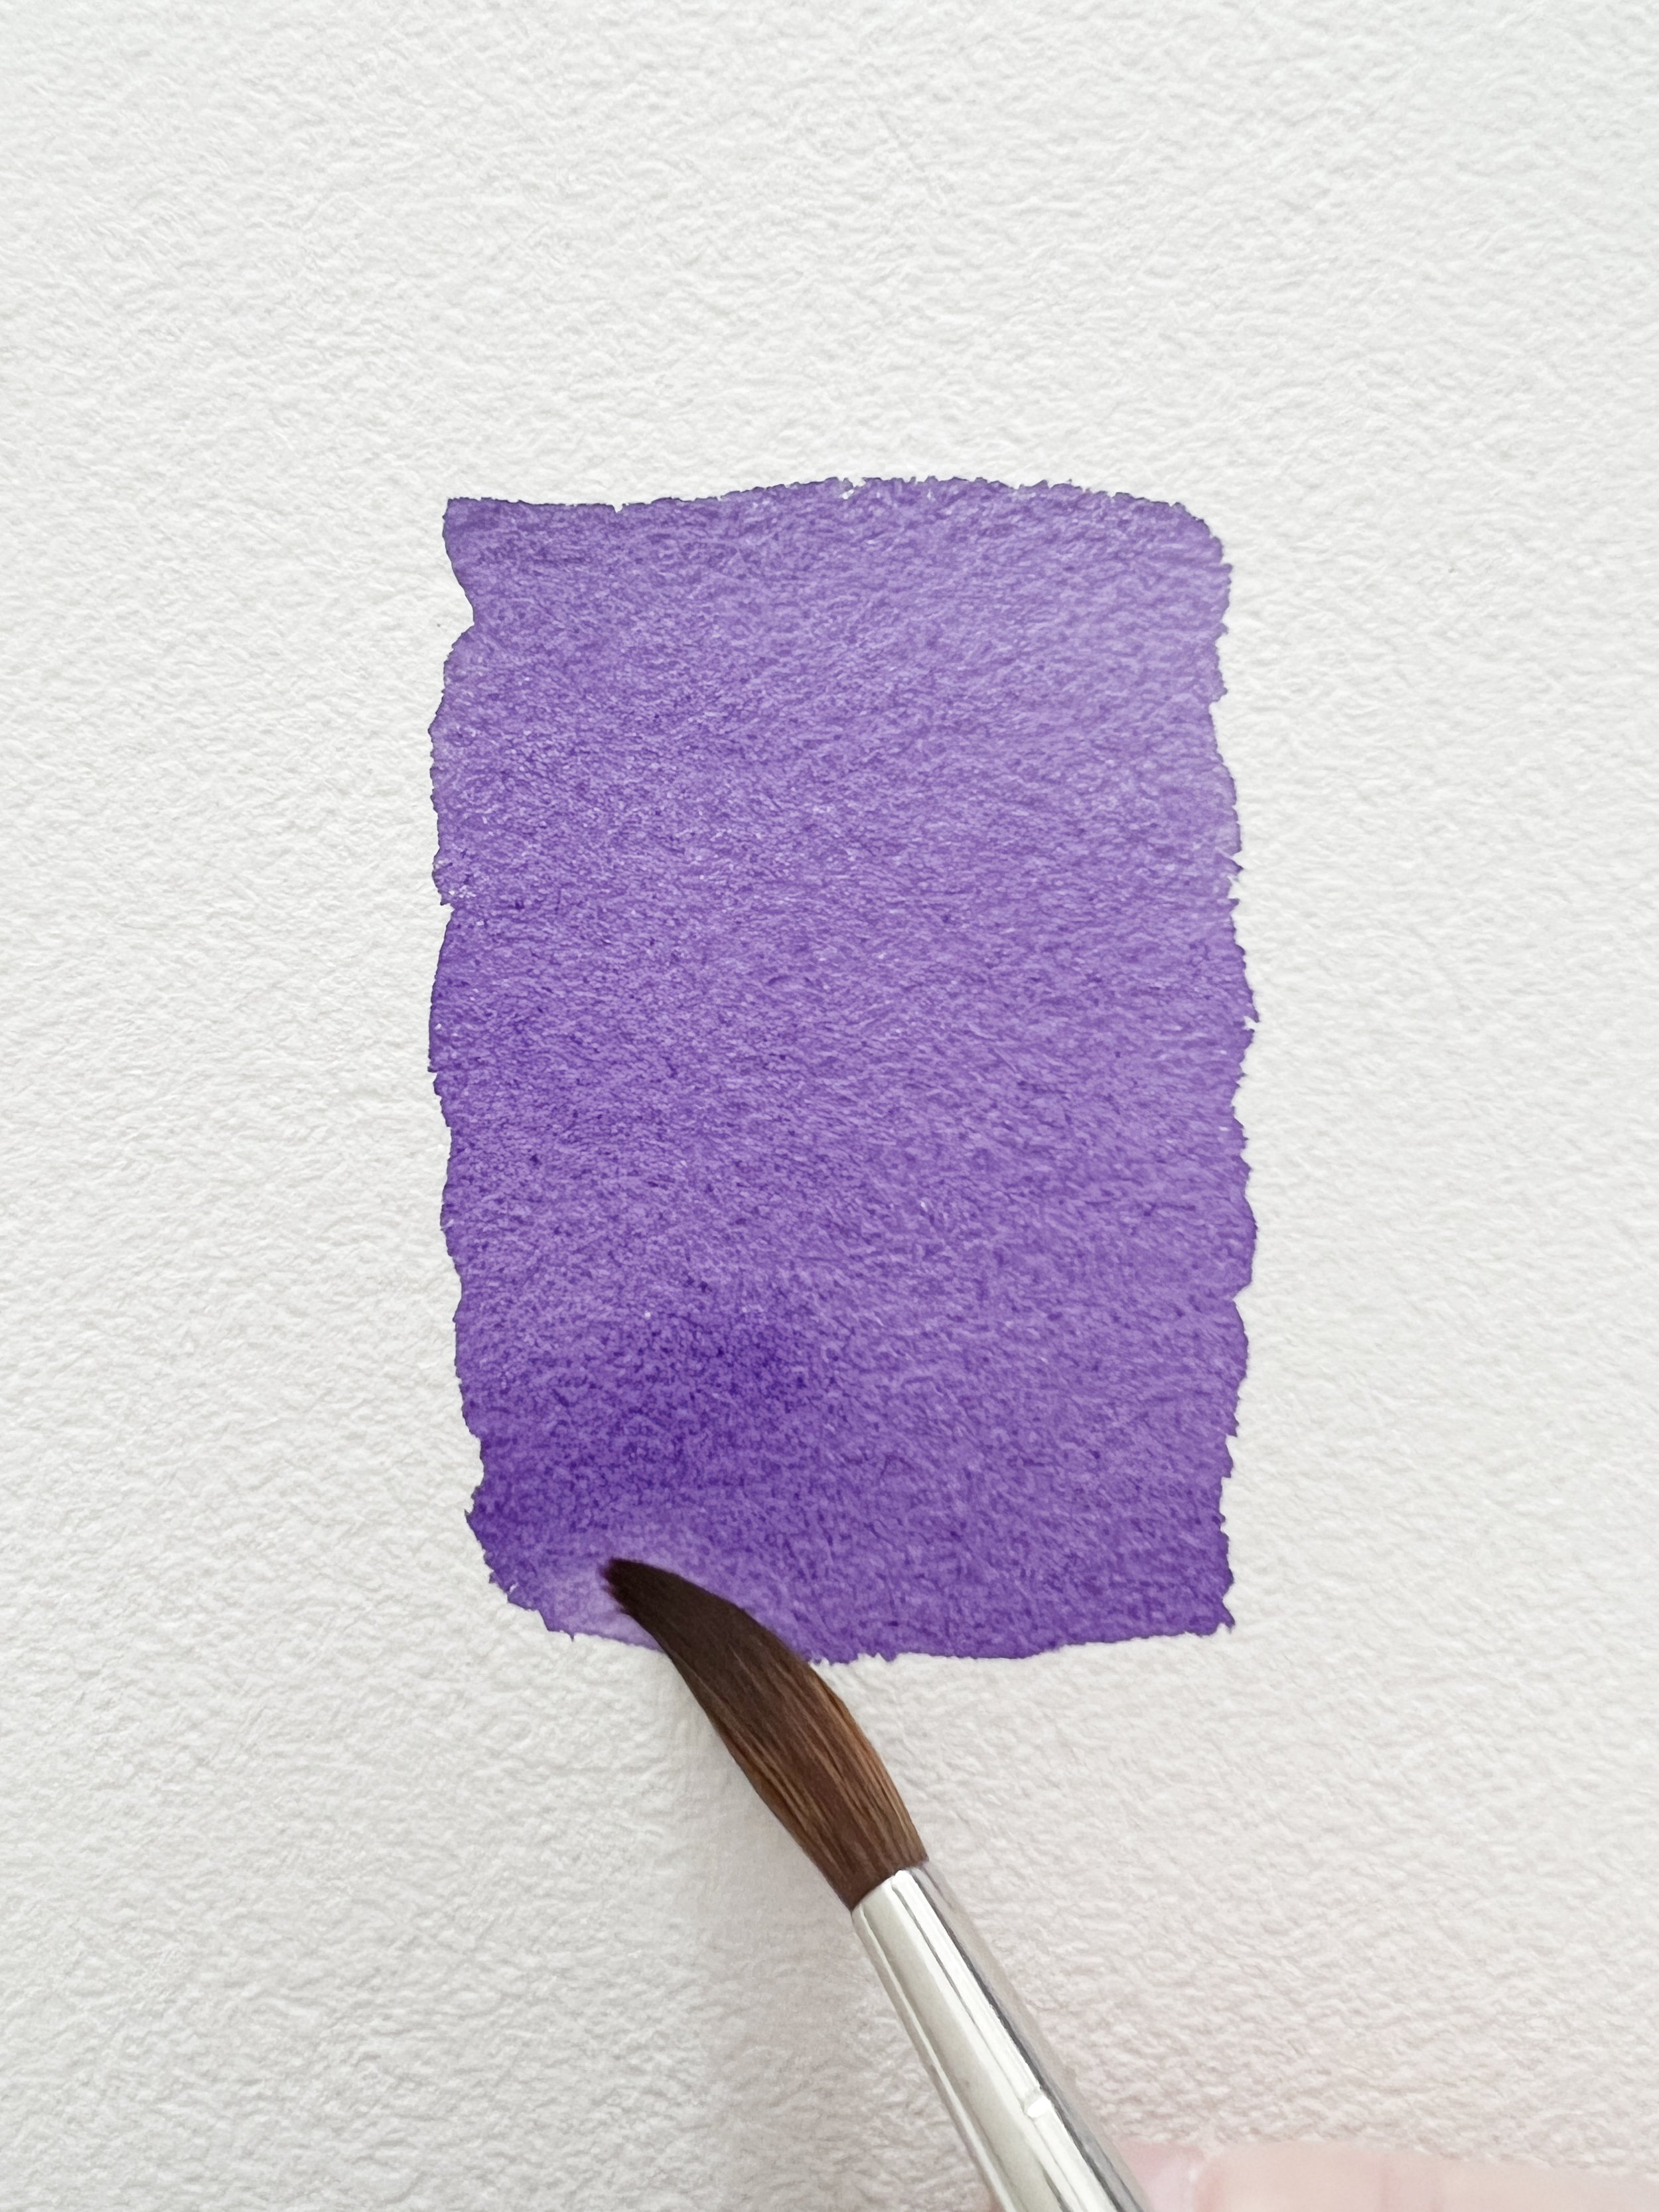
The wet on dry technique is a fundamental method in watercolour painting where wet paint is applied onto a dry paper surface. We use it to create precise lines, textures, and details, because it provides greater control over the paint and prevents bleeding or flowing over the paper surface.
Learning to use the wet on dry technique is essential because it enables you to layer paint and build up depth and contrast in your paintings.
How do you Paint Wet on Dry?
How wet should my brush be when I work wet on dry?
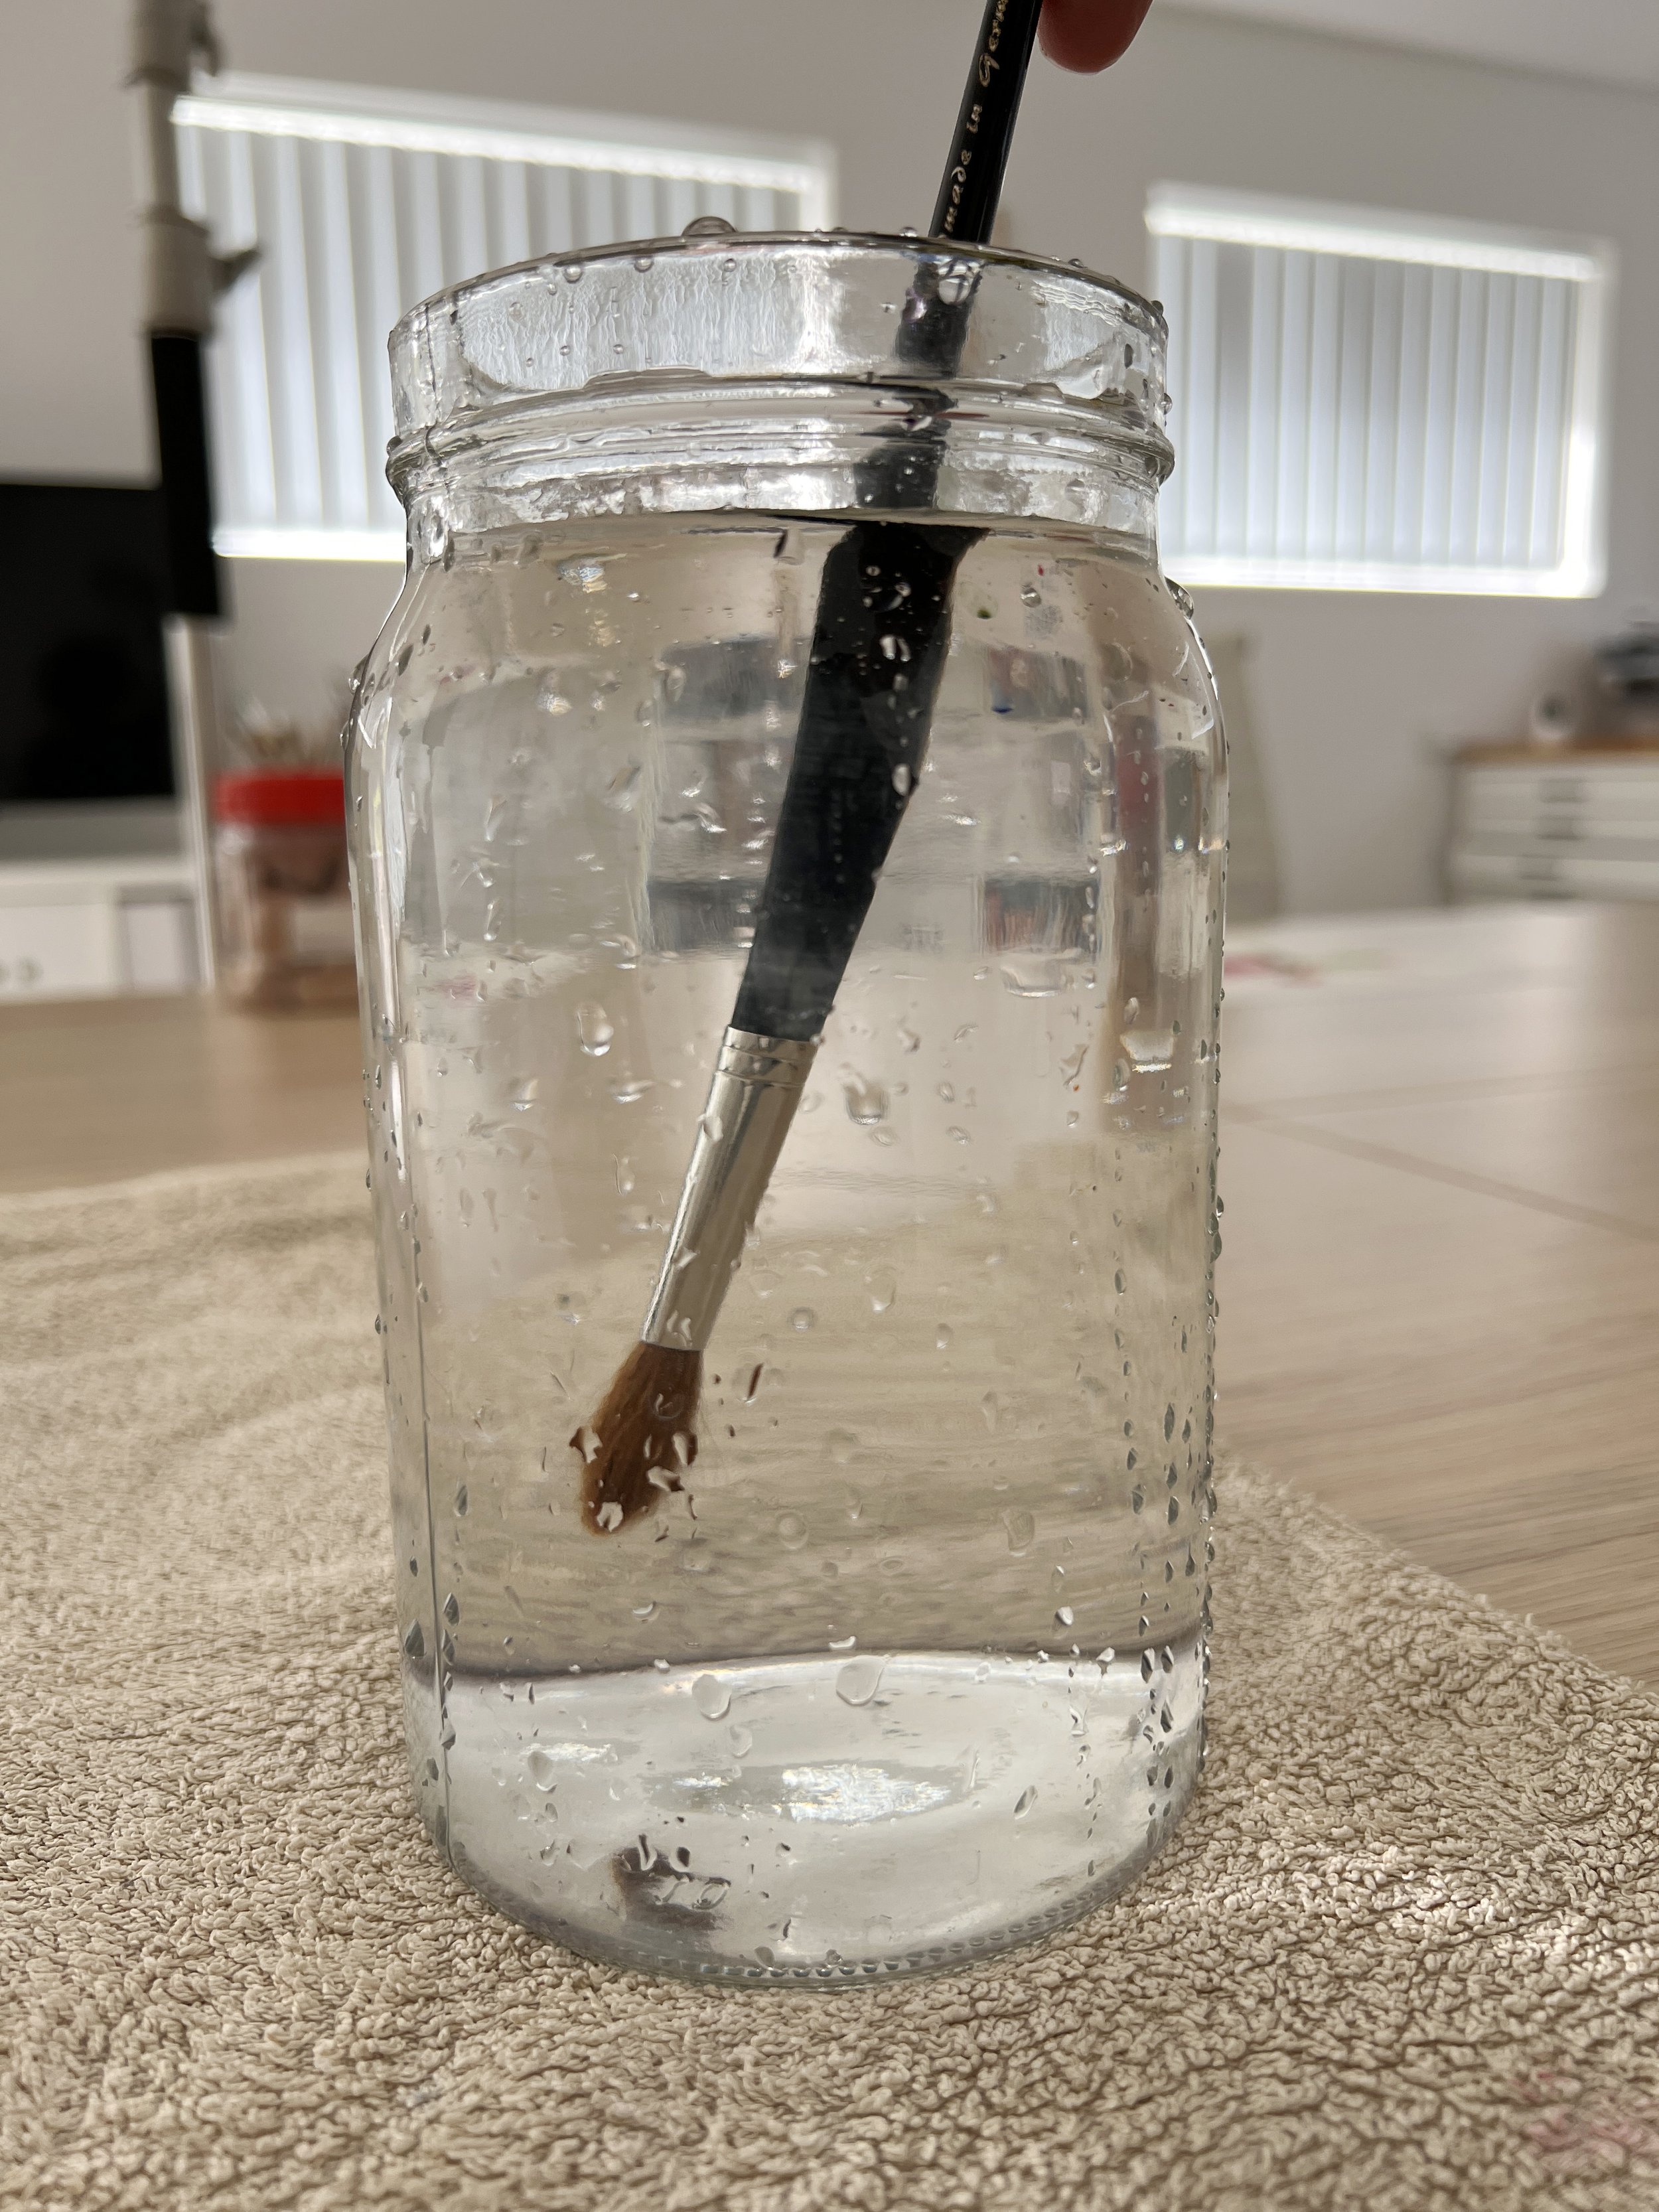
I like to work with a brush that is wet but not dripping wet. Dip your brush in your water container and give it a little swoosh to get the water into the spaces between the bristles, then take it out of the water and gently give it a quick but gentle tap on a cloth. You don’t want to remove a lot of the water but, as I said, it shouldn’t be so wet that it’s dripping.
Swoosh the brush around in the water
Your wet brush should glisten with water
What should the consistency of the paint be when I work wet on dry?
It varies and it depends on what you want to do. It can be watery, milky or quite creamy.
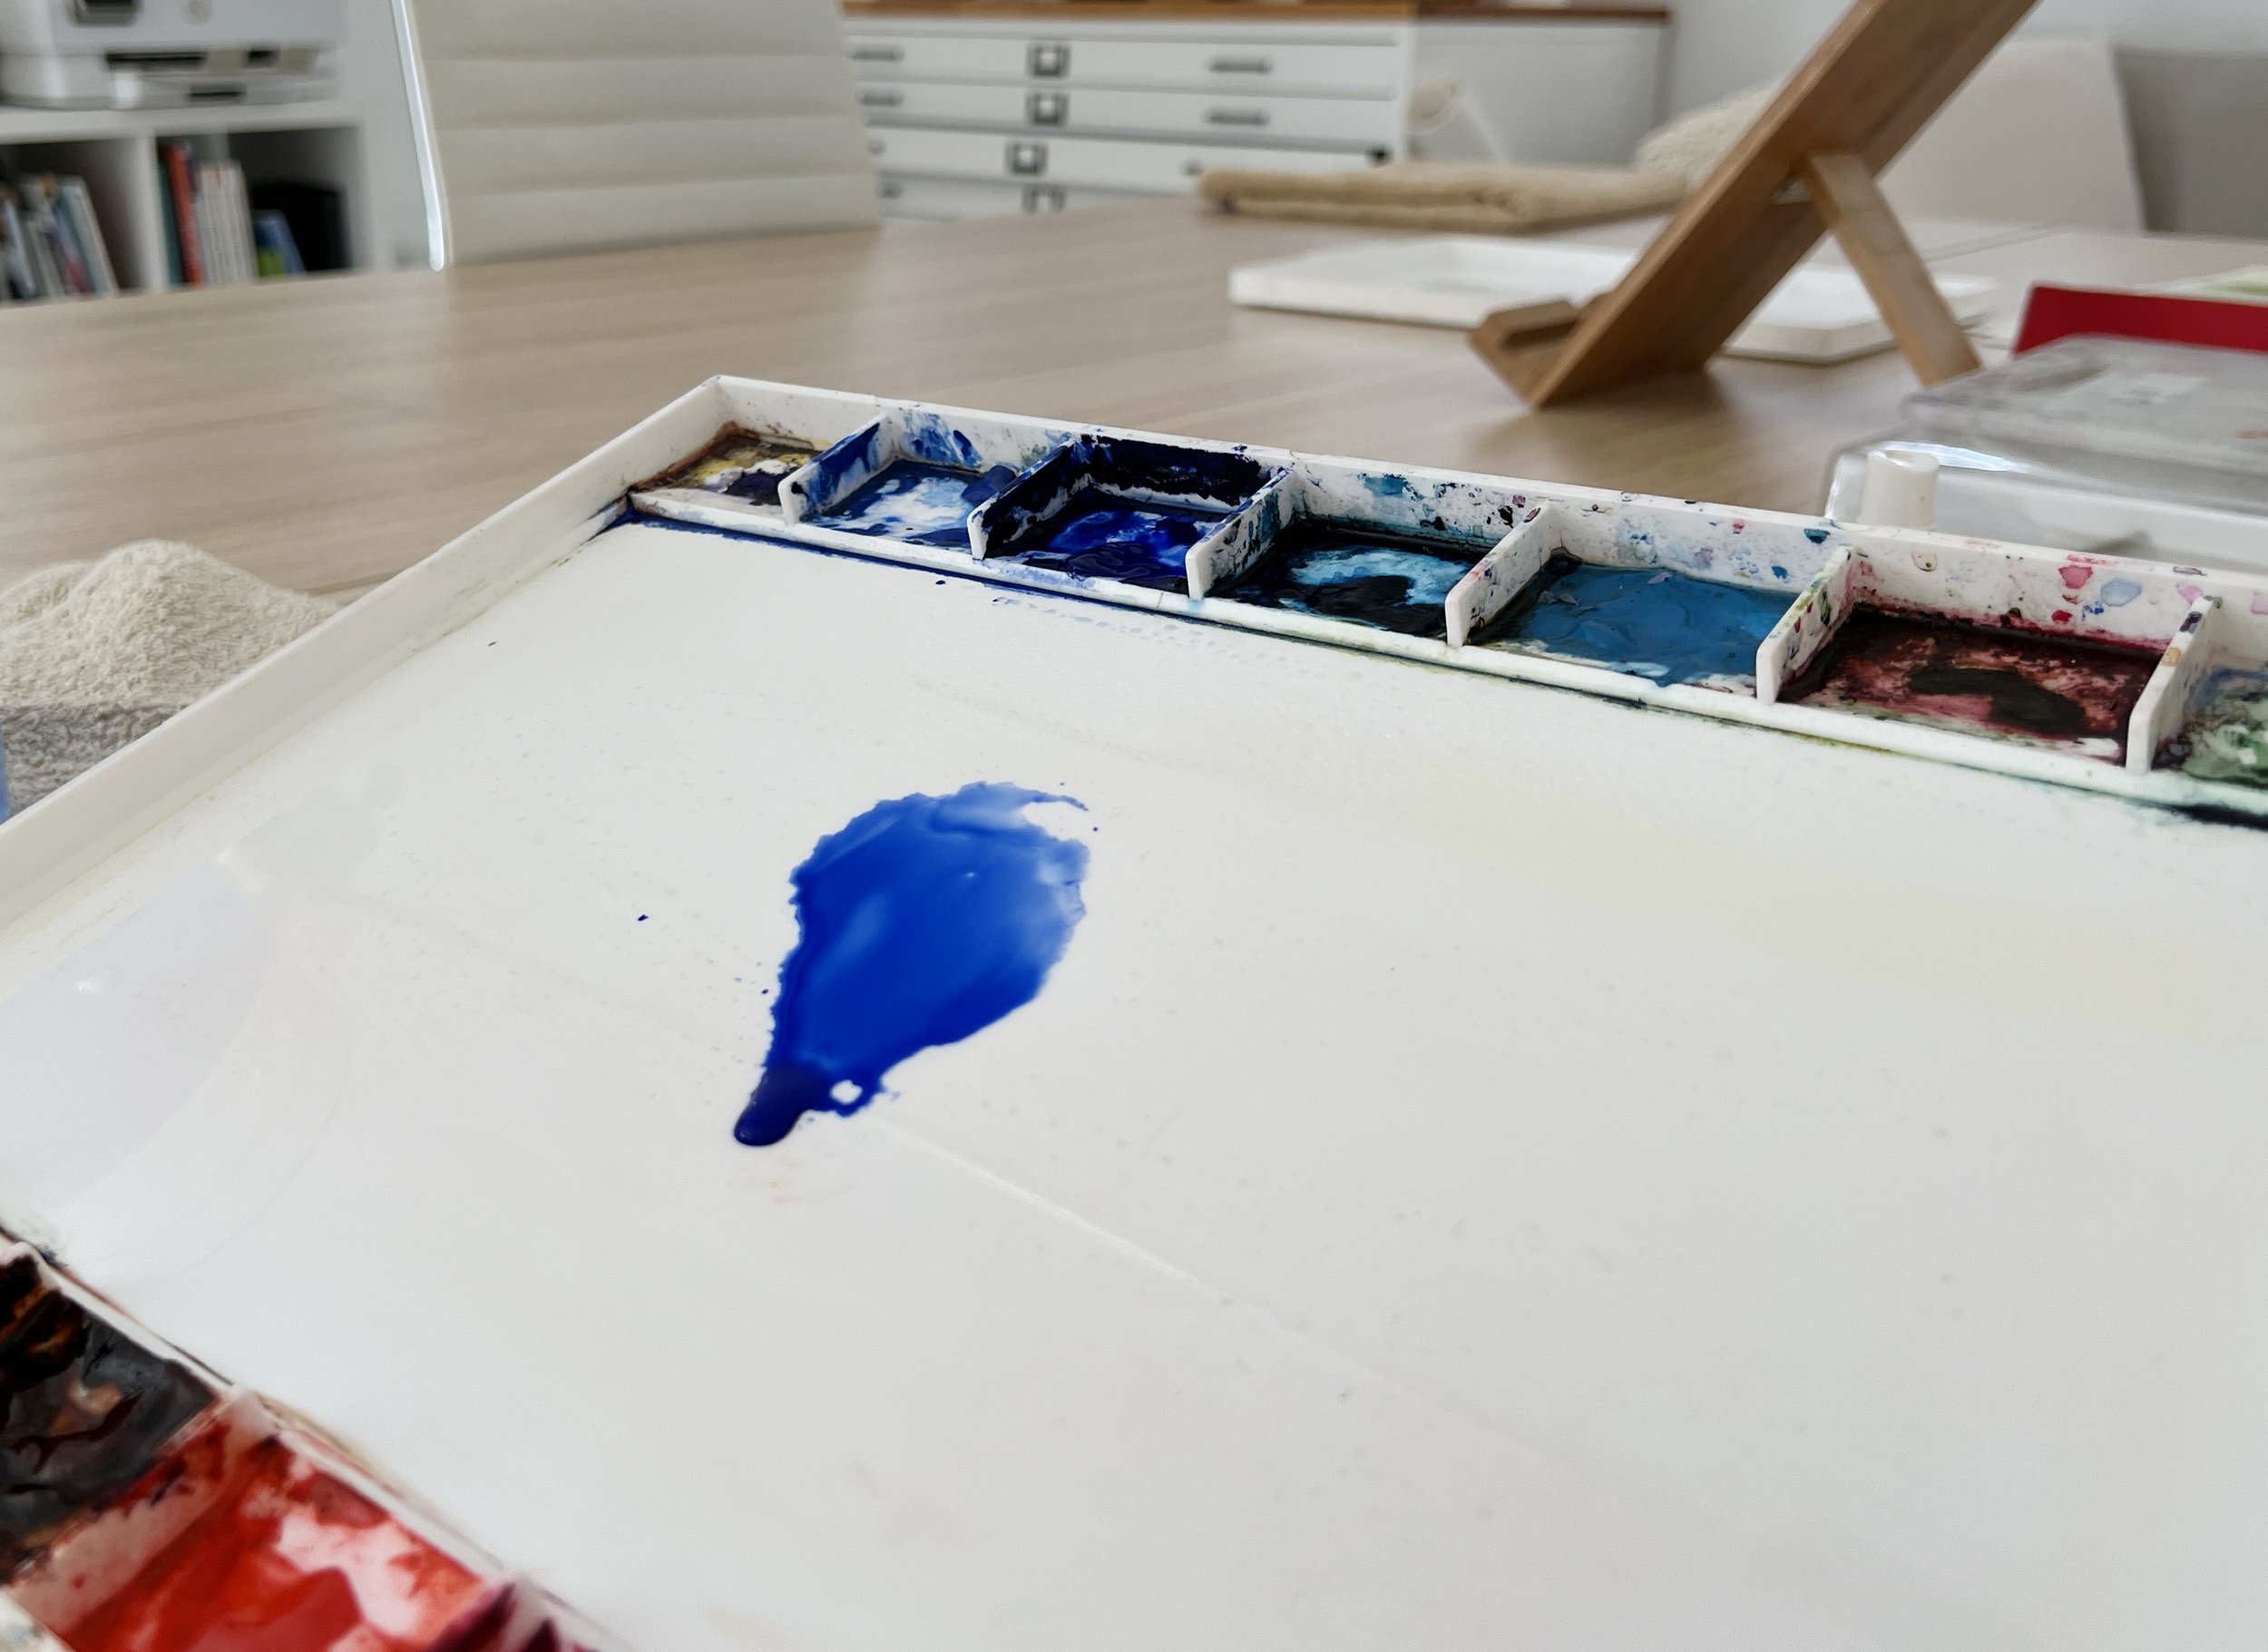
If your paint has hardened on the palette, squirt it with some water to refresh it. If you are using tube paint you could squirt out some fresh paint if you’d prefer. Load your wet brush with paint and make a small puddle of it on your palette.
Dip your brush in your water container and mix some water into the paint puddle. If you mix too much water into the puddle, no worries, just get some more paint and mix that in too. Keep adding it to the puddle until you reach your desired value (that means how dark or light you want the paint to be).
If you pick your palette up on an angle the paint should move around in the puddle you have created.
The paint should be wet enough to move around in the puddle you’ve created
More often than not, you will use paint at this milky consistency when you paint wet on dry.
But you can also use it when it is quite watery if you want a very pale colour.
And you may also need to use really thick paint towards the end of your painting when you are adding your darkest details. You can achieve this by adding a touch of water to the paint to make it creamy, or you can even use it straight out of the tube on dry paper if you so desire. By placing the thick, full intensity paint next to your lightest areas, you can create some dramatic contrast and enhance the overall effect of your painting.
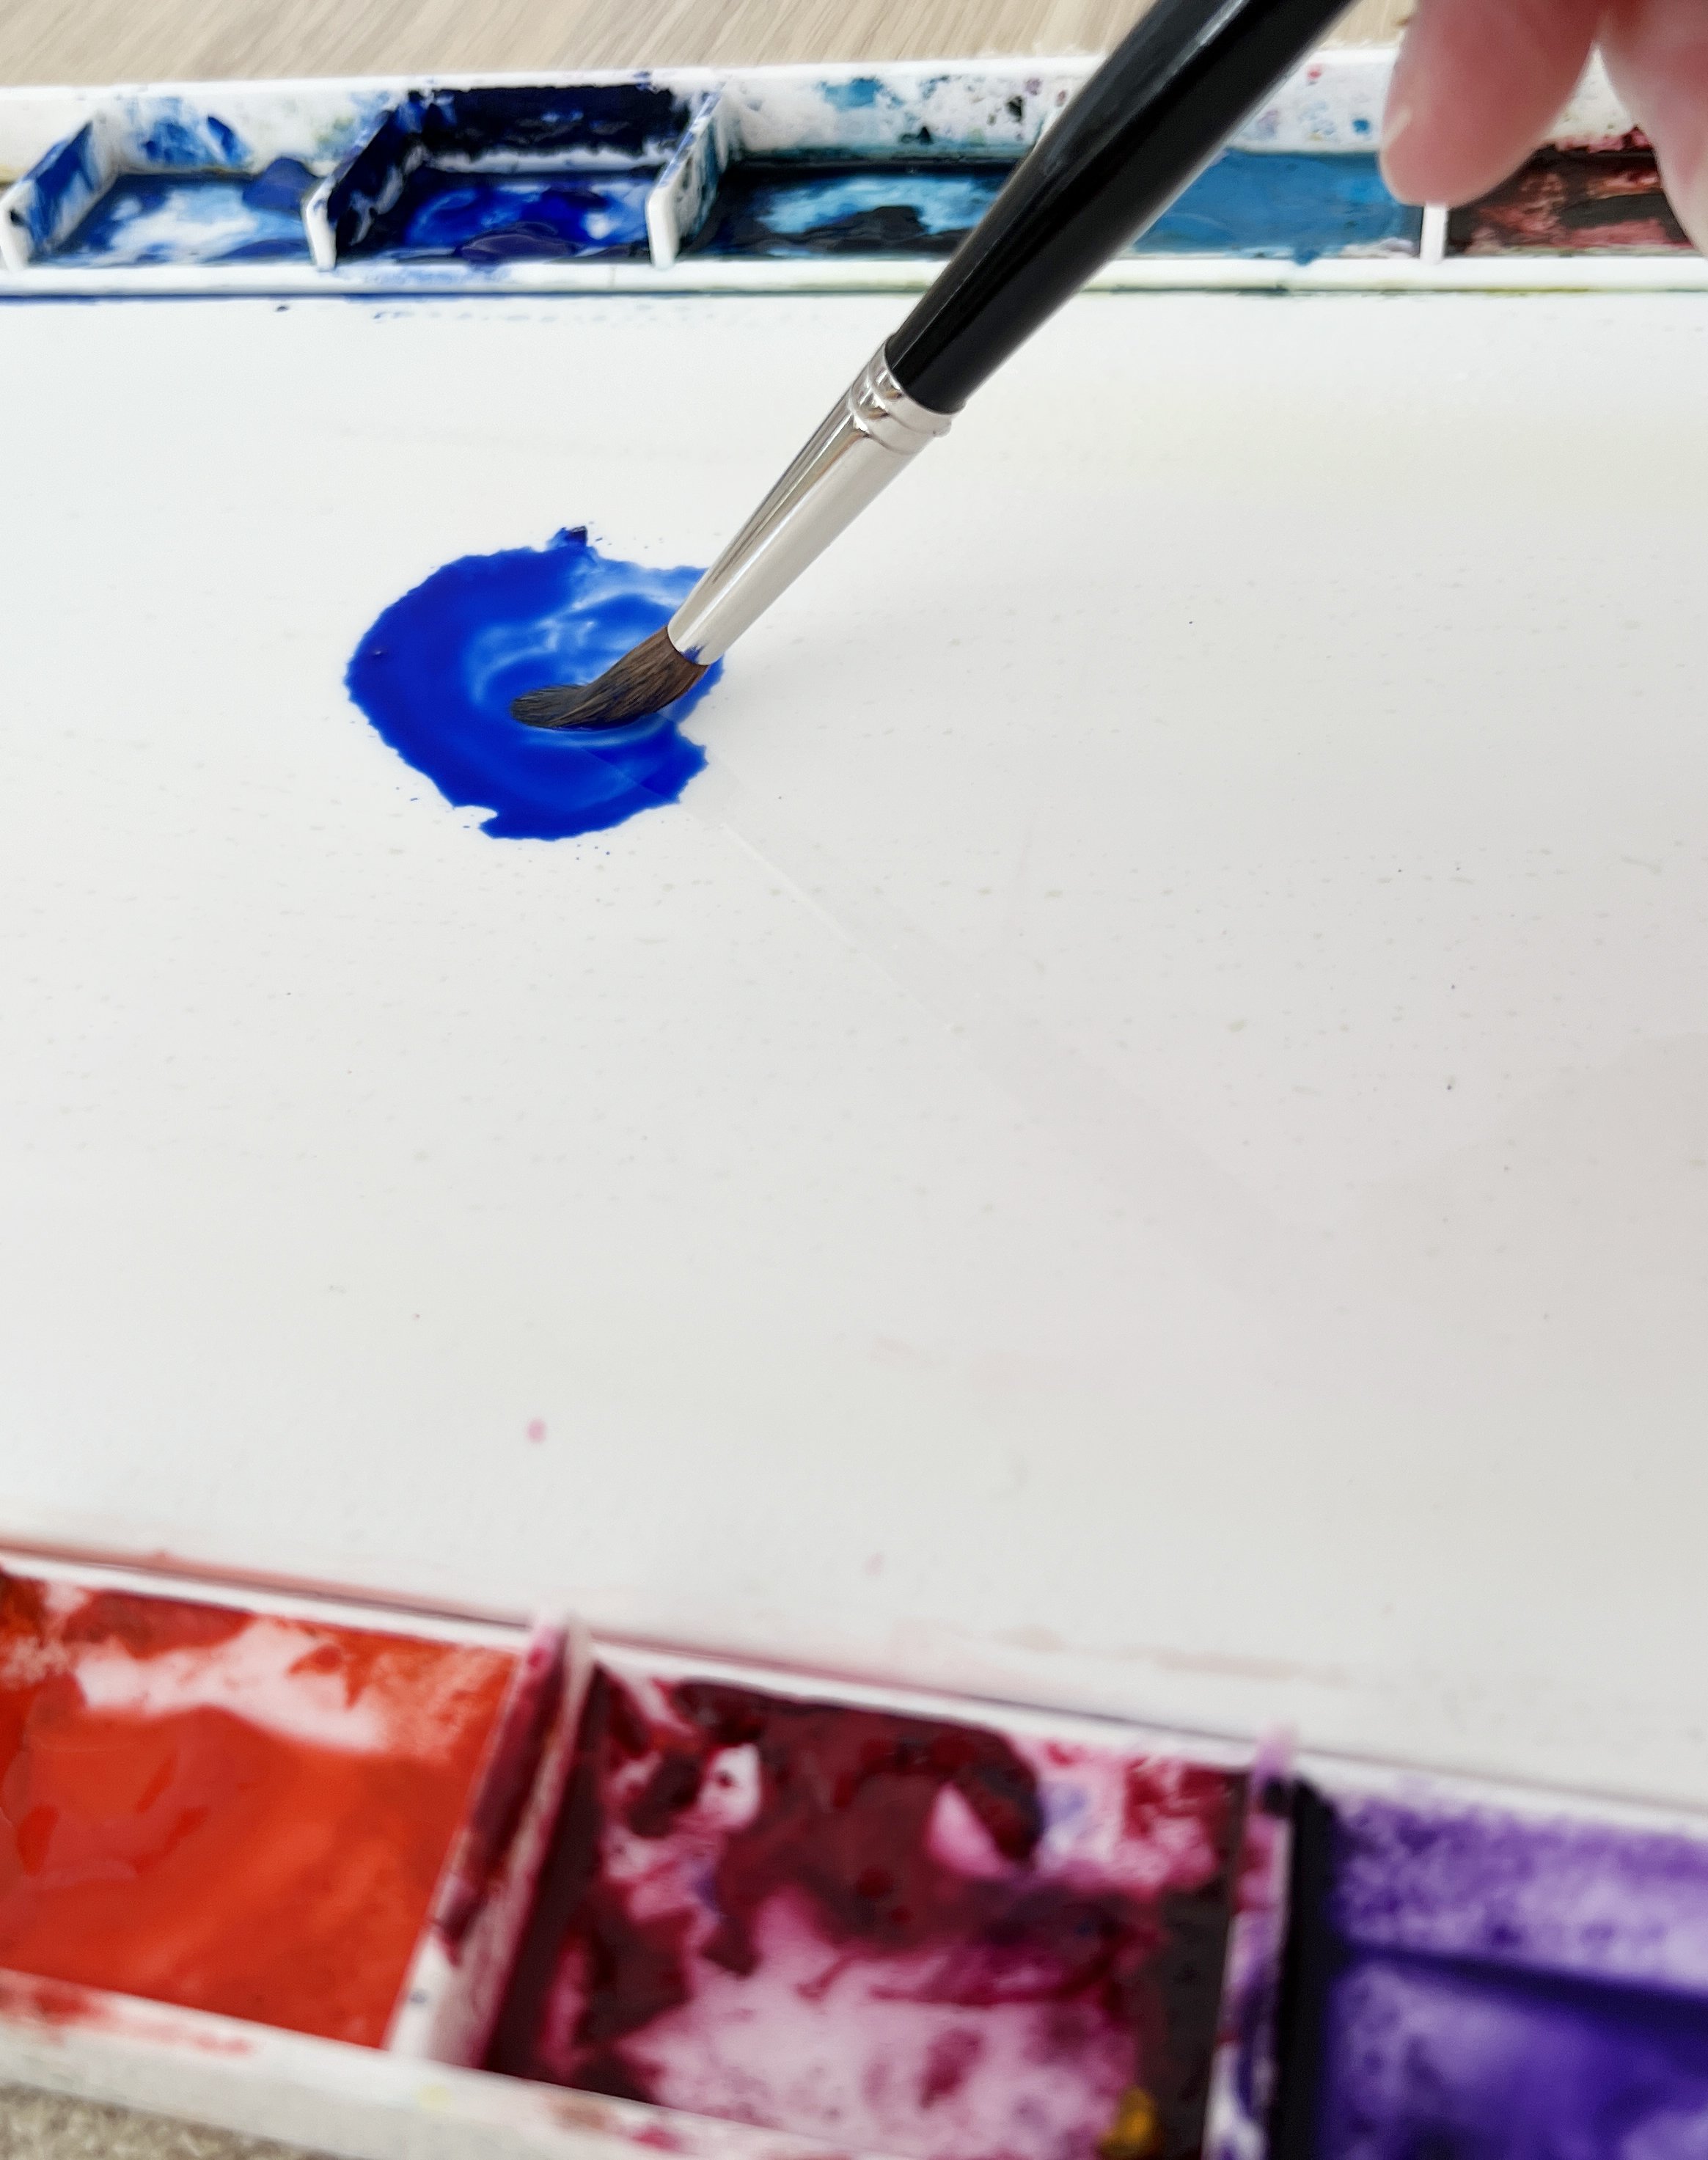
Loading the brush with paint from your puddle
When you load your brush with paint- make sure the brush is wet (not dripping) and load it fully with paint. Roll it around in the paint puddle and if you are using a round brush give it a twirl in the puddle to reshape its point.
Load the brush fully with paint, not just the tip
When you start painting, the brush should glide over the paper. It shouldn’t drag. If you find you are struggling with the brush, and you have to fight with it to apply the paint to the paper then your paint mixture might be too thick, or your brush, when you loaded it with paint, may have been too dry.
Painting on dry paper with just the right amount of wetness and paint consistency
How to paint a flat wash
Practice painting a small area with a ‘flat wash’.
Place your paper on a board and put the board on a slight angle facing towards yourself.
Prop up the board so that it’s slanted towards you
Load your wet brush again with some paint from your puddle and paint a horizontal line again with the brush across a small section of 100% cotton paper. Push the bristles down onto the paper to release the paint. If you are using a round brush, don’t just use the tip of it.
Now try pulling the brush back the other way working down the paper as you go. Keep going back and forth with the brush. Reload with fresh paint as often as you need to. Remember you want the brush to glide over the paper (not drag). You might need to dip your brush in your water container every now and then to refresh it with water, just make sure you give it a quick and gentle dab on your cloth before picking up the paint because you don’t want to dilute your paint mixture. Look for a bead of paint along the bottom of the area you are painting and keep moving that bead of paint down the paper with your brush
Bead at the bottom of the paint
When you are finished the area you want to paint dip your brush in the water container, dab it on your towel and use it to sop up the excess bead of paint at the bottom. You need to remove it because if you don’t it could run back into your flat wash as it is drying and create a bloom.
Sopping up excess bead of paint
Keep practicing this until you understand it. There are other washes you can create in this way: a graded wash and a variegated wash.
Can you paint over dry colour?
Yes you can!
Watercolor paintings often require more than one layer of colour. If you want to add more depth or intensity to a certain area, you may need to paint over the dry colour with a second layer of paint.
You may want to add detail to an area by painting a darker value over the top of a dry area of paint.
When do you use the wet on dry technique?
Basically, anywhere where you want to have hard edges on the marks or shapes that you make.
When you paint wet on dry, the edges of the marks you make with the paint are hard or clearly defined. Which is the opposite of painting on wet paper when your paint edges will be soft and less defined.
A successful watercolour painting will include a variety of hard and soft edges. Just remember- soft edges are usually painted on wet paper and hard edges are painted on dry paper. (There is a way of painting hard edges on wet paper, and a way to soften hard edges on dry paper, but I won’t confuse you with that right now.)
Hard and soft edges
Can you blend watercolour paint when you work wet on dry?
Yes you can.
If you are painting on dry paper you can lay one wet colour next to another wet colour and the two colours will blend together in a soft blend where they meet.
2 wet colours blended where they meet on dry paper
Problems with working wet on dry
Hard edges within the painted area
If you are a beginner you may have difficulty with this technique because watercolour paint dries quickly, leading to harsh unnatural-looking lines that aren’t blended properly.
This may happen because the brush that you used may have not been large enough for the area that you were painting, the paint mixture might have been too thick or perhaps you fussed with the paint for too long.
The shape on the left was painted with a brush that was too small for the area
Inconsistent washes
Achieving an even wash of colour can be difficult, as it requires a balance of the right amount of water and pigment, as well as a steady hand and a well-timed application. Again the size of your brush helps here. Use the largest brush possible in the area where you are working.
Finally
I know all of this is a lot to remember but don’t s…wet it. 😬
It will seem very confusing at first but the more you paint, the less you have to think about all of this stuff.
Remember when you first learned to drive? It was so scary! There was so much to learn. Now I bet you drive without thinking about what you are doing……it’s intuitive, right?
Painting in watercolour is like that too. It’s really hard at first and there’s so much to remember. I encourage you to play around with your paints, experiment……work with a really wet drippy brush and see what it does. Then work with a brush that is drier. Make your paint puddle really watery, paint with it and then thicken it with more paint and use that. Take notes. Try using the paint straight out of the tube. Pick it up with a wet brush and paint it onto your dry paper. It will stick to your paper like glue. Learn by doing.
Keep practicing, don’t give up and eventually you will produce some paintings to dry for. 😉
I have a tutorial on Patreon where we focus on the wet-on-dry technique and do some practice exercises.
See my post on Working Wet on Wet here.
Learn to Paint in Watercolour
If you would like to learn how to paint in watercolour head over to my Patreon community where I have online watercolour classes for beginners through to advanced painters.
