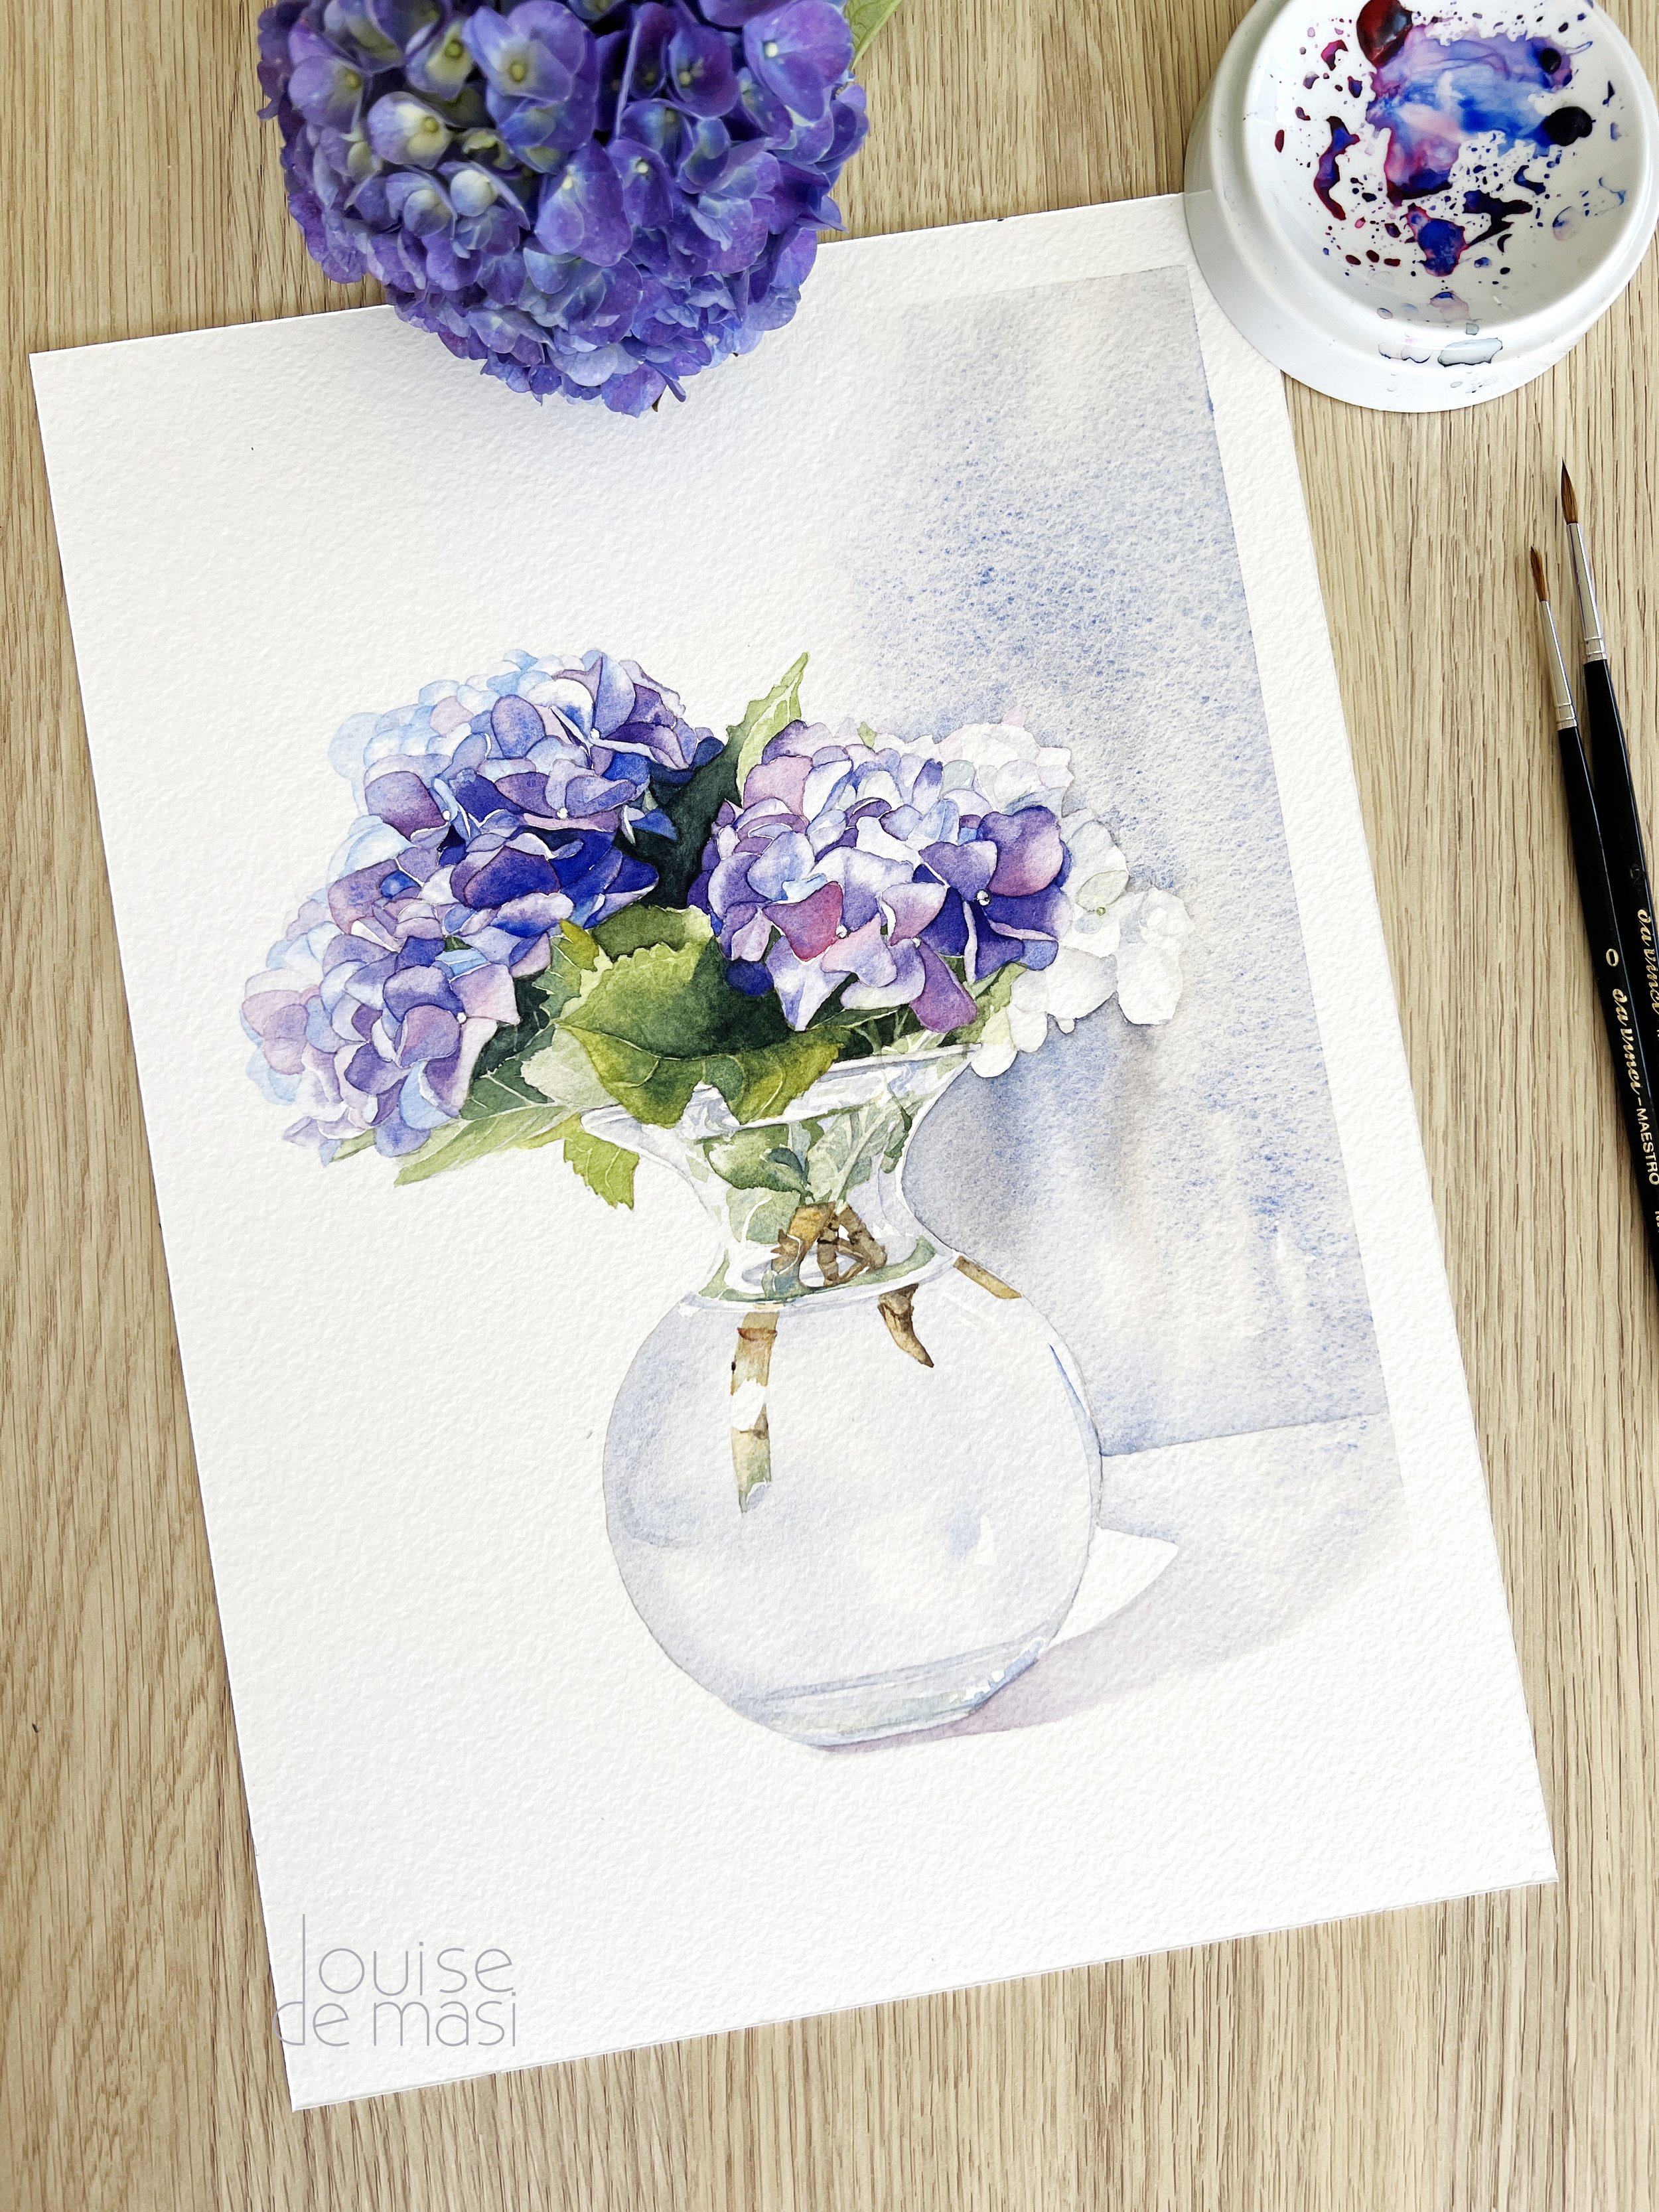
12 things you can do with a wet watercolour wash
I've put together a list of techniques that can be applied to wet watercolour washes that will elevate your watercolour paintings to new levels of visual appeal. Once you've mastered the art of applying washes to watercolour paper, the possibilities for creating exciting and dynamic artworks become endless. So let’s dive into the world of what you can do with wet watercolour washes, and let your paper becomes a playground of potential.

A technique called “Charging”
One of my favourite watercolour techniques is called 'charging.'
It involves applying a flat wash to some watercolour paper and, while the wash is wet, adding another colour with your brush. As the colours mingle and blend on the paper, they create stunning and spontaneous effects. This fun technique is one of the reasons why working with watercolours is so thrilling and fulfilling. It's a joy to watch the magic of hues come together and interact in unpredictable ways.

Violet is charged into a wet blue wash

The paint has dried here

I used the charging technique on the belly of this rabbit
Use salt to create texture on a wet wash
When enhancing your watercolour painting with salt, you can achieve captivating organic shapes and textures as the wash dries, adding visual interest to your artwork. To achieve the desired effect, it's crucial to get the timing right. Simply sprinkling fine table salt on a wet wash will result in some texture, but for more pronounced textures, coarse table salt is recommended.

Course sea salt placed on a wet wash

Texture created from the salt
The key lies in finding the optimal moment to apply the salt to the wet paper surface. If you place the salt too early on the wet wash, it won't yield the desired results because the paper will be too wet. If you wait until the wash is too dry, the salt won't have the same effect. Striking the right balance between wetness and dryness is essential to achieve the fascinating textures created by the salt's interaction with the watercolour paint. With practice and experimentation, you can master this technique and use it to bring a unique touch to your watercolour artworks. Watch my video to learn more about this technique.

Create intentional blooms
Blooms, cauliflowers, or back runs - regardless of the name, these peculiar occurrences can be considered a watercolour artist's nemesis. Blooms are blotchy areas on drying paint. They arise when excess water or paint disrupts the drying pigment.

I embrace them and I include them intentionally in some of my watercolour paintings to enhance texture and create visual interest. I have made a video all about blooms where you can learn more.


How to avoid watercolour blooms
Sometimes blooms can be a problem on a painting. For example, if you were painting a clear sky you don't want a bloom to appear on the drying wash. As the drying process advances, you'll notice the paper reaches a certain point where it is no longer entirely wet but not entirely dry either. This 'drying point' is crucial in avoiding blooms. When you reach this stage, resist the urge to continue working in the same area. Instead, shift your focus to other parts of the painting that require attention. Working elsewhere during this stage helps prevent accidental blooms.
Another thing to be mindful of is if you have just painted a wash onto watercolour paper and you've taken the paint all the way to the edges of the paper, check the edges for excess paint that might have accumulated there. Remove it with a damp brush because if you don't, the excess paint might flow back into the drying wash and create a bloom or back run where you don't want it.
Lift colour
When a watercolour wash is wet you can lift colour to create highlights.
Take the excess moisture out of your brush and use it to lift colour or you can use some scrunched up paper towel or even a sea sponge. When you lift colour from a wet wash the edges of the highlight you create will be soft.
Below, I have lifted colour from a wet wash with some tissue to create some cloud shapes.

Below, I am using a damp brush to remove some paint from the wet wash to create a highlight on the geranium petal.

When attempting to lift paint from a wet wash, it's important to be patient and wait for a short while. If the paper is too wet, the paint may flow back into the area you're trying to lift. This technique requires some practice. If the paint mixture runs back into the lifted area, simply wait for a minute or two before making another attempt. If you are using a brush to remove paint, the brush needs to be damp not wet. If it's too wet you risk adding more water to the paper which will likely create a bloom where you don't want it.
Tilt your painting and make the paint flow
Experimenting with watercolour can be really enjoyable, especially when you wet specific areas of your painting, apply a wet wash, and then tilt the painting board. By tilting the board, you can make the paint flow in various directions, creating unique and captivating effects on your artwork. This playful technique allows for a delightful element of surprise and adds a dynamic touch to your watercolour paintings.

On this seagull painting I wet the background area of the paper above the seagulls with some water. Then I applied some wet paint. I tilted the board so that the paint would flow up to the top edge of the paper.
Blow wet paint with a straw
Here's a fun technique: begin by applying a wet wash to dry paper. Then, grab a short straw and position yourself at a low and level angle with the paint. With the straw close to the paper's surface, blow the paint across it. This technique creates spontaneous and unexpected effects on your painting. Blowing the paint from this lower perspective allows for better control and more significant impact than attempting it from a higher position. Embrace the fun and experimentation with this method to add a dynamic and whimsical touch to your watercolour paintings. I used this technique on the background splash of this Kingfisher painting.

Cling wrap and watercolour
Ordinary cling wrap that you use in the kitchen is perfect for creating interesting textures on a watercolour wash.
You can apply a wash onto either wet or dry paper and then, before the paint dries, get some cling wrap and place it over the wet surface. Use your fingers to manipulate the plastic wrap to create shapes and add movement. Don't play with it too much because I have found that the freshness is lost if you manipulate it too much. You must leave it to dry for a few hours, or even over night before you take the plastic off.


Granulation medium

Granulation medium separates the colour and causes a textural effect on the paper, similar to the way granulating paints create texture. It can be applied to a watercolour wash or it can be mixed into the paint before you apply it. I prefer to drip it onto the wet surface with a pipette and watch it break through the pigment.
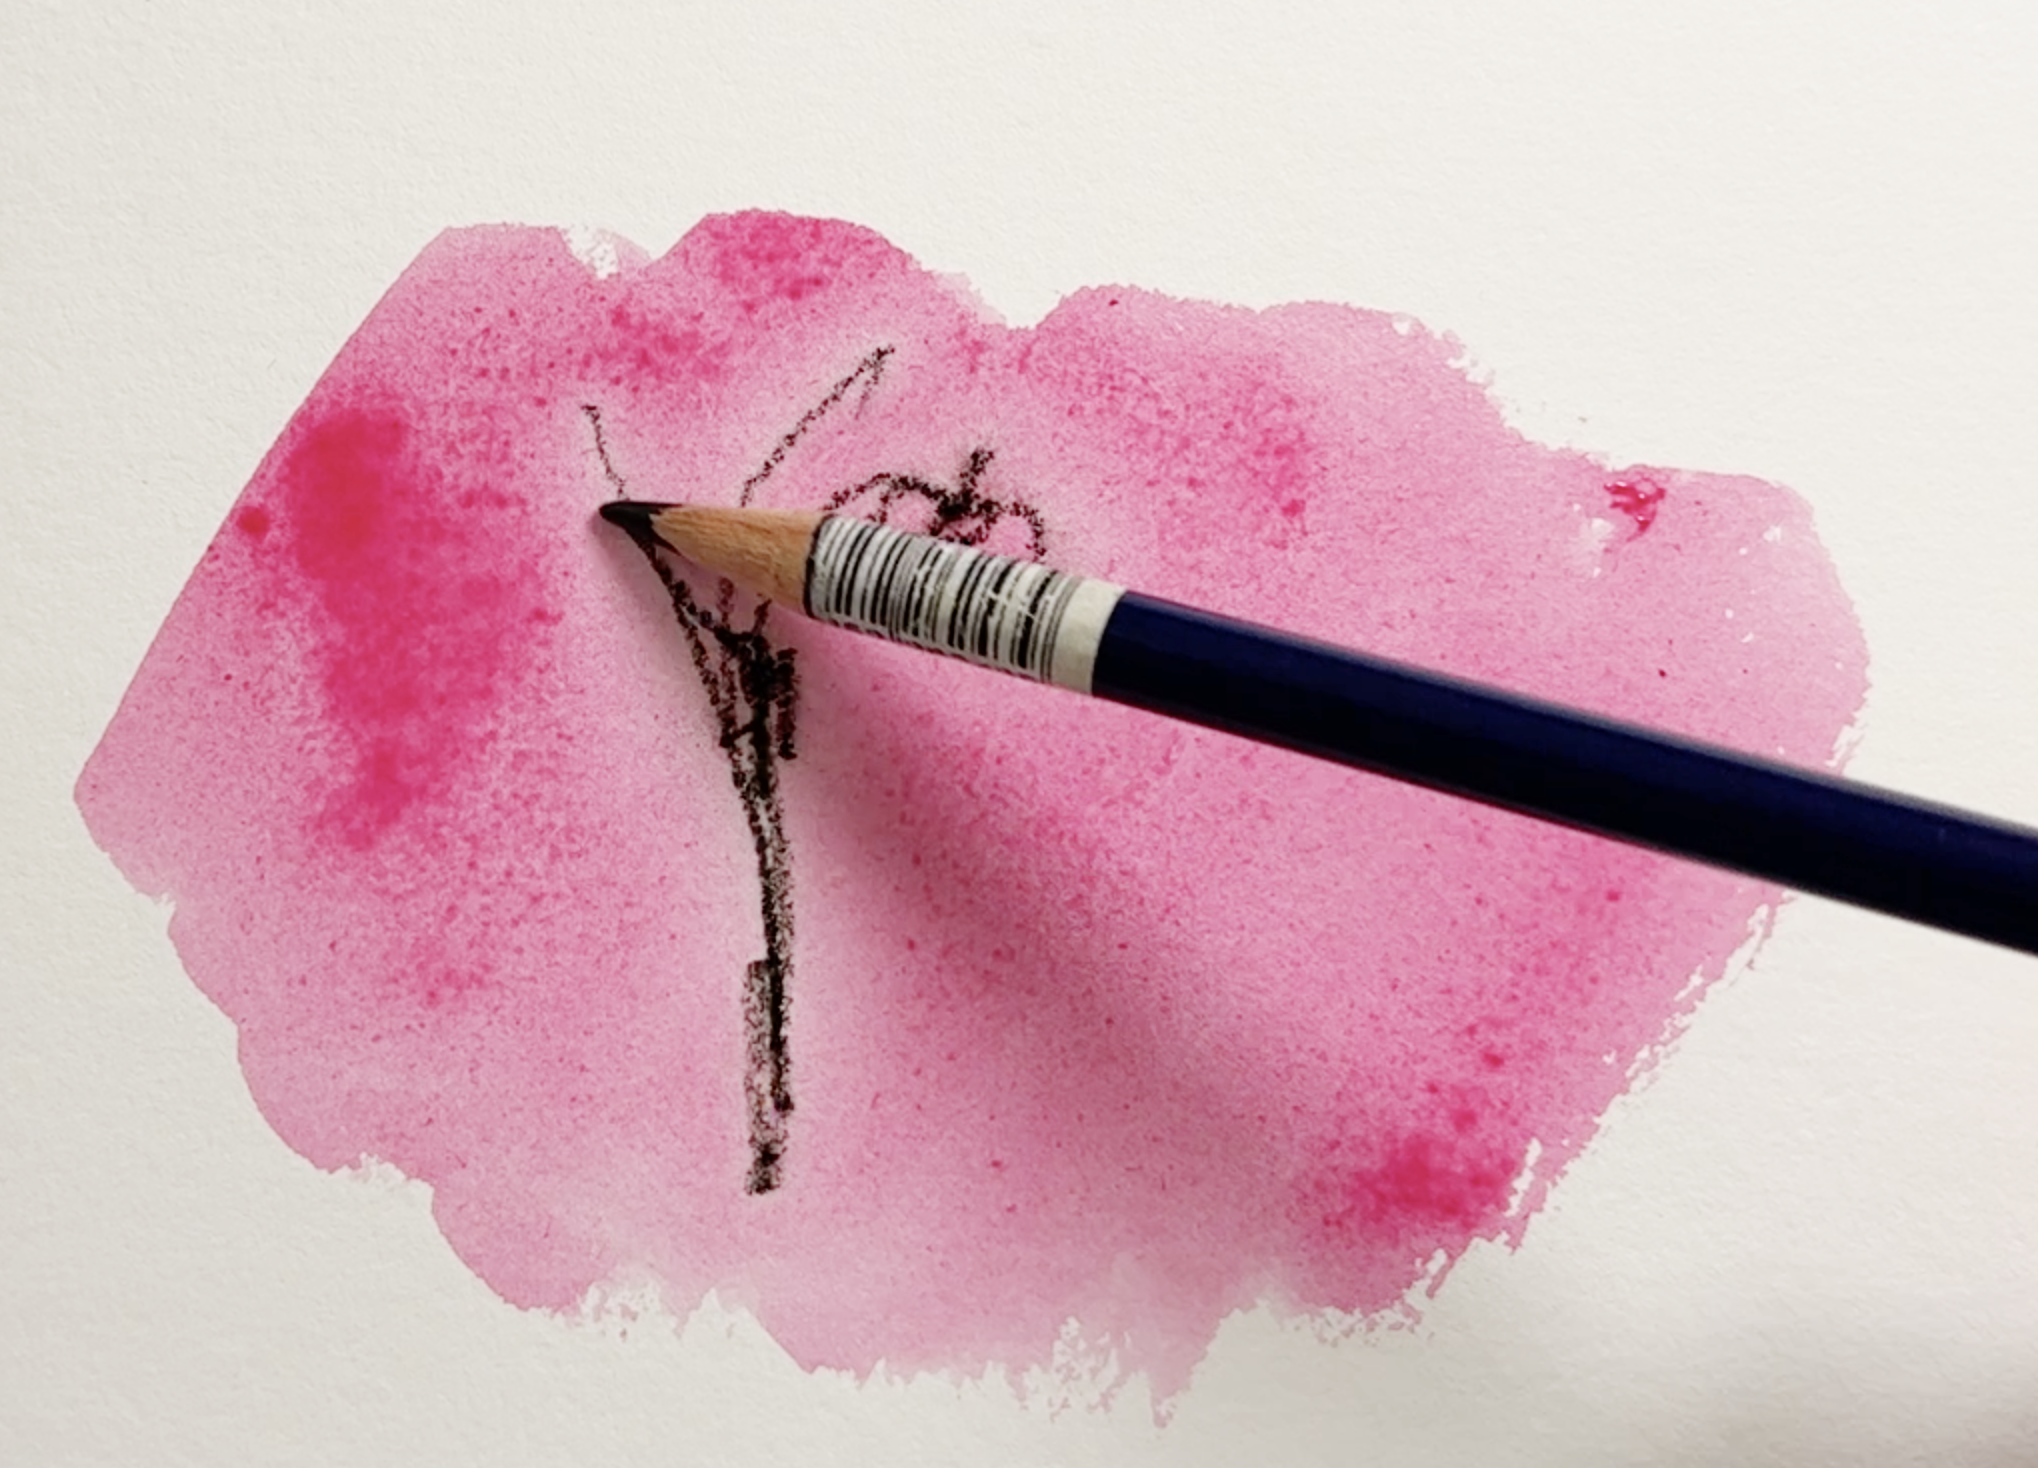
Watercolour pencils and ink
Watercolour pencils can be dragged through a watercolour wash to create smudgy marks.
Use a pipette to squirt some ink onto a wet watercolour wash to create some interesting effects.

Spray or squirt water onto a watercolour wash
When a wash is beginning to dry if you spray some water onto it you can create texture and interesting effects.
Different spray bottles produce varying results based on their spray patterns. Smaller bottles release a more delicate mist, whereas larger bottles emit larger water droplets. By gently pressing the plunger of a large spray bottle, you can influence the droplet size, mimicking the act of using a brush to apply water onto a drying surface, but with a more unpredictable outcome.

Nita Engle, a renowned watercolour artist, had a distinctive and expressive method of painting waves. Her approach emphasises capturing the dynamic and fluid nature of water through a combination of techniques. She used the wet on wet technique to create a fluid base to her paintings. She encouraged the colours to blend naturally and mimic the movement of water. Nita experimented with different tools and methods such as splattering, spraying and squirting water onto wet wet washes of colour. In her book 'How to Make a Watercolour Paint Itself', Nita shows many examples where she manipulated wet washes to create her paintings.

Use heavier pigment on a watercolour wash
Use creamy pigment straight out of the tube or mix a small amount of water with it and paint onto the wet wash.
The thicker pigment tends to stay in place because of its density but because the paper is wet, the marks you make will have soft edges.
I used thick, creamy paint to apply the stripes on this tiger. The paper was wet when I applied it which meant the marks I was making with the brush had soft edges.

Use gouache on a wet wash
Gouache is an opaque pigment which will cover transparent pigments. You can create some interesting milky effects when you drop some gouache onto a wet watercolour wash.
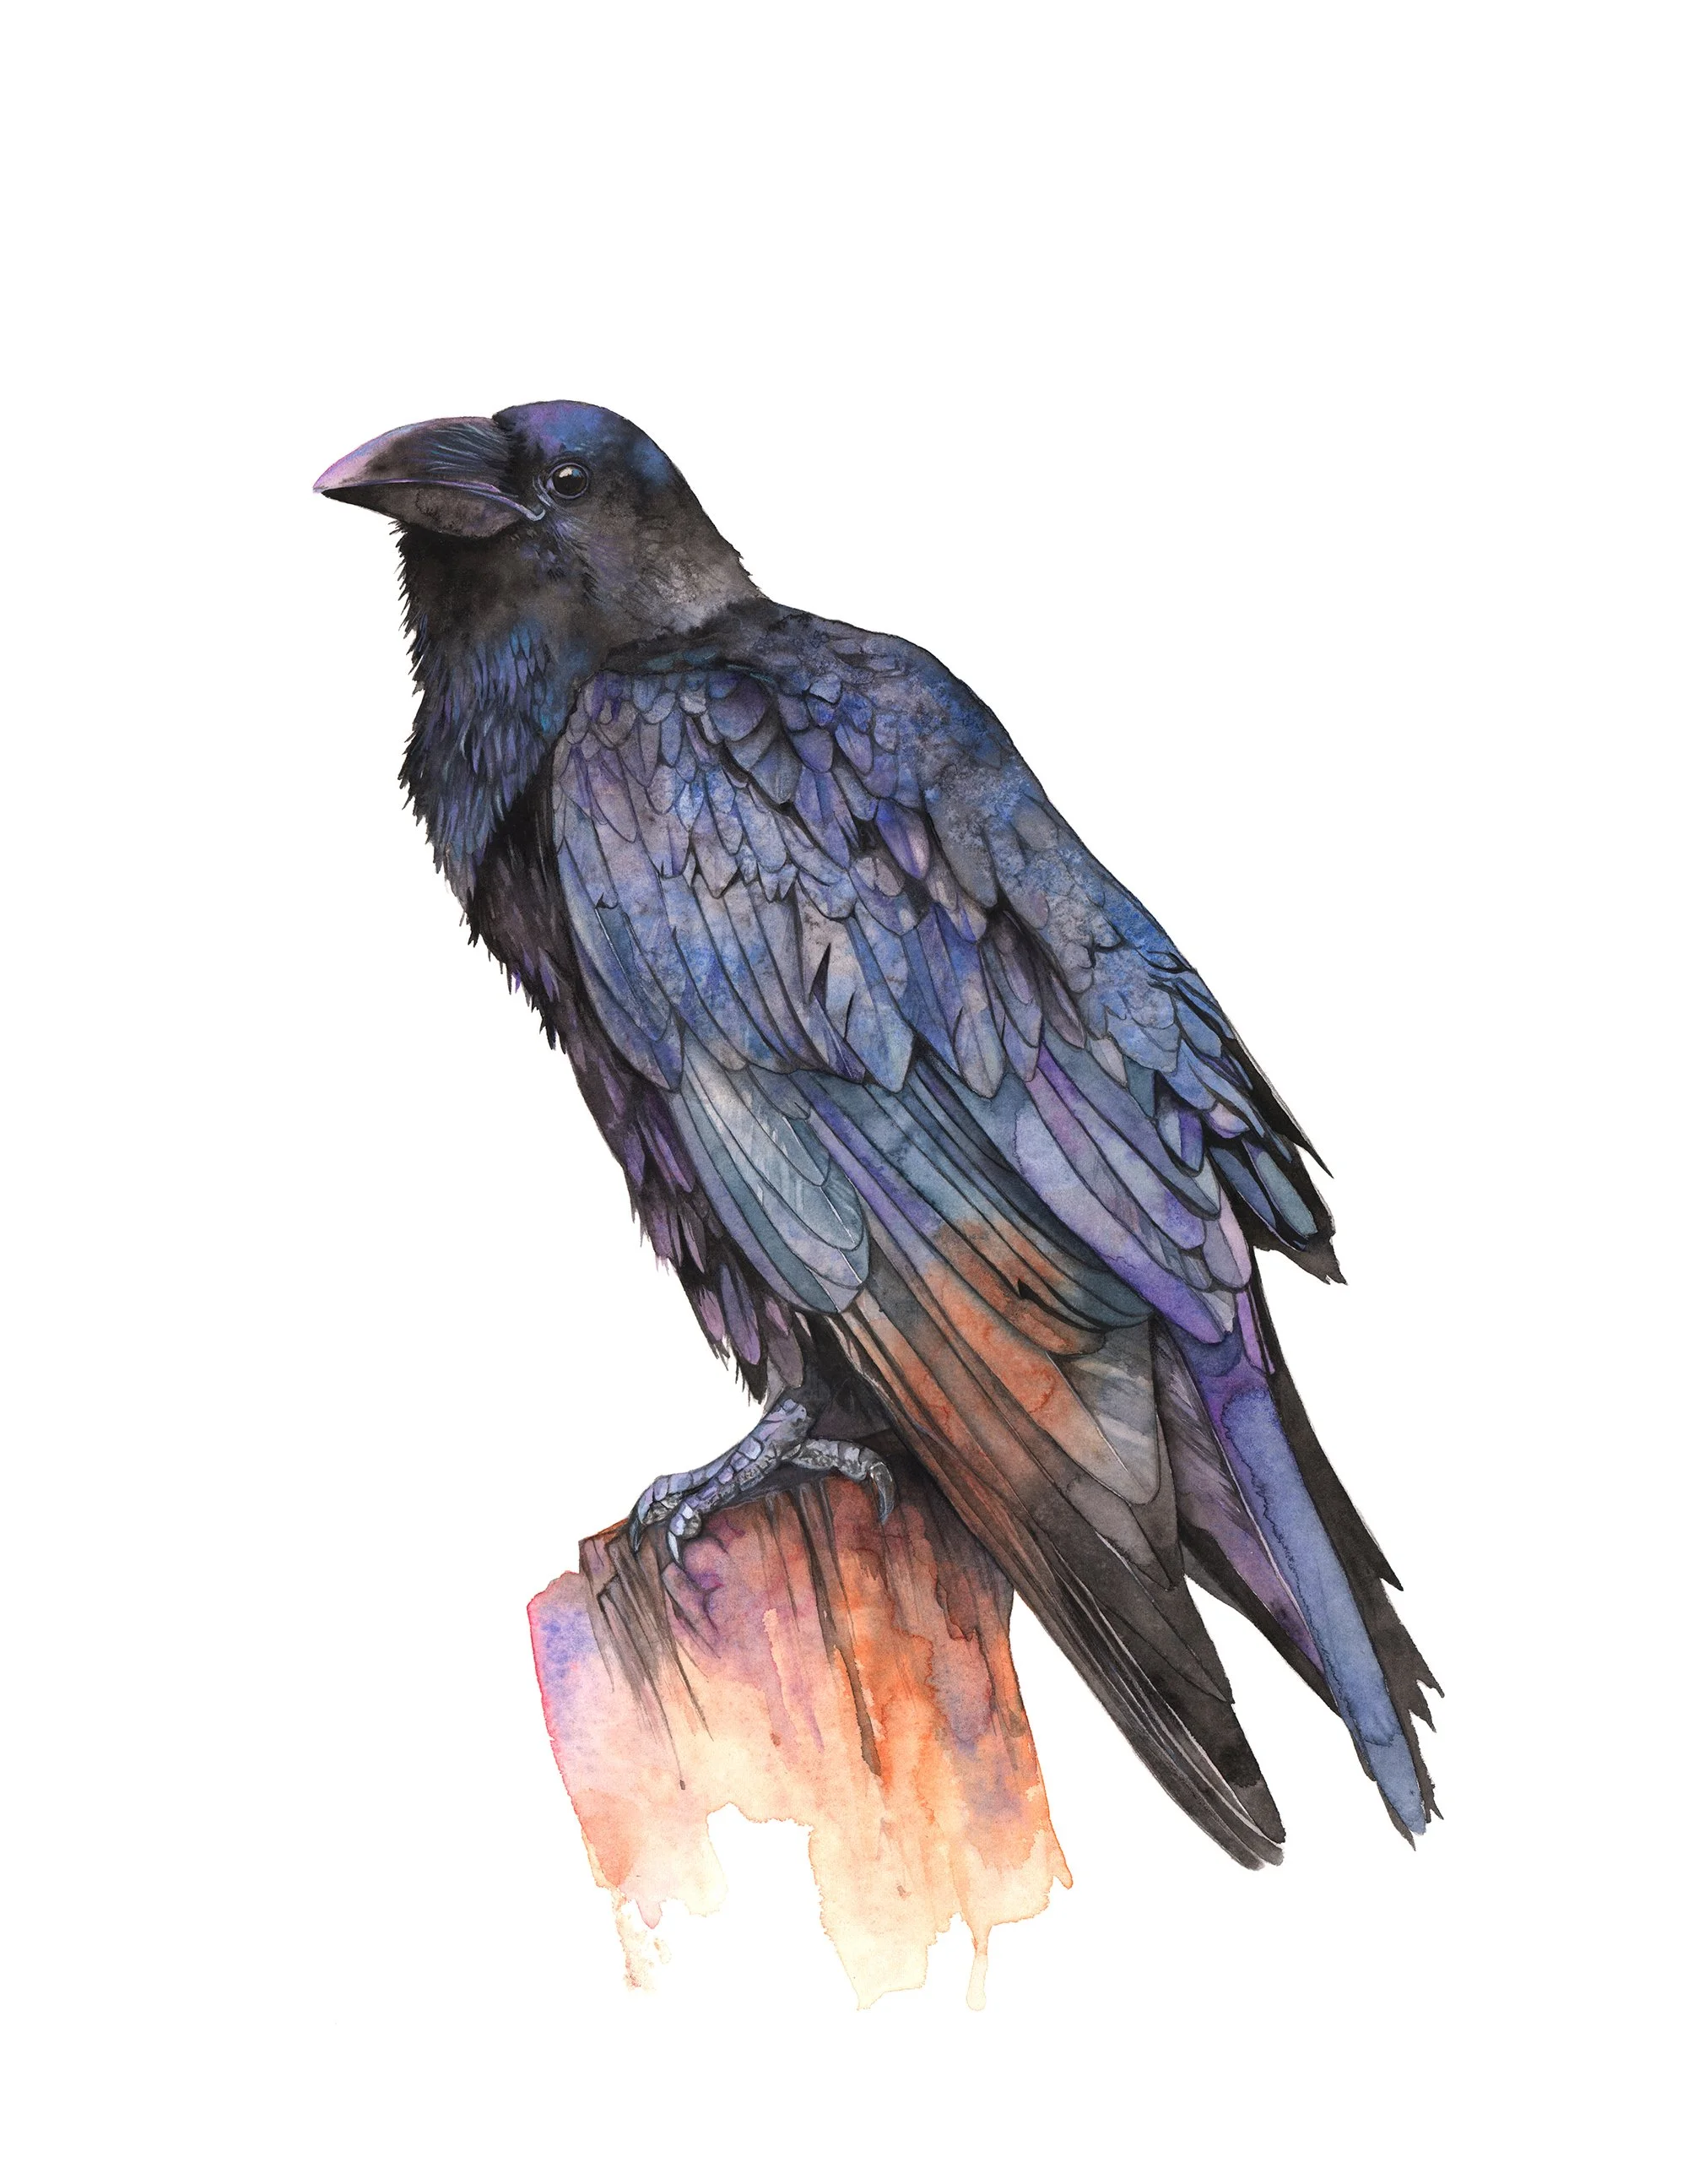
I mixed some violet and blue watercolour paint with white gouache and I dropped it onto the head of this raven while the black wash was wet to create some interesting marks. I have found it best not to dilute the gouache too much when you apply it on a wet wash.

And there you have it! A bunch of cool stuff you can do with a wet watercolour wash. Watercolour is a spontaneous and expressive medium that lends itself to experimentation. Don't be afraid to experiment and have some fun with it. You might surprise yourself.
In this video I’ll share 9 things you can do with a wet wash that will make your watercolour paintings stand out from the crowd.
If you are interested in learning to paint in watercolour, I have over 170 online, voiced over watercolour tutorials for all skill levels.
Prints and originals are available to purchase in the shop.
Further reading: 9 Watercolour Texture Techniques