Watercolour Tidelines
How to Avoid Hard Lines in Watercolour and Fix Them

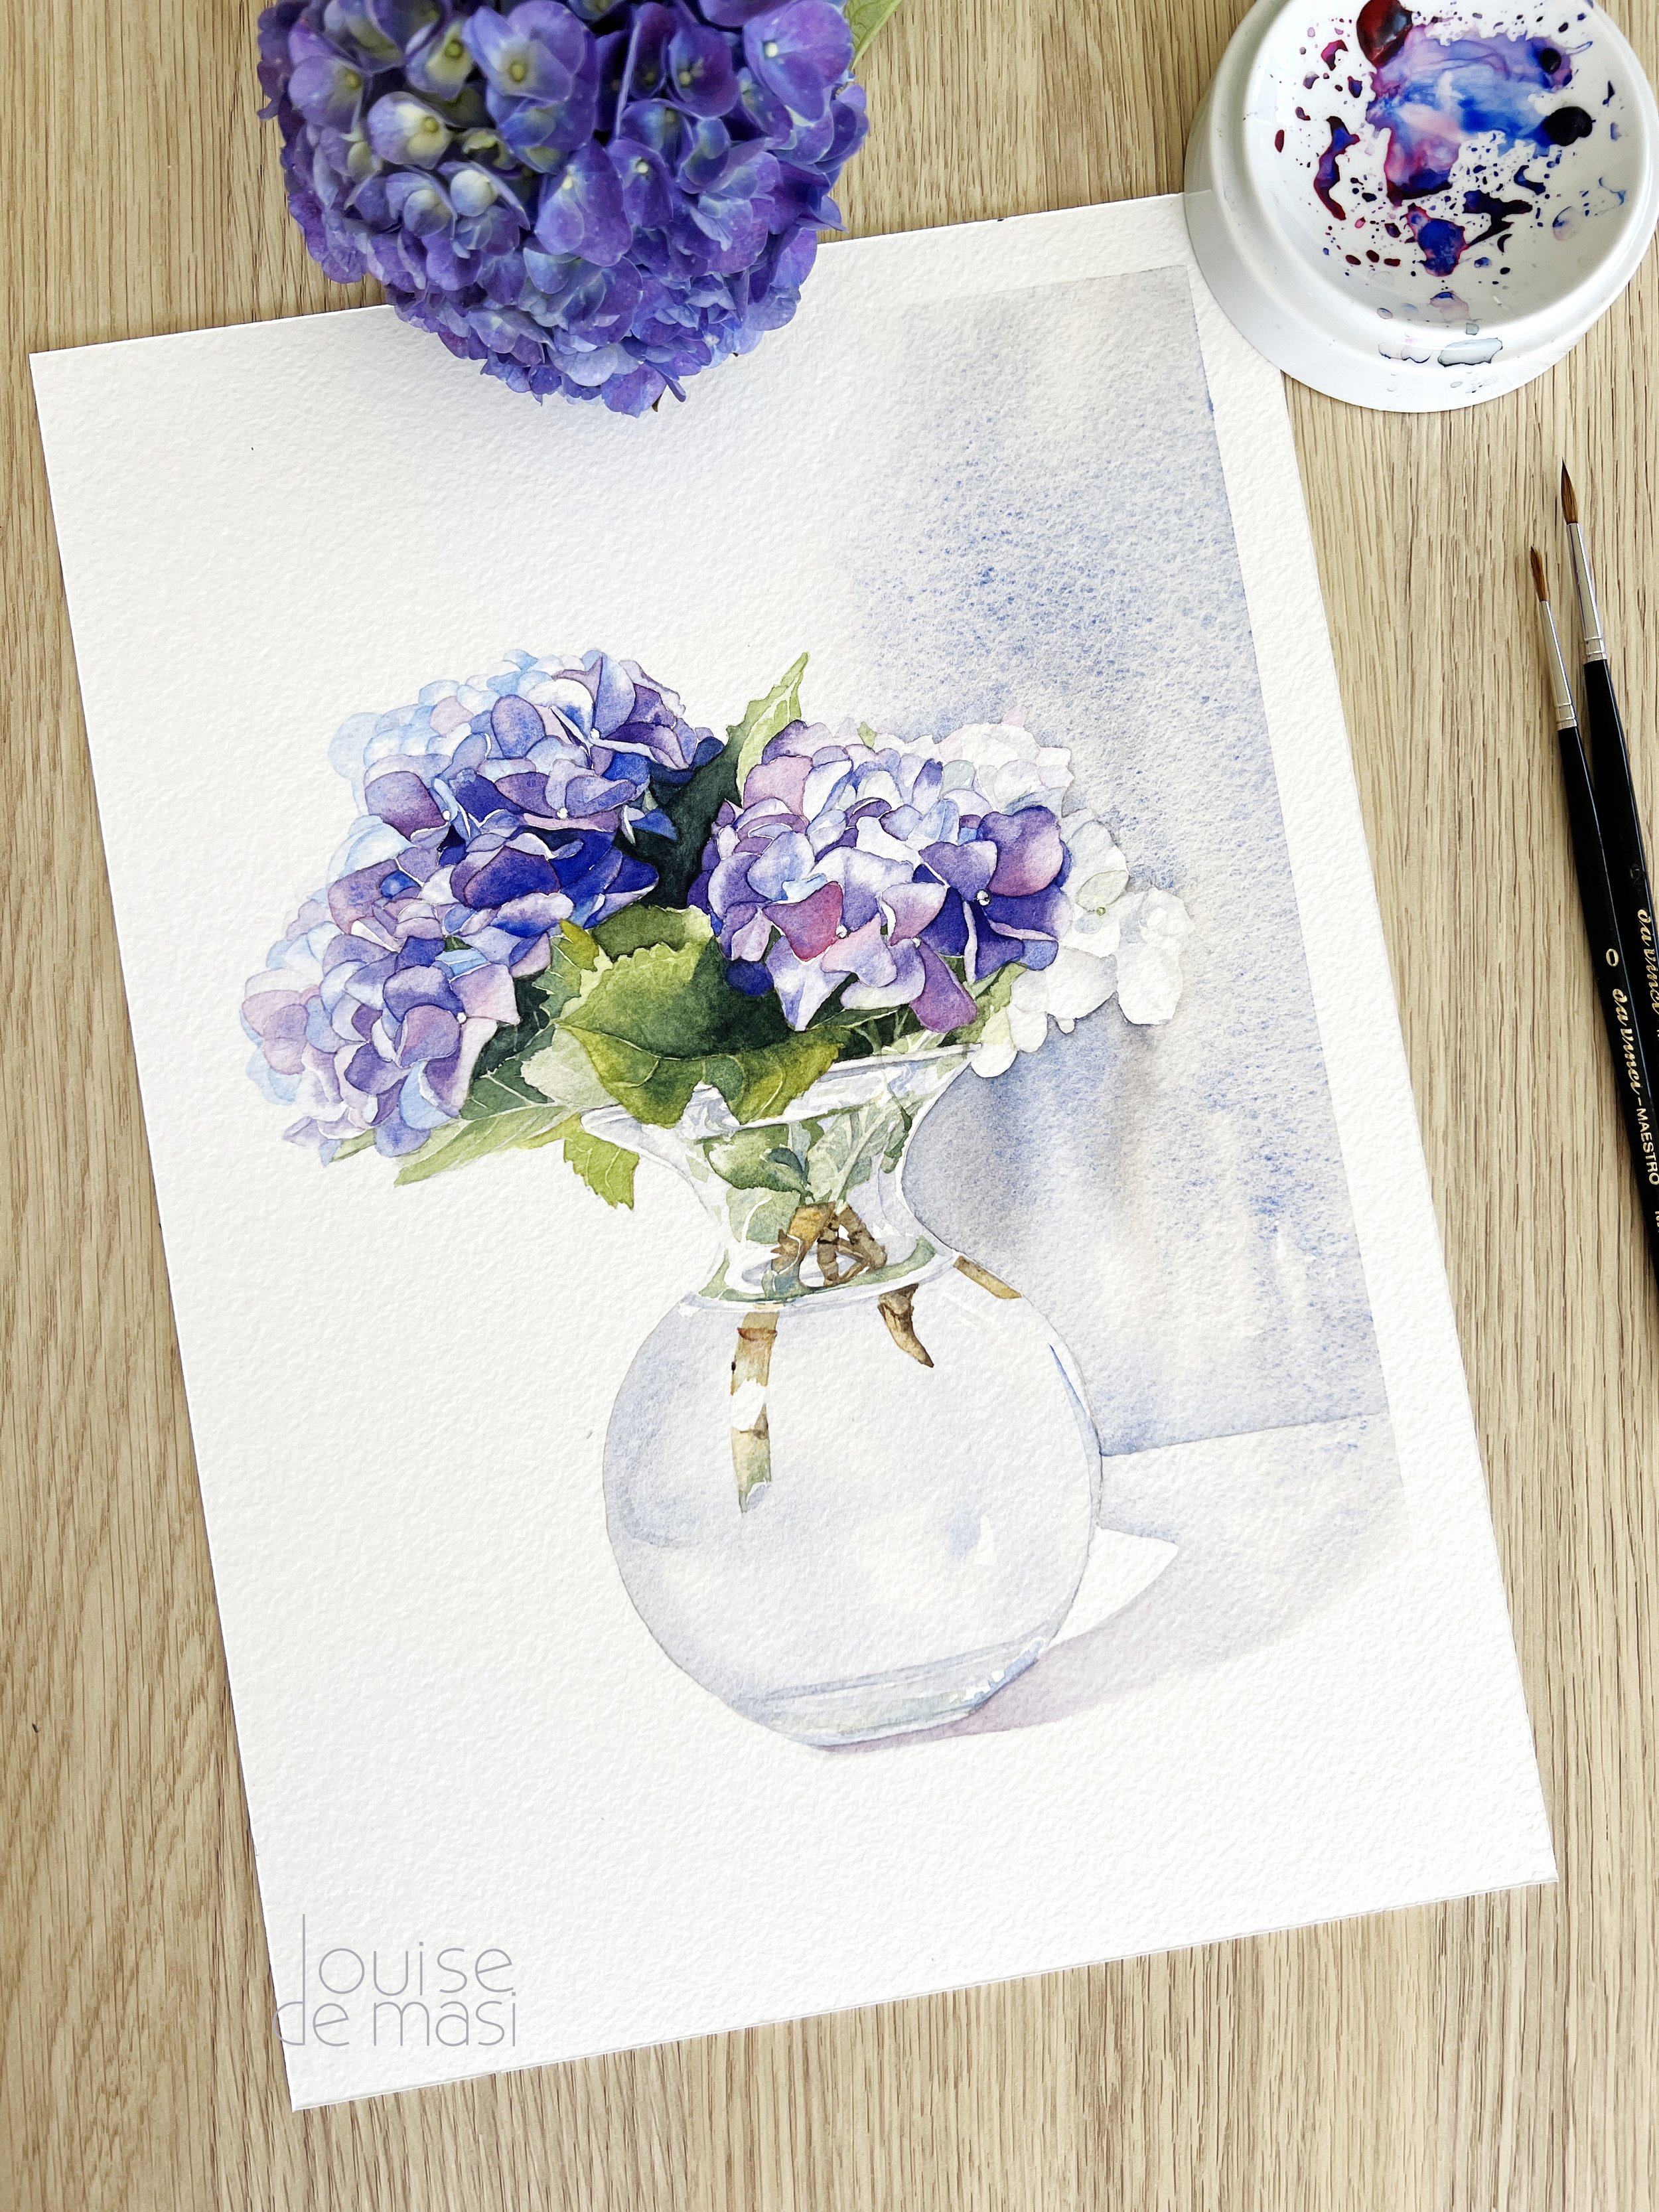
On this watercolour painting - tidelines, or visible water lines, have formed over the top of the first layer of paint after rewetting it.
Have you ever rewet an area of your watercolour painting, only to find a visible mark left behind once it dries? That’s a tideline. It happens when water is applied over a dried wash leaving a noticeable edge where it stops.
It can be frustrating when a tideline appears, especially if it disrupts the smooth look of your watercolour painting. The good news is that tidelines can be avoided with the right technique, and even if they do happen, there are ways to fix them. Let’s take a look at how to prevent them in the first place and what to do if you need to correct one.
To clarify: The tidelines I’m addressing here happen when you rewet a dried wash and don’t extend the water far enough. If you’re dealing with dark edges forming at the boundary of a wash while it dries, that’s a different type of tideline, which I’ll cover in another post.
Why Tidelines Happen When Layering Watercolour
When painting with watercolour, you typically work from light to dark, building up layers to create depth. This often means letting a wash dry completely before rewetting it with clean water to blend a new layer of colour over part of it. The problem? If the water doesn’t fully cover the area - or if it stops in the middle of a previous wash - it can create hard edges, leaving a visible tideline where the fresh water meets the dry surface.
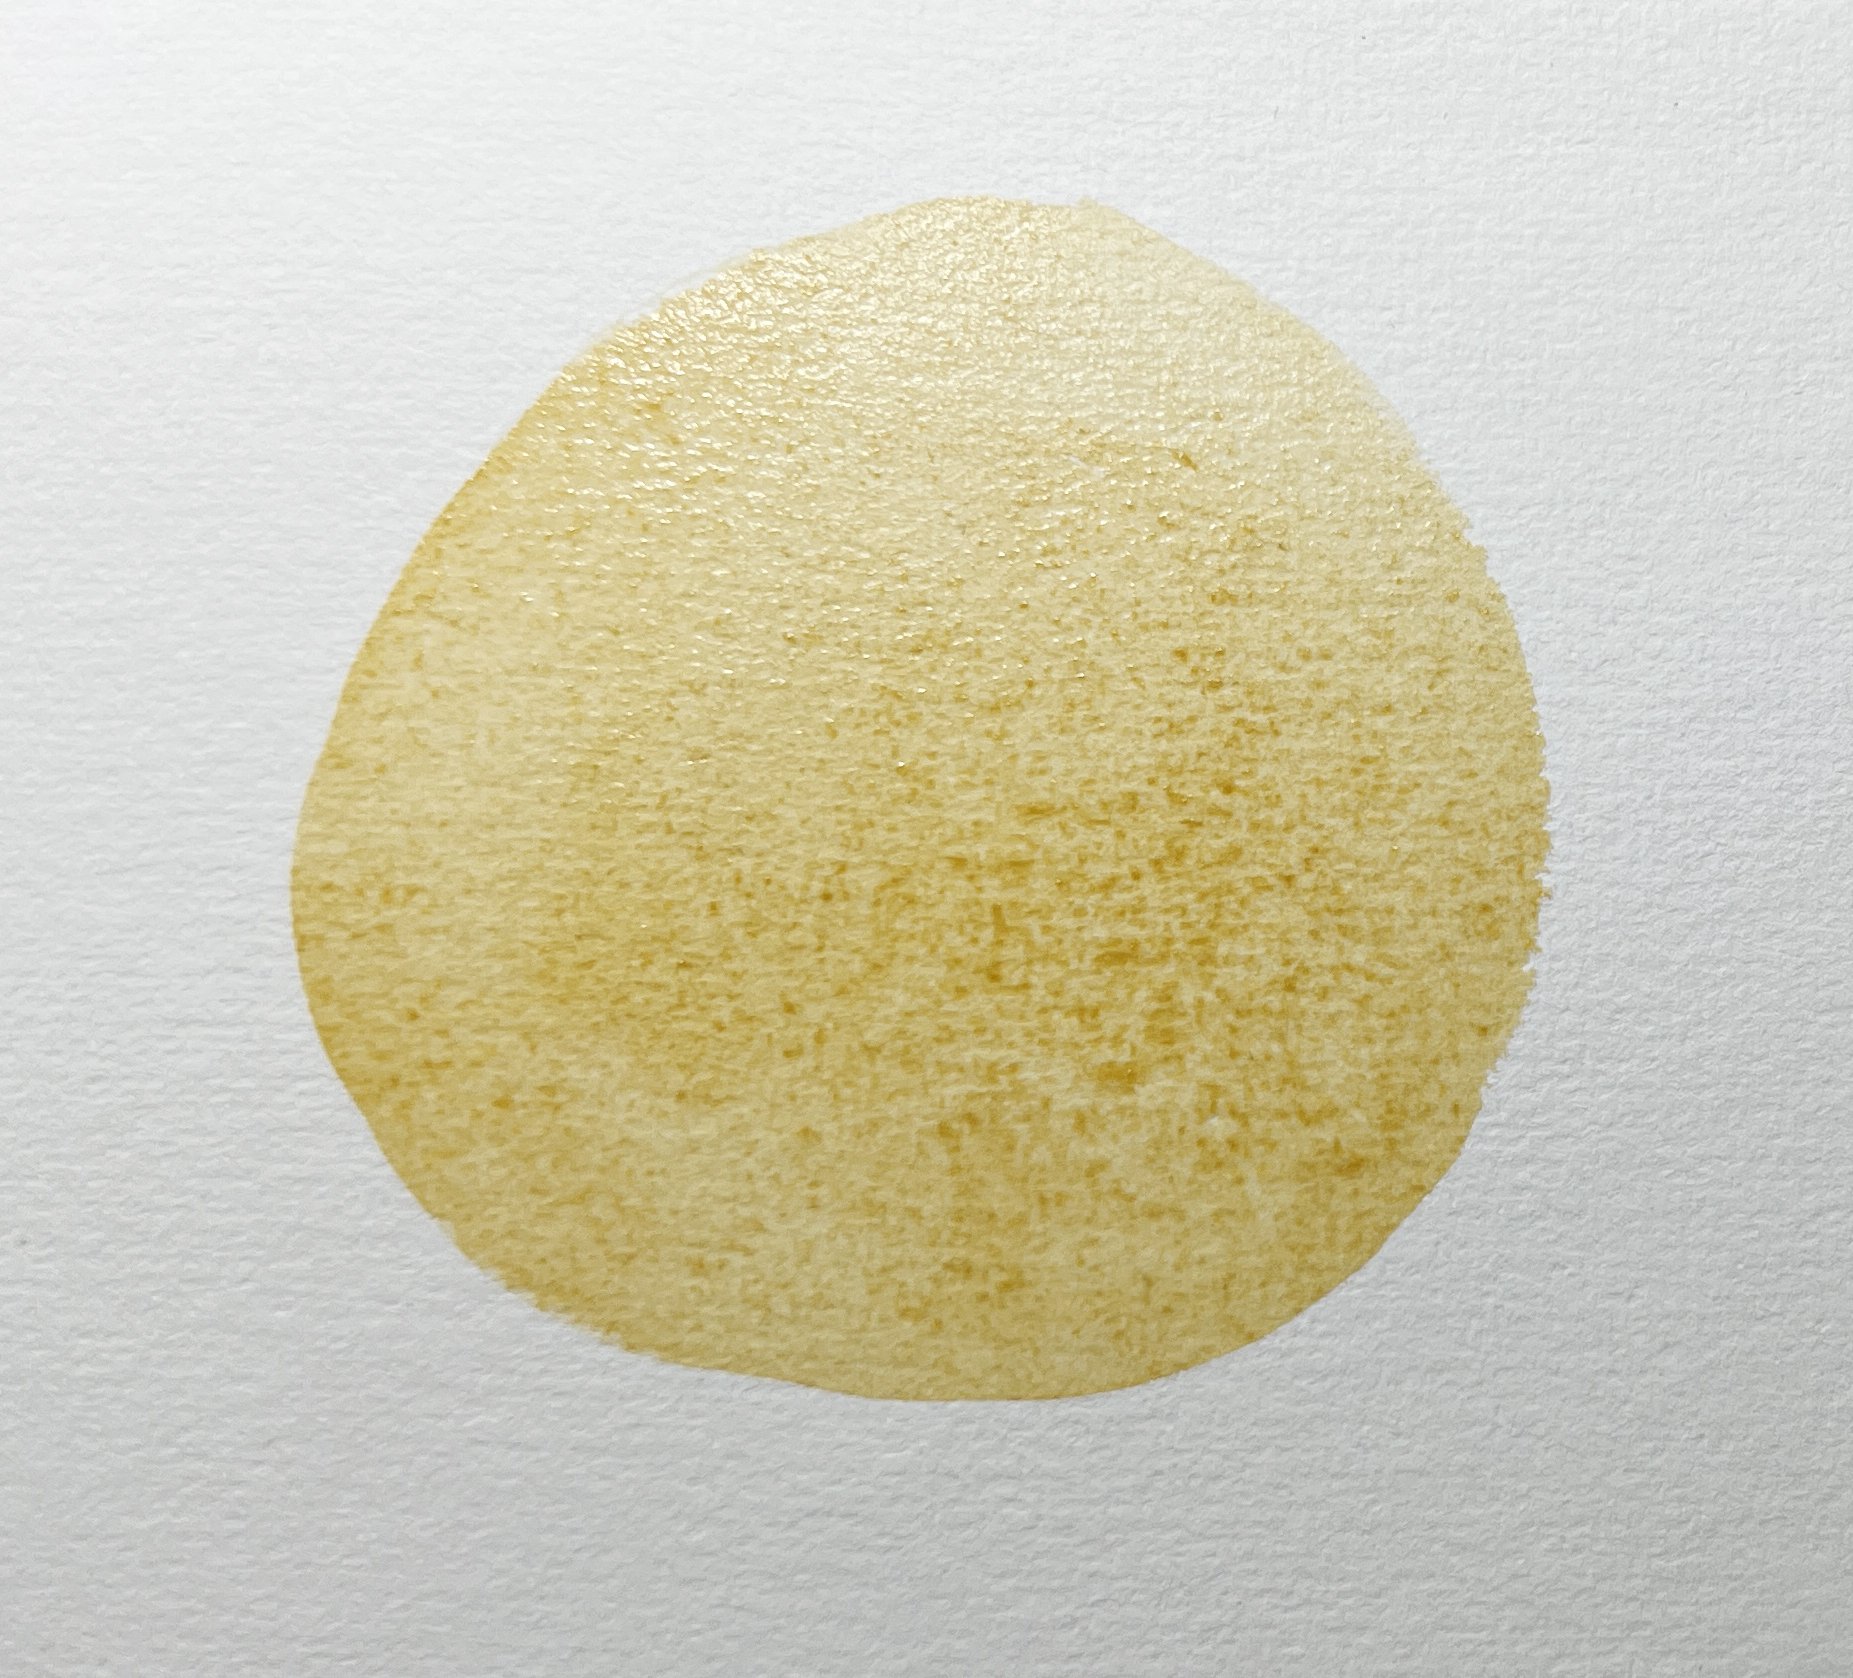
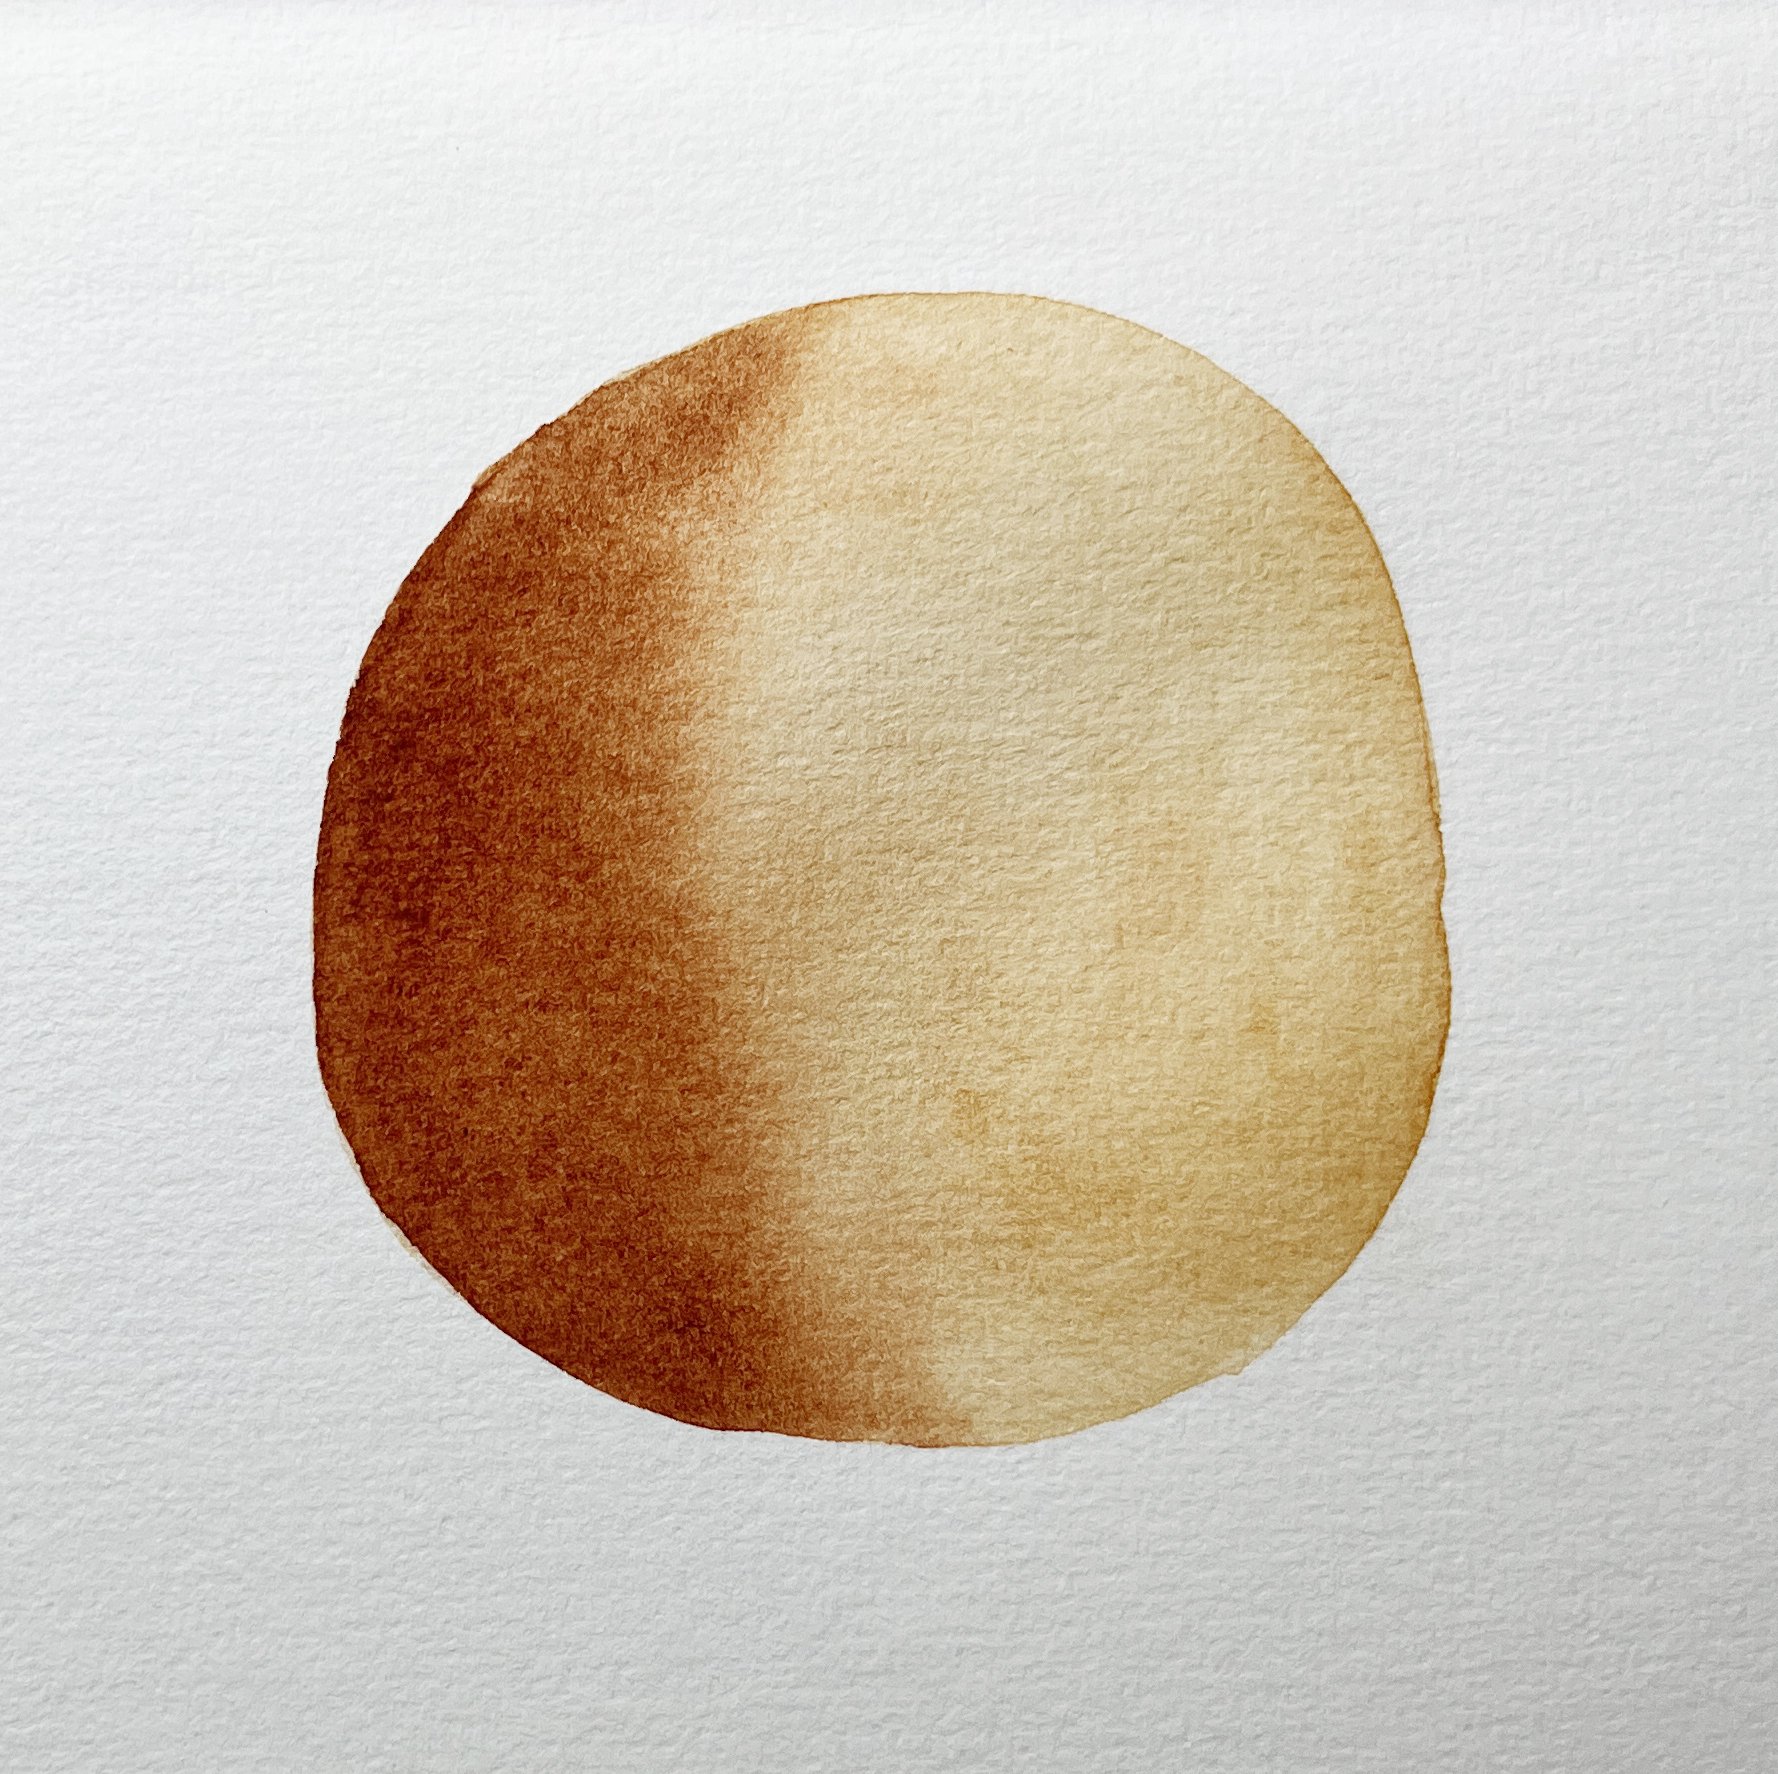
A fresh wash of colour in the drying process.
In the image above, I painted a wash of Raw Sienna and let it dry completely. I then wanted to add a soft-edged shadow on the left side, so I needed to rewet the paper to achieve that effect. Since the shadow didn’t need to cover the entire shape, I only wet the left side, stopping about halfway across. As a result, a tideline formed where the water stopped - leaving a visible mark on the underlying wash in an area I didn’t intend.
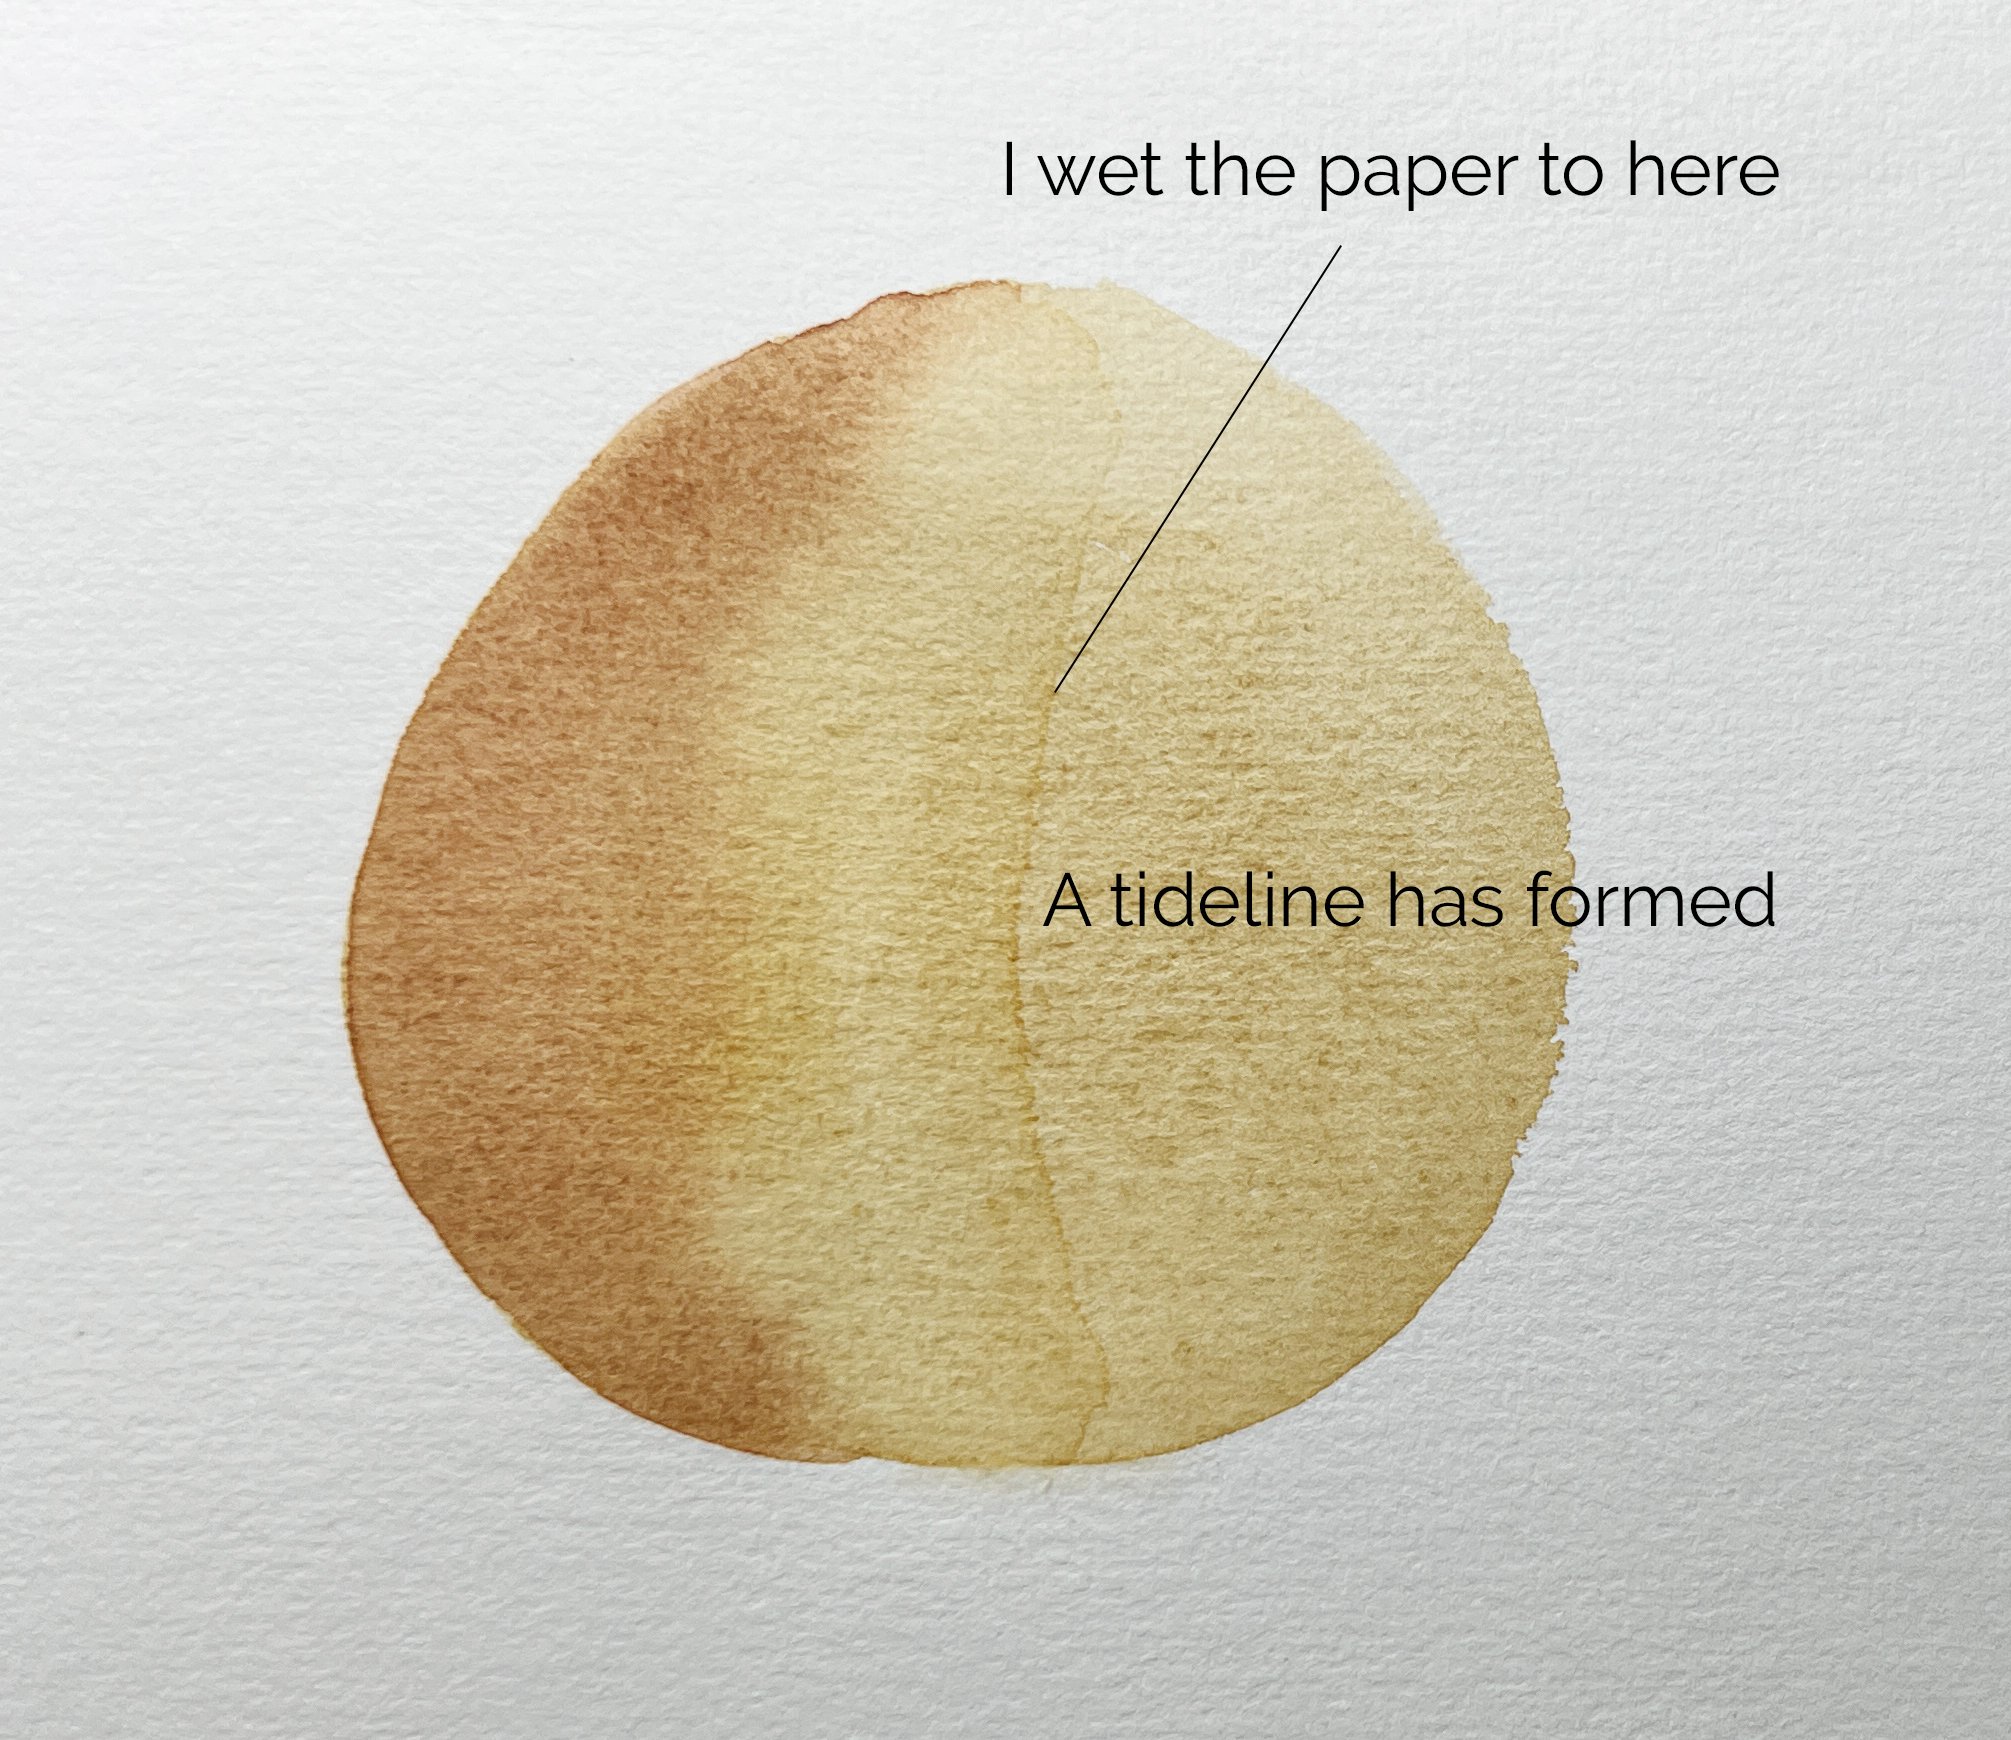
A tideline with a hard edge has formed where I didn't intend.
Prevent Hard Edges and Avoid Tidelines
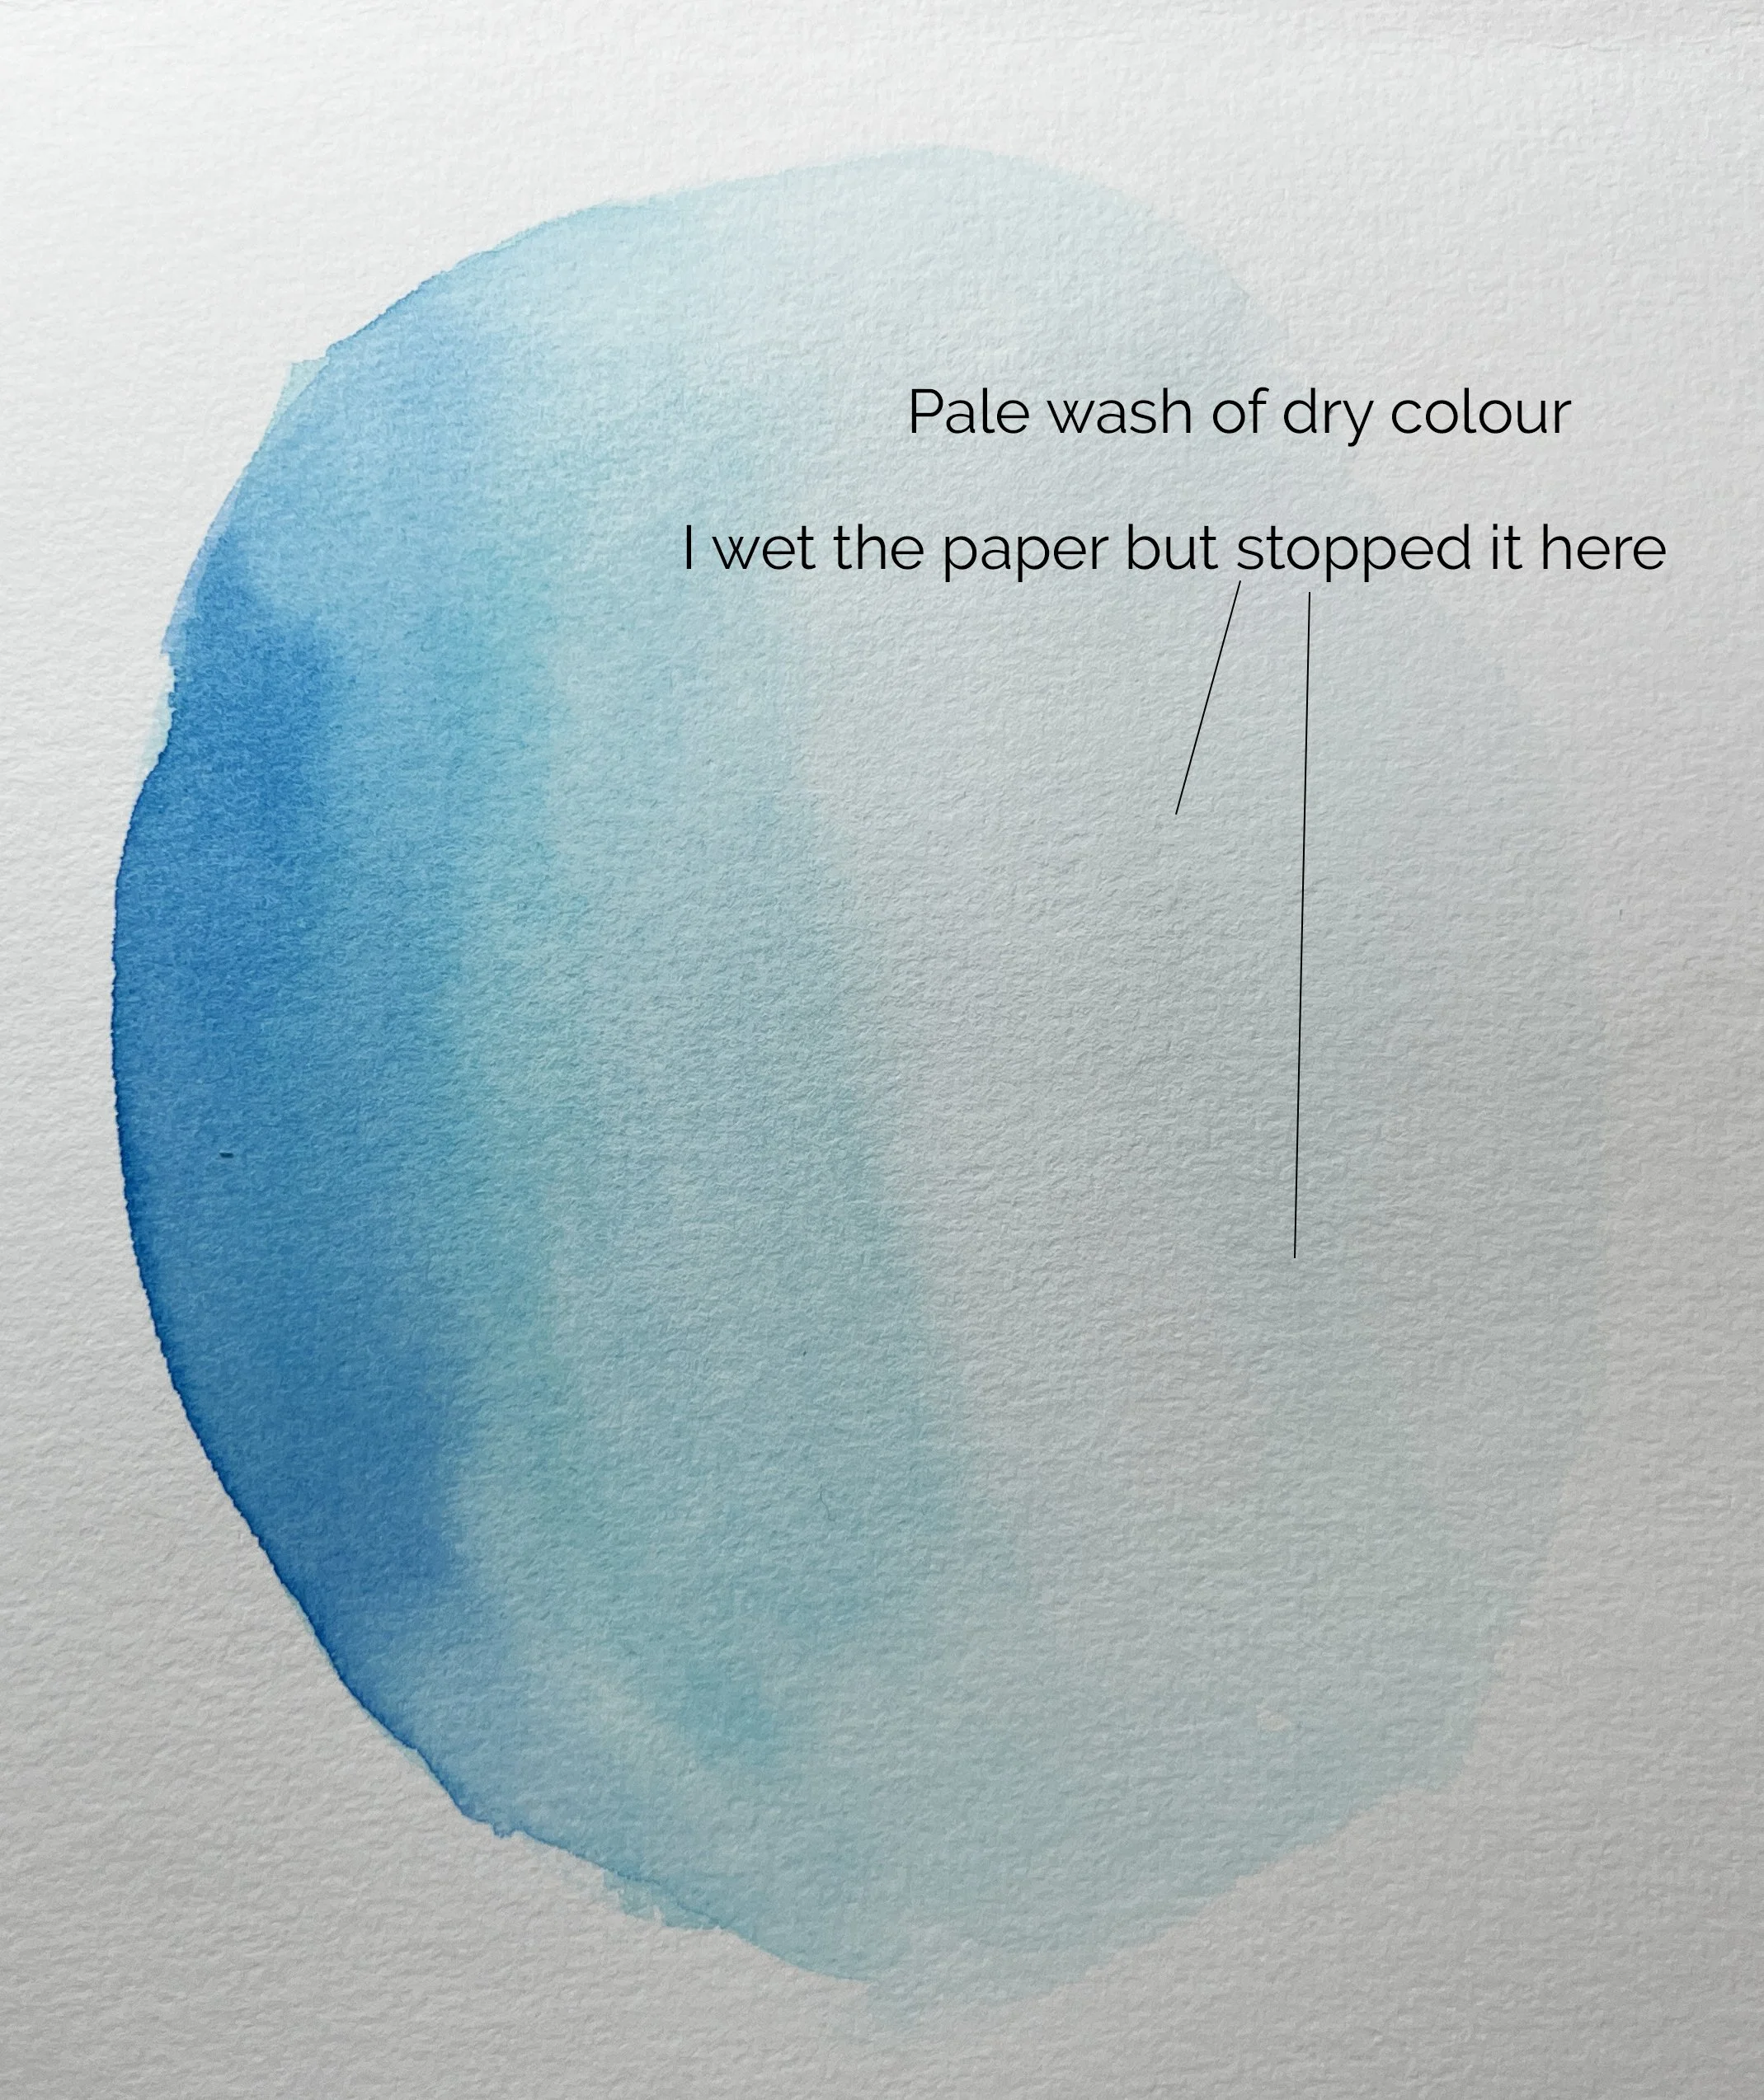
In this example below, I wet the entire shape with clean water before adding the shadow. By extending the water evenly across the shape - no tideline formed. This method ensures that the paint edges stay soft without leaving unwanted marks on the underlying wash.
Here the wet area is the entire shape. To avoid frustration, I wet the shape carefully with water from edge to edge.
To prevent hard edges and avoid those frustrating tidelines, pay attention to where you stop the water on a painted area. It’s best to extend the water all the way to an edge, even if you only need to paint wet-on-wet in a small section. This ensures a smooth blend without unwanted marks.
Sometimes, when I need to rewet a dried area of paint, I don’t always take the water right to the edge of the object I’m painting. Instead, I might stop in a very light area - where there’s only a pale wash of colour - while the surrounding sections are much darker. I’ve found that tidelines don’t tend to form on very light washes; they’re far less noticeable compared to darker, more saturated areas of dry paint.
Correcting Tidelines
If you need to fix hard edges where tidelines have formed, gently run a damp brush along the dry tideline to soften it. Be careful not to disturb the underlying layer of paint that was rewet when the tideline appeared.
In some cases, to prevent further tidelines from forming, you may need to rewet the entire area you originally dampened, then lightly rub over the tideline with your brush to smooth it out.
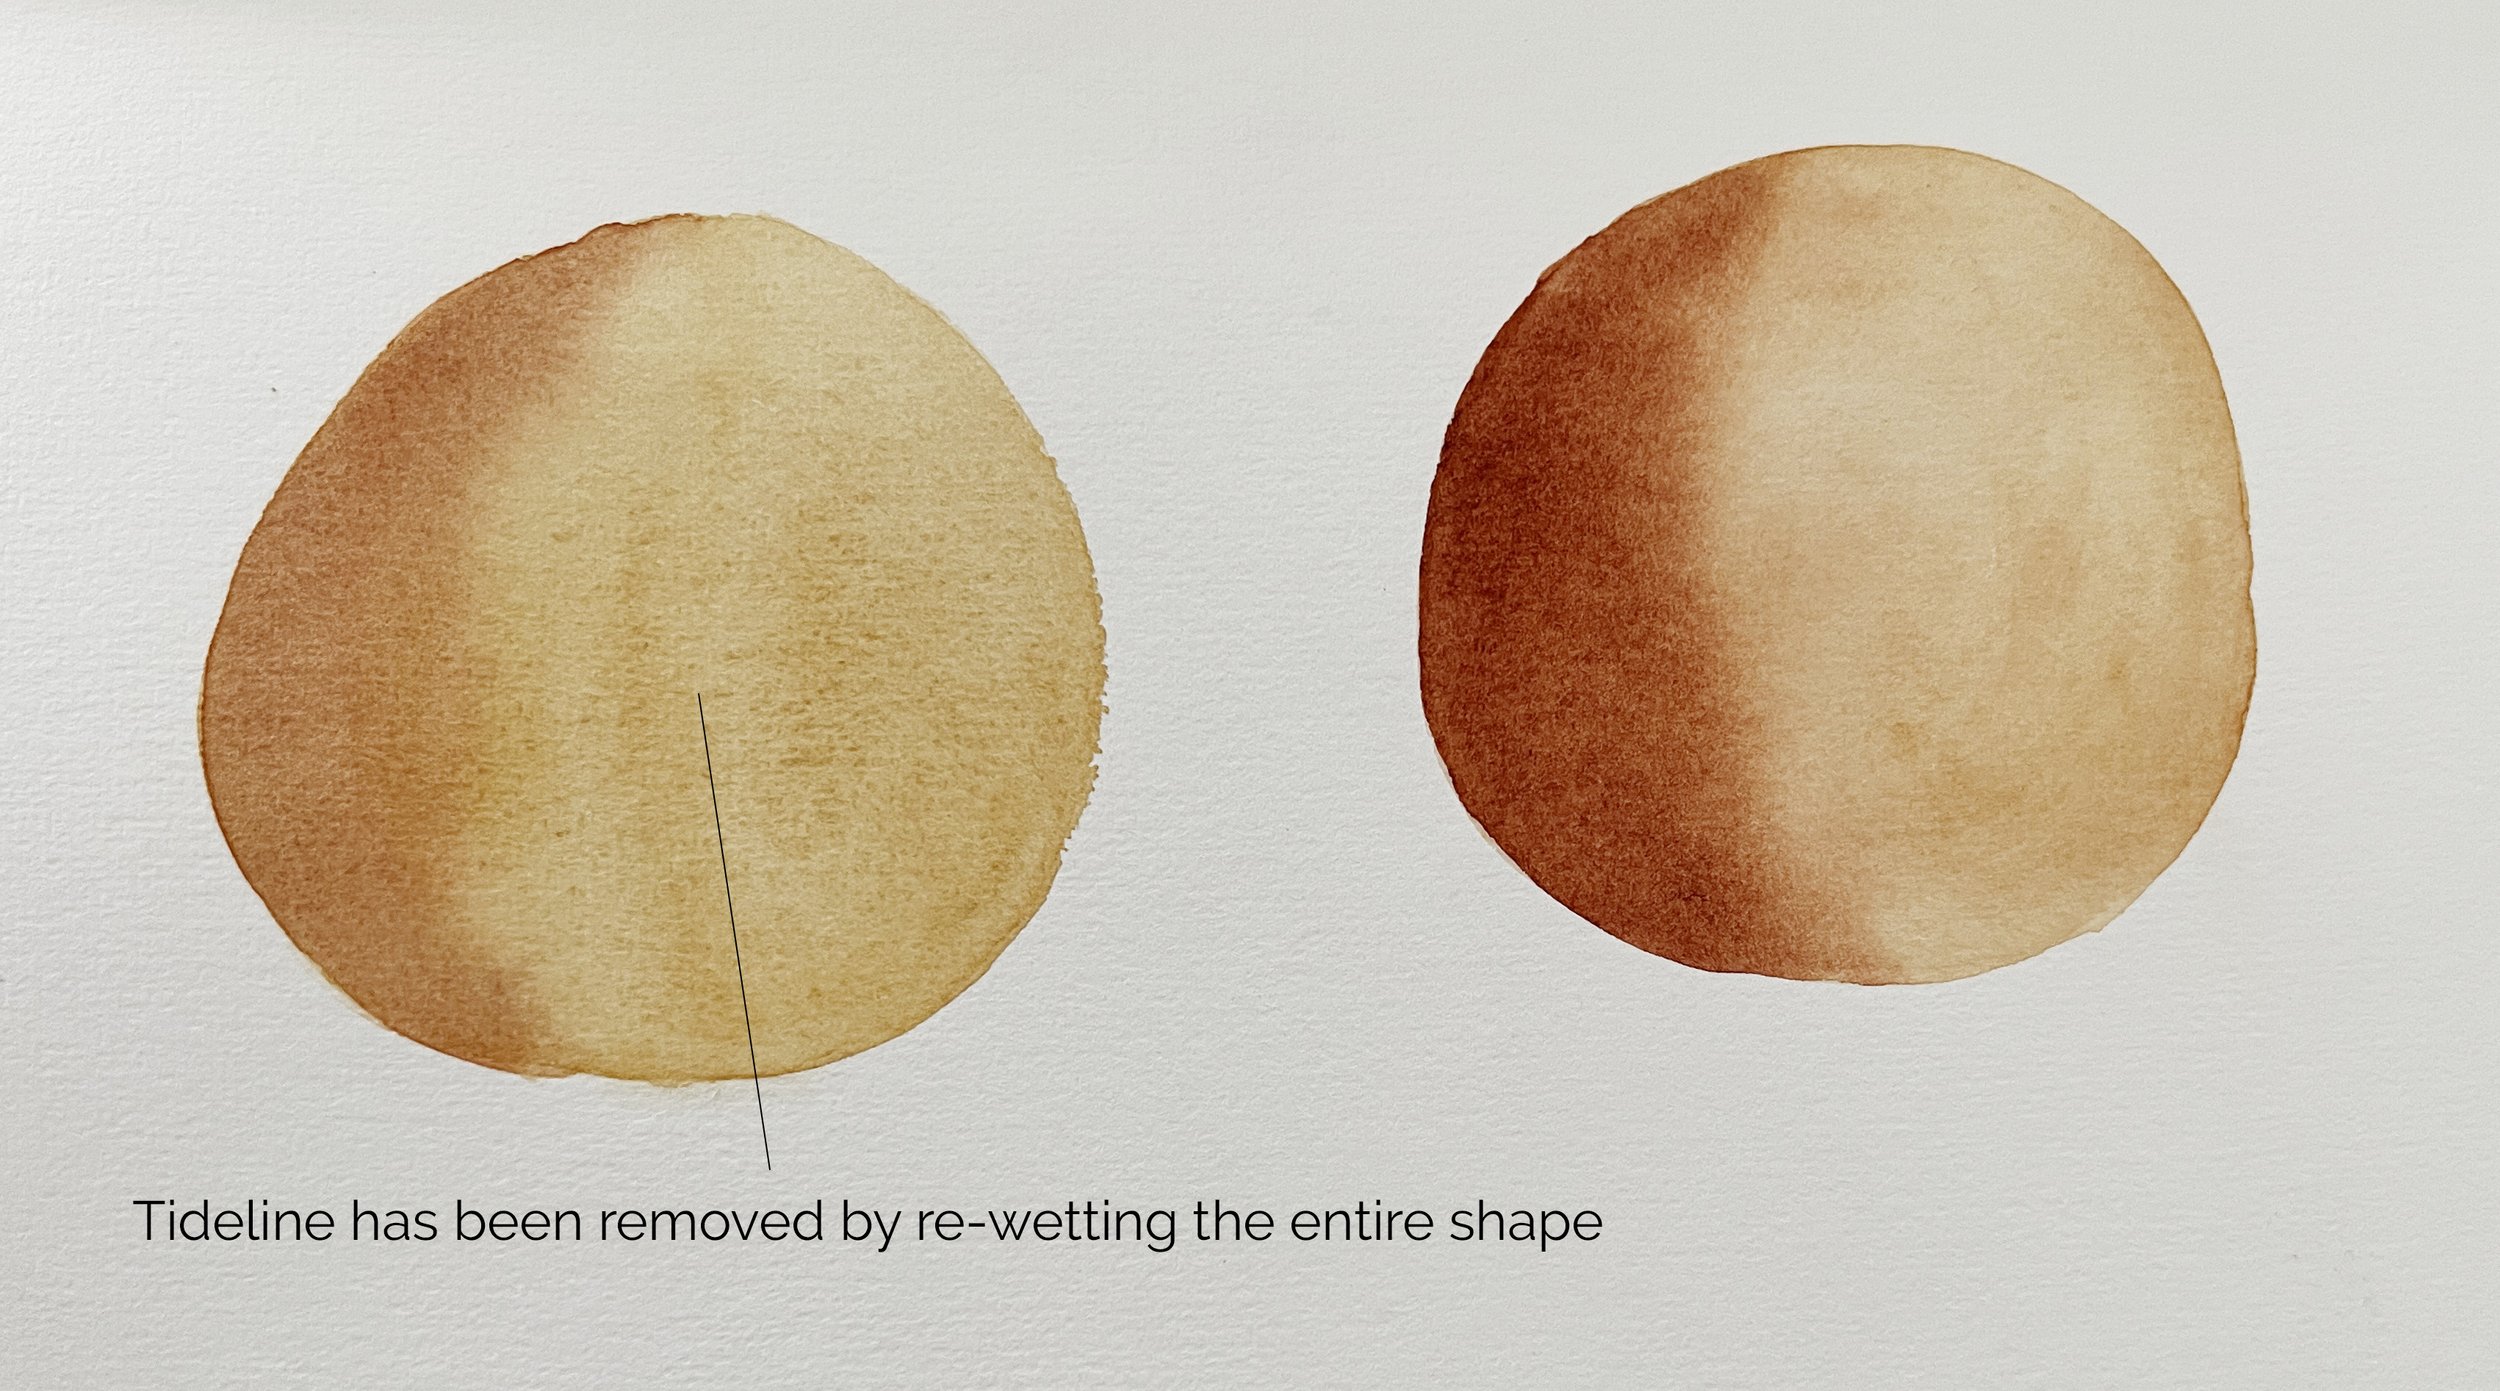
The tideline has been removed by rewetting the entire shape.
It’s also a good idea to keep an eye on wet paper as it dries. Sometimes, you can catch a tideline forming and soften it while it’s still damp, preventing a harsh edge before it fully sets.
Embracing Watercolour’s Natural Flow
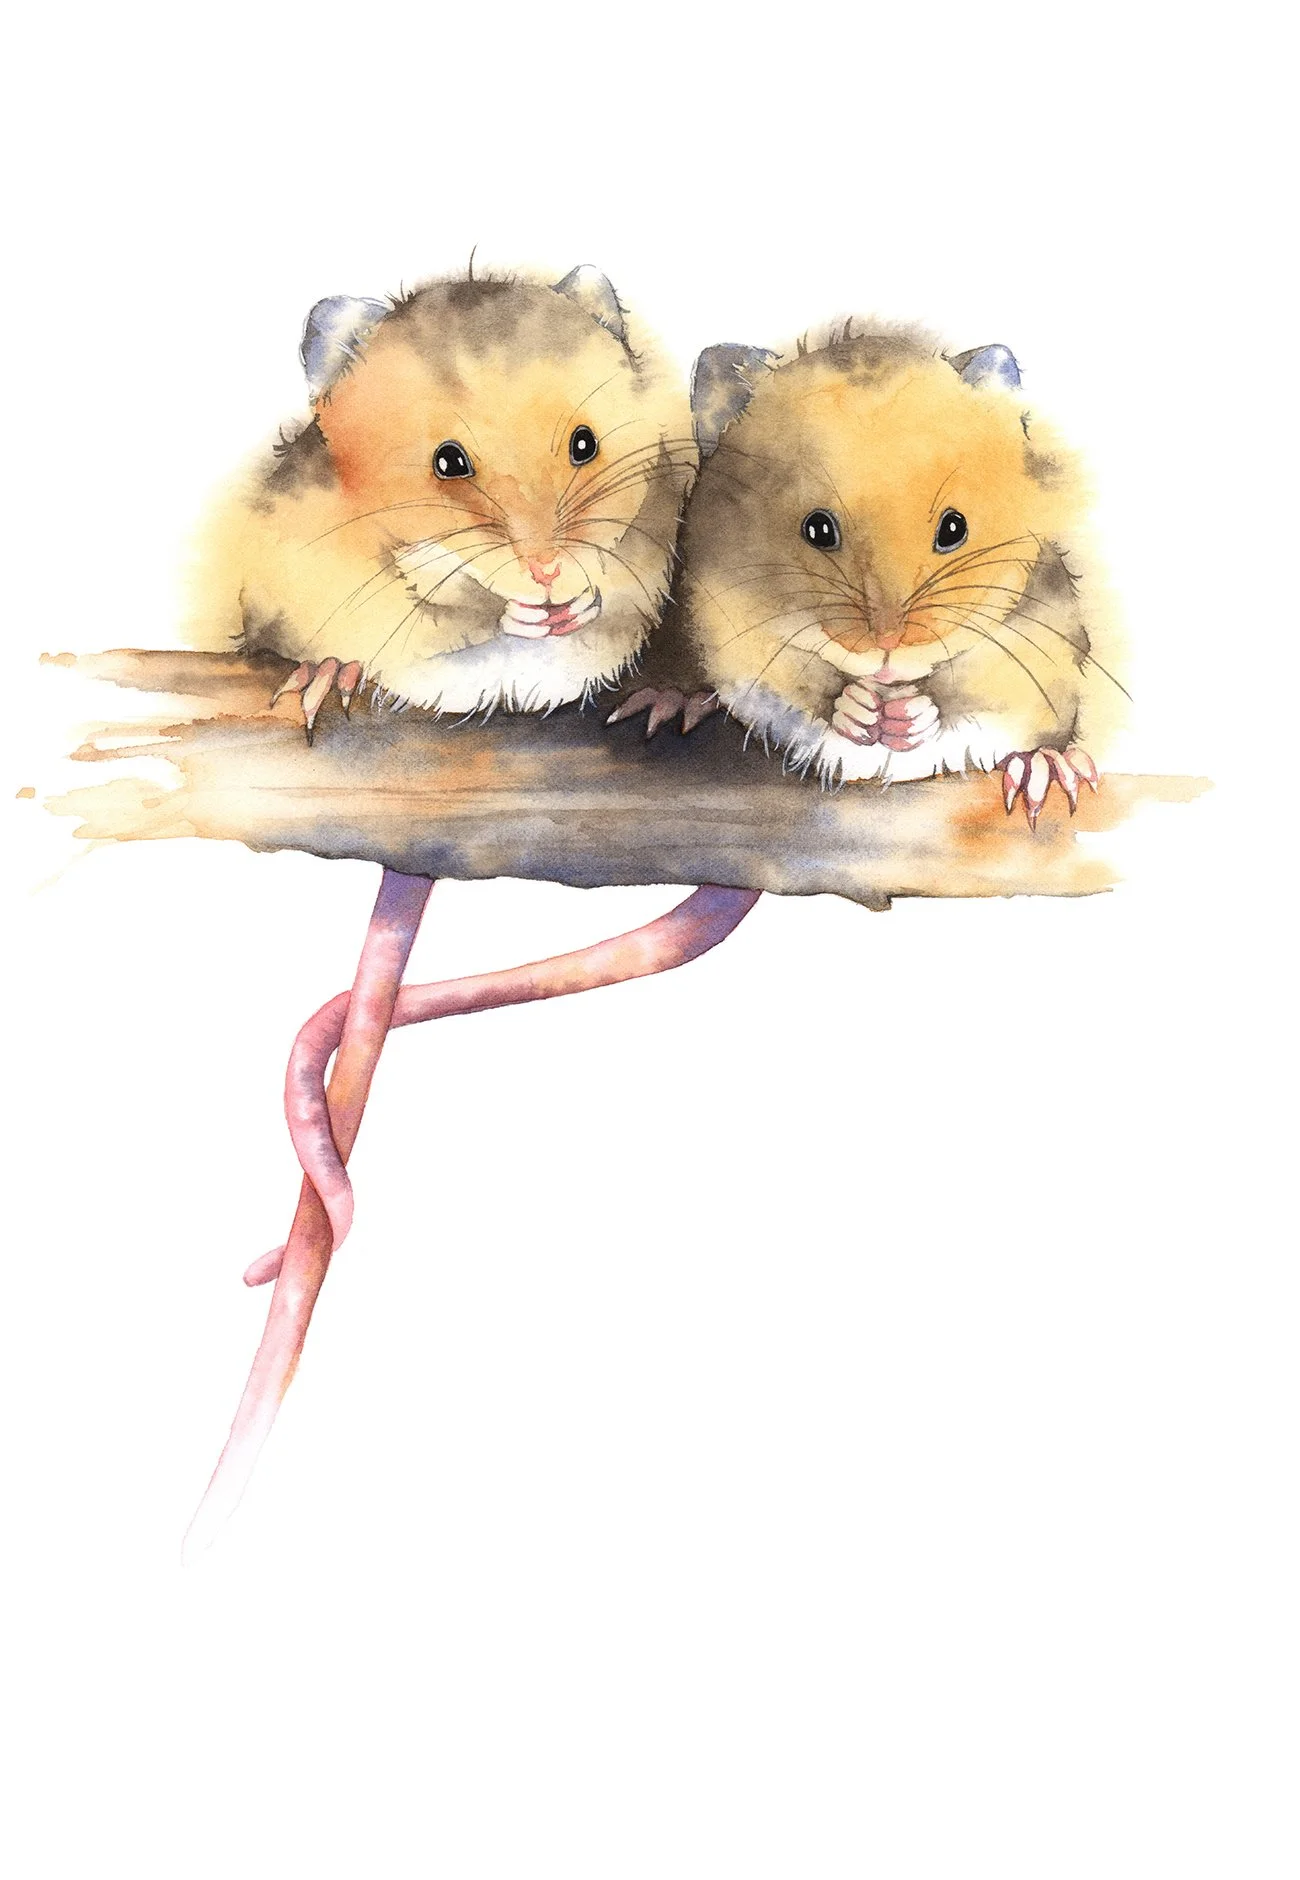
Watercolour has a mind of its own, and part of its beauty lies in its unpredictability. While some tidelines may need correcting - like an unwanted mark across a smooth portrait - others can add character and texture. In subjects like feathers or fur, tidelines can enhance the organic feel of the painting rather than detract from it. Over-correcting can strip a painting of its freshness, so sometimes the best approach is to step back, let the paint settle, and embrace the natural effects that make watercolour so unique.

Enjoy the painting process- it's ok to leave imperfections.
Tidelines are a common challenge in your watercolour journey, but they don’t have to be a frustration. Whether you embrace them as part of the painting’s texture or correct them with care, every mistake is an opportunity to learn and improve your technique. With practice, you’ll gain more control while still allowing watercolour to do what it does best - flow naturally.
I have a short tutorial on Patreon where I demonstrate what water tidelines are, how to avoid them and how to fix them if they occur.
If you are interested in learning to paint in watercolour, I have over 200 online, voiced over watercolour tutorials for all skill levels.