Following a Step-by-Step Watercolour Tutorial as a Student
Hello everyone, it’s your fellow watercolour student Kati again, hanging out with you virtually while trying to master our favourite pastime - watercolour painting! Louise invited me to write a blog post about my experiences, and I’m thrilled that my humble ramblings resonated with some of you!
Let’s see if I can make you smile today—and, of course, if we can learn something together.
I’ll take you along as I follow one of Louise’s step-by-step watercolour paintings, sharing my successes, struggles, and thoughts as I paint my heart out. I hope you’ll join me on what will surely be an adventure for the ages!
Painting a Sweet Pea Flower with Louise De Masi's Step By Step Tutorial
For this experience, I chose the latest of Louise’s Patreon tutorials: a colourful sweet pea watercolour painting! Unlike Louise, who is battling unusually hot summer days, I am here in cold Austria, desperately chasing after warmth and sunshine. I’m hoping this little flower will thaw my frozen fingers and bring some warmth into my painting room.
I am not a watercolour artist, I am student and I consider myself an intermediate-to-advanced painter—depending on the day. I’ve tackled advanced tutorials from Louise and felt nothing but joy, but I’ve also failed spectacularly at so-called beginner tutorials. That has nothing to do with Louise and everything to do with me. I tend to overestimate myself, skip parts of the tutorial, get impatient, do my own thing, and then wonder why I’m struggling.
Having followed Louise’s watercolour painting tutorials for two years now, I can say with certainty: no matter the tutorial, the challenge, or the painting session, you always walk away knowing more about watercolour than before.
So, join me as I paint this flower step by step! It is suitable for beginners.
Setting Up and Getting Ready
I have many strengths. Patience is not one of them. Normally, I dive right into a tutorial without even watching it first. If I manage to check the materials list beforehand, it’s a small miracle.

Not another watercolour tutorial...I am tired! Let me sleep, woman.
This time, however, I curled up on the couch with my four-legged partner in crime, Coco, and actually watched the entire tutorial. Success! Take that, impatience.
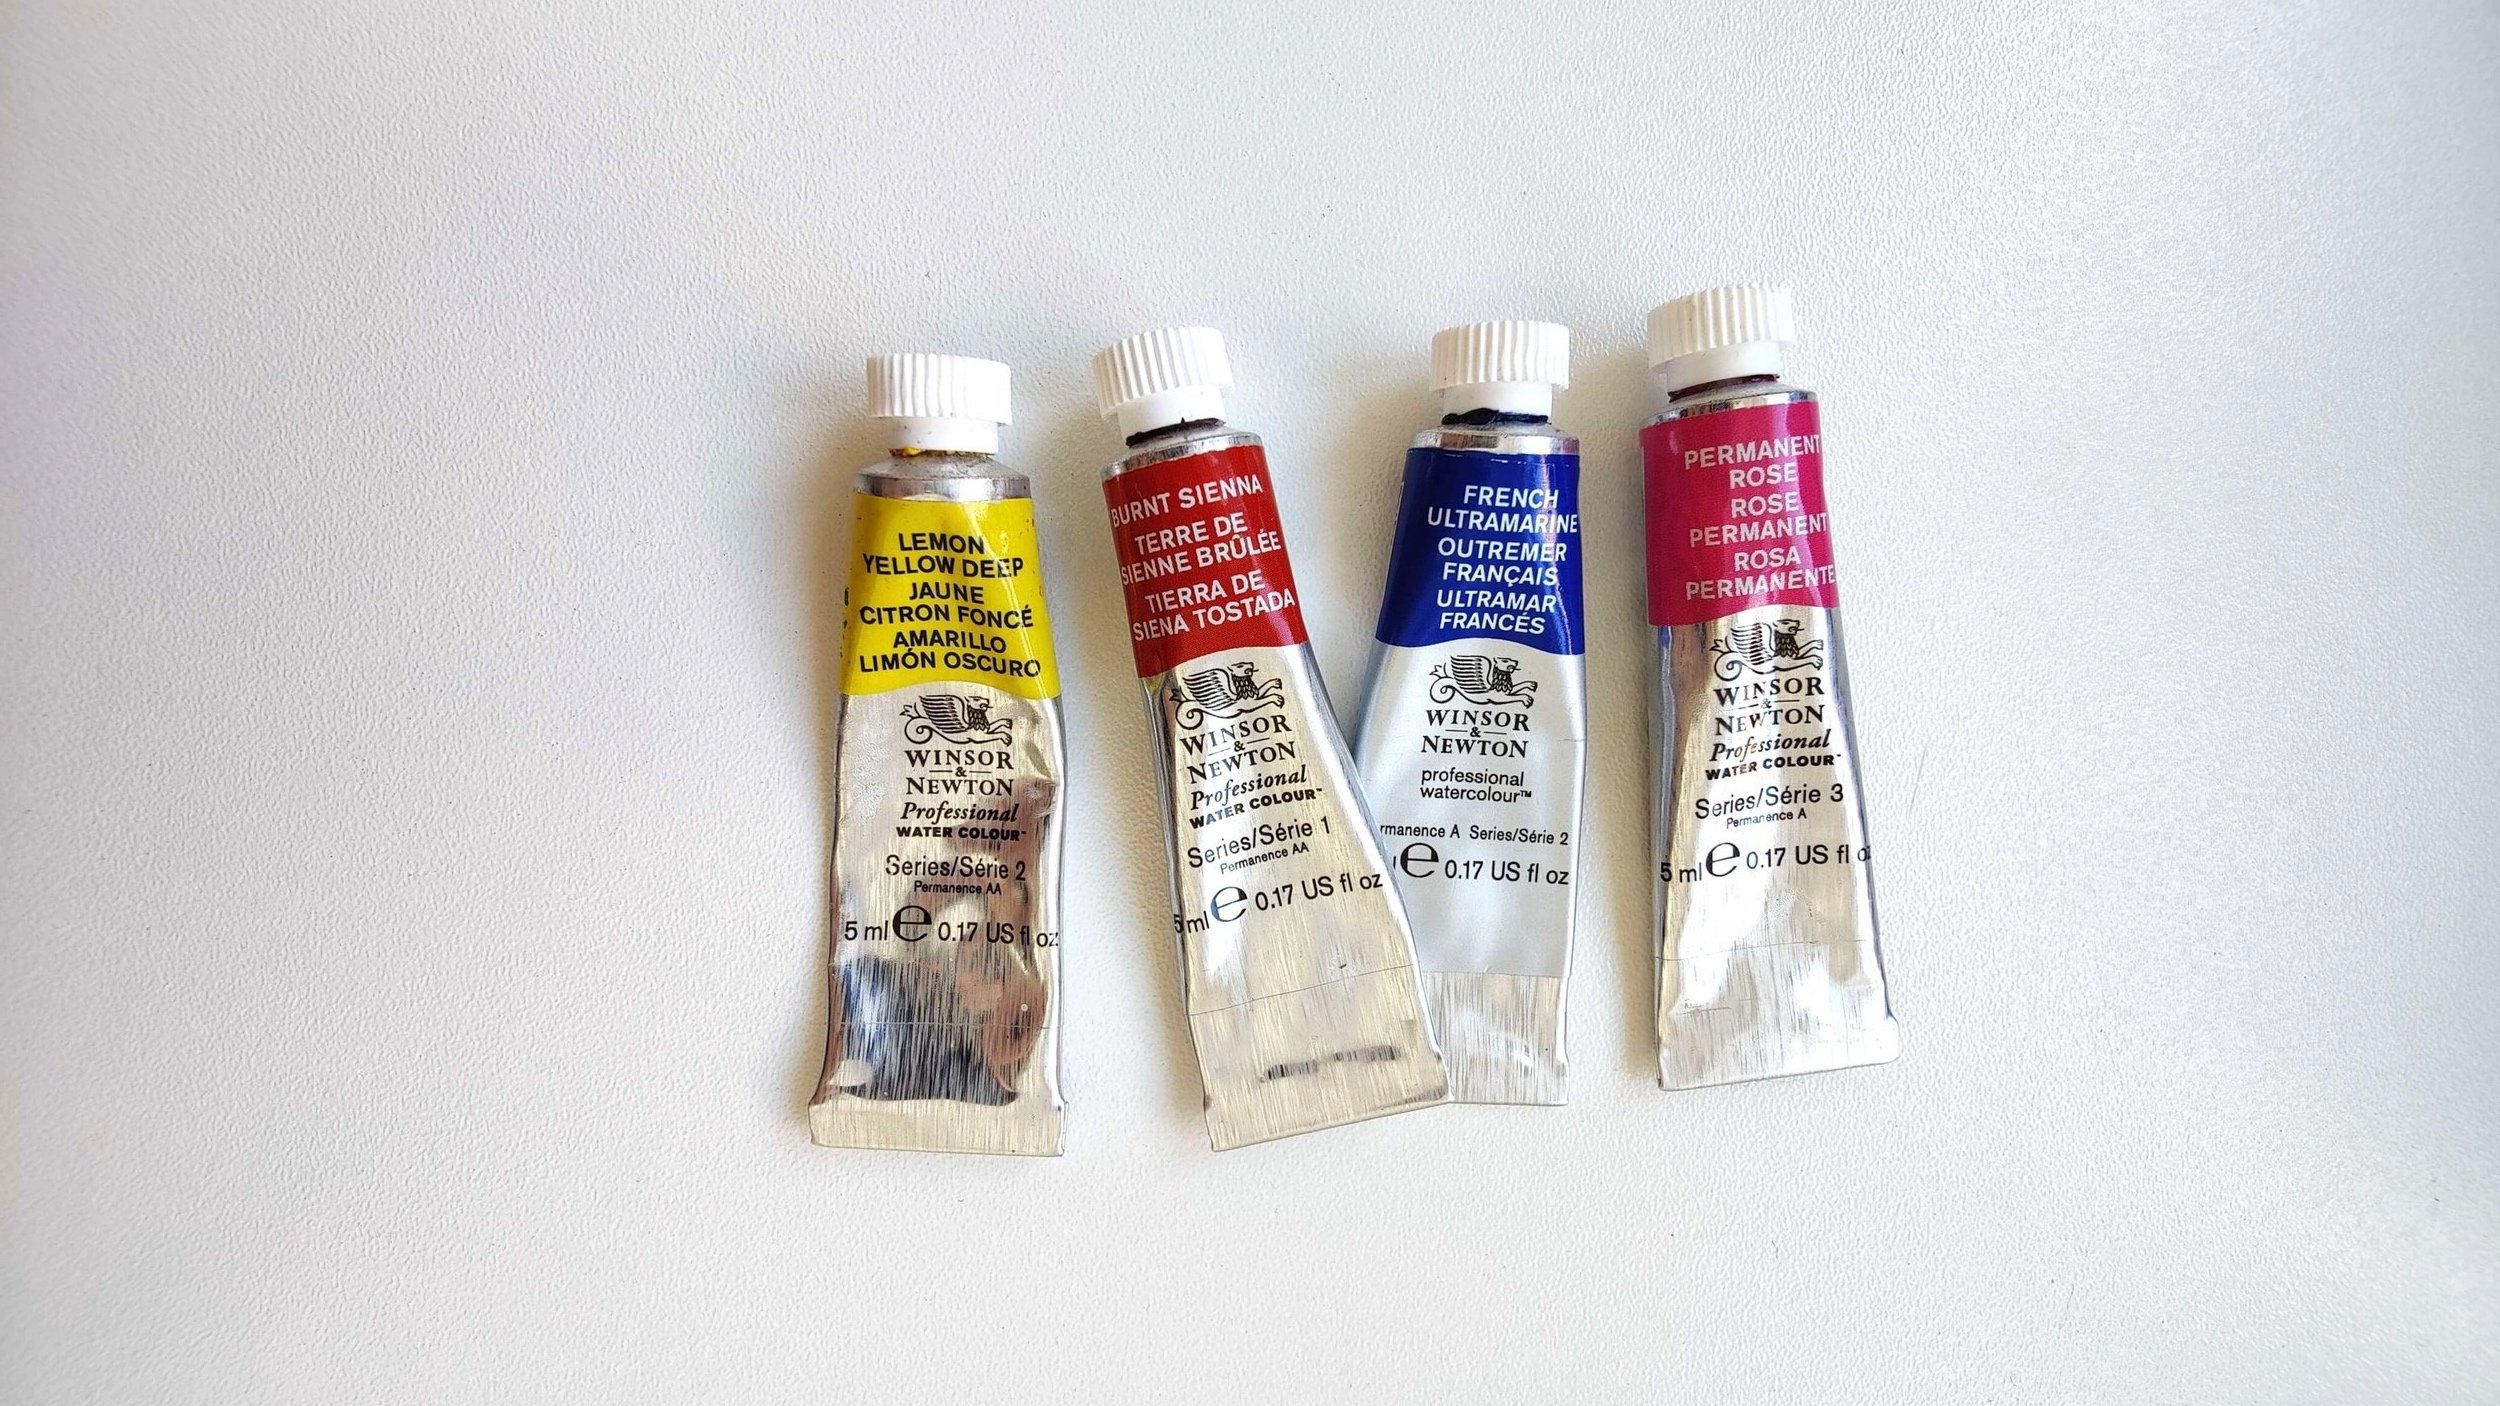
The selection of paints I used.
I knew right away that I’d have to substitute the transparent yellow—because, after all these years, I still haven’t bought it. But no worries! In my box of wonders (a.k.a. my colour stash), I was sure to find something that would work. I consider myself a minimalist when it comes to paint—not because I don’t want to own all the colours (I do!), but because limited space (and money) has forced me to become very crafty with mixing.
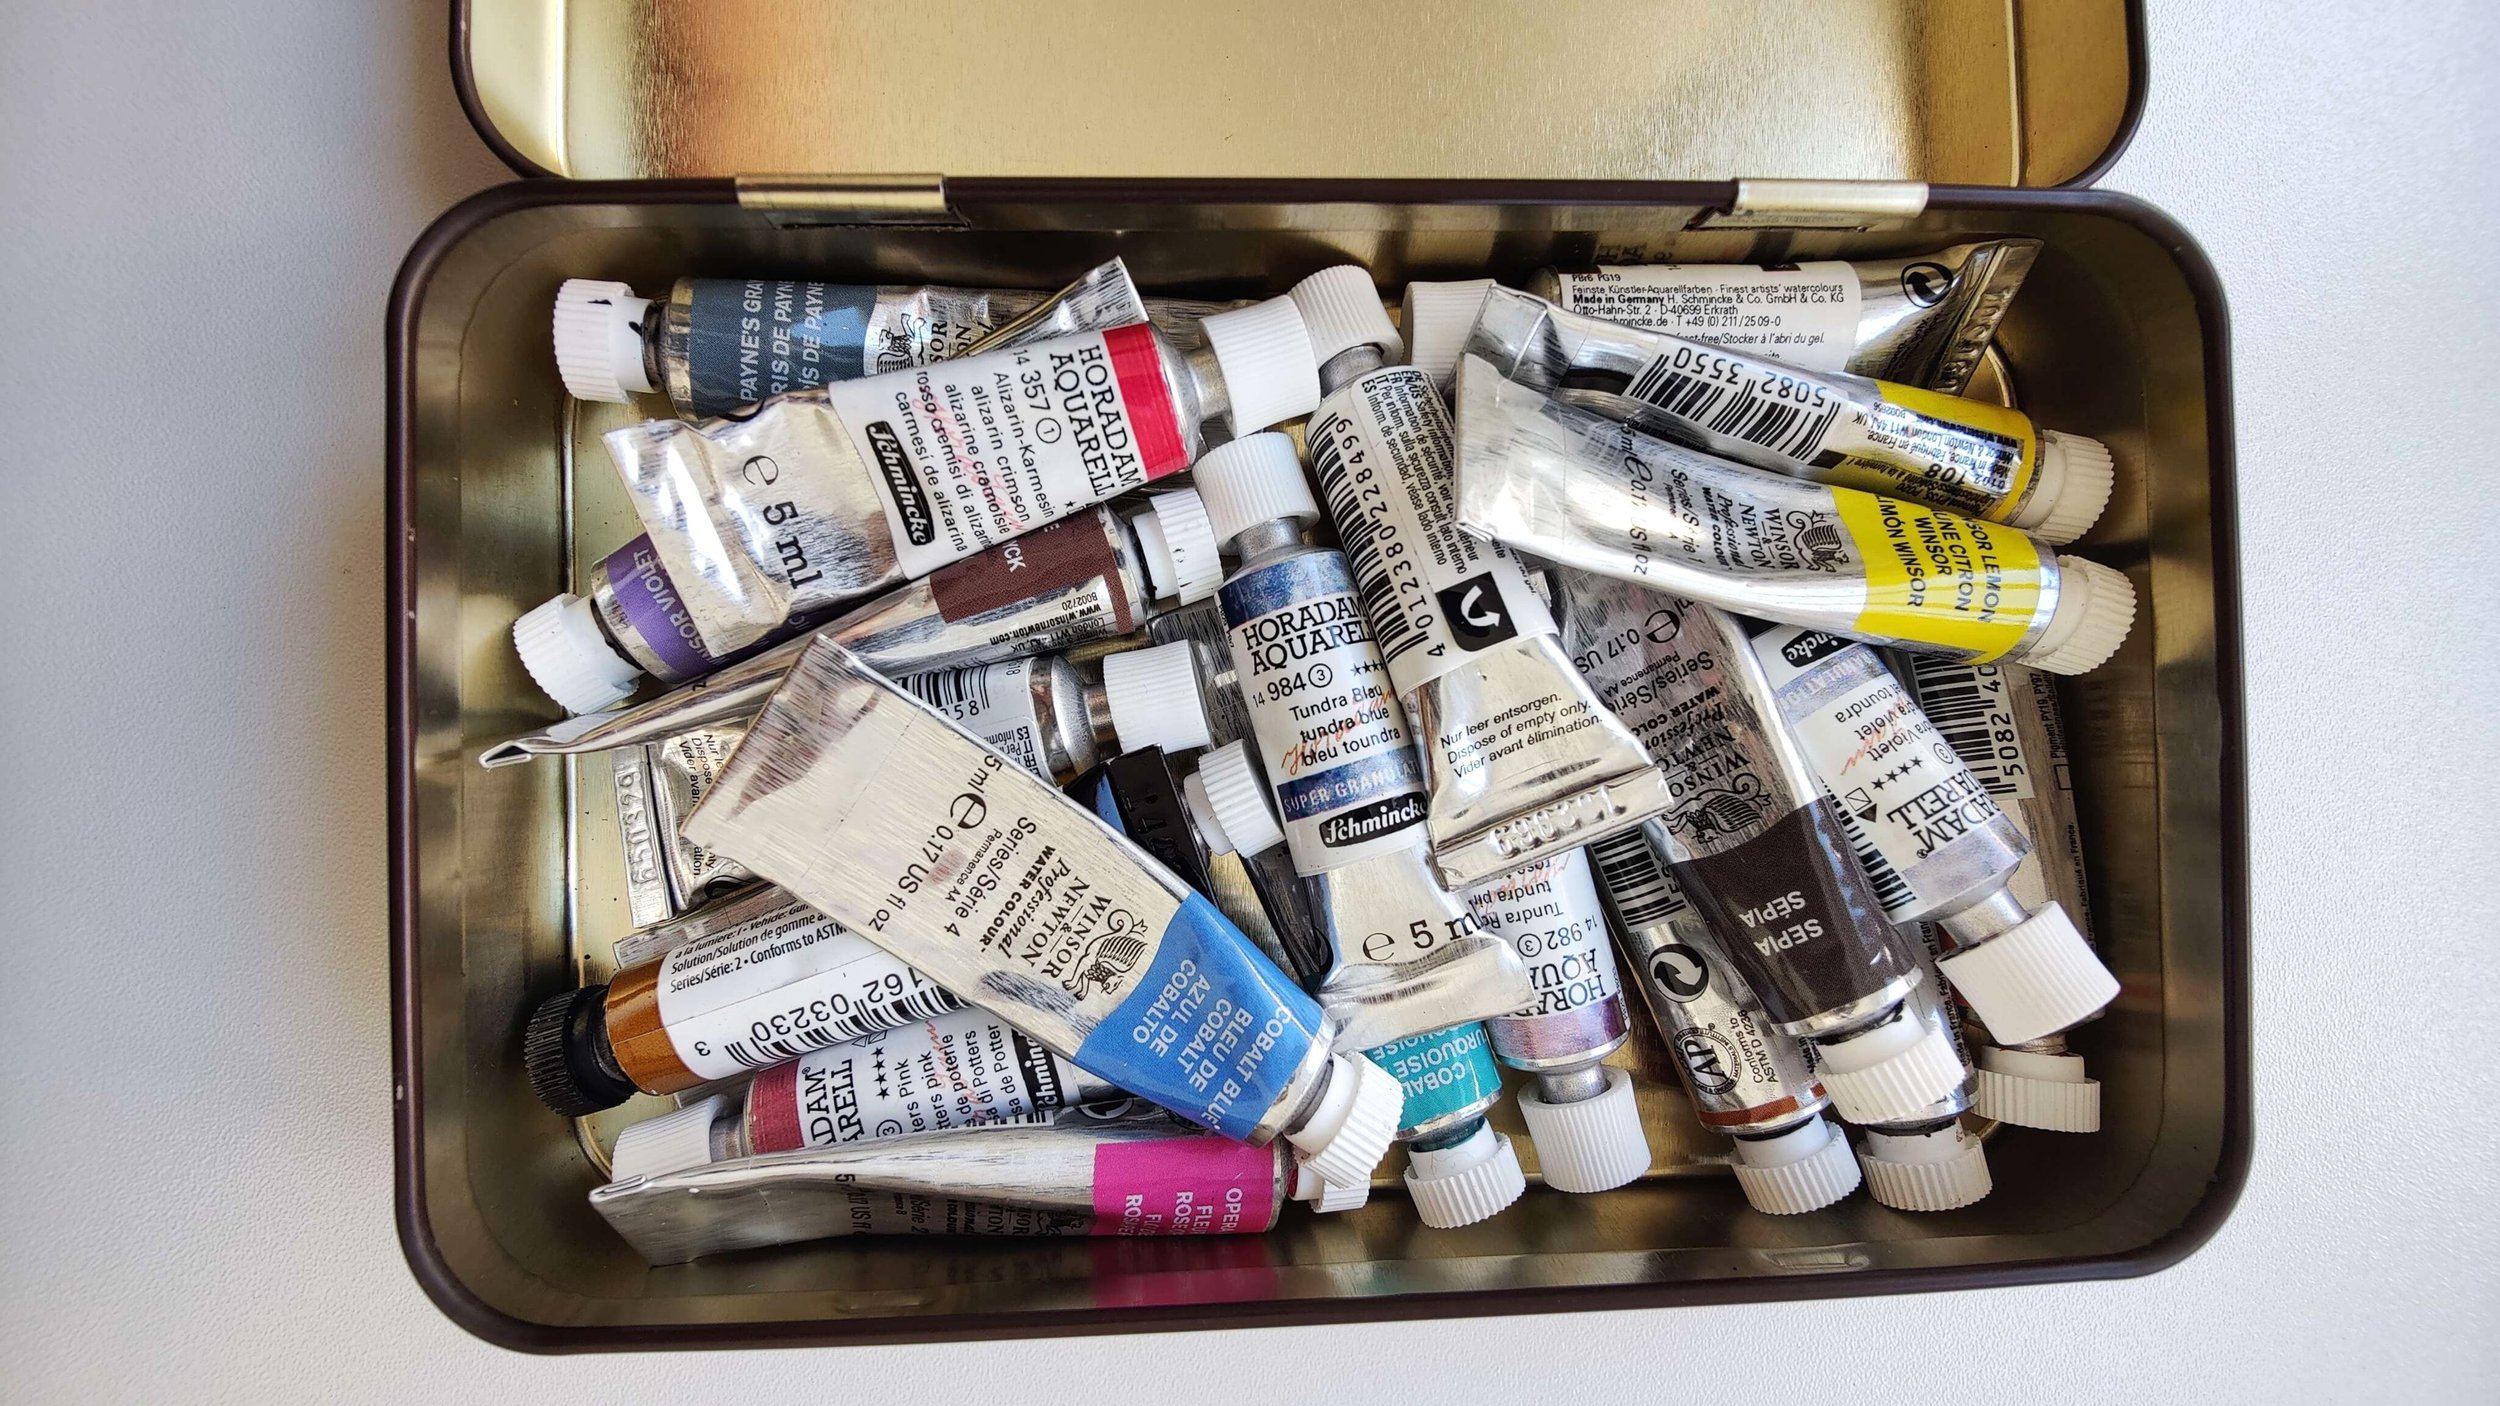
My very orderly stash of colours.
First things first: getting a drink ready. Right now, it’s a hot cup of tea—since it’s still winter in Austria—paired with a tiny bit of sunshine. Always place your cup to the left of your painting if you’re right-handed like me. Trust me, tea just doesn’t taste the same after you’ve accidentally dipped your watercolour brush into it.

Teacup on the left side is very important - don't ask me why.
For no other reason than it was lying around, and I wanted to use it up, I chose Winsor & Newton’s watercolour block, glued on all four sides, roughly A4 size. Of course, I didn’t stretch it beforehand—that would have required patience and planning, if you catch my drift.
I’m using the same brushes as Louise, thanks to being heavily influenced by the Discord community. I really like them! But honestly, any round brush will do—just use whatever you’re comfortable with.
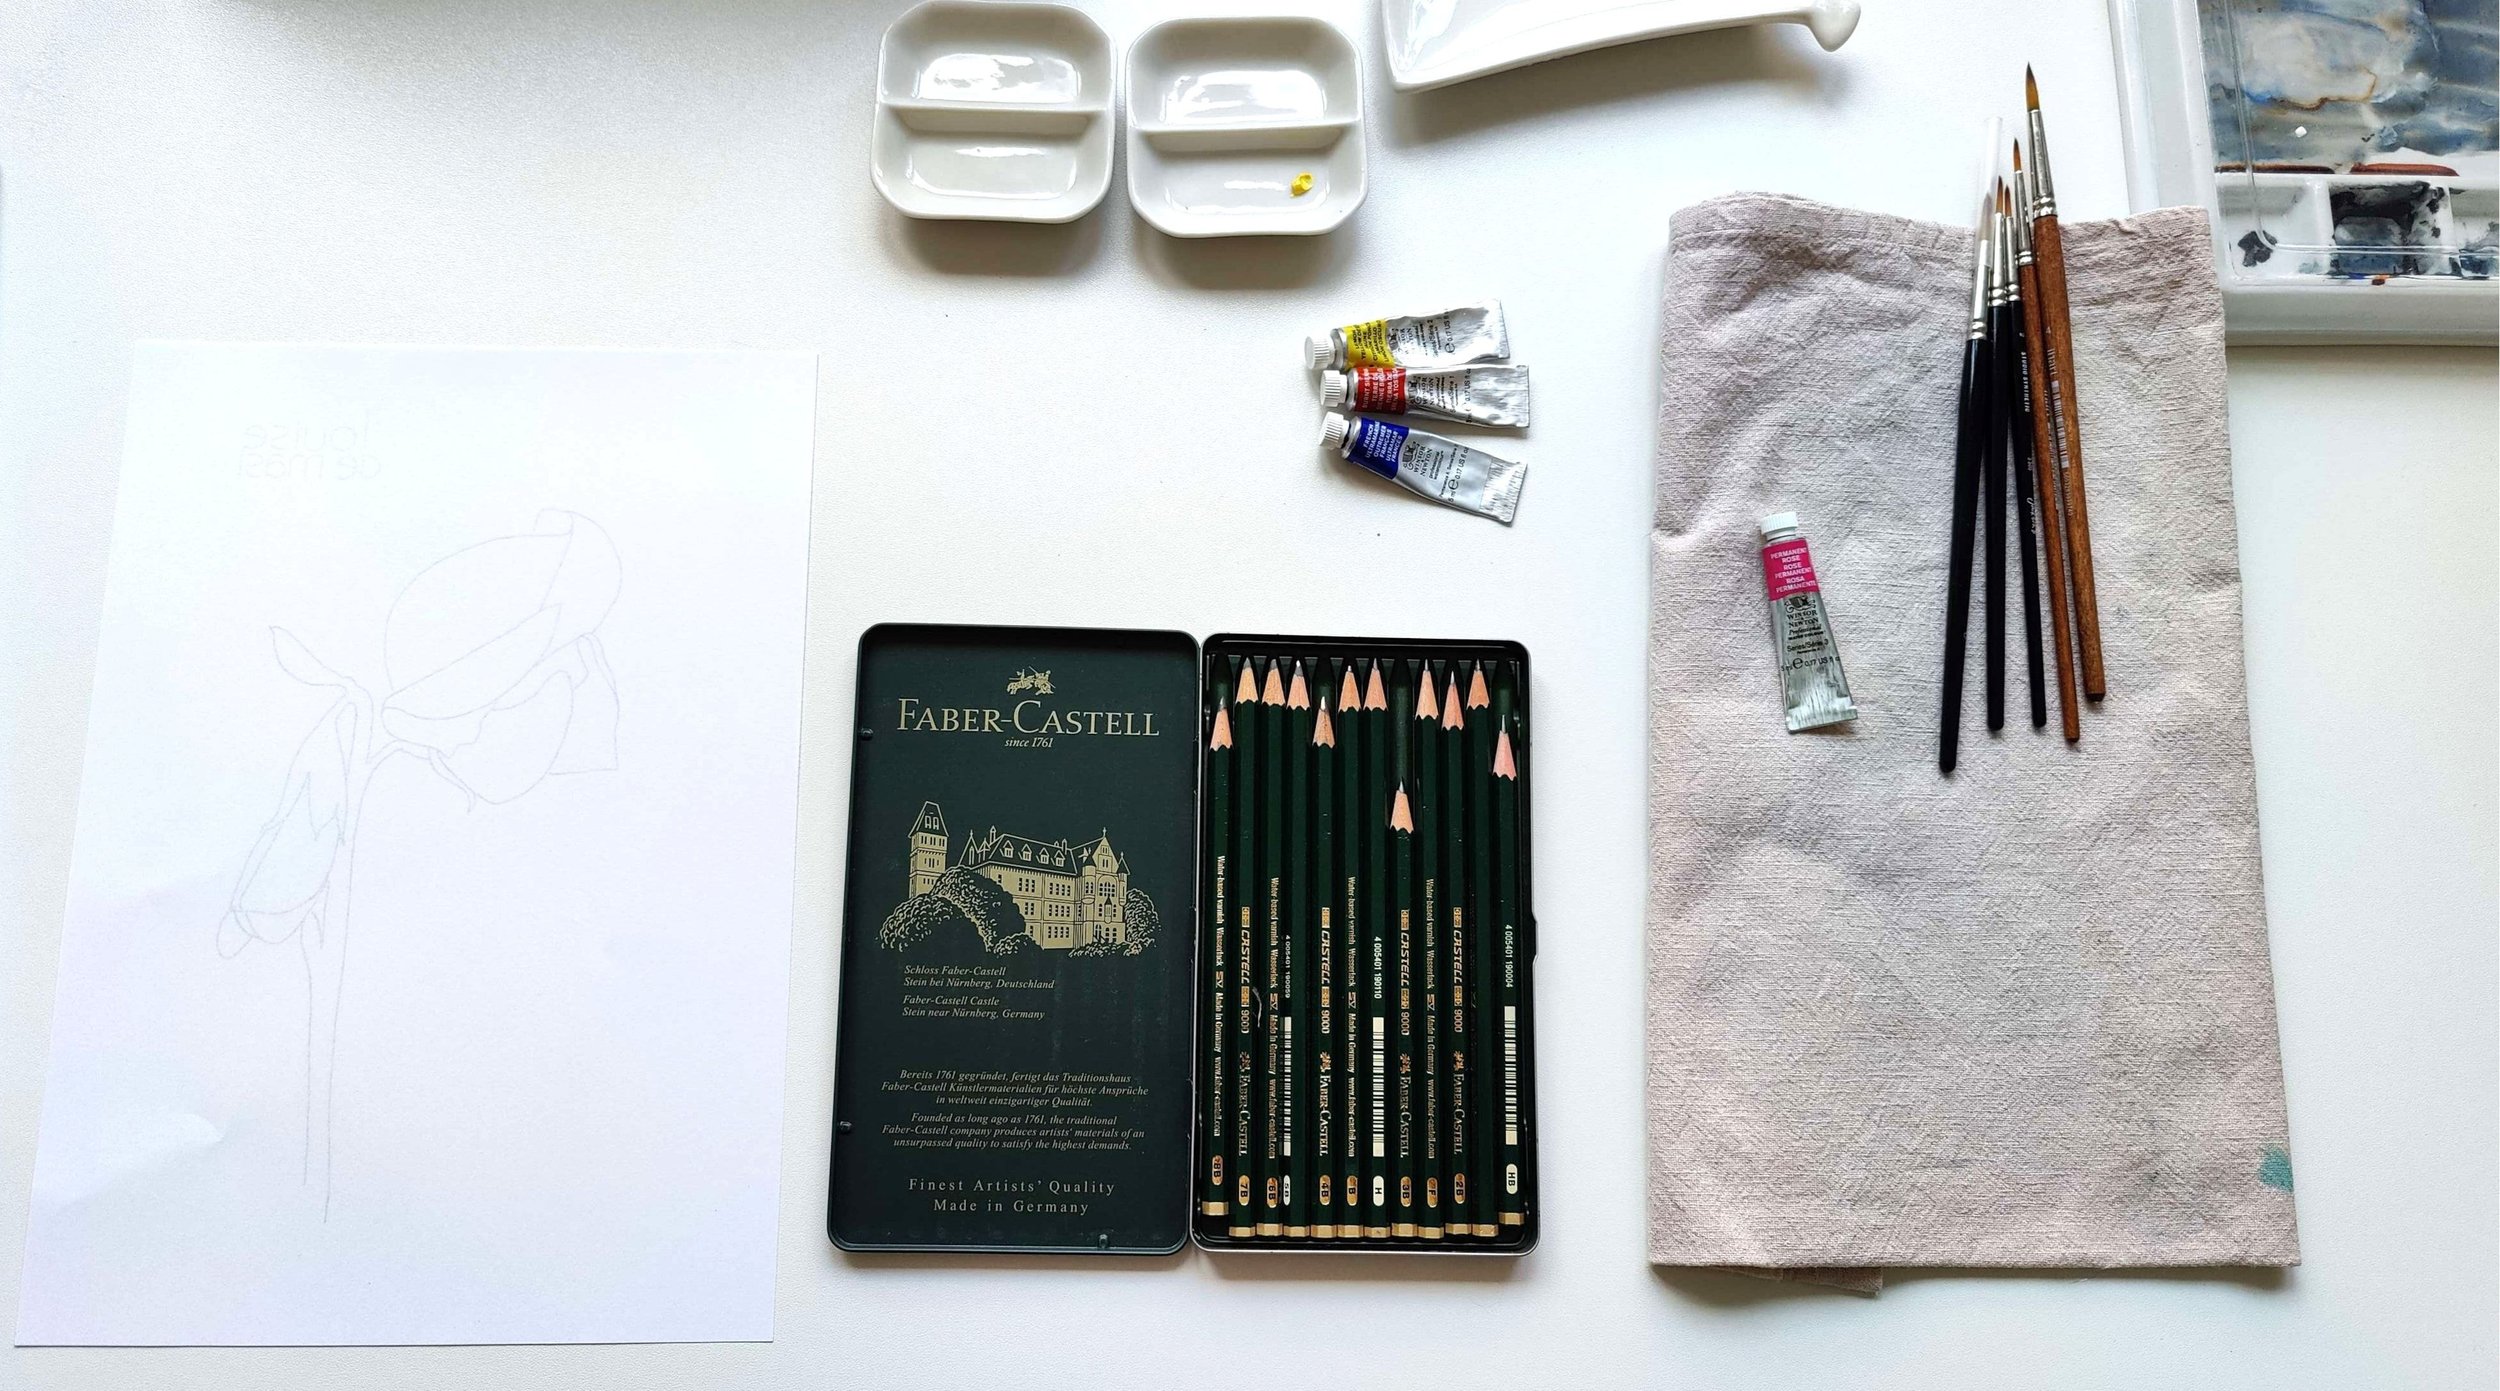
All the materials I need: printed out line drawing, pencils, paints, mixing wells, towel, brushes.
For colours, I’ll be using French Ultramarine, Burnt Sienna, Lemon Yellow Deep, and Permanent Rose. Not exactly the same as Louise, but close enough. I’m already mentally preparing myself for the inevitable surprise when my colours on paper don’t quite match what I see in the video.
Transferring the Line Drawing
With my paper, brushes, colours, water container, and towel all set up, the first creative step is transferring the line drawing that Louise drew from the reference photo.
You can scribble on the back of your printed out line drawing - or use tracing paper.
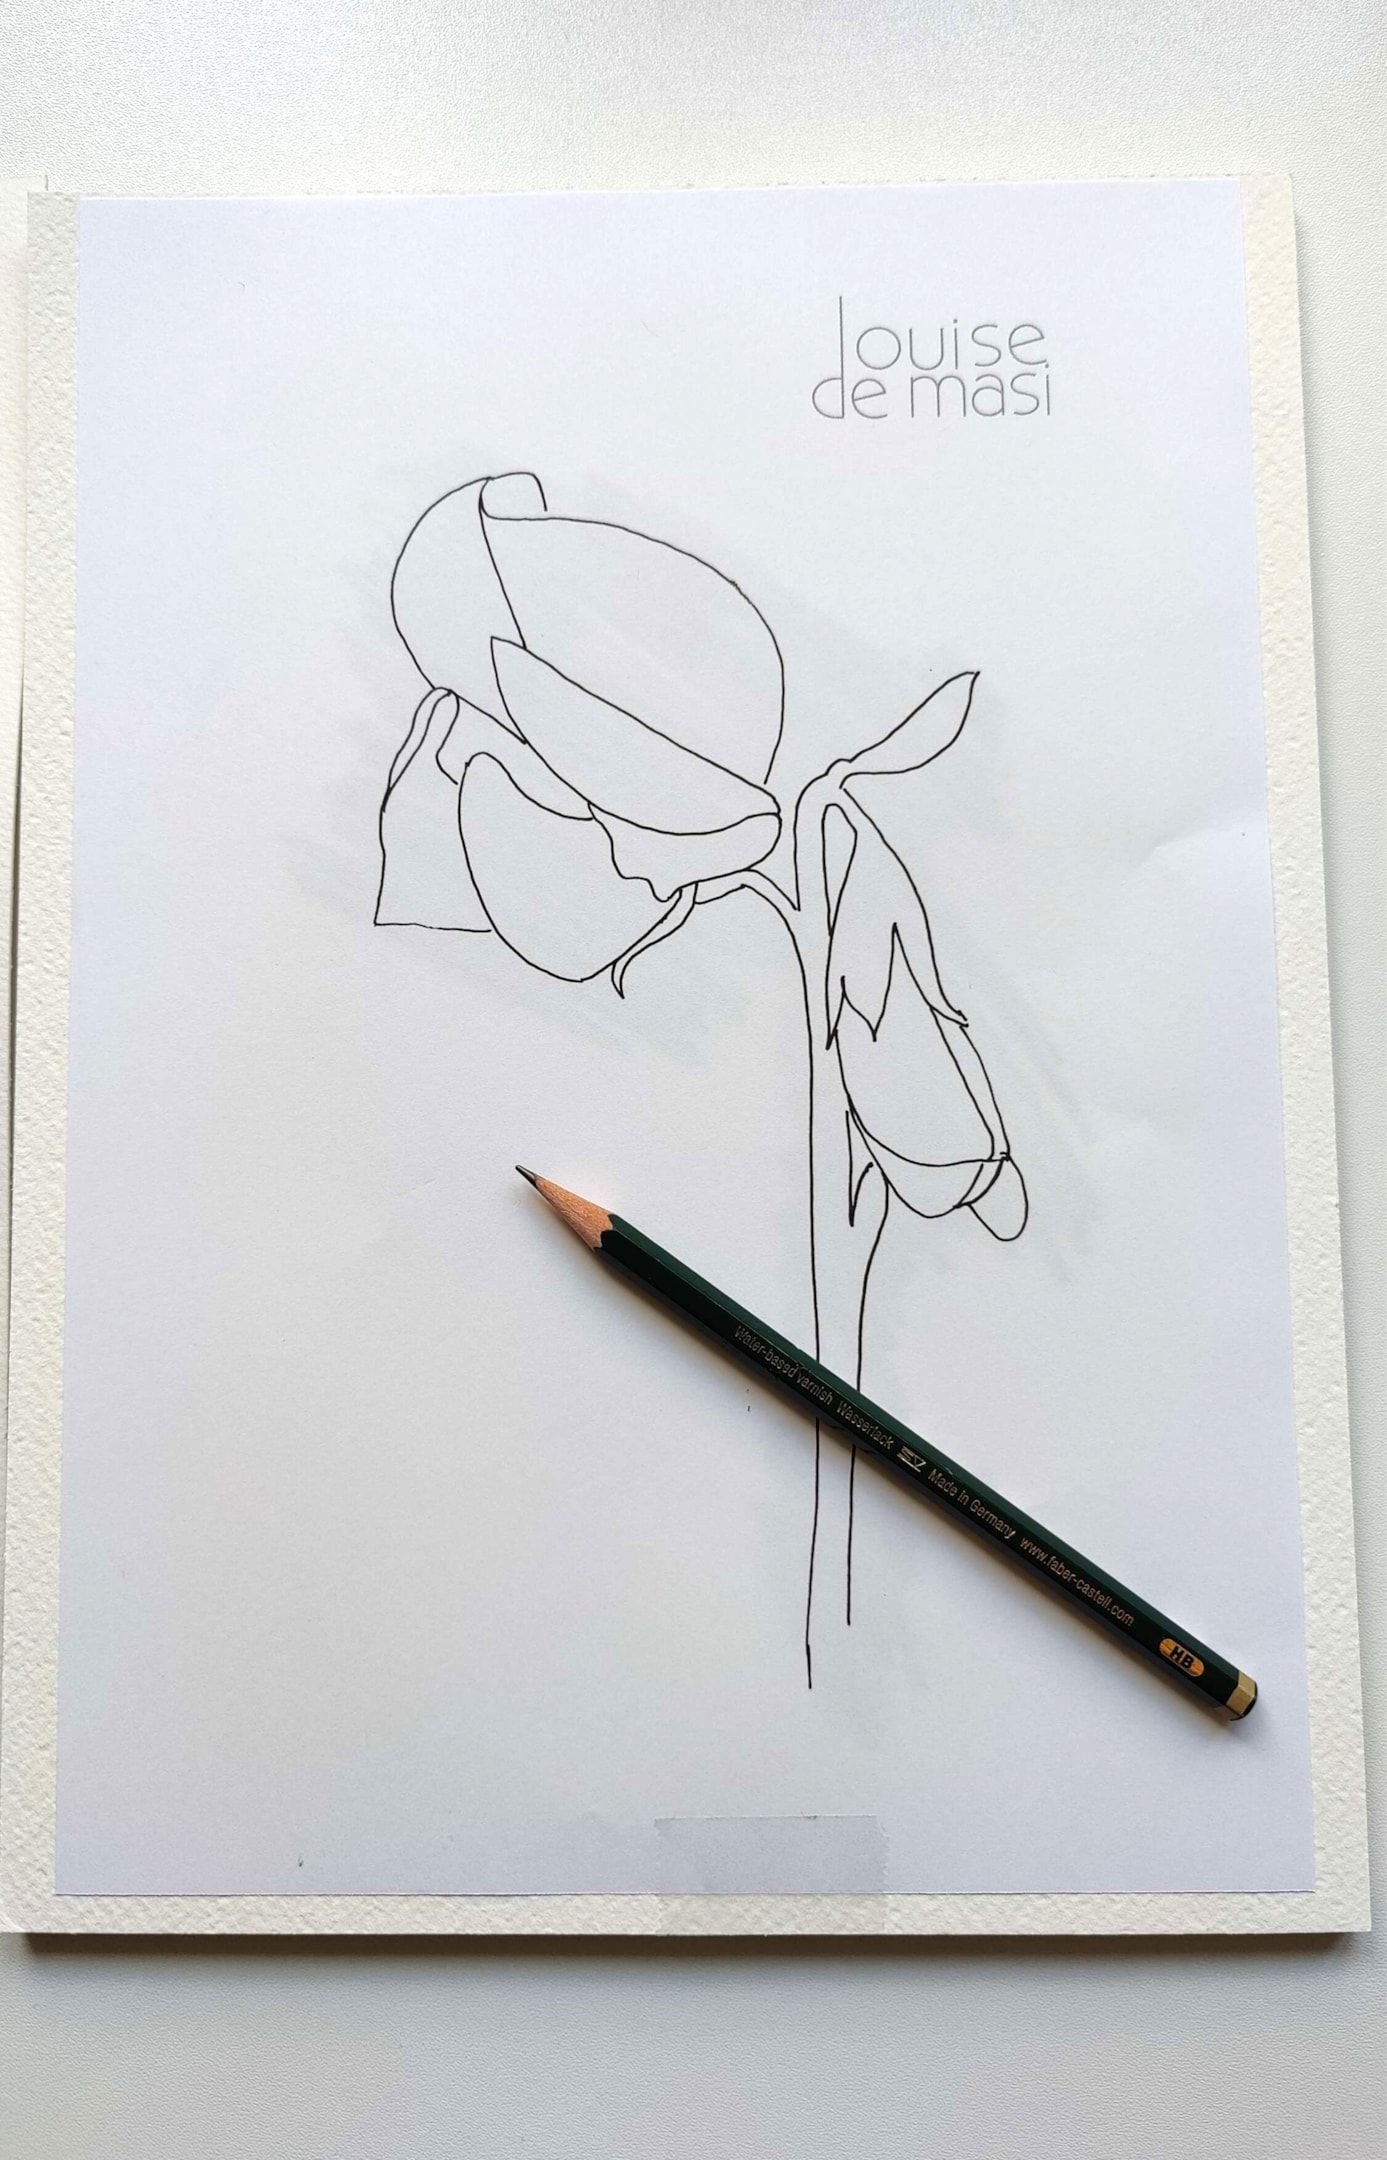
After tracing the line drawing onto the watercolour paper, I was ready to begin painting.
We do own tracing paper in this household—but I like to save it for "special occasions" (or so I tell my boyfriend). Instead, I use a trick I once learned: scribbling with a soft pencil (3B or 4B) on the back of the printed line drawing, flipping it over, and tracing the lines with an HB pencil. Just don’t press too hard, or you’ll end up with grooves in the paper surface where the paint will pool. And with that, we’re ready to start painting!
The First Petals
I’ve learned the hard way that Louise’s first layers always look way darker in the video than they actually are. Determined to remember this, I mix a watery paint.
I’ve also learned that if your paper is too wet and your paint is too watery, the pigment will migrate to the edges, leaving behind an unwanted harsh line. So, keeping all this in mind, I put paint on the paper—only to immediately want to quit.
The paint looks too dark. The pigment moves in ways I don’t like. The brush leaves ugly marks.
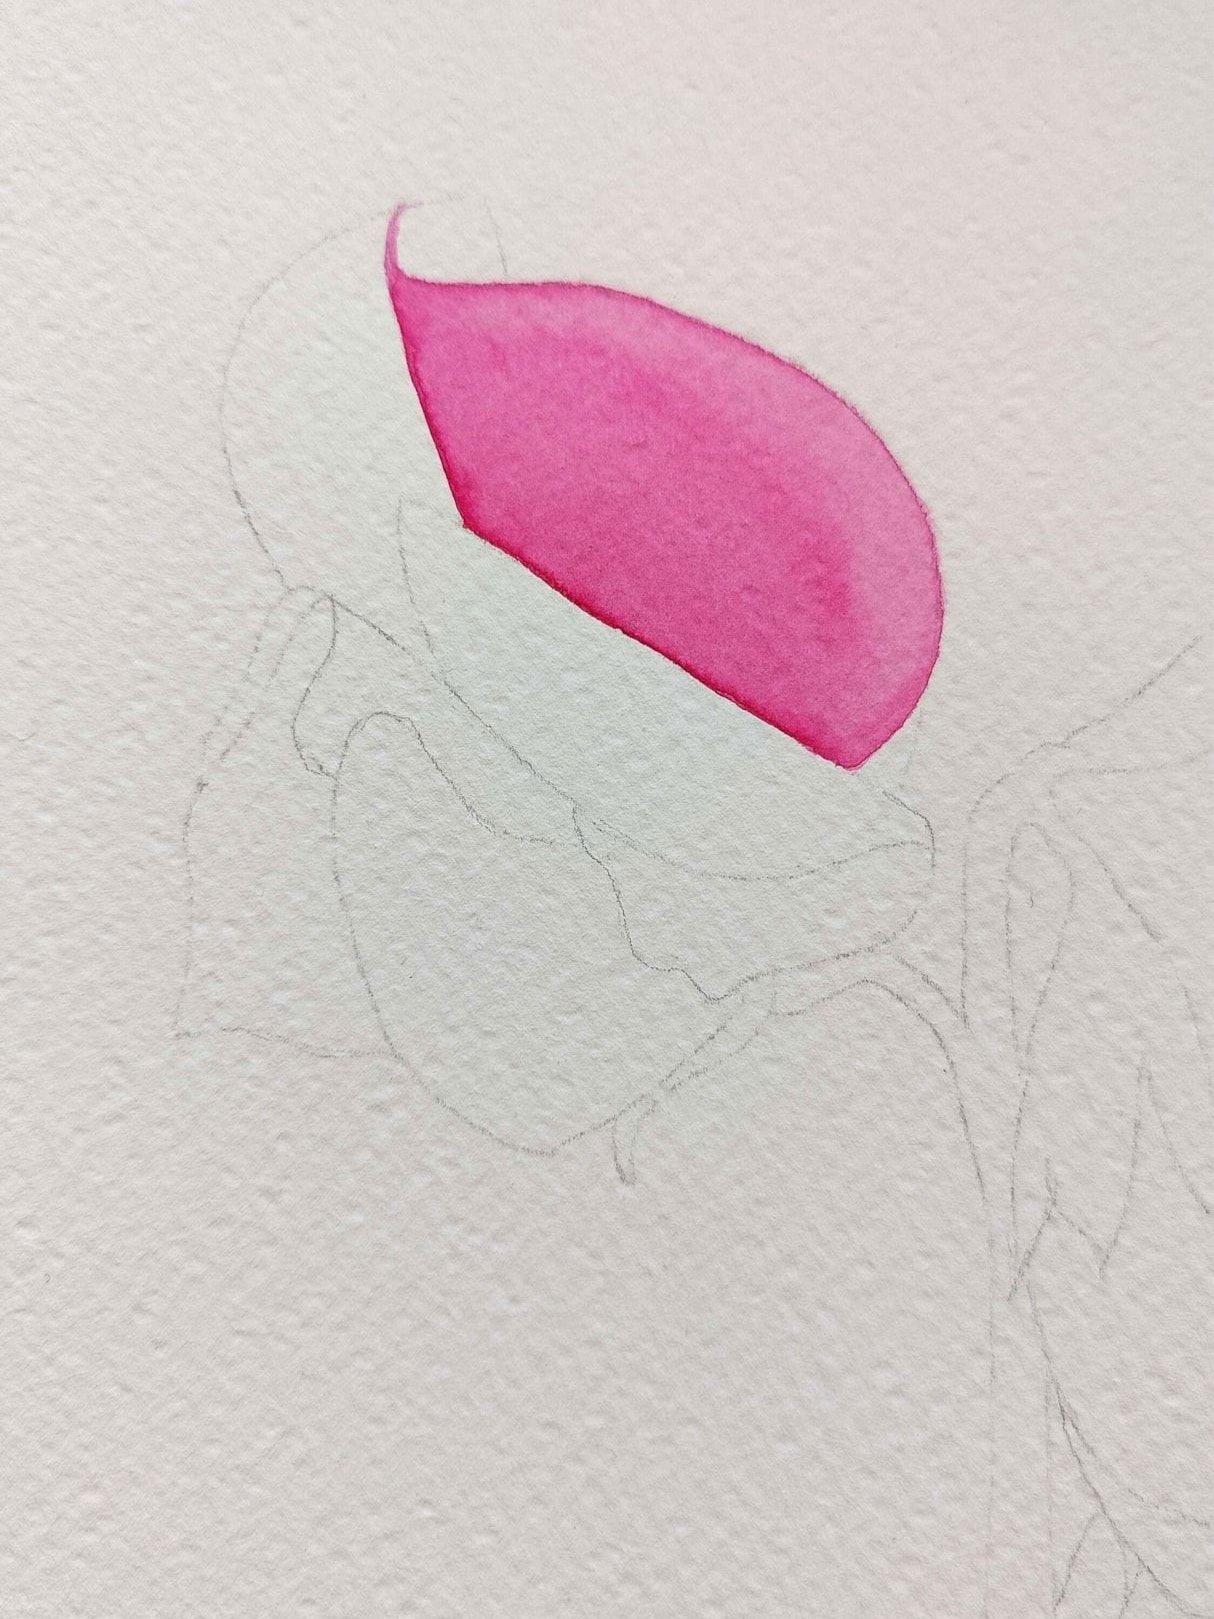
The very ugly first petal. Deep breaths!
Deep breaths, Kati! Take a sip of that tea! And for the love of the watercolour gods, do not start fiddling with half-dried paint. It’s getting dark outside, I’m not feeling it, and I decide to call it a day. Sometimes, it’s just not the right time to paint—and that’s okay!
A New Day
With a fresh cup of tea and a fresh mindset, I return to my desk the next day. And suddenly, nothing seems as bad as it did yesterday.
I paint the second petal, and to my surprise, I don’t even need to lift out lighter patches—my paint didn’t spread as much as Louise’s. I worry that my mix is too dark but decide to ignore it for now.
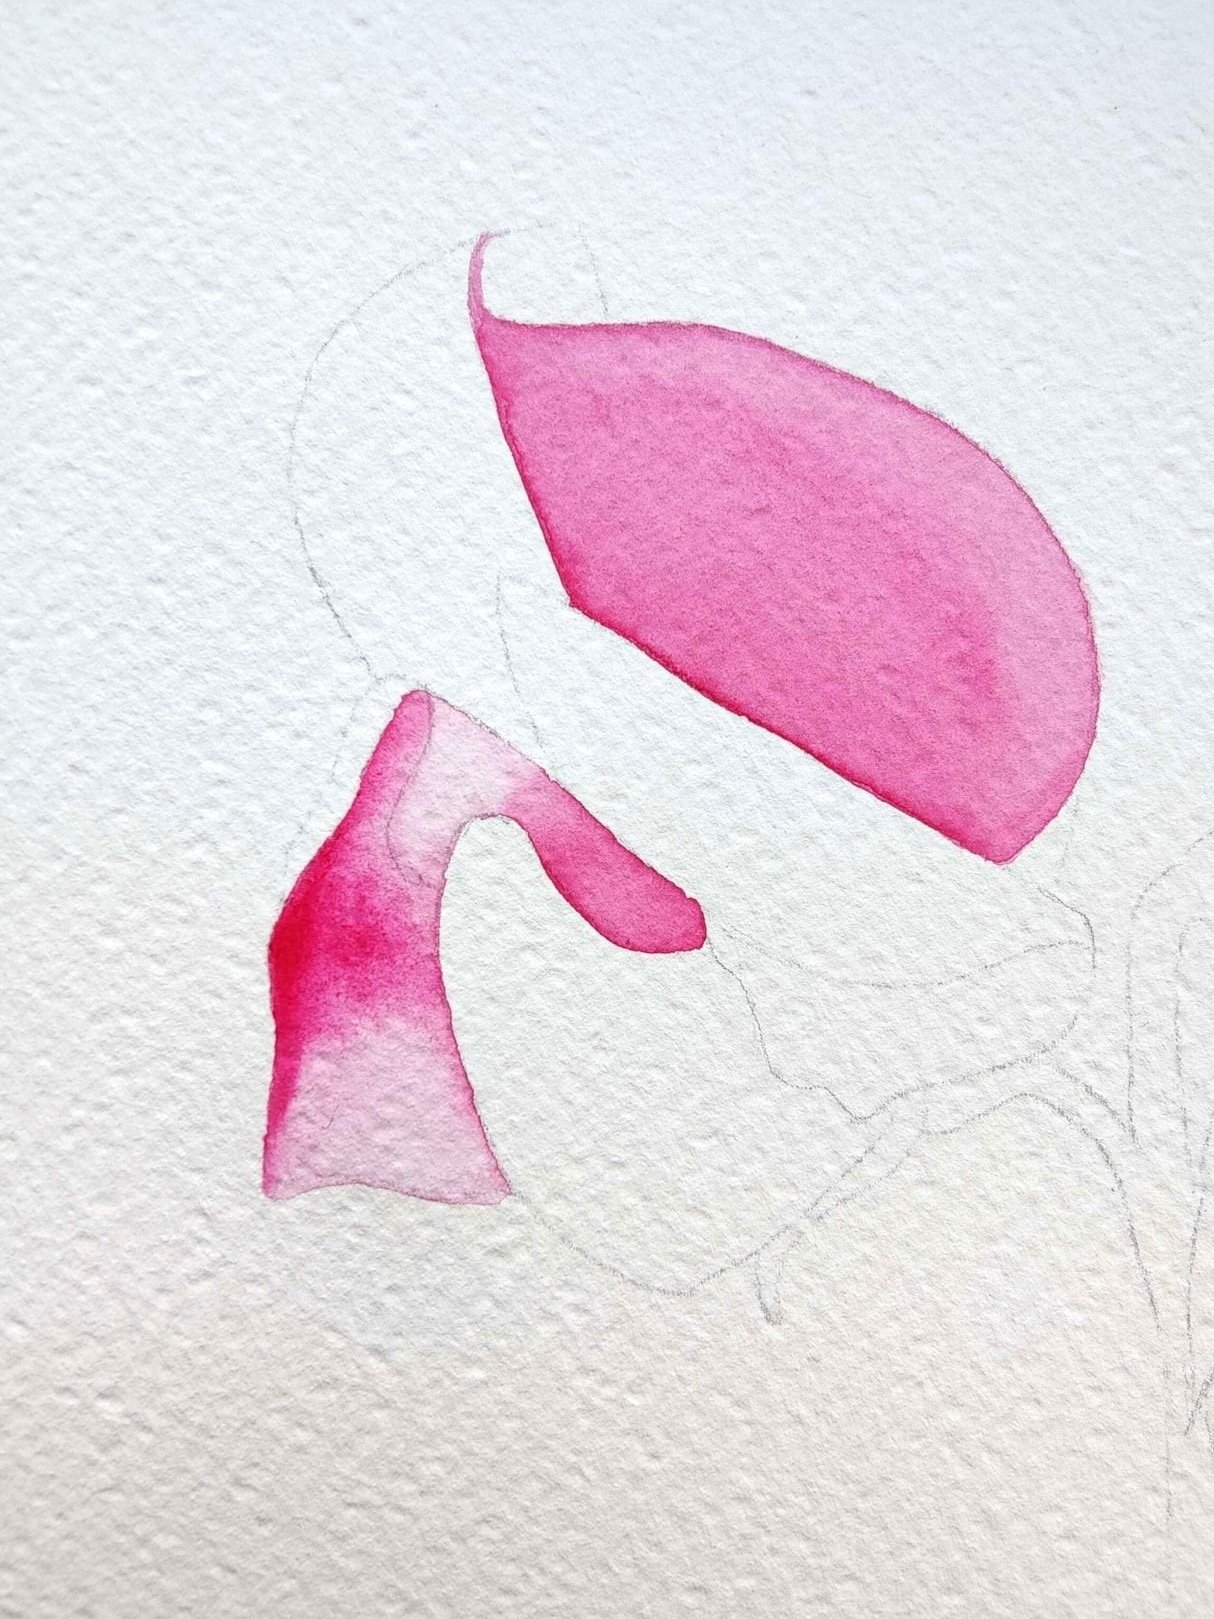
Loving the way the colour seems to glow.
Cursing myself for not sketching in the cast shadow beforehand, I freehand it—and it actually works! Dropping in a touch of French Ultramarine into my shadow colour, I’m happy with the result. The rest of the petals go smoothly.

The flower is coming together nicely.
I even find some pre-mixed gray on my palette from another project and feel very resourceful using it instead of mixing a new batch.
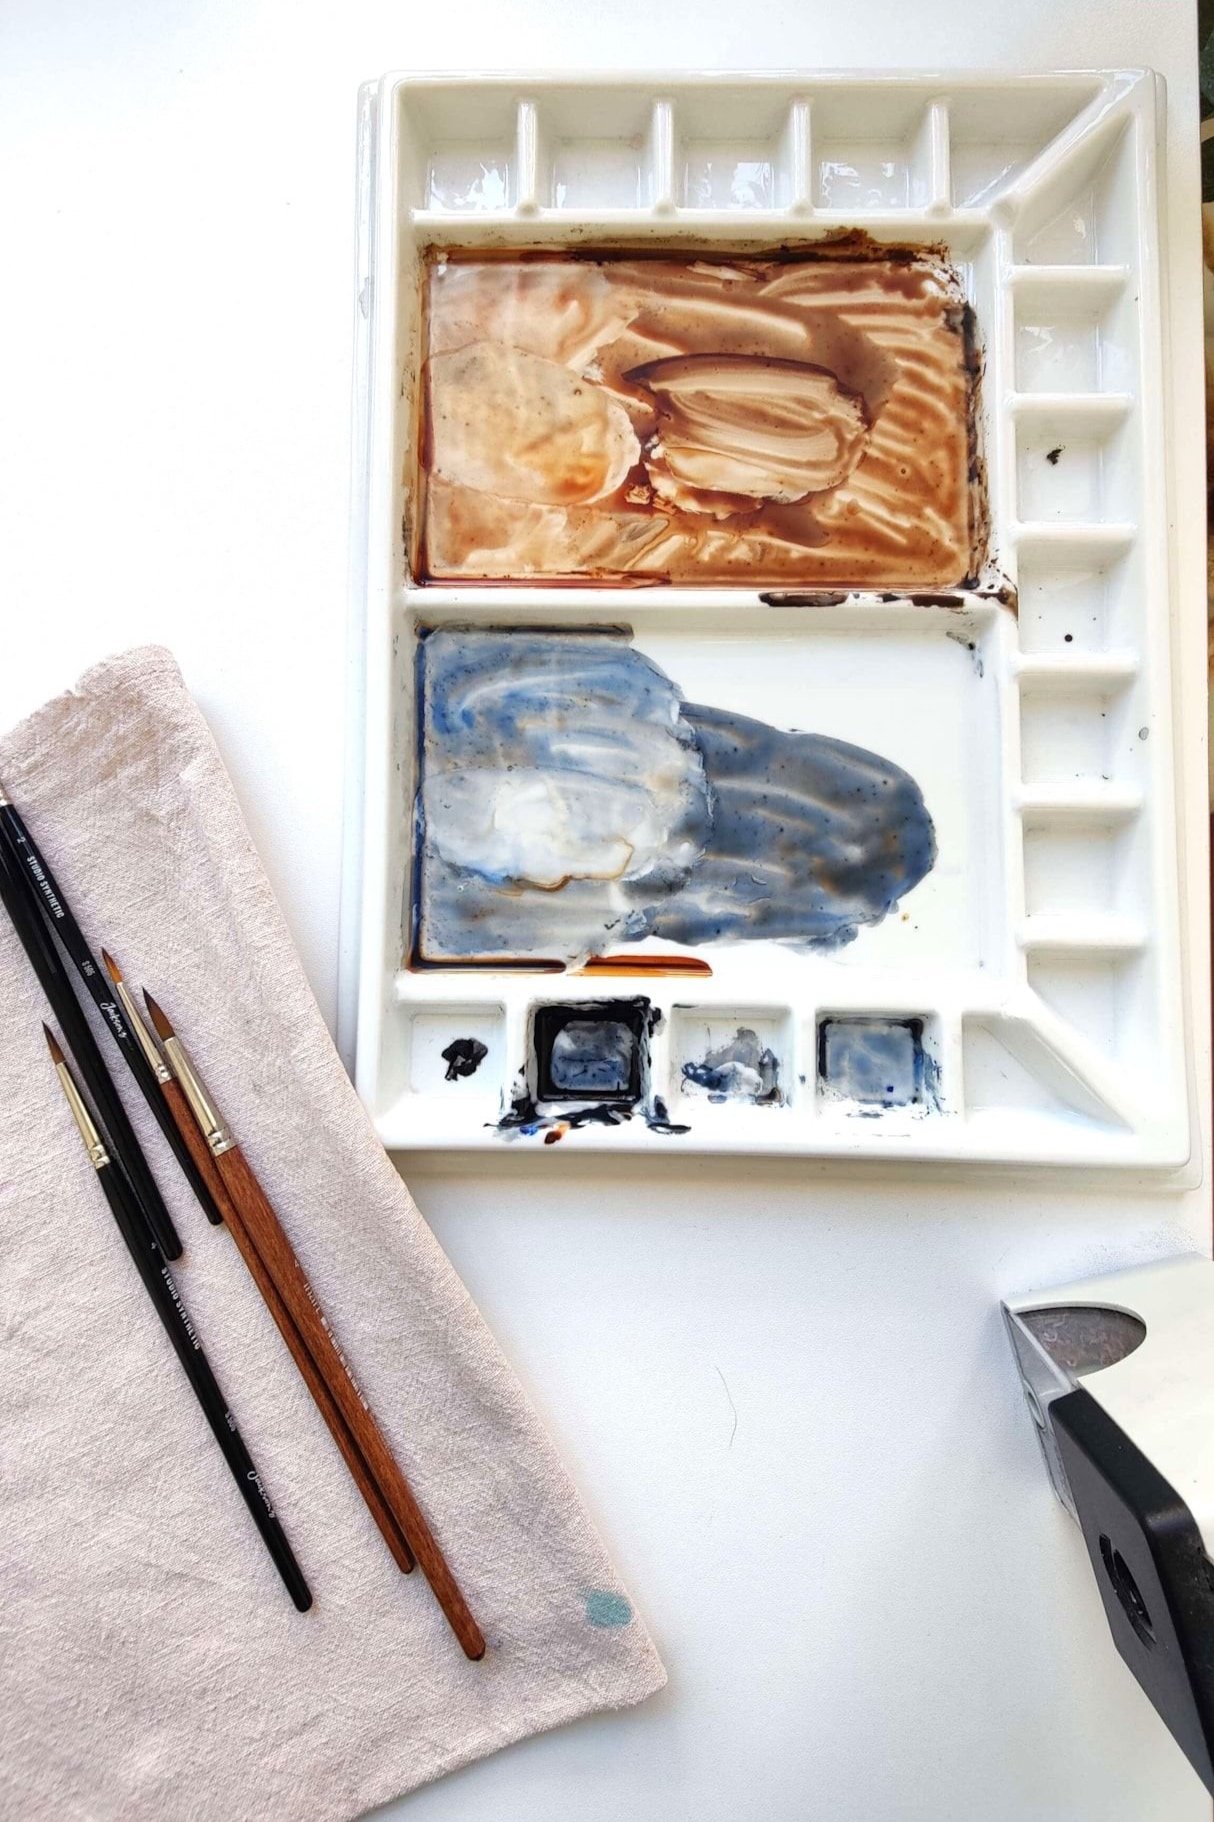
I don't like to wash away mixes of paint. But that also means, that I have a bazillion mixing wells...
So Far, So Good
Once I got into the swing of things and stopped sweating the small stuff, the remaining petals came together quickly. With Louise’s guidance in my ears, there was no real challenge.
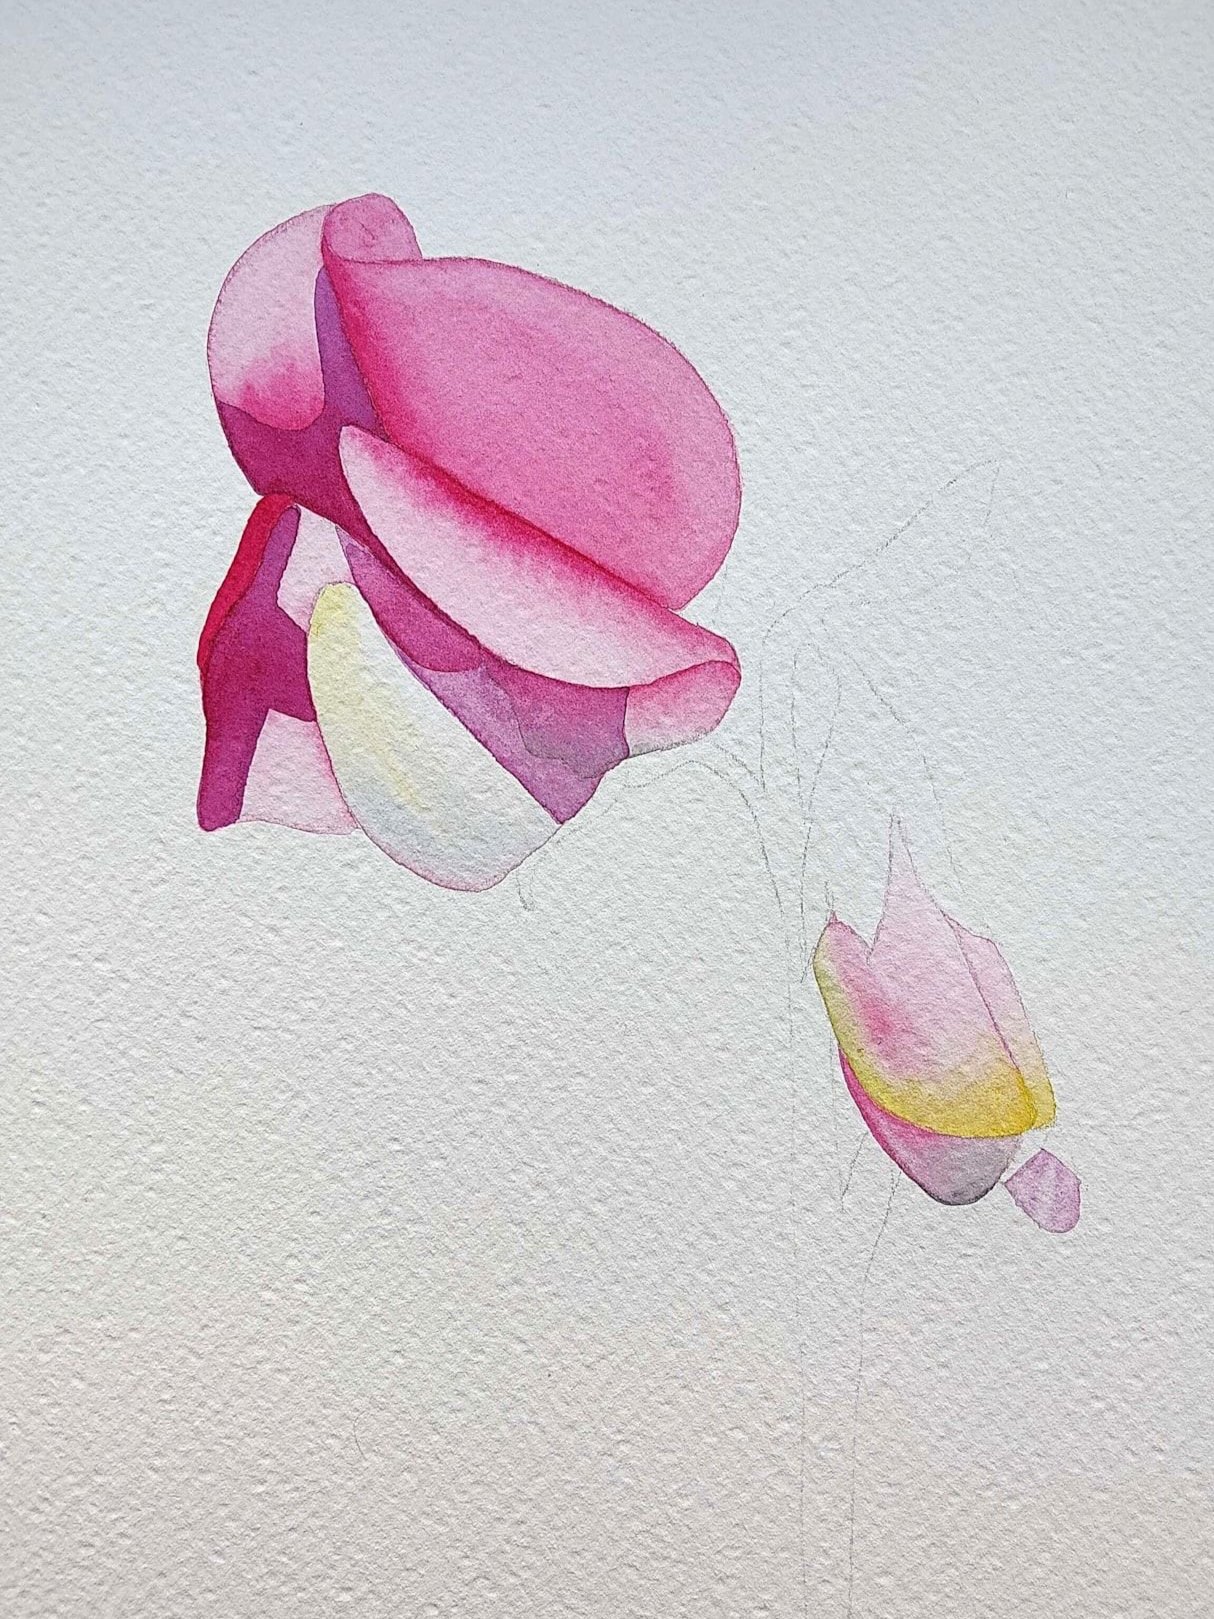
I loved her accidental mix of yellow and rose for the closed petal so much that I recreated it. And I had to laugh when she added a touch more rose—because I was already thinking, Louise, girl, that’s a lot of pigment seconds before she said the same thing in the voiceover. Turns out, we’re all the same after all! It’s reassuring to know that even Louise has “happy little accidents”—but more importantly, she always shows us how to fix them.
Oops, That’s a Bit Dark
Feeling motivated and completely in the zone, I dive into painting another petal—only to realize, with growing horror, that I’ve made it way too dark. Cue mild panic.

Why did I think the very saturated pink would work nicely with the pale bud?
I frantically try to lift some of the colour, but of course, I didn’t wait for the paint to dry, so all I accomplish is a lovely, muddy mess. Patience, Kati, patience! Deep breaths. Another sip of tea. A brief existential crisis.
After accepting that my lifting attempts are futile, I switch to Plan B: instead of trying to lighten the petal, I embrace the darkness and drag the colour across the entire shape to even it out. Surprisingly, it works! It’s not exactly what I intended, but hey, let’s call it a creative decision.
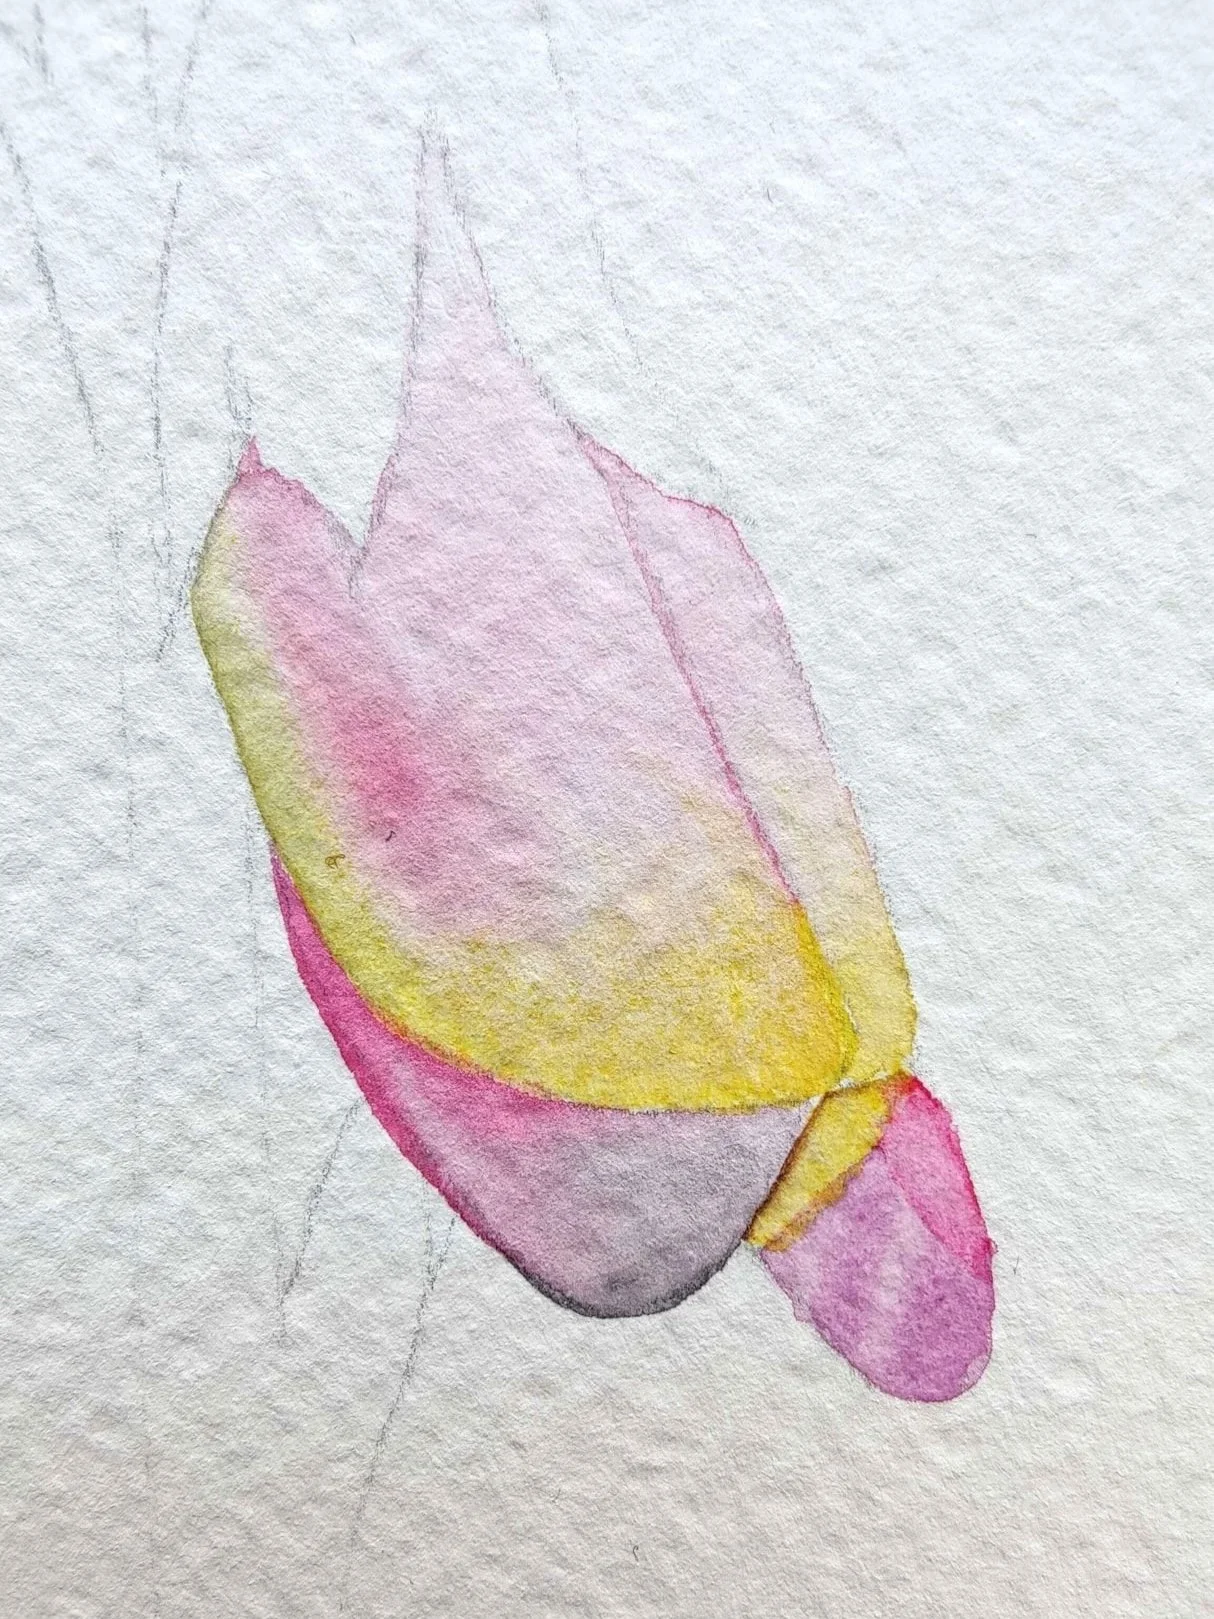
Fixed it, almost.
With the hardest part behind me, I move on to the stem—finally, something simple and stress-free. A few confident brushstrokes, and it’s done. I remove the pencil lines, take a step back, and to my relief, I actually like the final result.
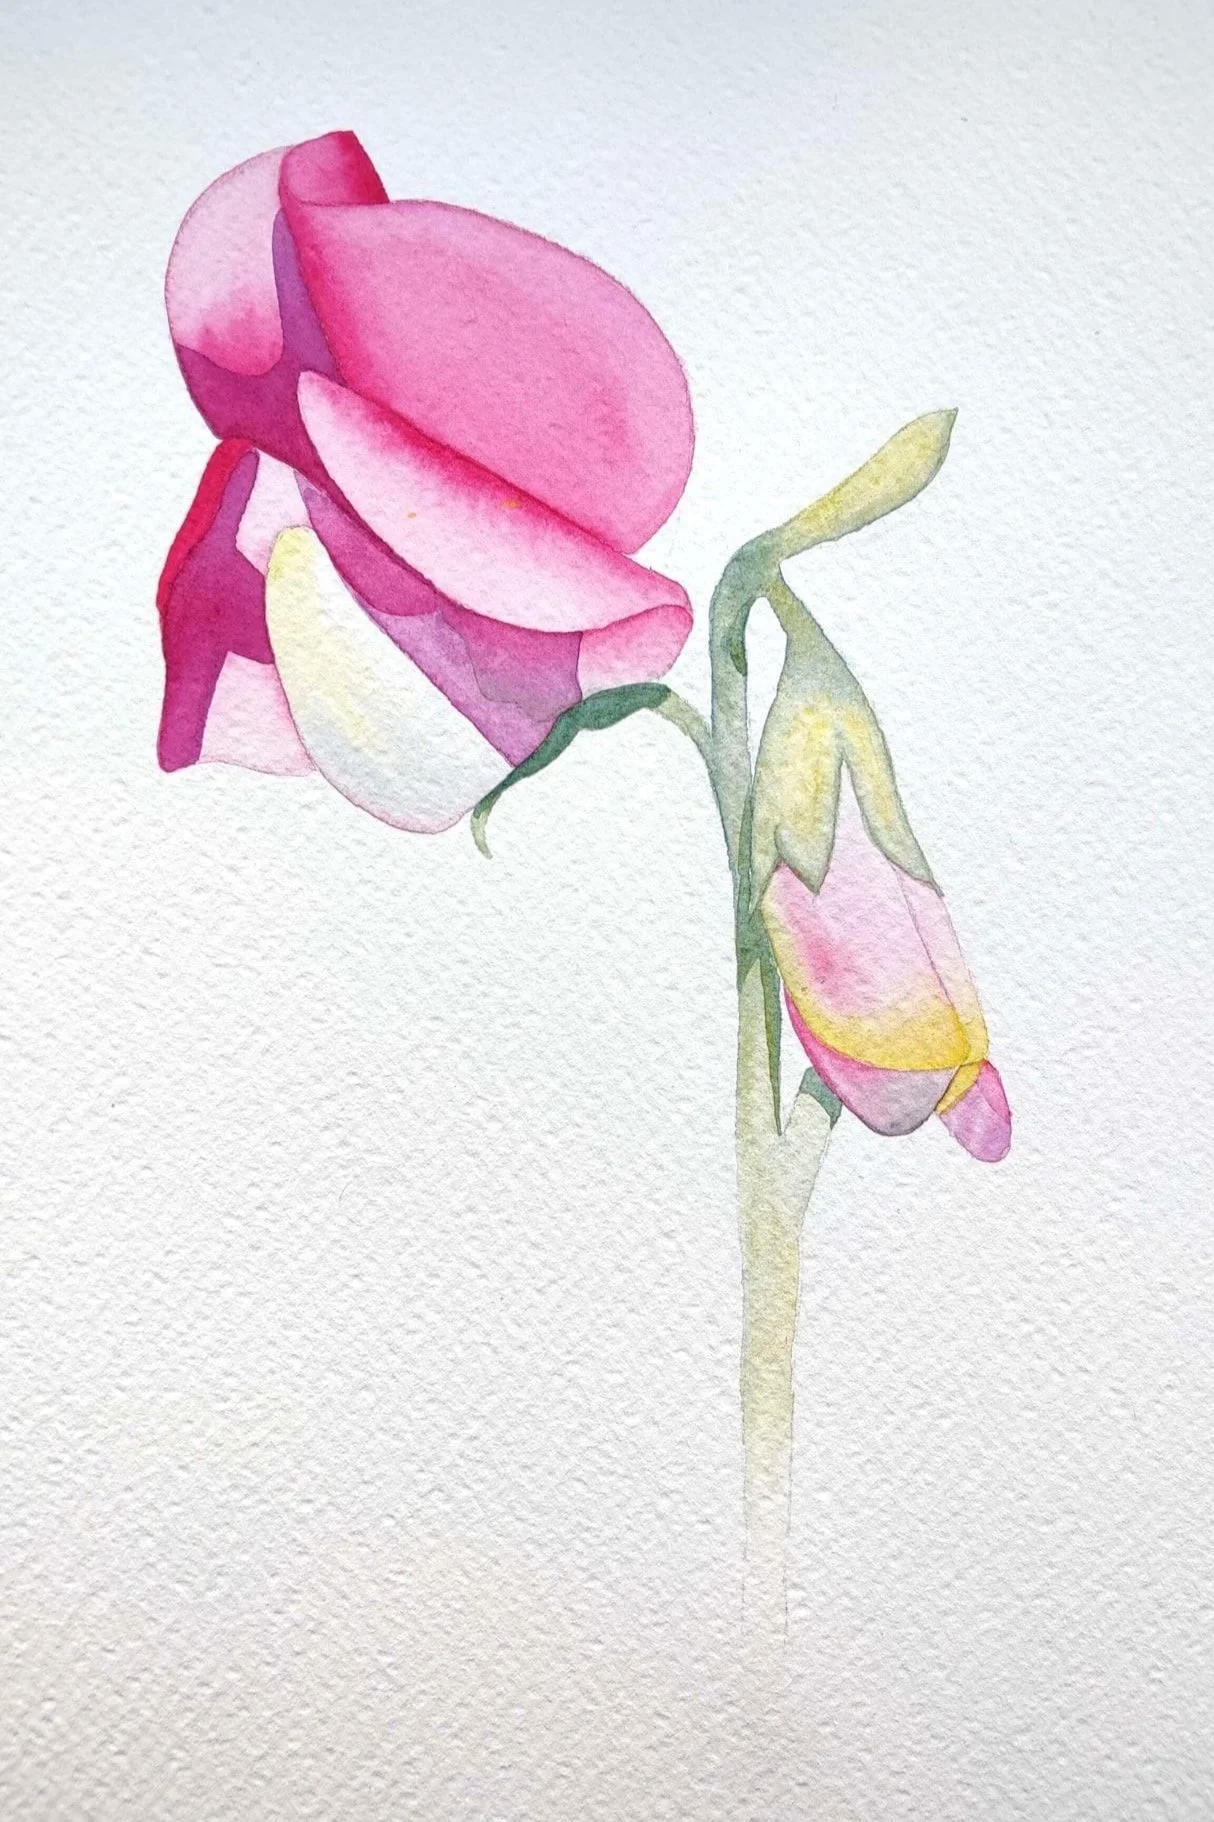
Not too shabby for around 30 mins of painting!
It may not be perfect, but it’s mine, and that’s what matters.
The watercolour techniques Louise uses in this tutorial are mostly wet-on-wet, with a bit of wet-on-dry and some lifting. Funny enough, it’s my knowledge of other watercolour techniques—acquired years ago from watching and learning from Louise—that helped me fix mistakes that wouldn’t have needed fixing if I had just followed the tutorial properly in the first place. Duh.
What I Learned
Watching the whole tutorial first really pays off.
I used to dive straight in, eager to get my brush moving, but I’ve realized that taking the time to watch the entire tutorial first makes a huge difference. It’s not a requirement, of course, but knowing what’s coming helps avoid surprises. Instead of blindly following along, step by step, you get a bigger picture of the painting process. It allows you to anticipate tricky sections, understand why certain colours are chosen, give an overview of the painting techniques and prepare mentally for any challenges ahead. Plus, it’s a great way to get excited about the painting before even touching the paper!
Stick to materials you’re comfortable with.
It’s tempting to rush out and buy every brush, paint, and paper that different artists recommend, but in reality, the best tools are the ones you already know and love. If you have a favorite round brush that feels like an extension of your hand, use that! If you’ve been painting with the same palette for years, there’s no need to suddenly switch it up. There’s something very reassuring about using familiar materials—like a warm hug for your creativity—especially when tackling a new tutorial that might already feel a bit out of your comfort zone.
Don’t sweat the little things.
Watercolour has a mind of its own. Sometimes the paint flows beautifully, and other times it has a completely different agenda. A harsh line that appeared out of nowhere? A colour that dried slightly darker than expected? A petal that doesn’t look exactly like Louise’s? These things happen! And you know what? They don’t really matter in the grand scheme of the painting. Every "mistake" is just a lesson in disguise. The more I paint, the more I realize that watercolour is meant to be unpredictable—embracing that unpredictability is part of the joy.
Step-by-step is the way to go.
When starting a new painting, it’s easy to feel overwhelmed. Where do I begin? Should I plan a background? How many layers will I need? What if I mess up? One of the things I love most about Louise’s approach is how she breaks everything down into manageable steps. She knows exactly what she’s doing, but she never rushes through it all at once. Instead, she takes it one petal at a time, one section at a time. It makes even the most complex paintings feel achievable. Following her method, I never feel lost or panicked—I just focus on what’s right in front of me, and before I know it, the painting comes together beautifully.
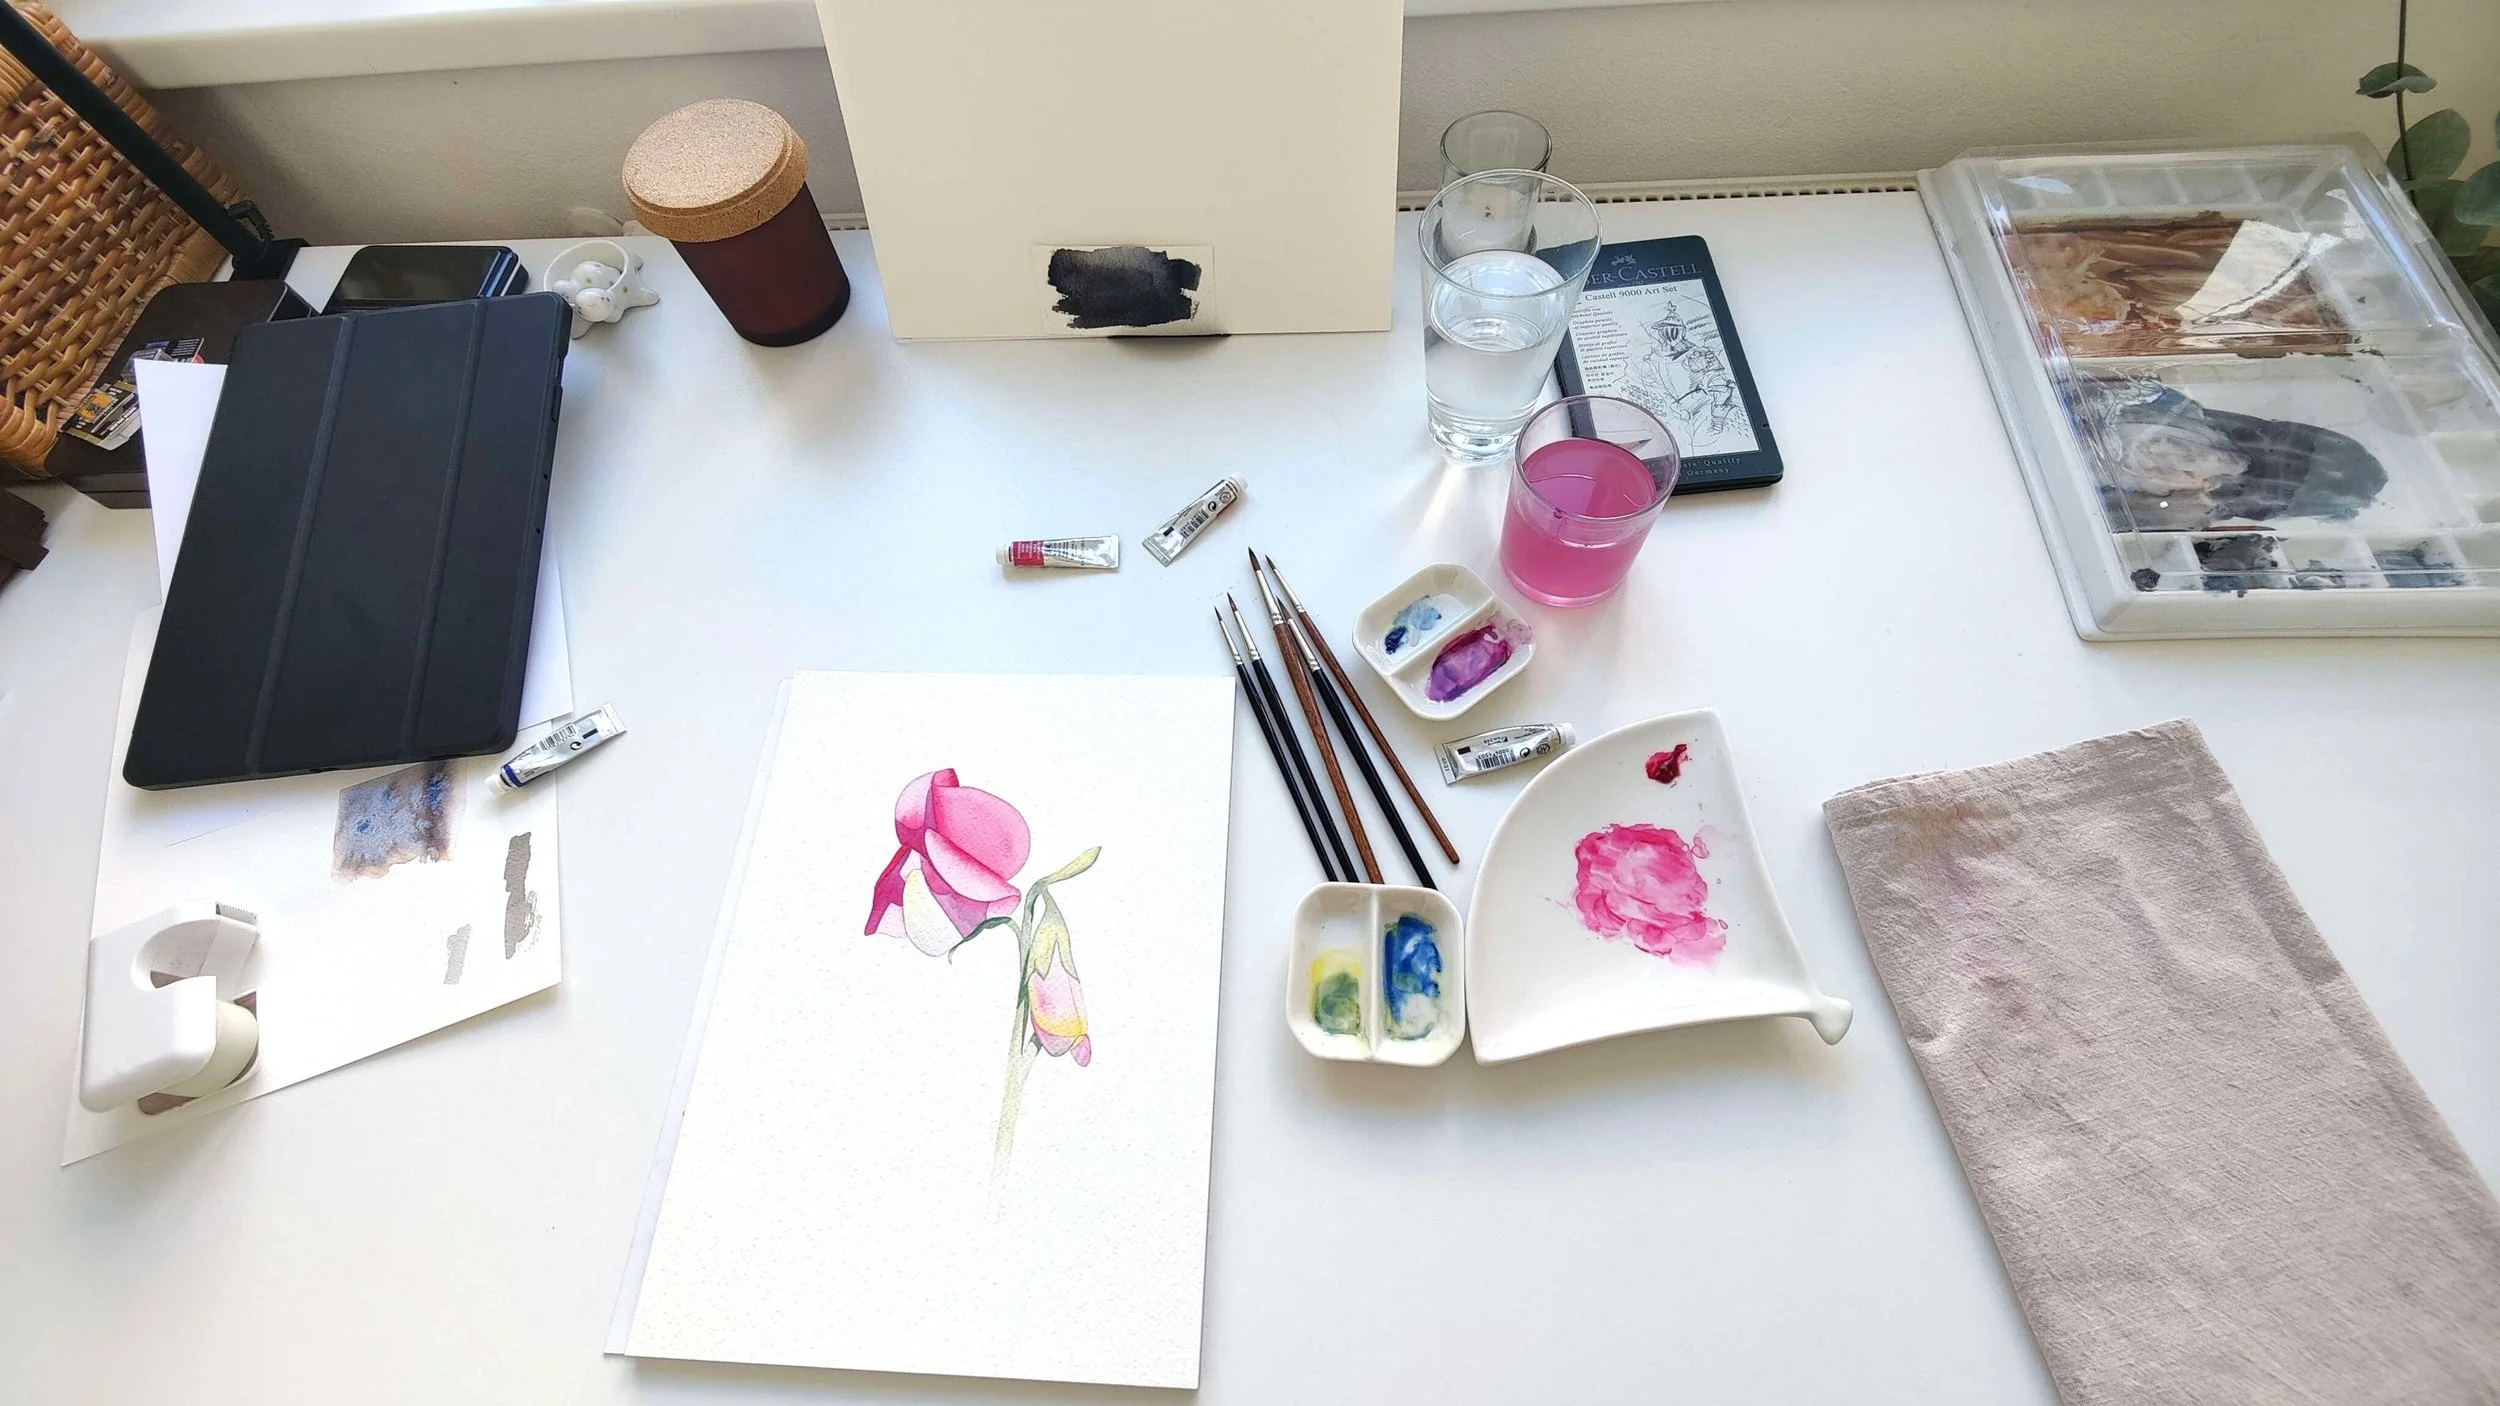
The messy aftermath.
Watercolour will always have its surprises—some welcome, some mildly panic-inducing—but that’s part of the fun. Every tutorial, every painting, every practice, every happy little accident is another step forward. And if nothing else, at least I’ve learned to put my tea cup far, far away from my rinse water.
Now, if you’ll excuse me, I think I hear another tutorial calling my name.
Enjoy painting!
If you are interested in learning to paint in watercolour, Louise have over 200 online, voiced over watercolour tutorials for all skill levels.


