Watercolour Edges: Taming the Wobbly and Avoiding the Ugly
Tips for painting with watercolour

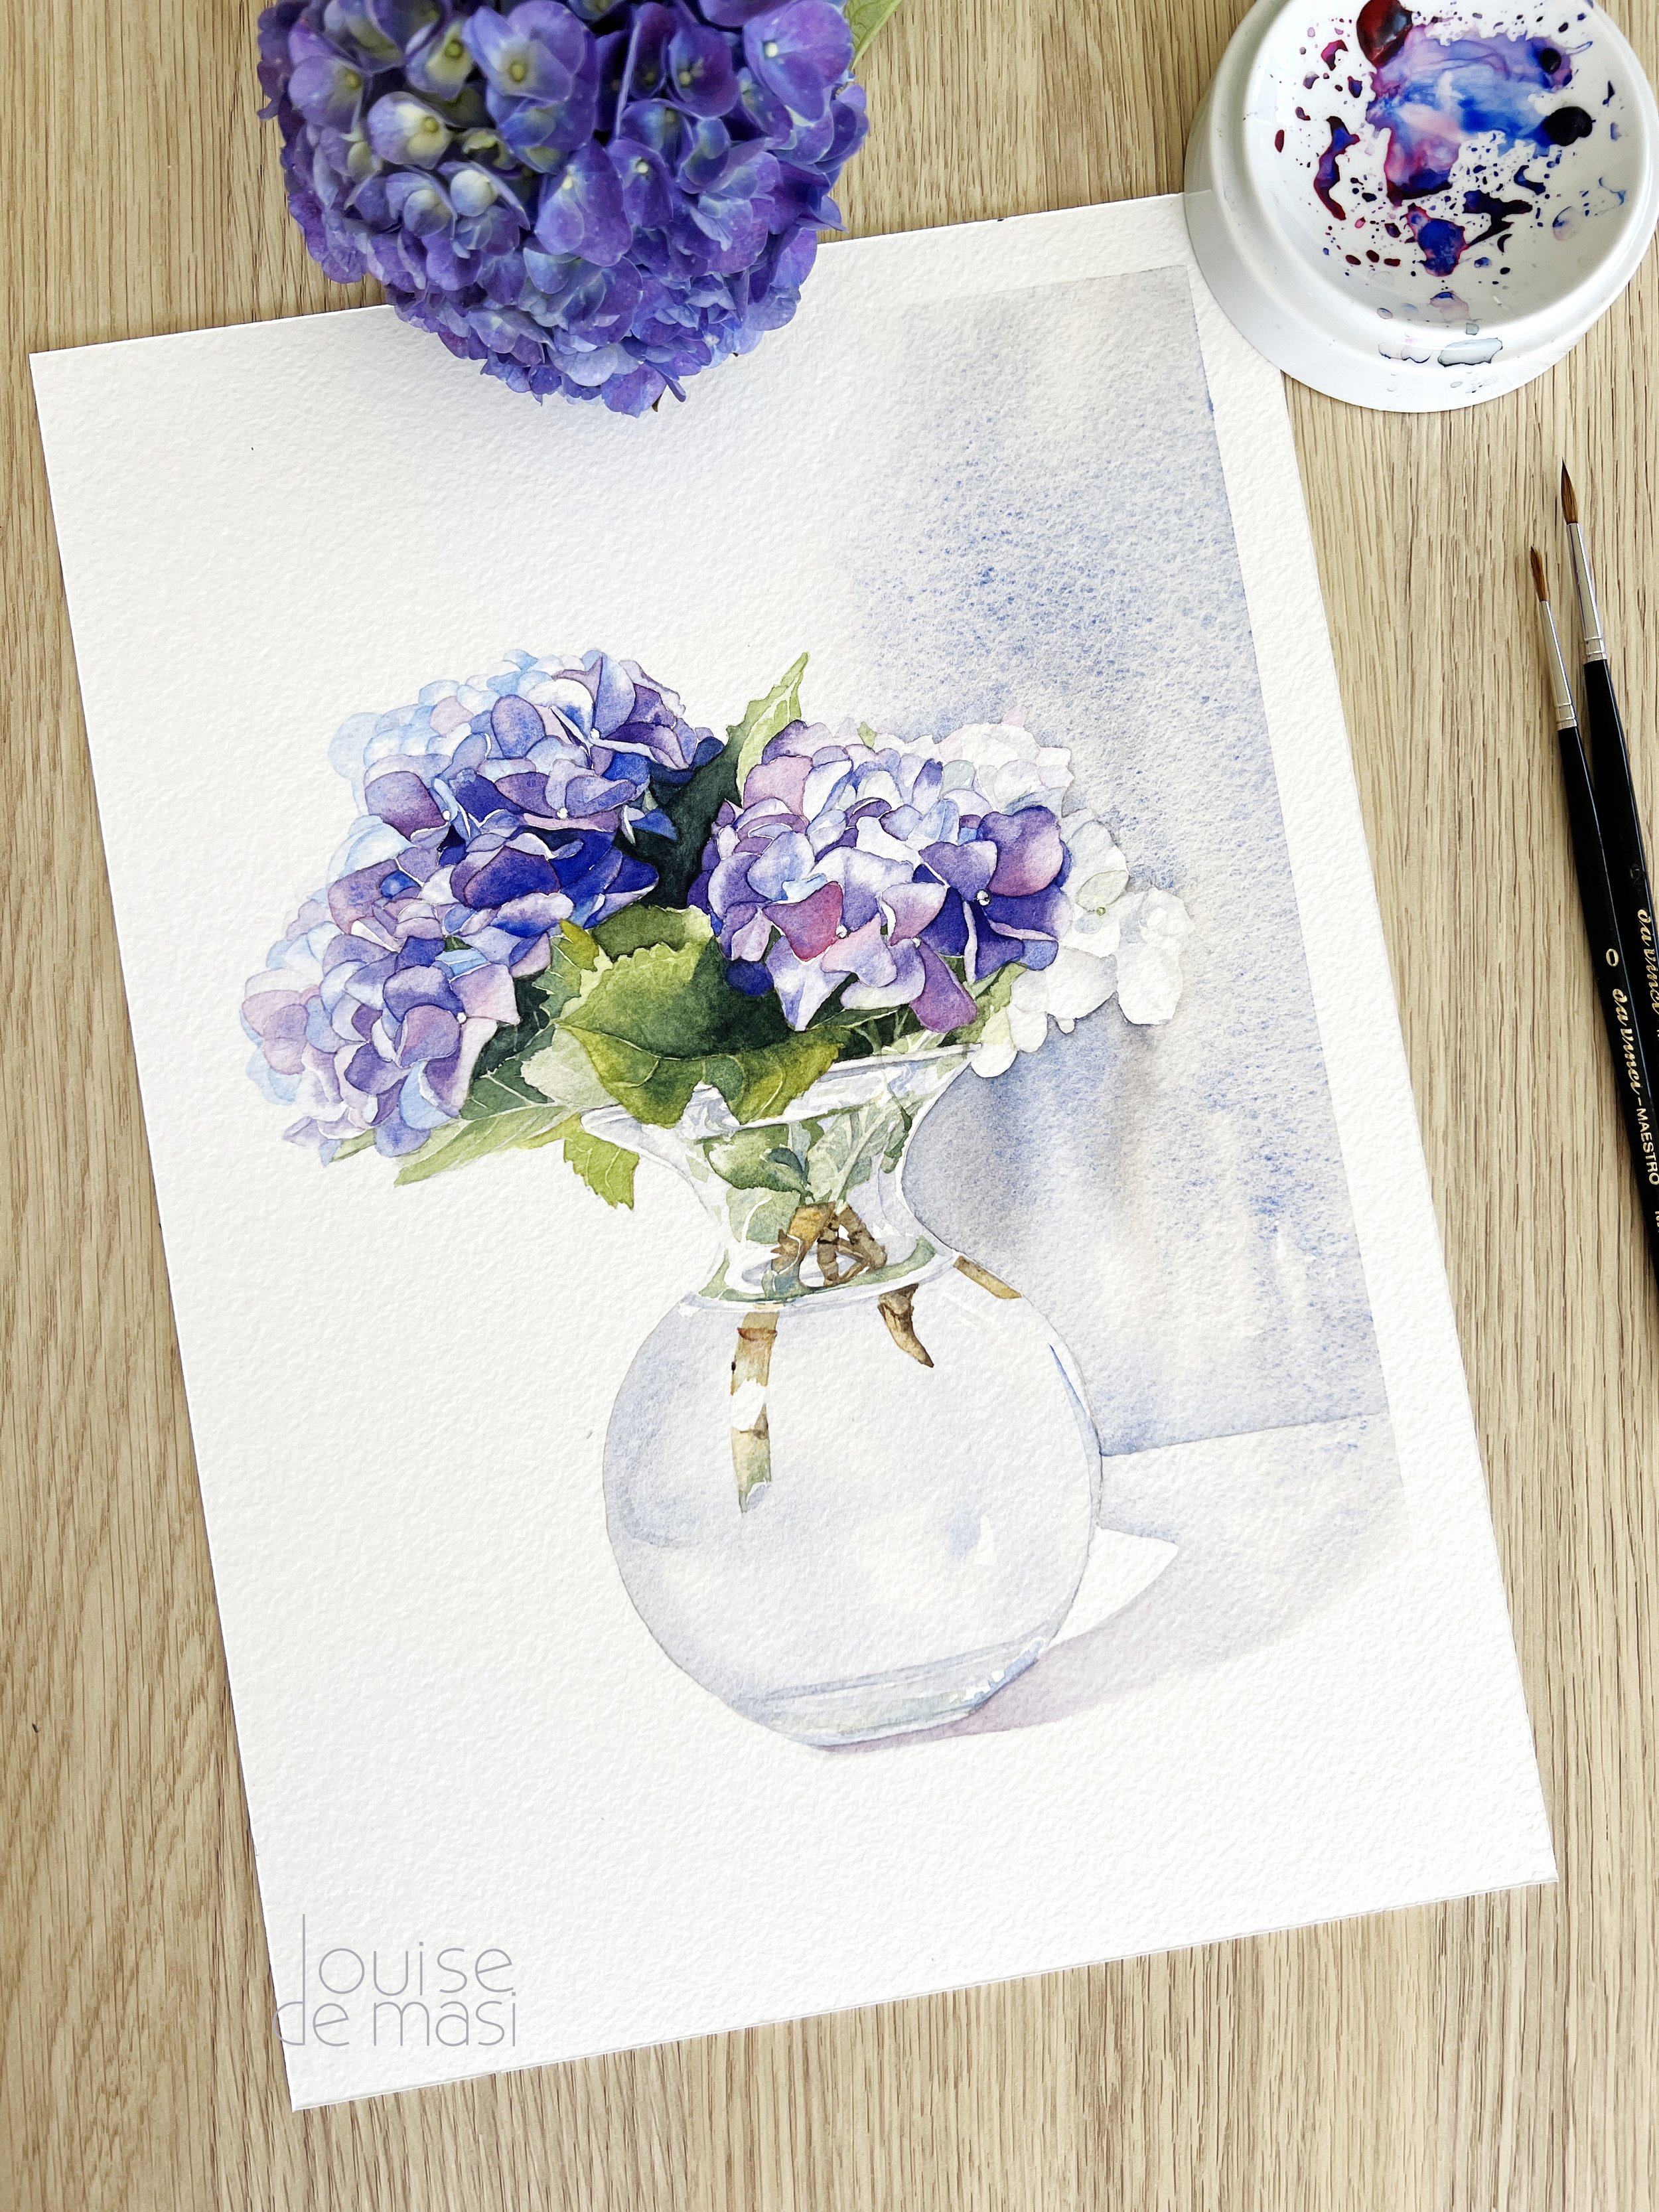
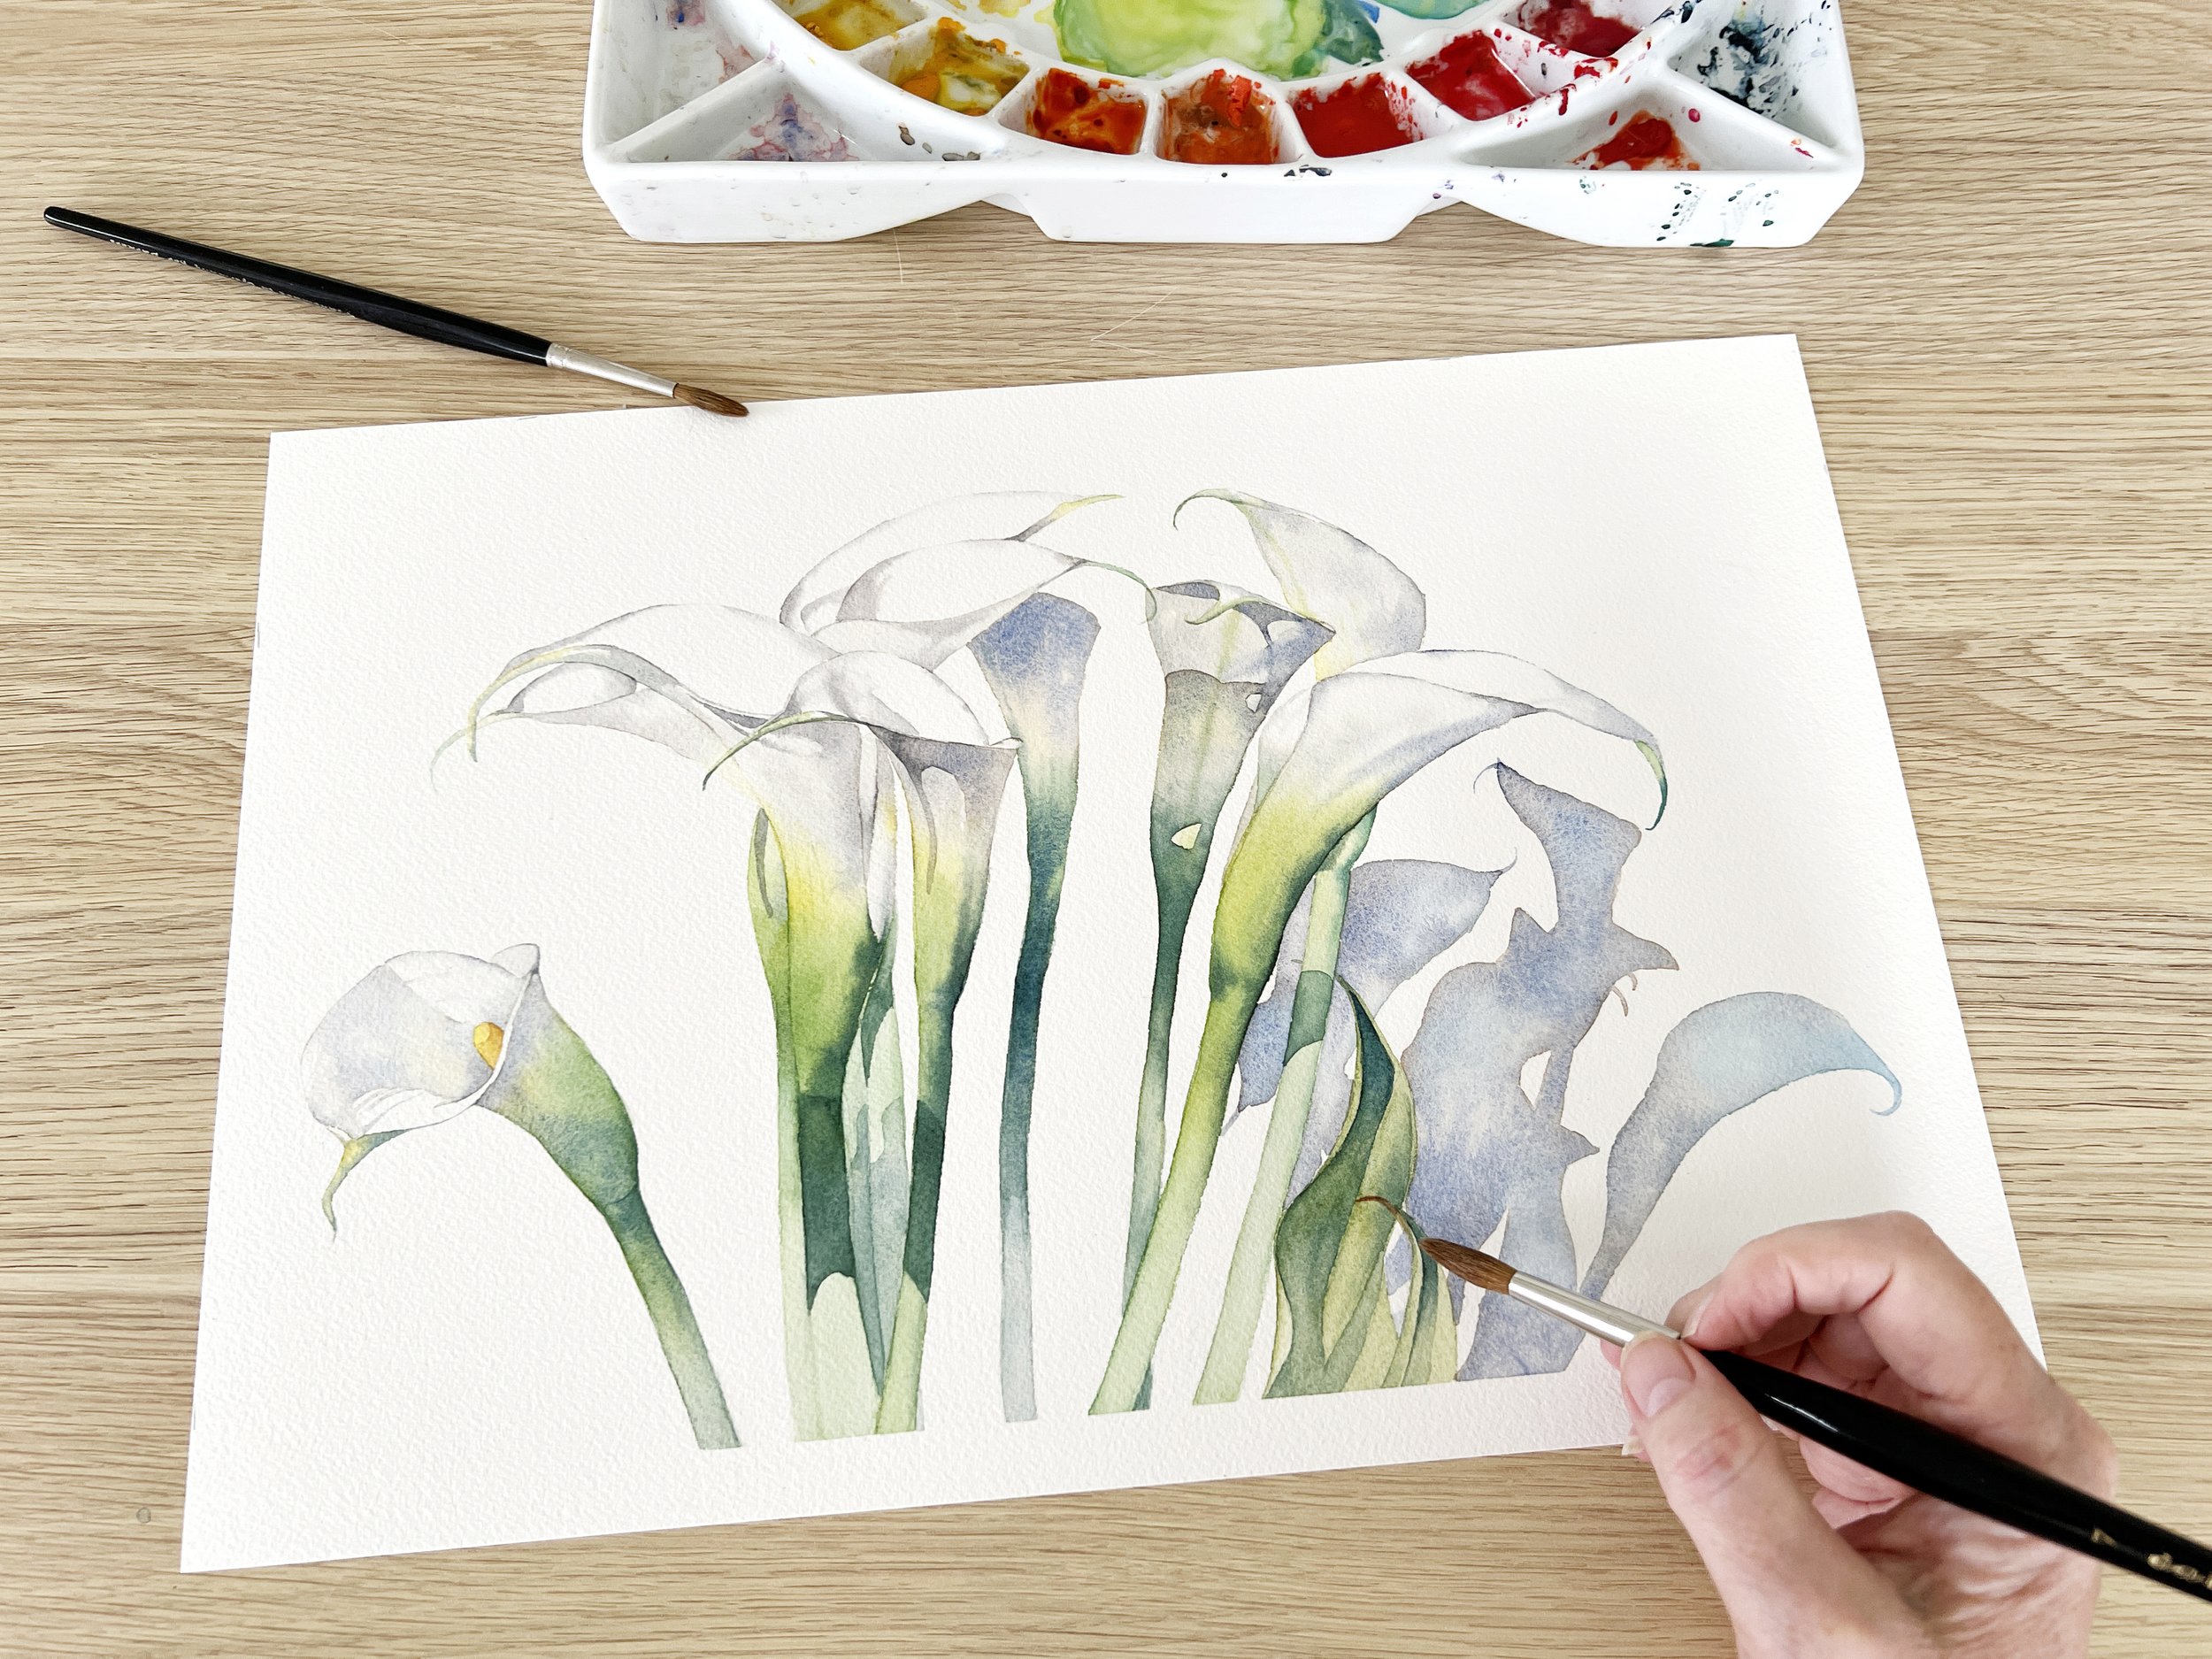
A work in progress watercolor painting of mine - using hard and soft edges throughout.
Edges. They may not sound glamorous, but in watercolour painting, they’re everything. They define shapes, create depth, and tell the story of your painting. But what if your edges aren’t quite behaving? What if they’re wobbly or worse - those dreaded hard edges appear, leaving dark outlines that you never intended?
Don’t worry. You’re not alone.
I’ve had countless questions over the years about the mysterious world of watercolour edges. And today, I want to walk you through a few things I do when watercolour painting to keep them in check - especially when working wet-on-wet, where water control can make all the difference.
The Dreaded Hard Edge
Let’s start with a common issue: those dark, hard lines that appear when the paint flows to the water’s edge and accumulates there. They often happen when you use too much water. As your beautiful watercolour wash dries, the pigment settles around the perimeter, creating a stark line that breaks the softness of your wash.

There's too much water on the paper and too much water in the paint mix. That causes the pigment to accumulate around the edges.

When the paint dries - it leaves behind untidy dark edges.
So how do you avoid this?
I’ve developed a habit that really helps: when I wet the watercolour paper before a wash, sometimes I don’t take the water all the way to the edge of the shape I’m painting. Instead, I stop just short of it - about the width of my brush - leaving a thin dry strip around the outer edge.

When I wet the watercolour paper sometimes I won't take the water all the way to the edge of the subject.
Then, when I apply the wet paint on the wet paper, I take it all the way to that outer line. The paint travels beautifully into the damp paper, spreads evenly, and stops softly at that dry boundary. The result? A gentle, clean edge without the dark outline.
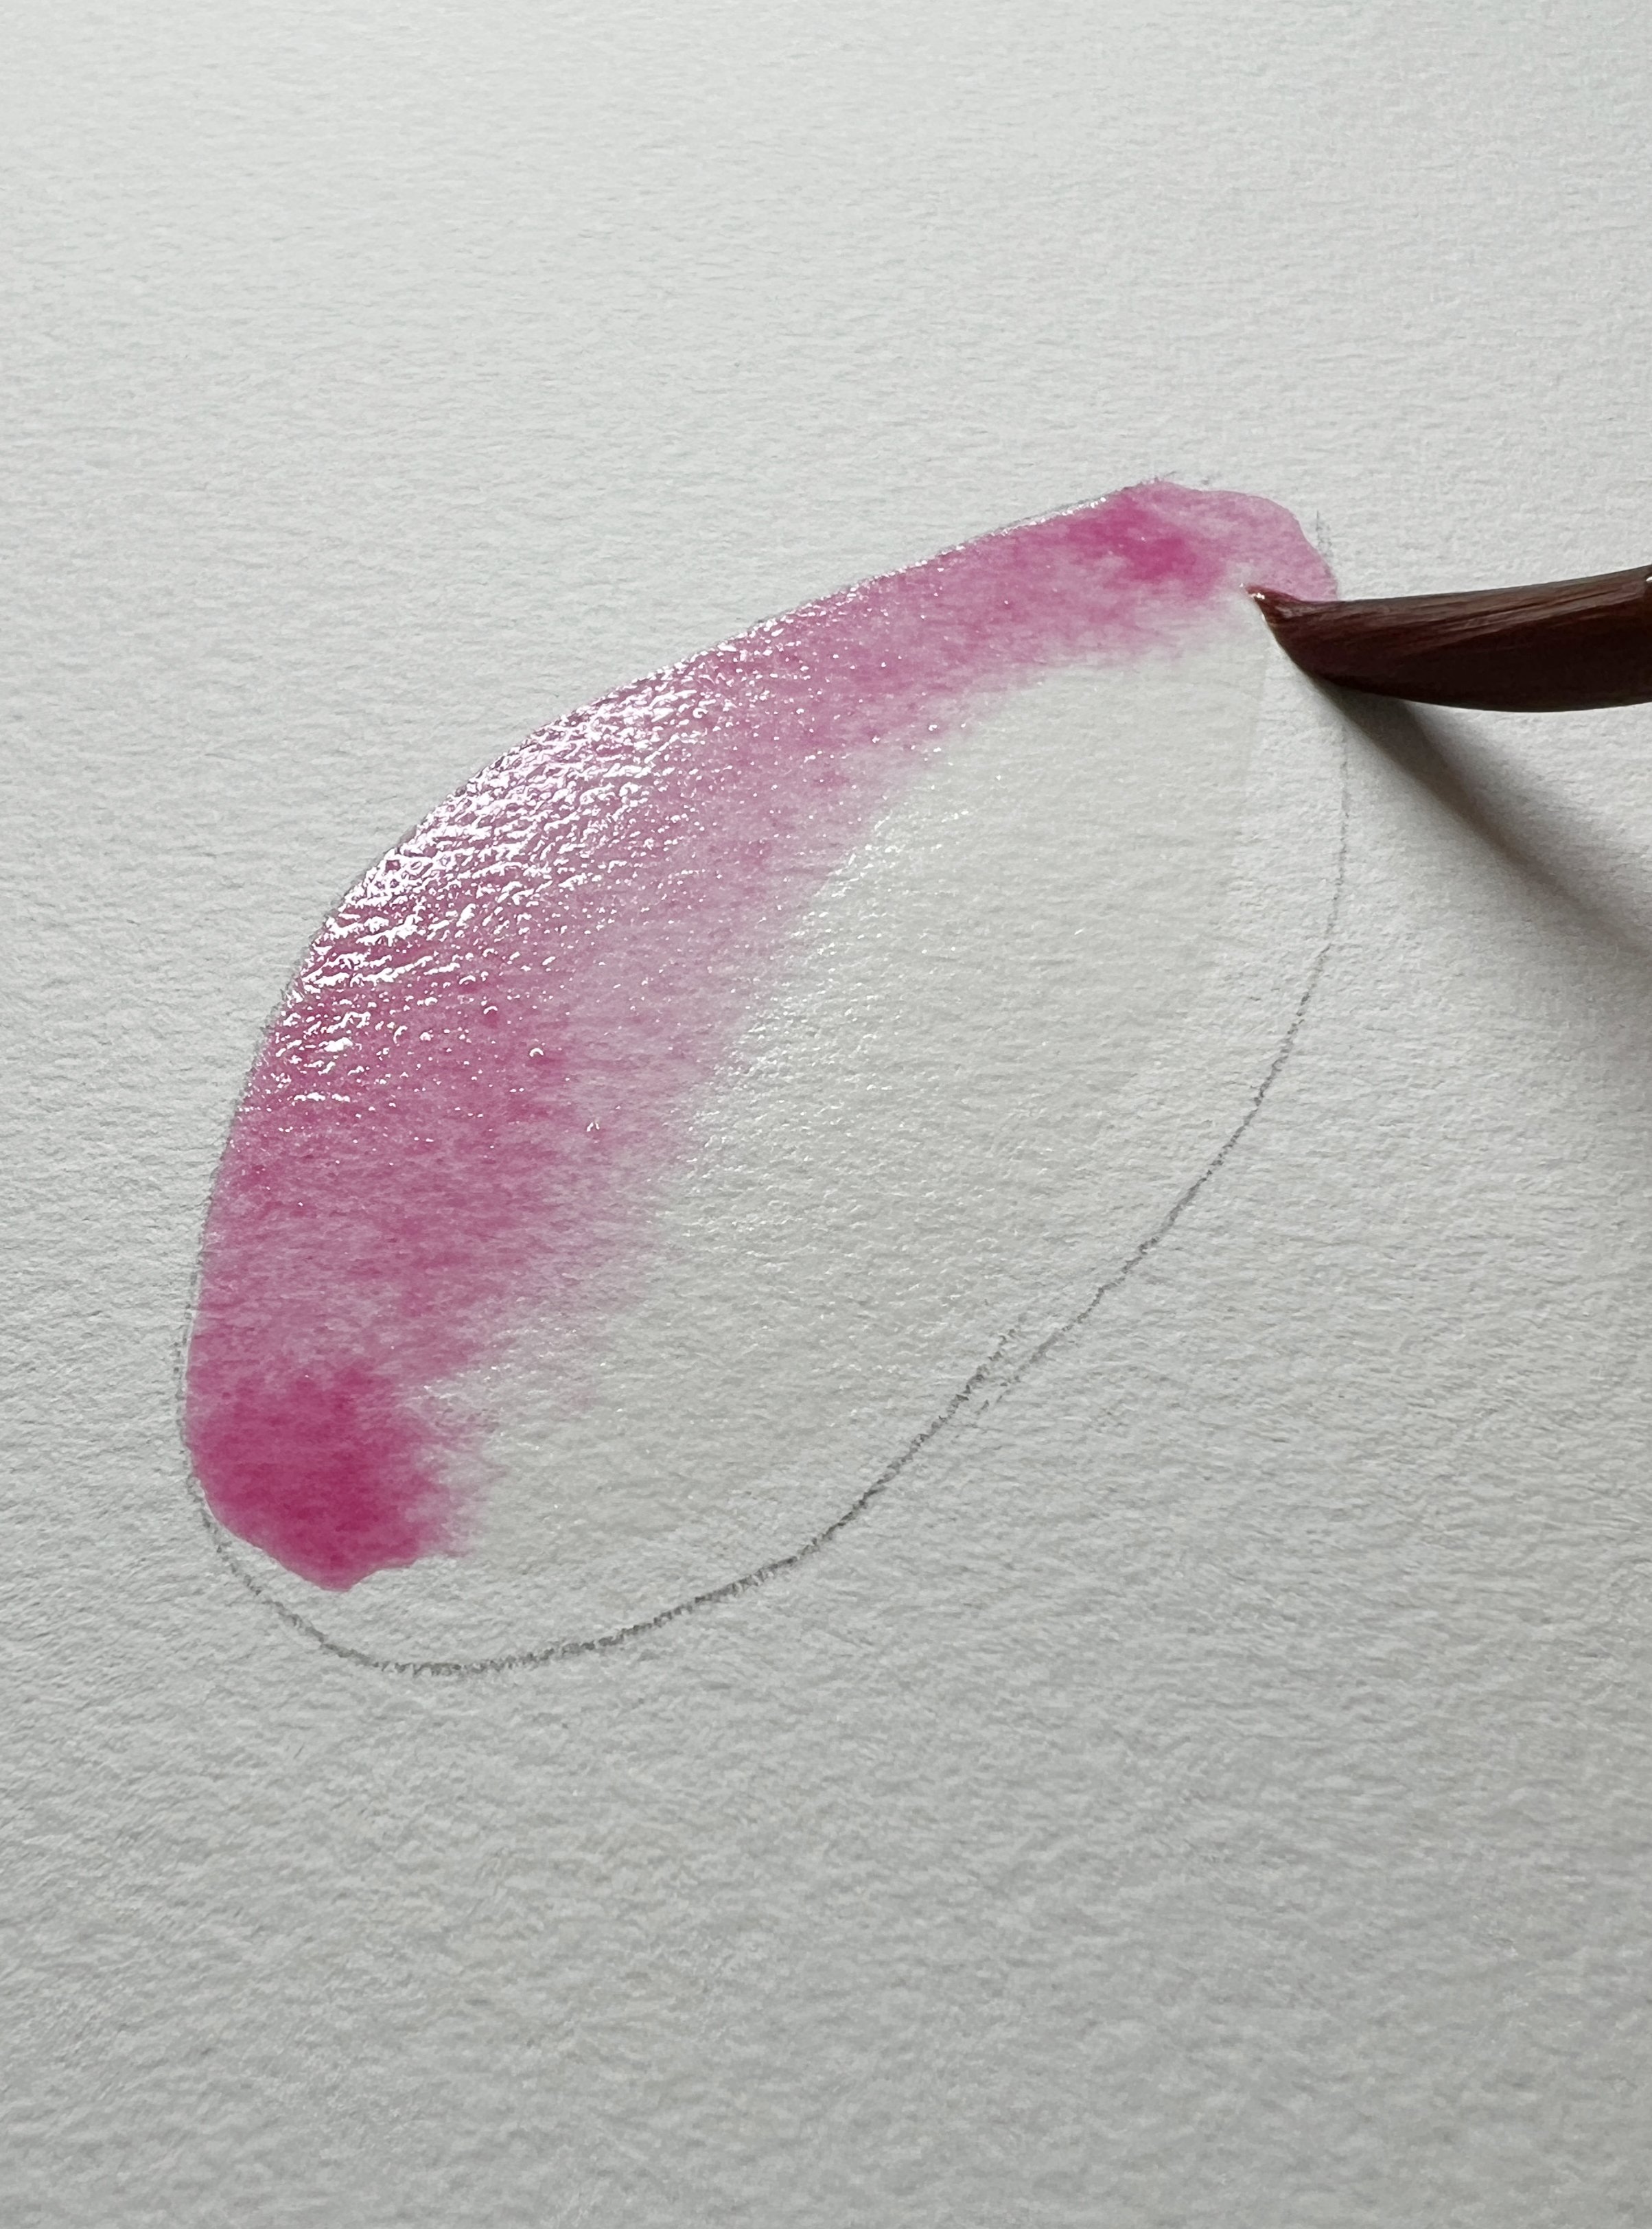
I then paint to the edges.
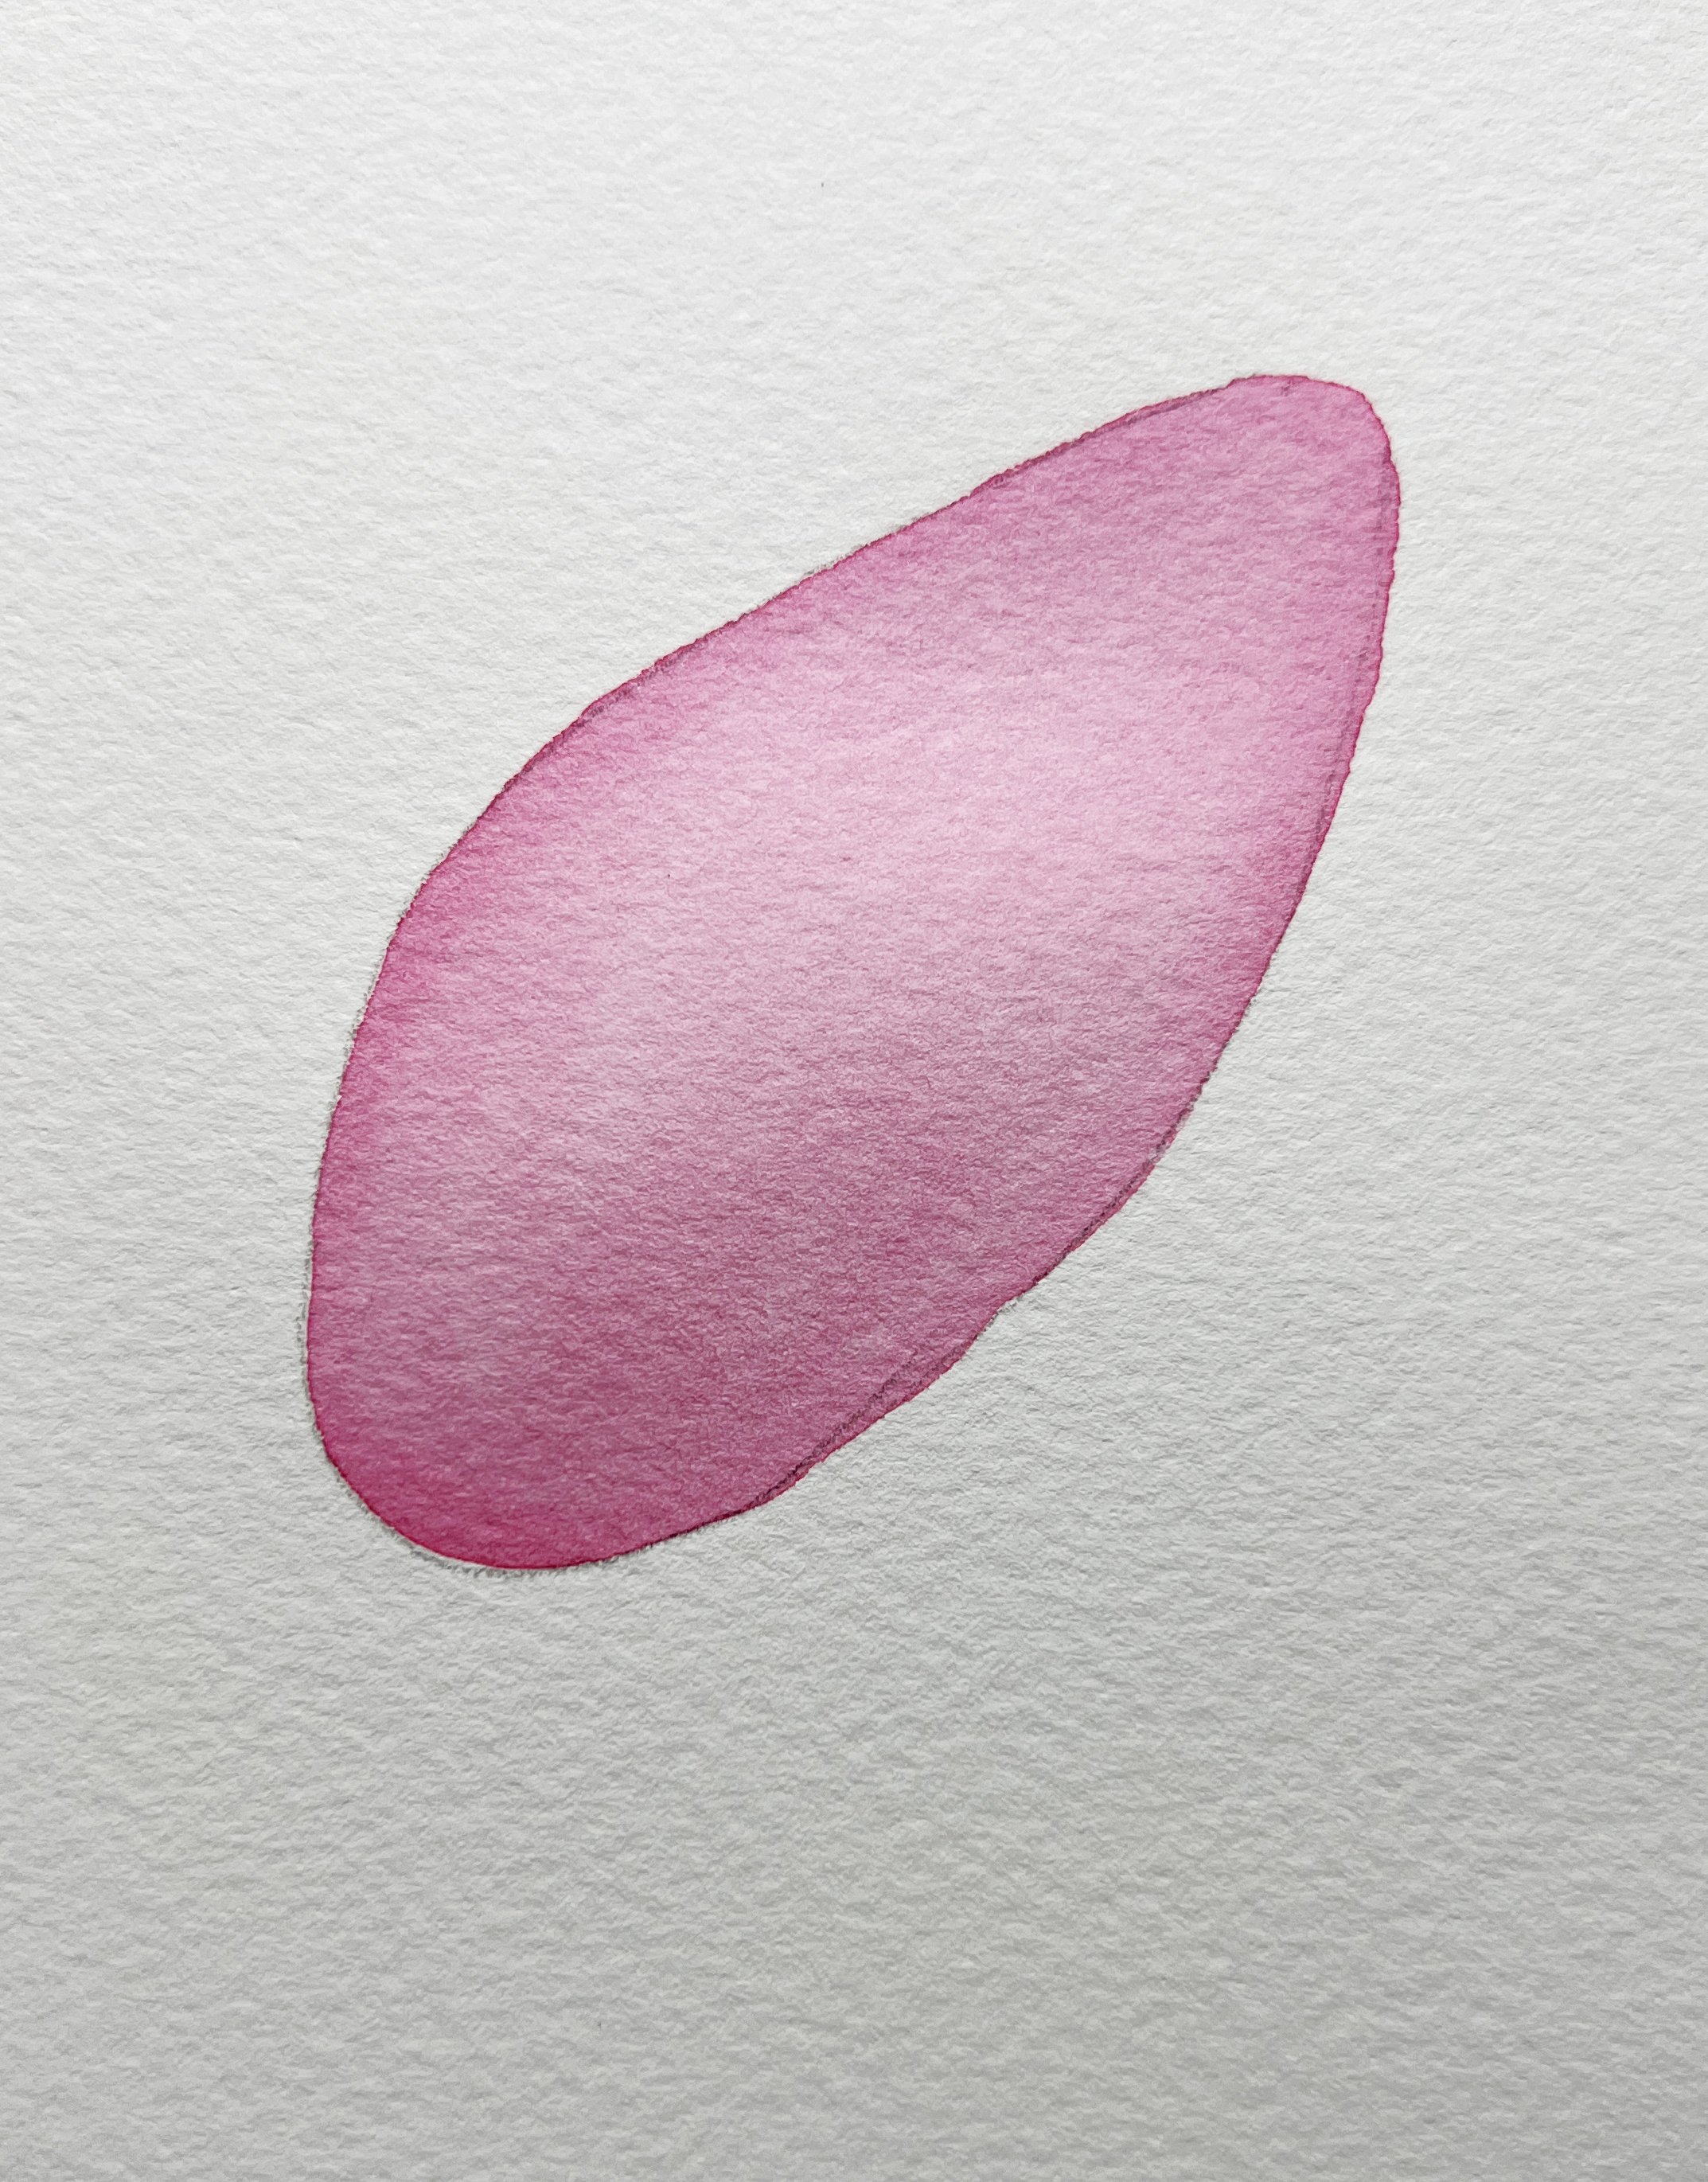
The dried wash with lovely clean edges.
It’s such a simple adjustment, but it works wonders.
Water to paint ratio
A big part of how your edges behave comes down to one simple but powerful thing: your water-to-paint ratio. If your brush is loaded with too much water, the pigment will pool and drift unpredictably. If it’s too dry, you’ll get scratchy, uneven marks.
The sweet spot lies in understanding the relationship between water and pigment - how they dance together on the page.
There are so many watercolour techniques to learn - you'll learn them a lot quicker when you start taking tutorials.
Getting the right balance is crucial - not just for colour intensity, but for controlling your edges. Once you get a feel for how water and pigment dance together on the page, everything becomes much easier.
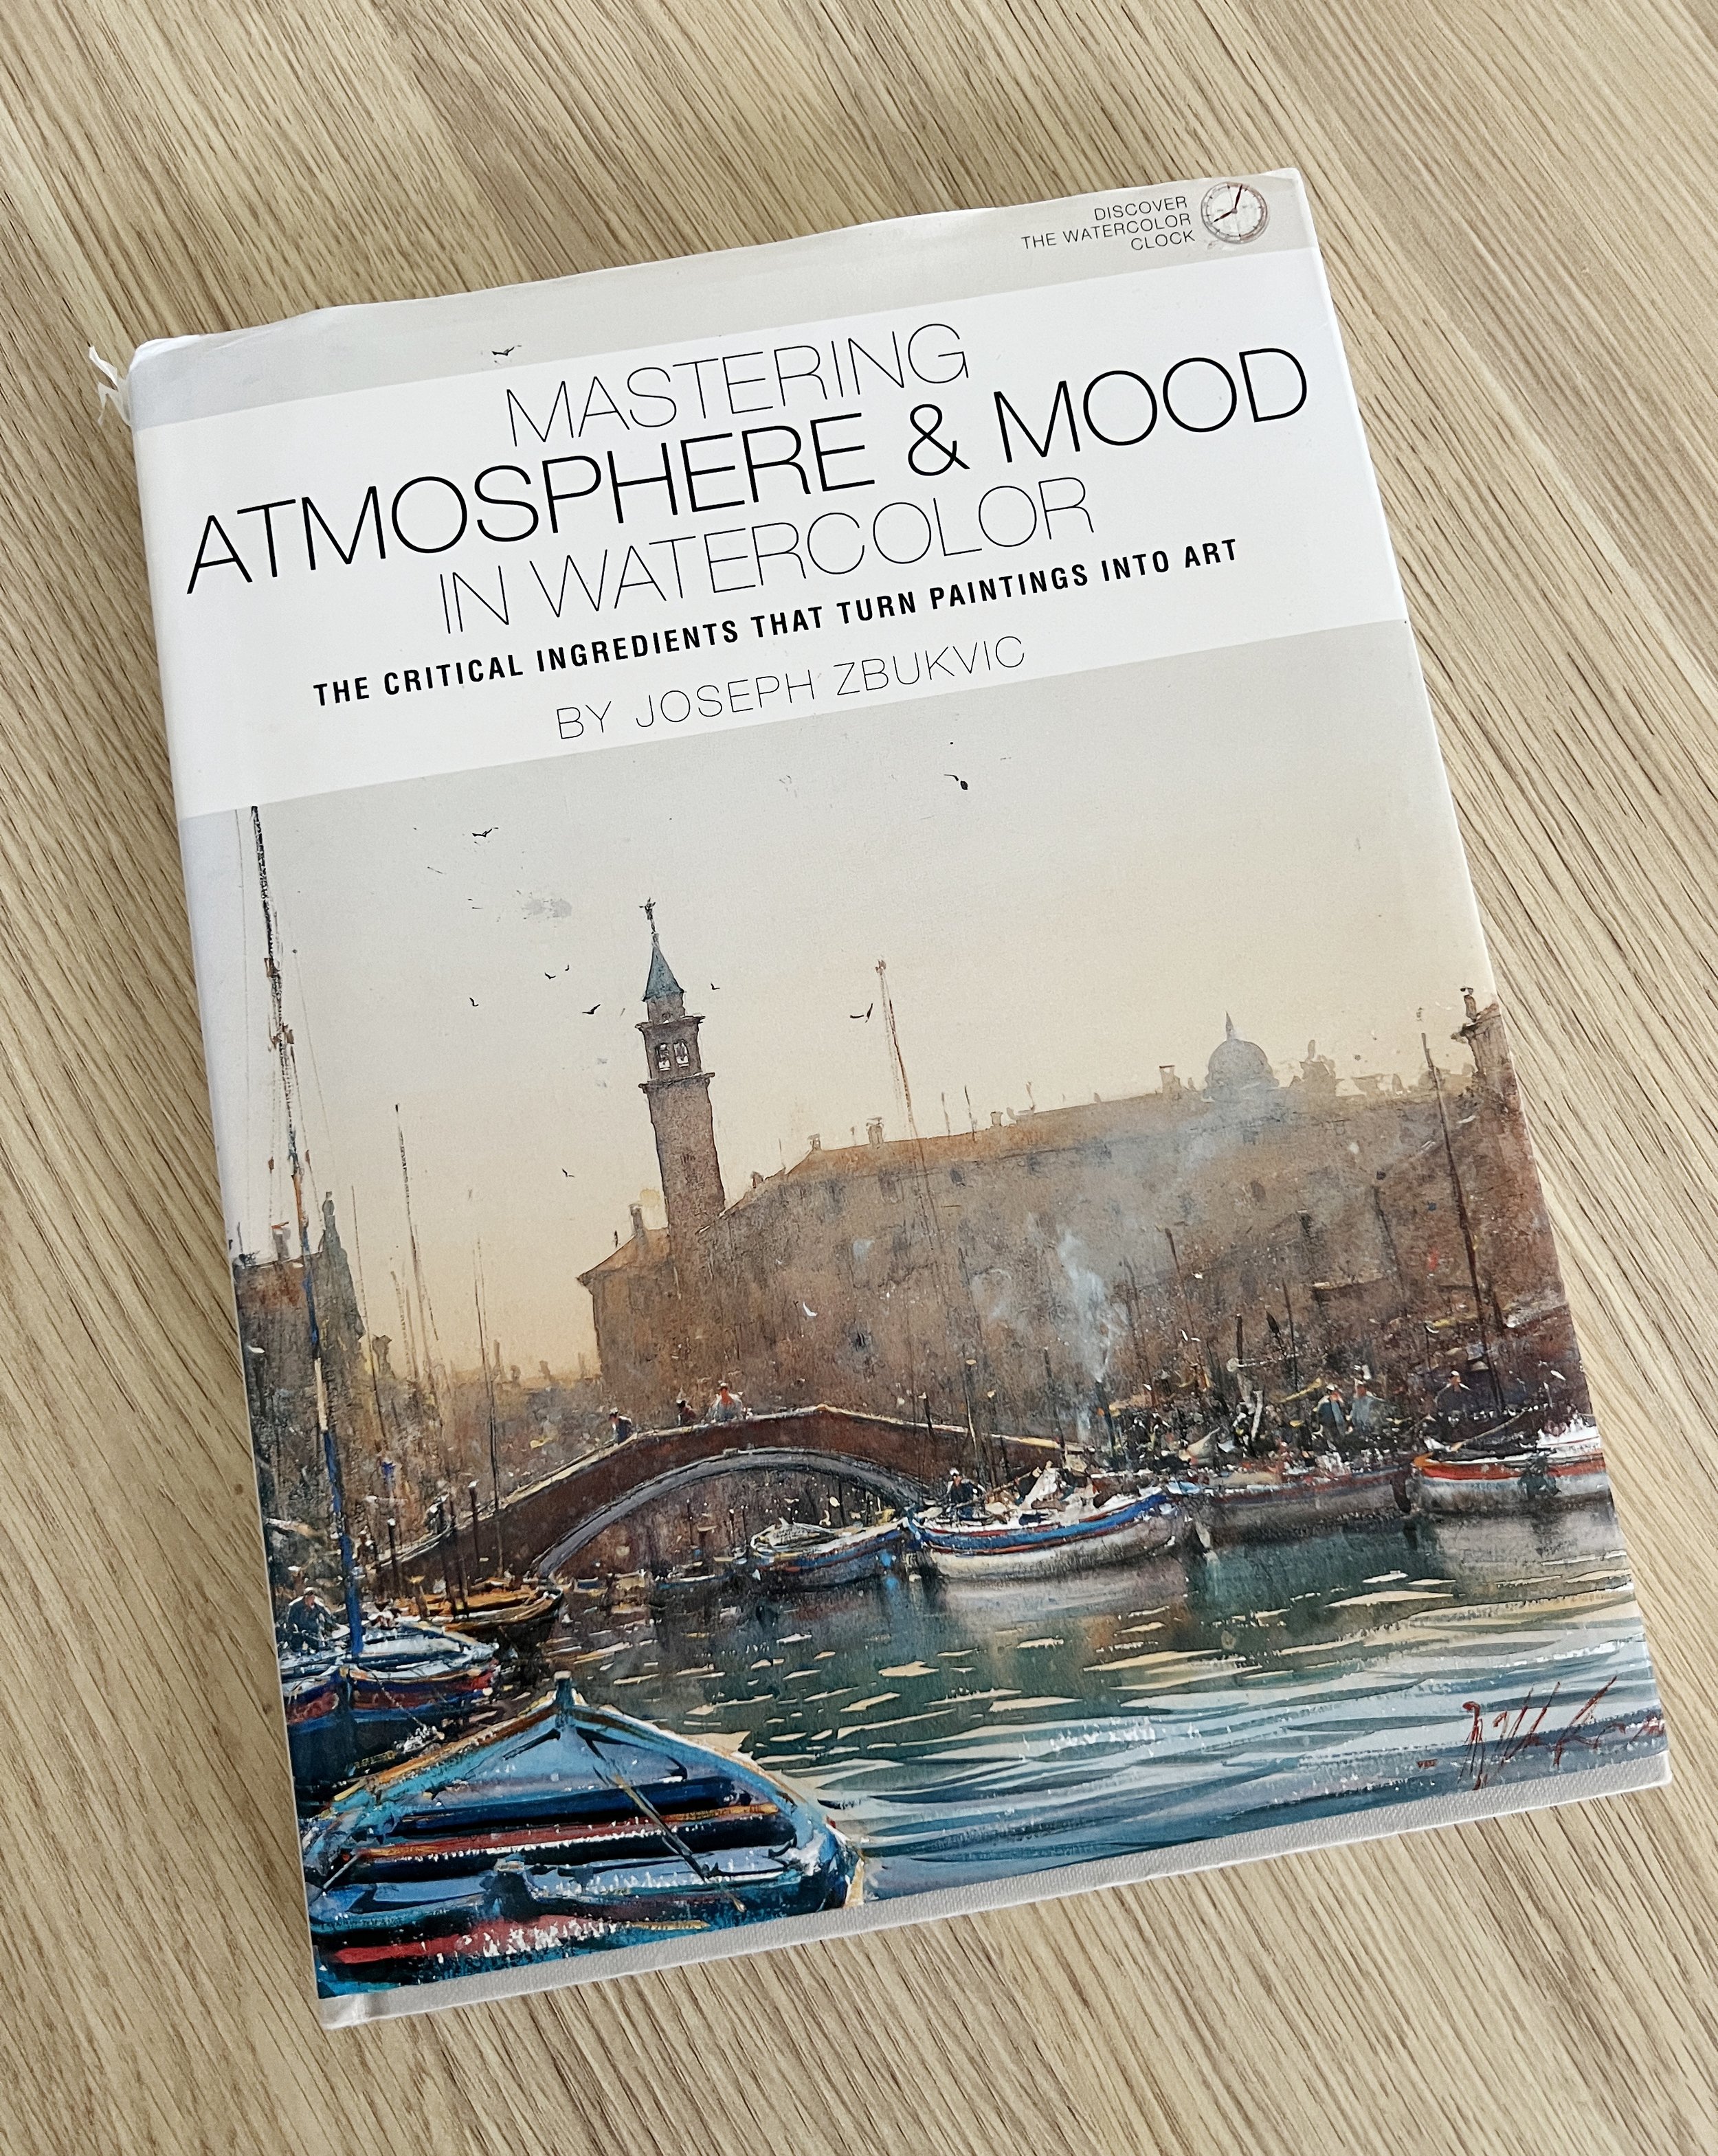
Joseph Zbukvic's book 'Mastering Atmosphere and Mood in Watercolor.'
One of my favourite ways to understand this is through Joseph Zbukvic’s method of describing paint consistencies in everyday terms: tea, milk, cream, and butter. He talks about this in his book: 'Mastering Atmosphere and Mood in Watercolour' - pictured above.
Tea consistency is highly diluted - perfect for pale washes and sky backgrounds where you want the colour to be soft and transparent.
Milk consistency has a bit more body and is great for general layering where some colour strength is needed, but you still want flow.
Cream consistency is richer and more saturated, ideal for building mid-tones or areas that require a bit more impact.
Butter consistency - that’s the thickest of them all. Often straight from the tube, this is what I use when I need deep accents and dark colours that stay put, especially on wet paper.
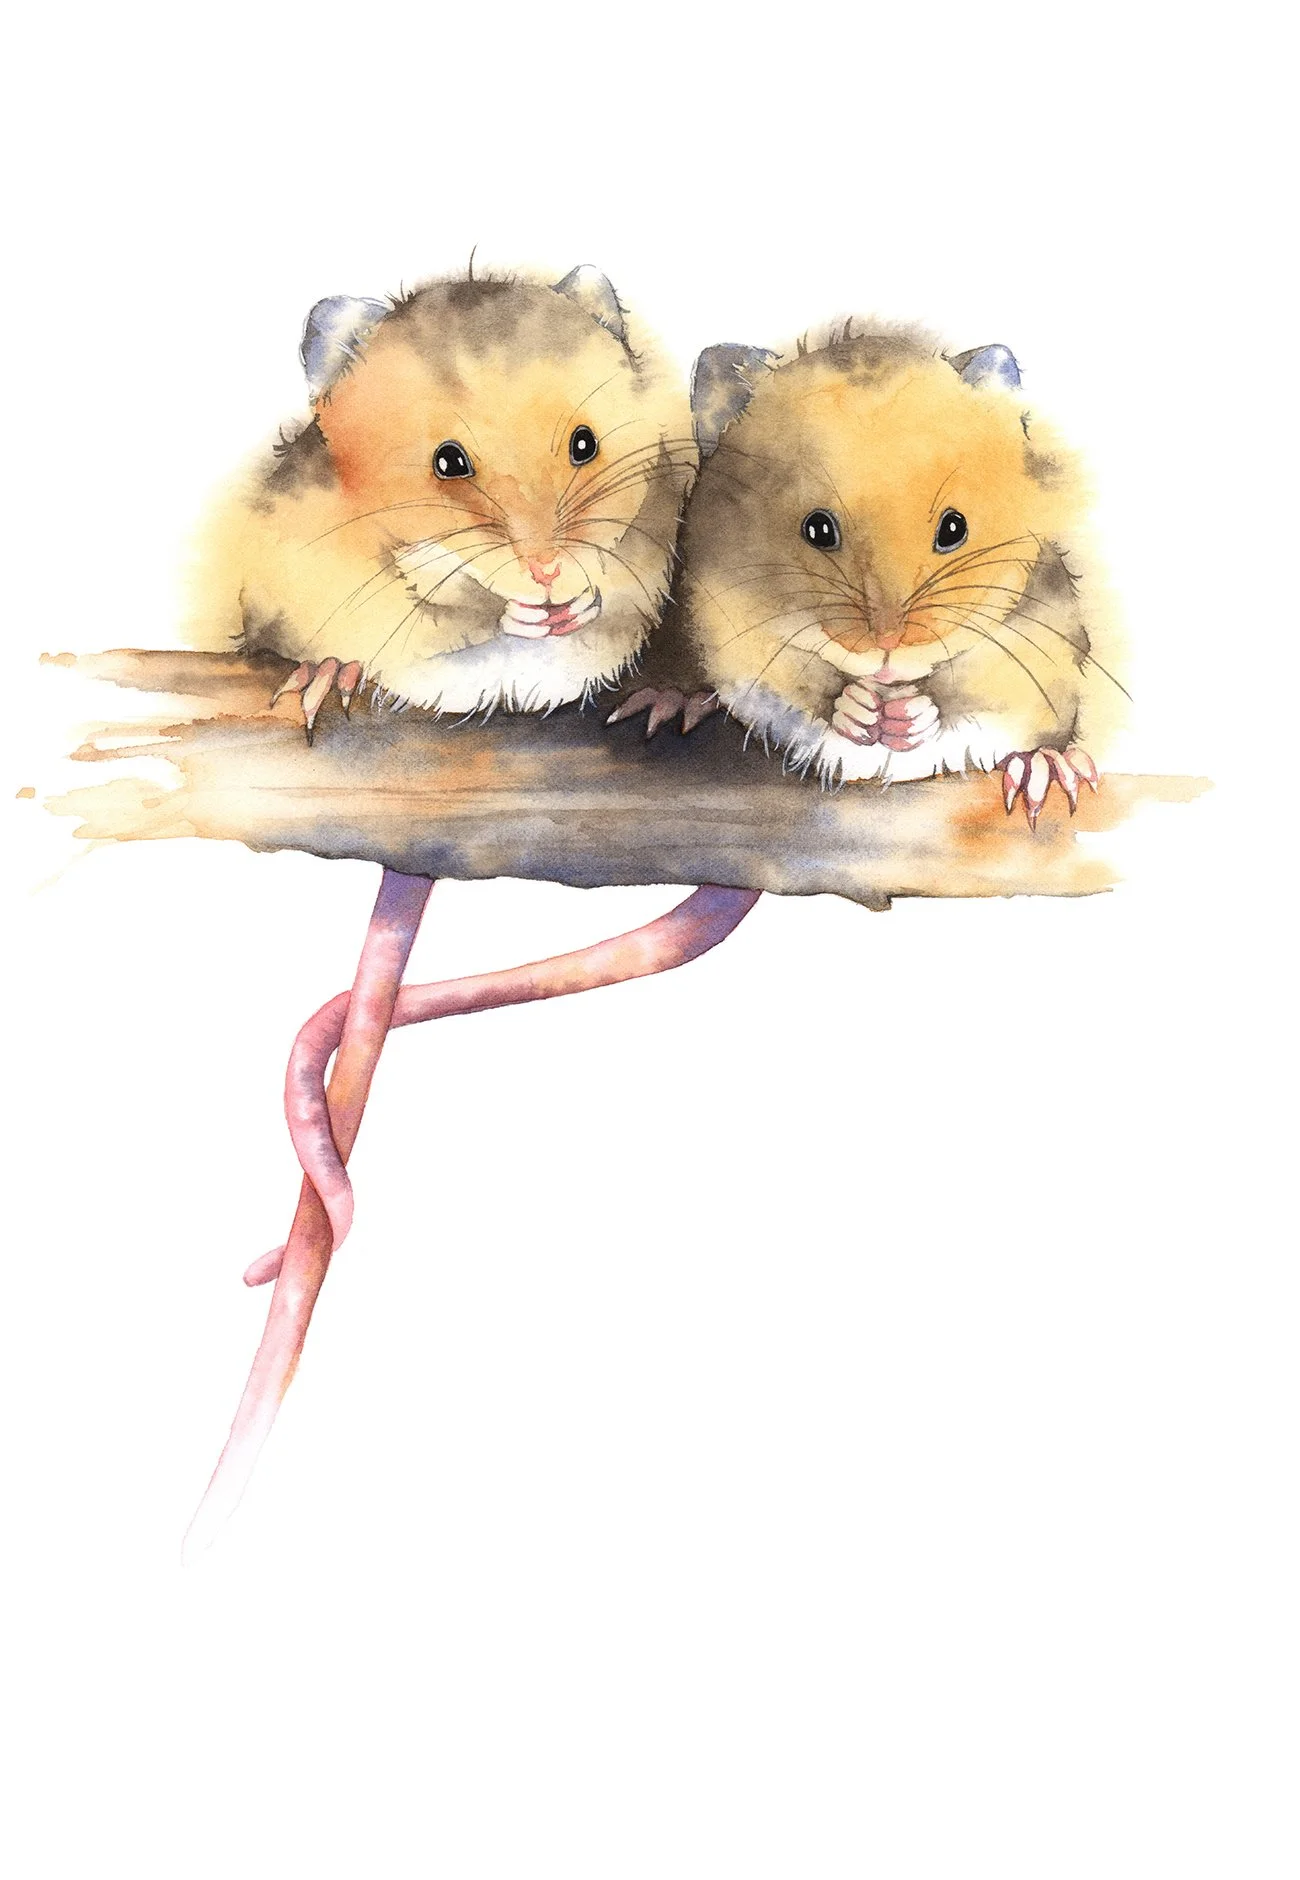
In my tiger painting, for instance, I used butter-consistency paint for the stripes. The paper was wet, and I wanted the stripes to stay where I placed them. That thick, buttery, almost dry paint gave me exactly what I needed - strong colour that didn’t bloom or bleed too far.

The black paint mix I used for the stripes on this tiger was butter consistency.
Familiarise yourself with these consistencies. Play with them. Test how they behave on dry versus wet paper. You’ll quickly see how they affect not just your colours, but your edges too.
Wobbly or Jagged Edges?
If your edges are wobbly or uneven, the culprit is often a shaky hand or brush that doesn’t glide confidently along the paper. This is totally normal, especially when you’re just starting out.

The best remedy? Practice slow, deliberate brushstrokes. Try painting shapes with just water first, then follow the same path with pigment. This builds your muscle memory and steadiness. I have written a blog post with helpful brush exercises here.
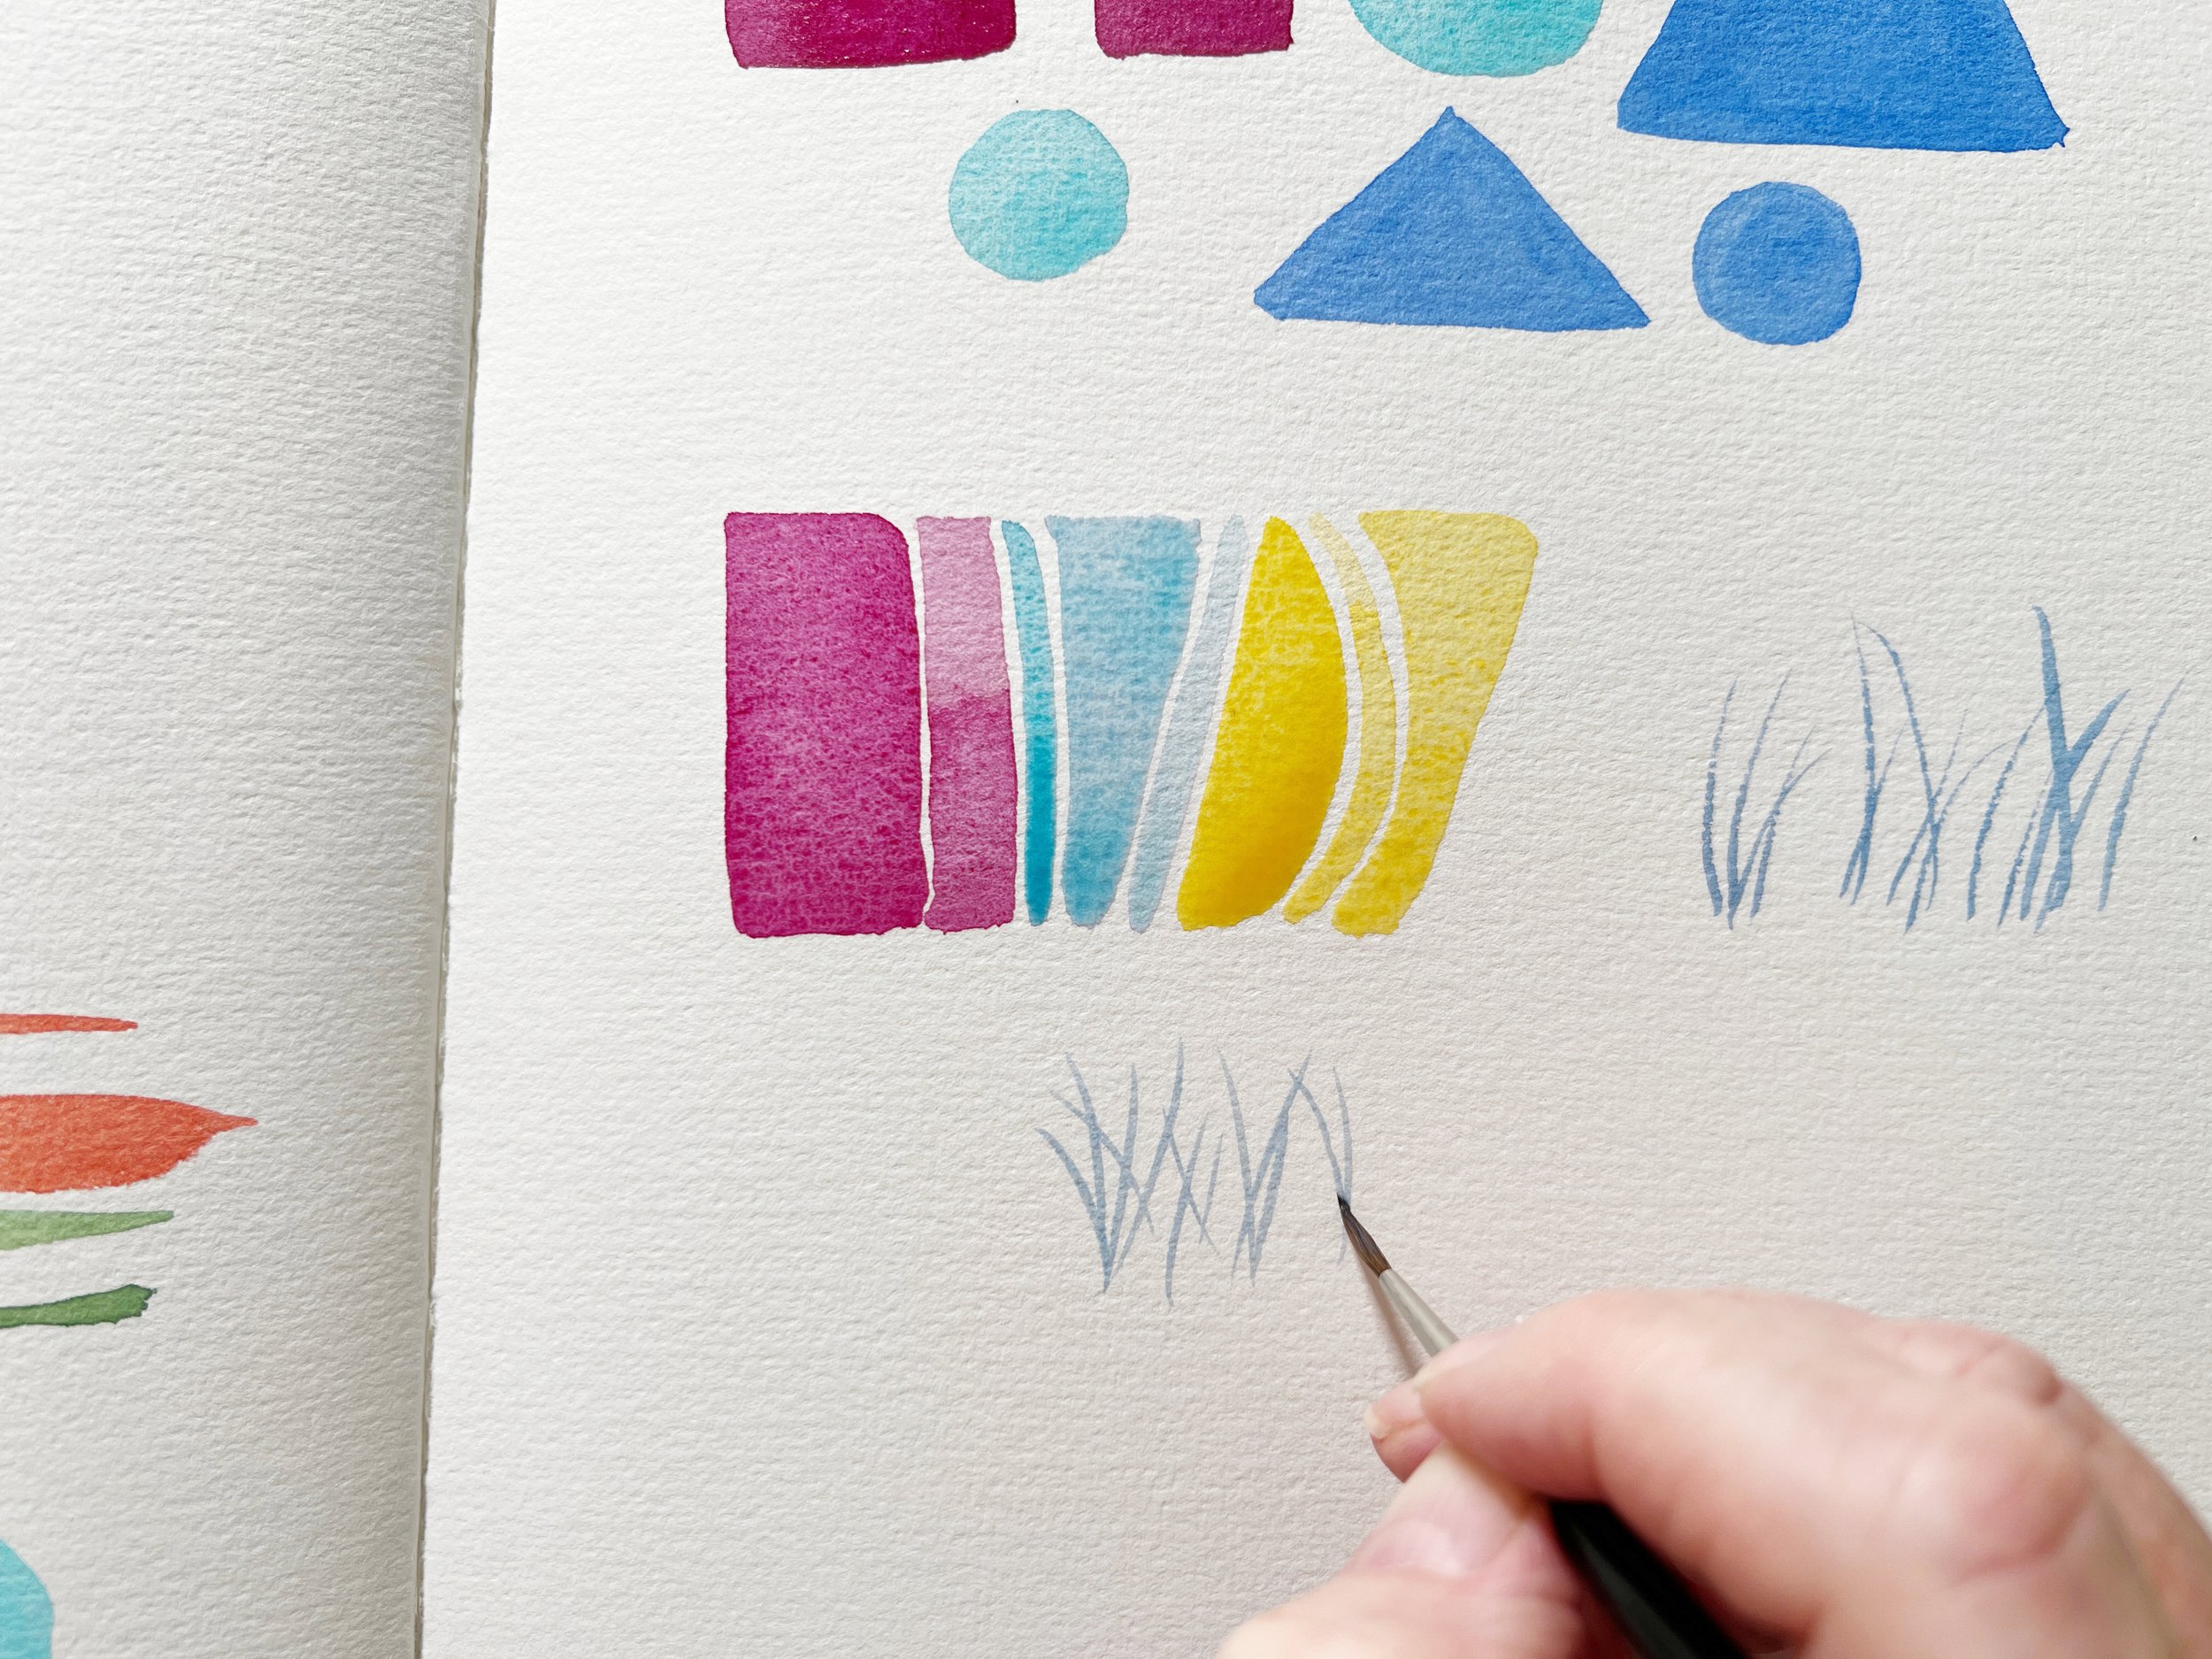
Beginners can benefit from practicing brush strokes before they start painting.
It’s also helpful to use a brush with a good point - something that holds its shape and gives you control. (You know I love my Da Vinci Maestro brushes!)
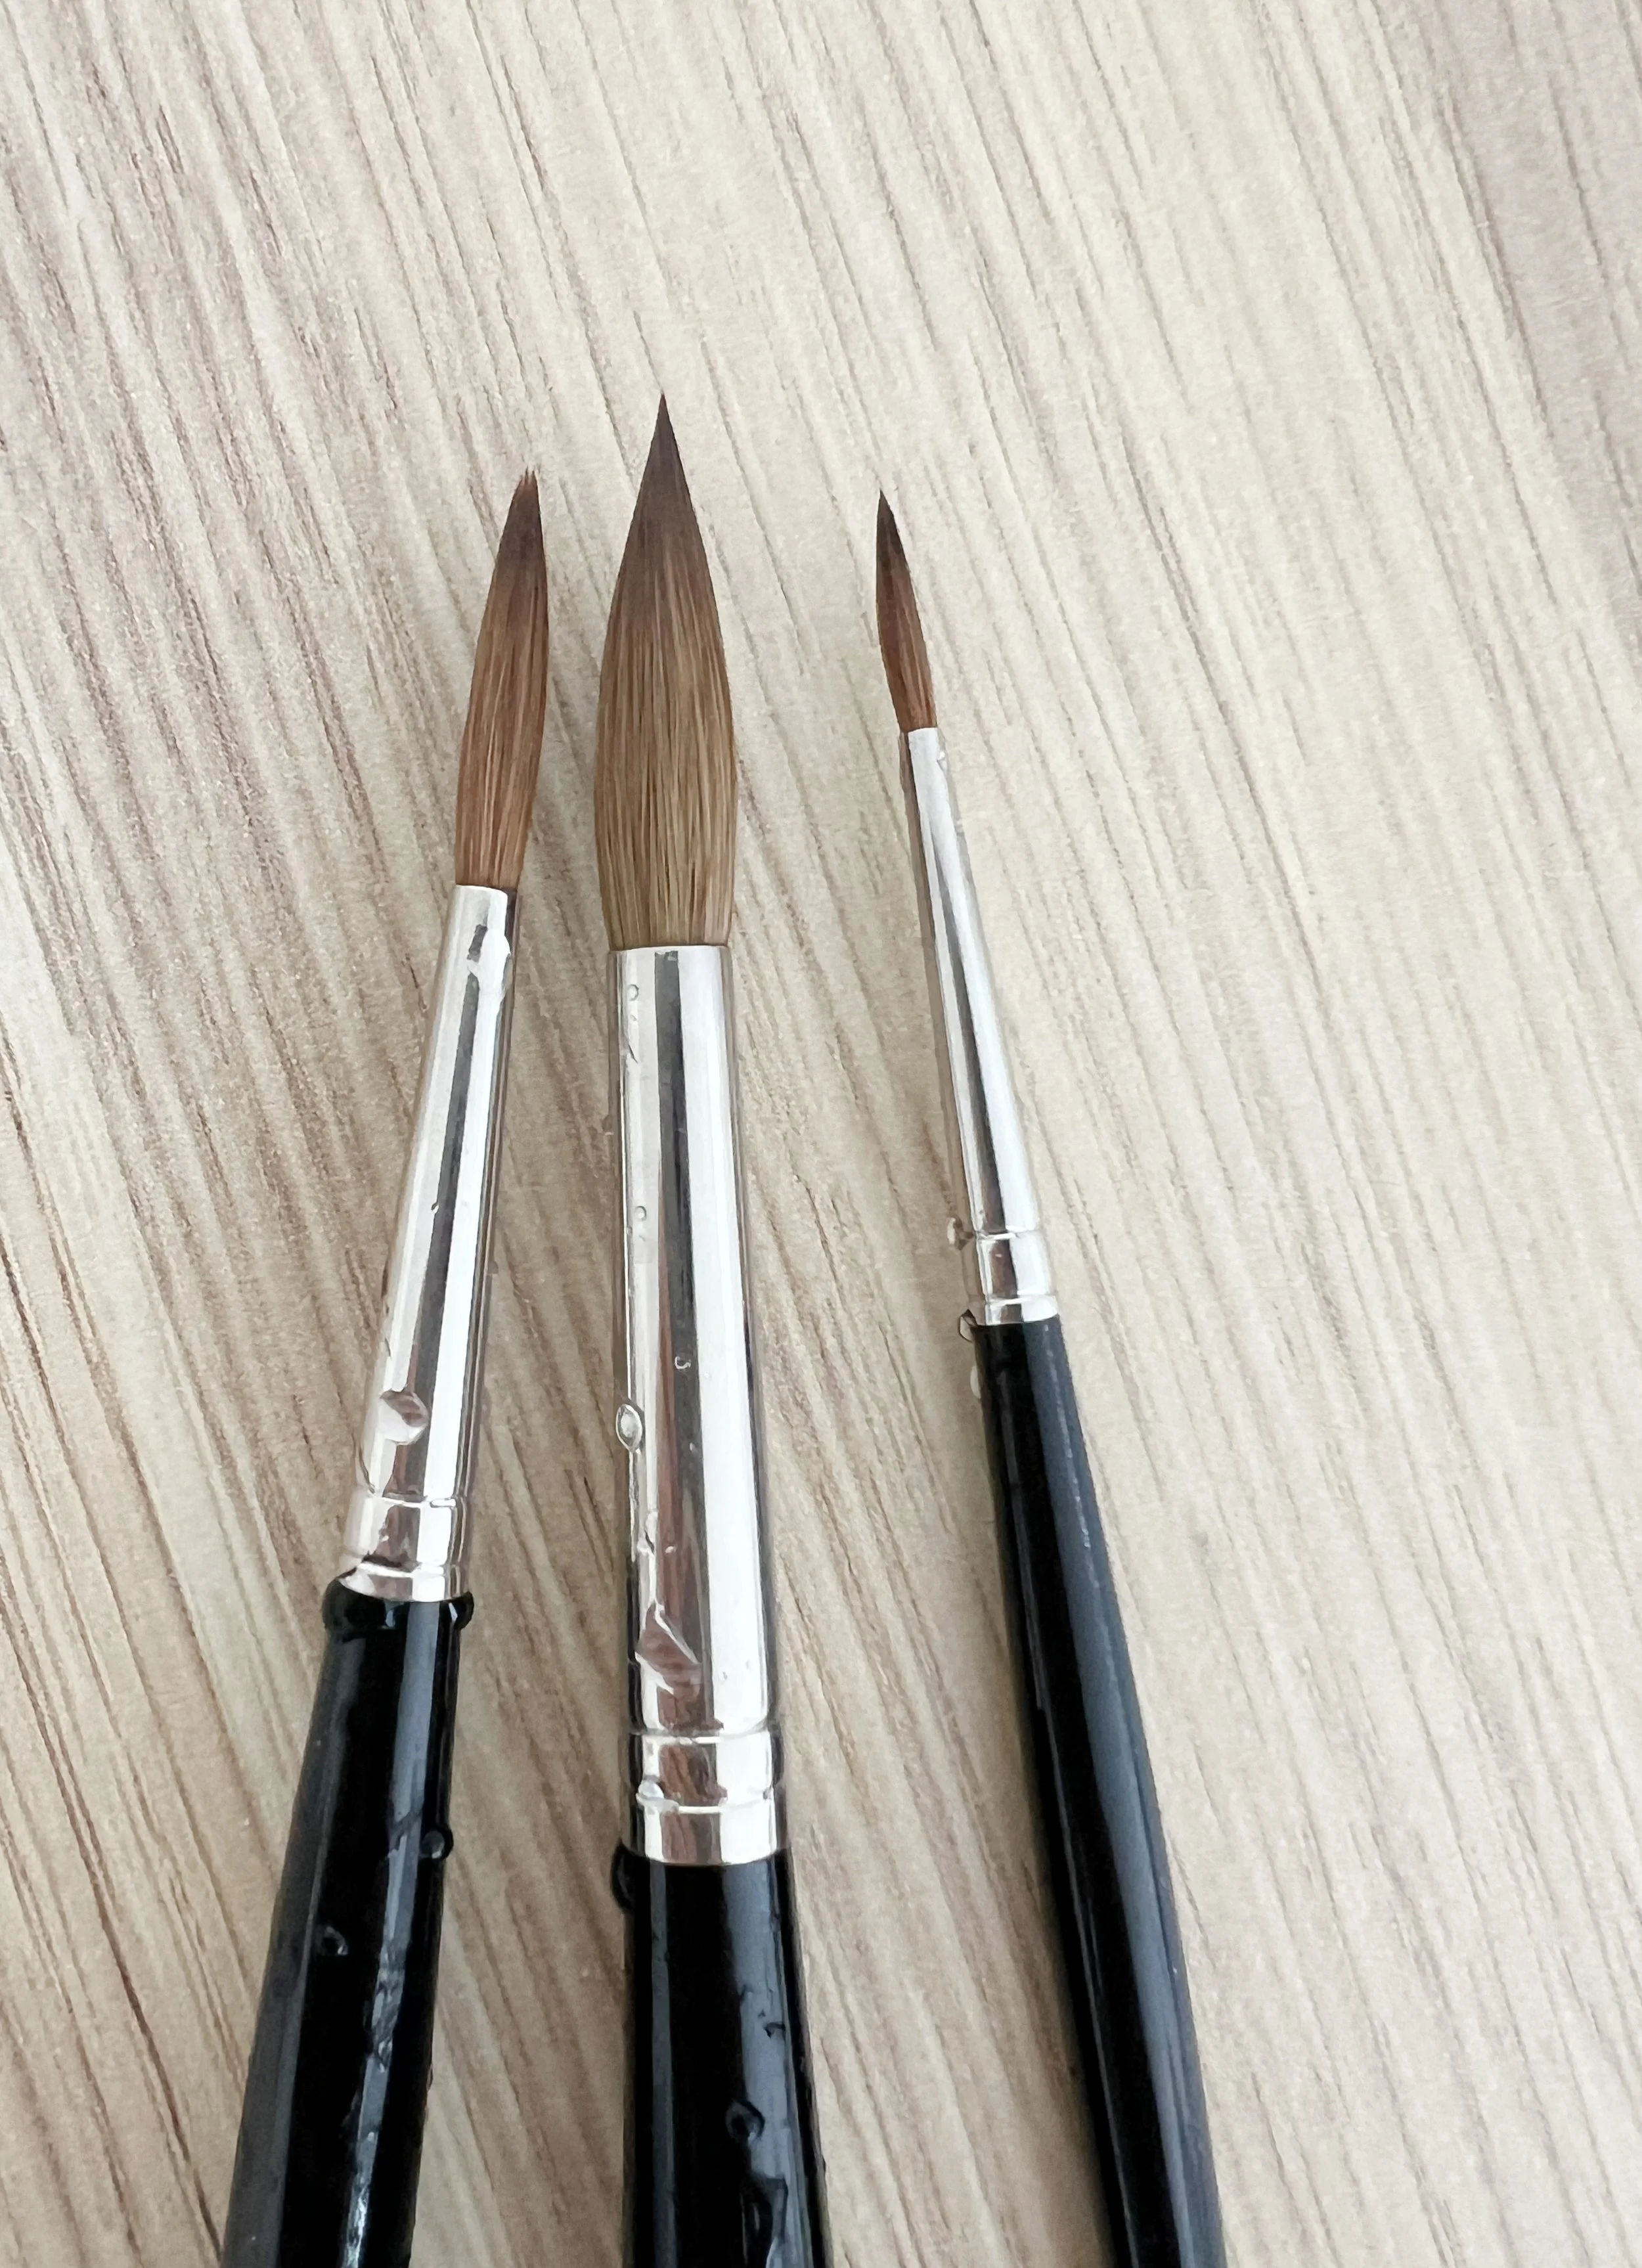
One of the biggest tips for painting in watercolor is to use good quality materials like these Da Vinci Maestro brushes.
One Last Important Step

I like to check my edges before they start to dry.
Even after all the colour is down, and you think your painting is finished, I always do one final thing:
I go back and check my edges.
But the truth is, I’m watching them the whole way through. As I paint - especially wet-on-wet - I’m constantly scanning for any signs of trouble. A jagged line forming. A dark ring pooling near the edge. If I catch these early, while the paint is still wet, I can gently intervene.
With a clean, damp brush (damp is important, not a wet brush), I smooth a rough line here or coax pigment back into place there on the still wet surface. Just a light touch is often enough to correct an edge before it dries and becomes much harder to fix. Just make sure your not adding more water to the paper. The wetness of your brush needs to match the wetness of the paper or you risk creating blooms.
Then, once everything is dry, I do a final pass. I take my time and study the painting carefully, looking for edges that feel too hard, too heavy, or just a bit off. Edges are subtle, but they do a lot of heavy lifting - they define shapes, guide the eye, and add clarity or softness where it’s needed most.
At this stage, a damp brush is my best mate. I might soften an edge, lift a bit of pigment, or even sharpen a boundary if the painting calls for it. I love using Rosemary and Co eradicator brushes for this, but any stiff, flat brush or bristle brush will do the job.
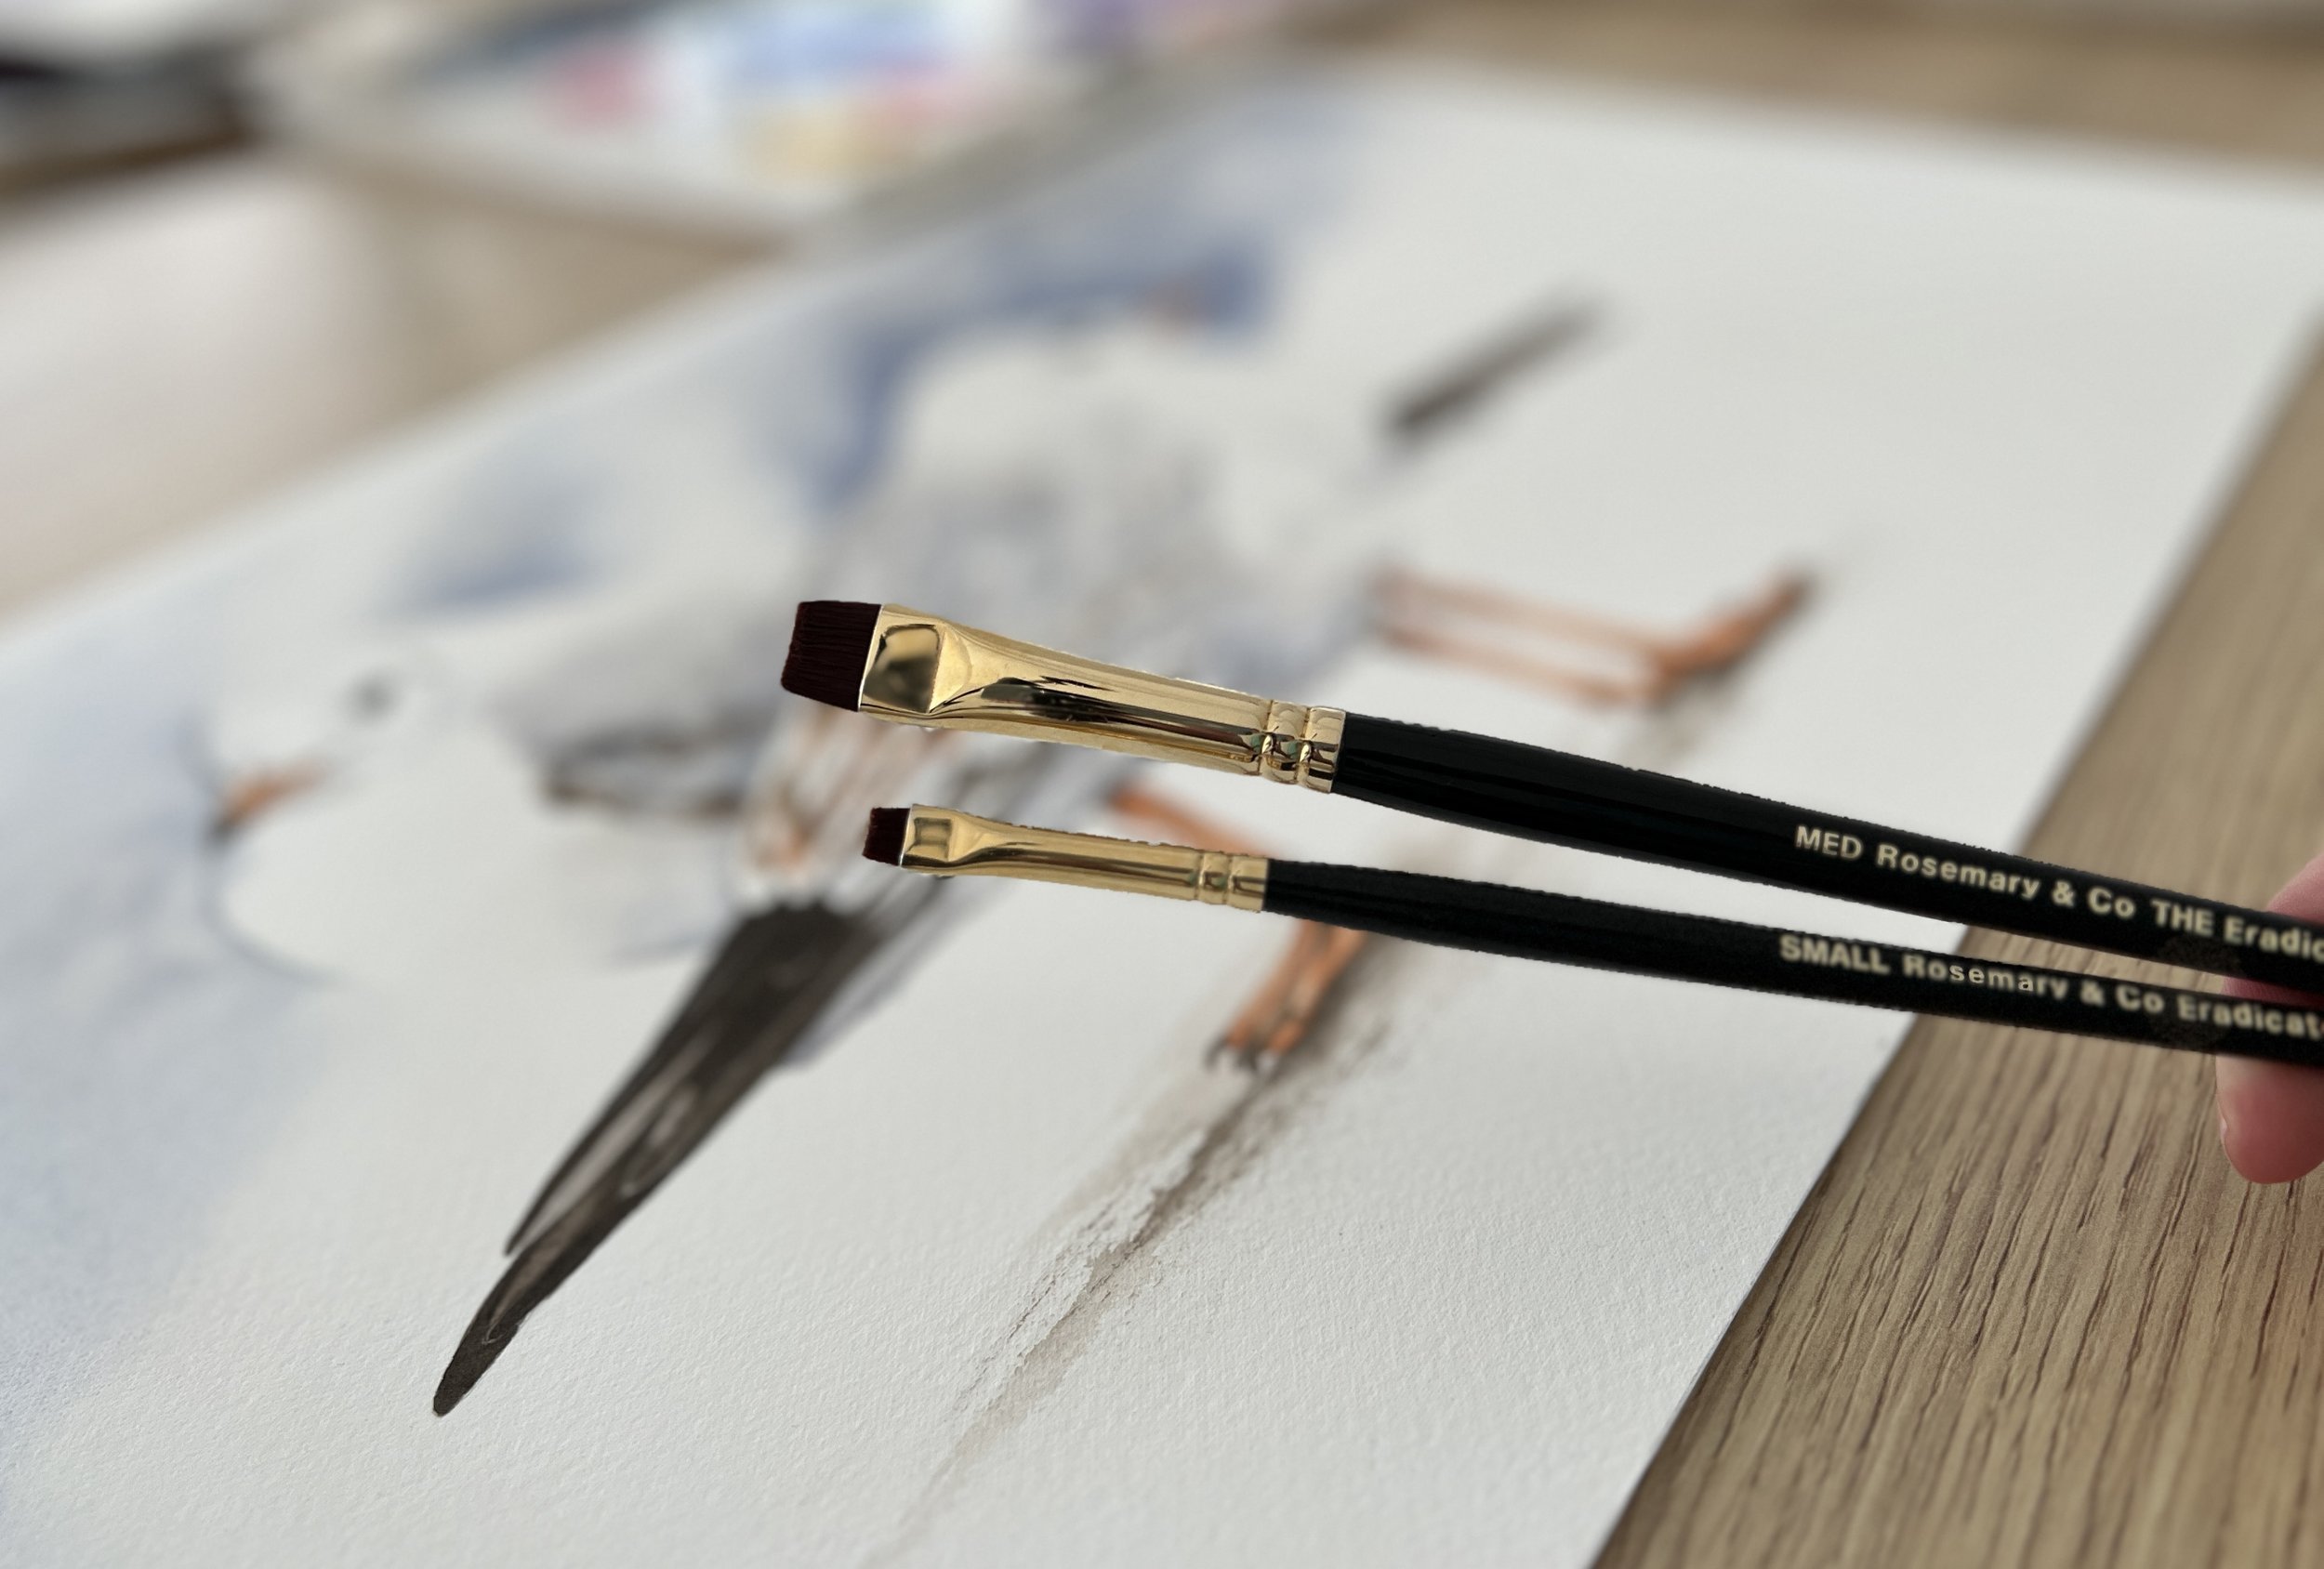
Rosemary and Co eradicator brushes are perfect for tidying edges after they have dried.
Edges are where your subject begins and ends. Where softness meets definition. Where suggestion becomes clarity.
So don’t rush them. Watch them carefully. Catch them while they’re forming and give them a final check when the painting’s dry. Treat them with patience and care.
Because in watercolour, edges are the quiet heroes.
If you want more information about watercolour techniques, techniques for beginners or basic techniques, be sure to check out my various blog posts!
🎨🖌️Louise
If you are interested in learning to paint in watercolour, I have hundreds of online, voiced over watercolour tutorials for all skill levels.