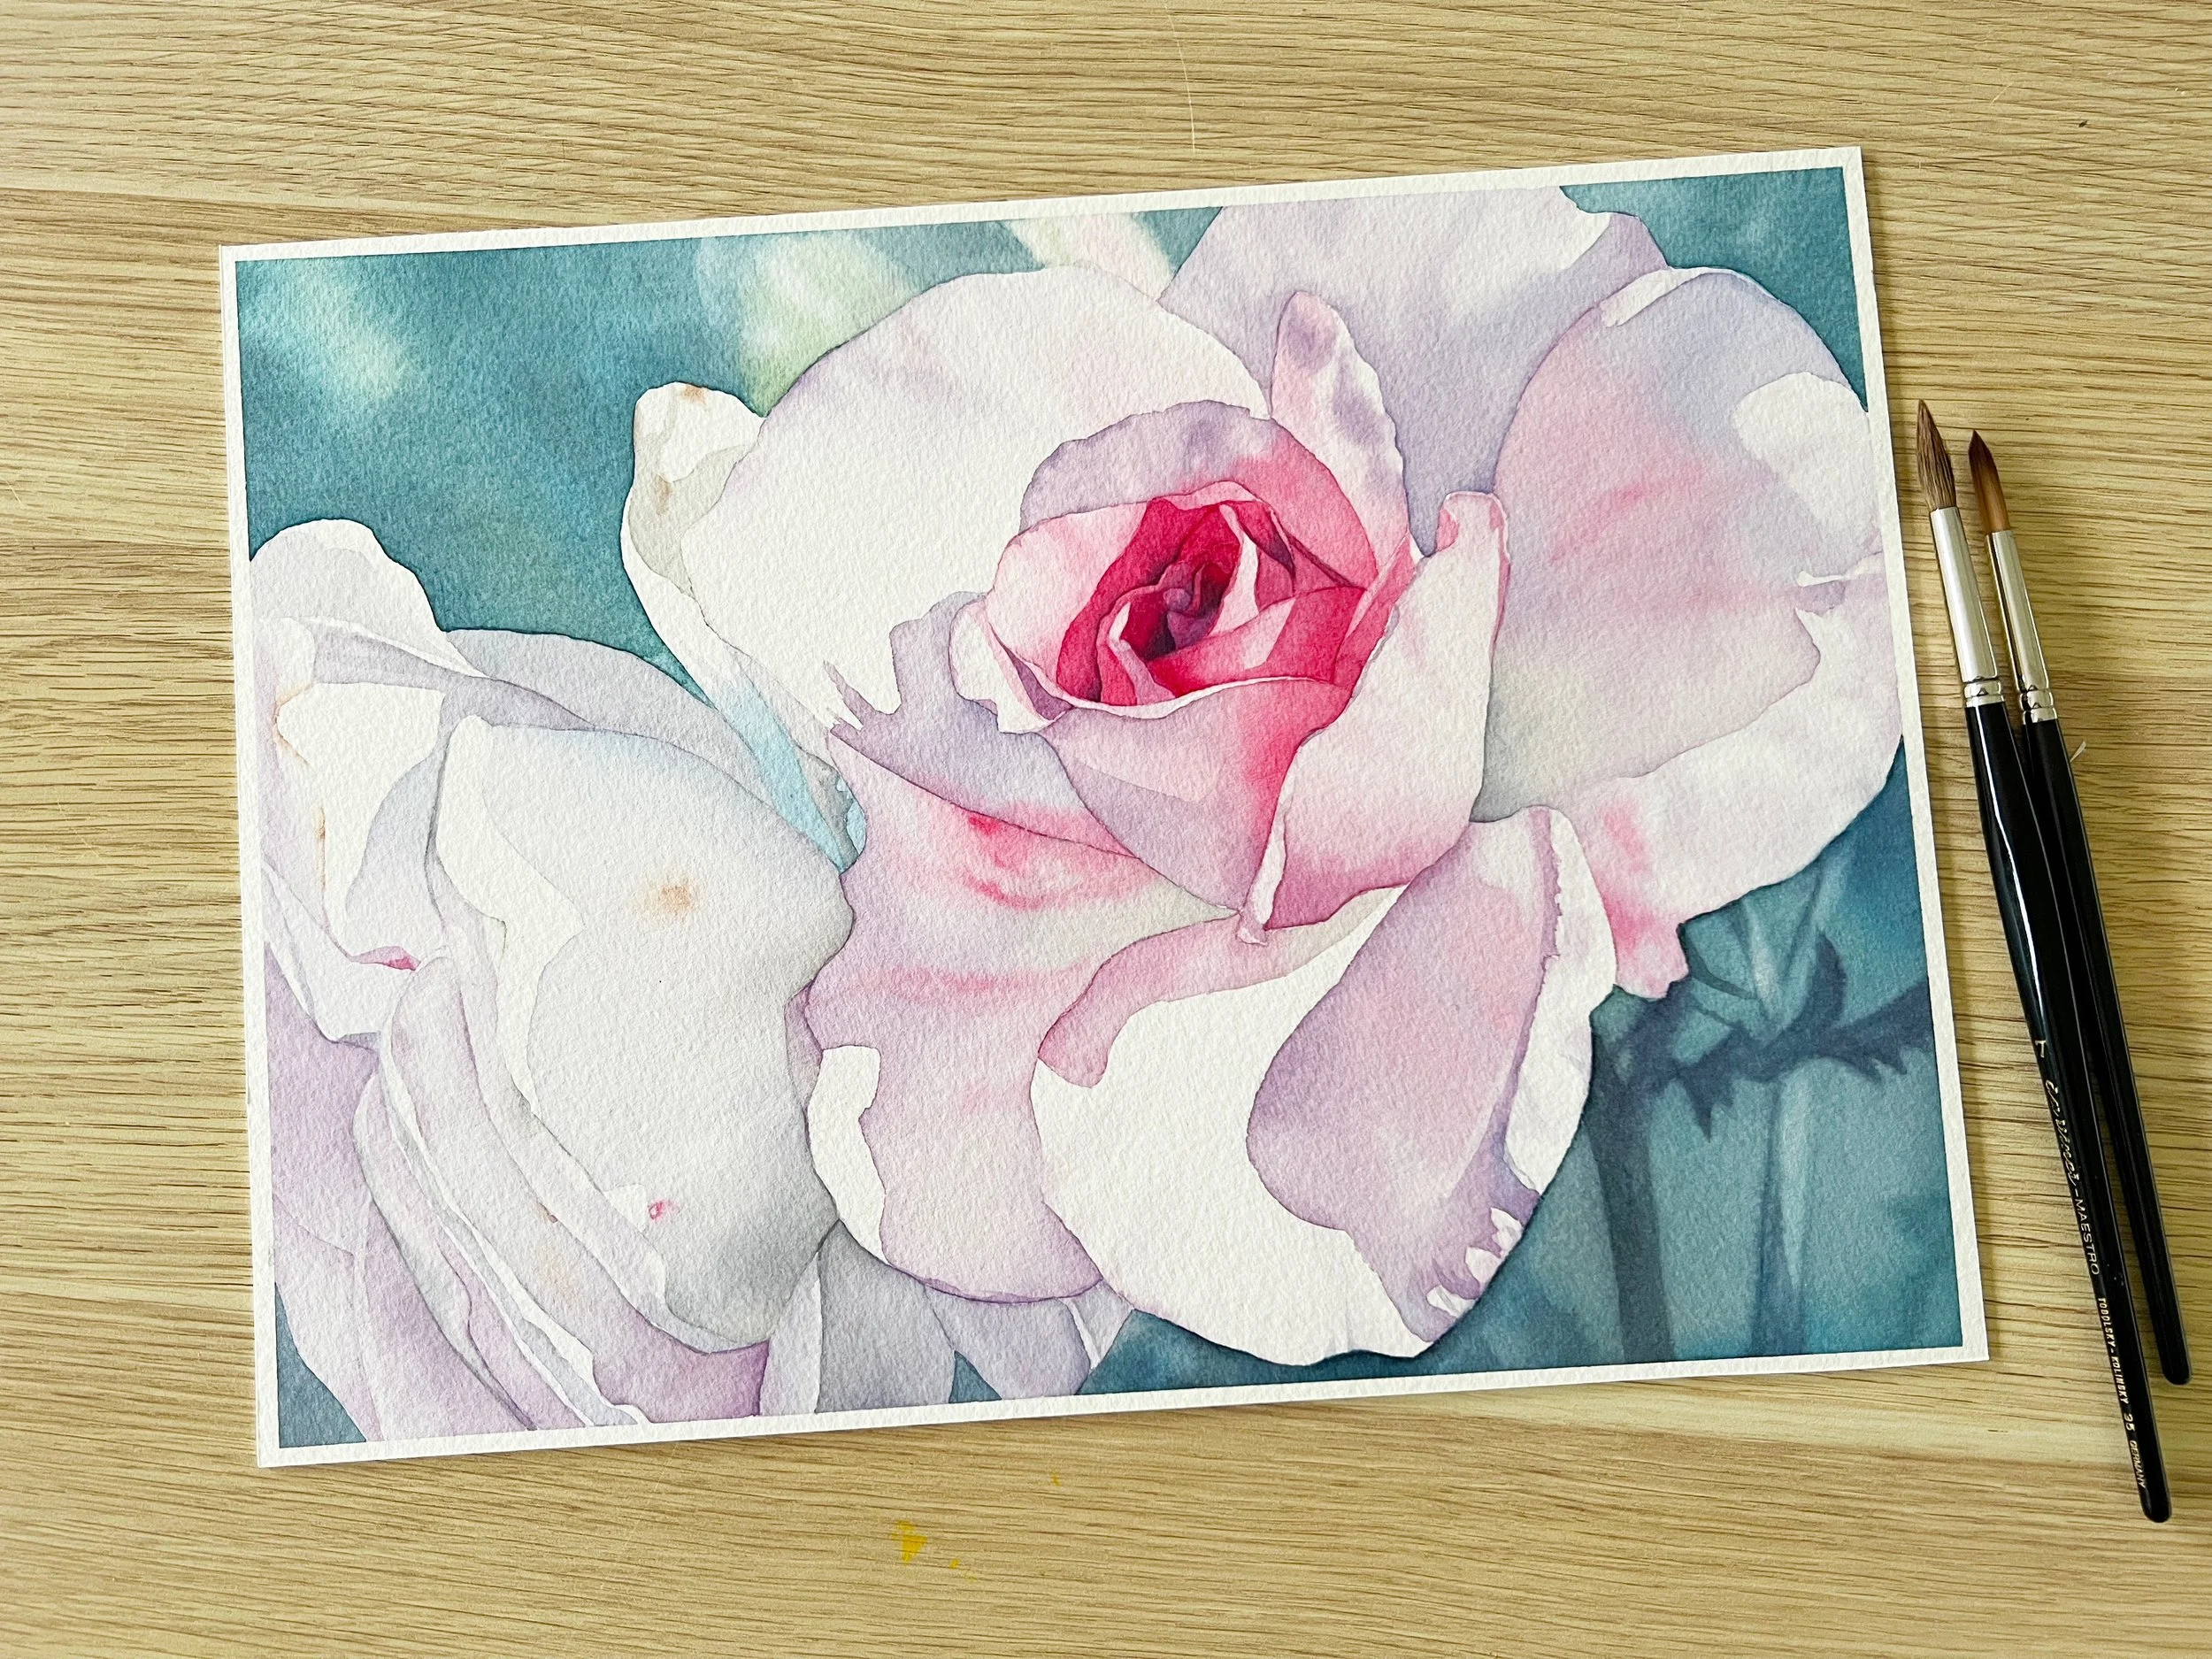
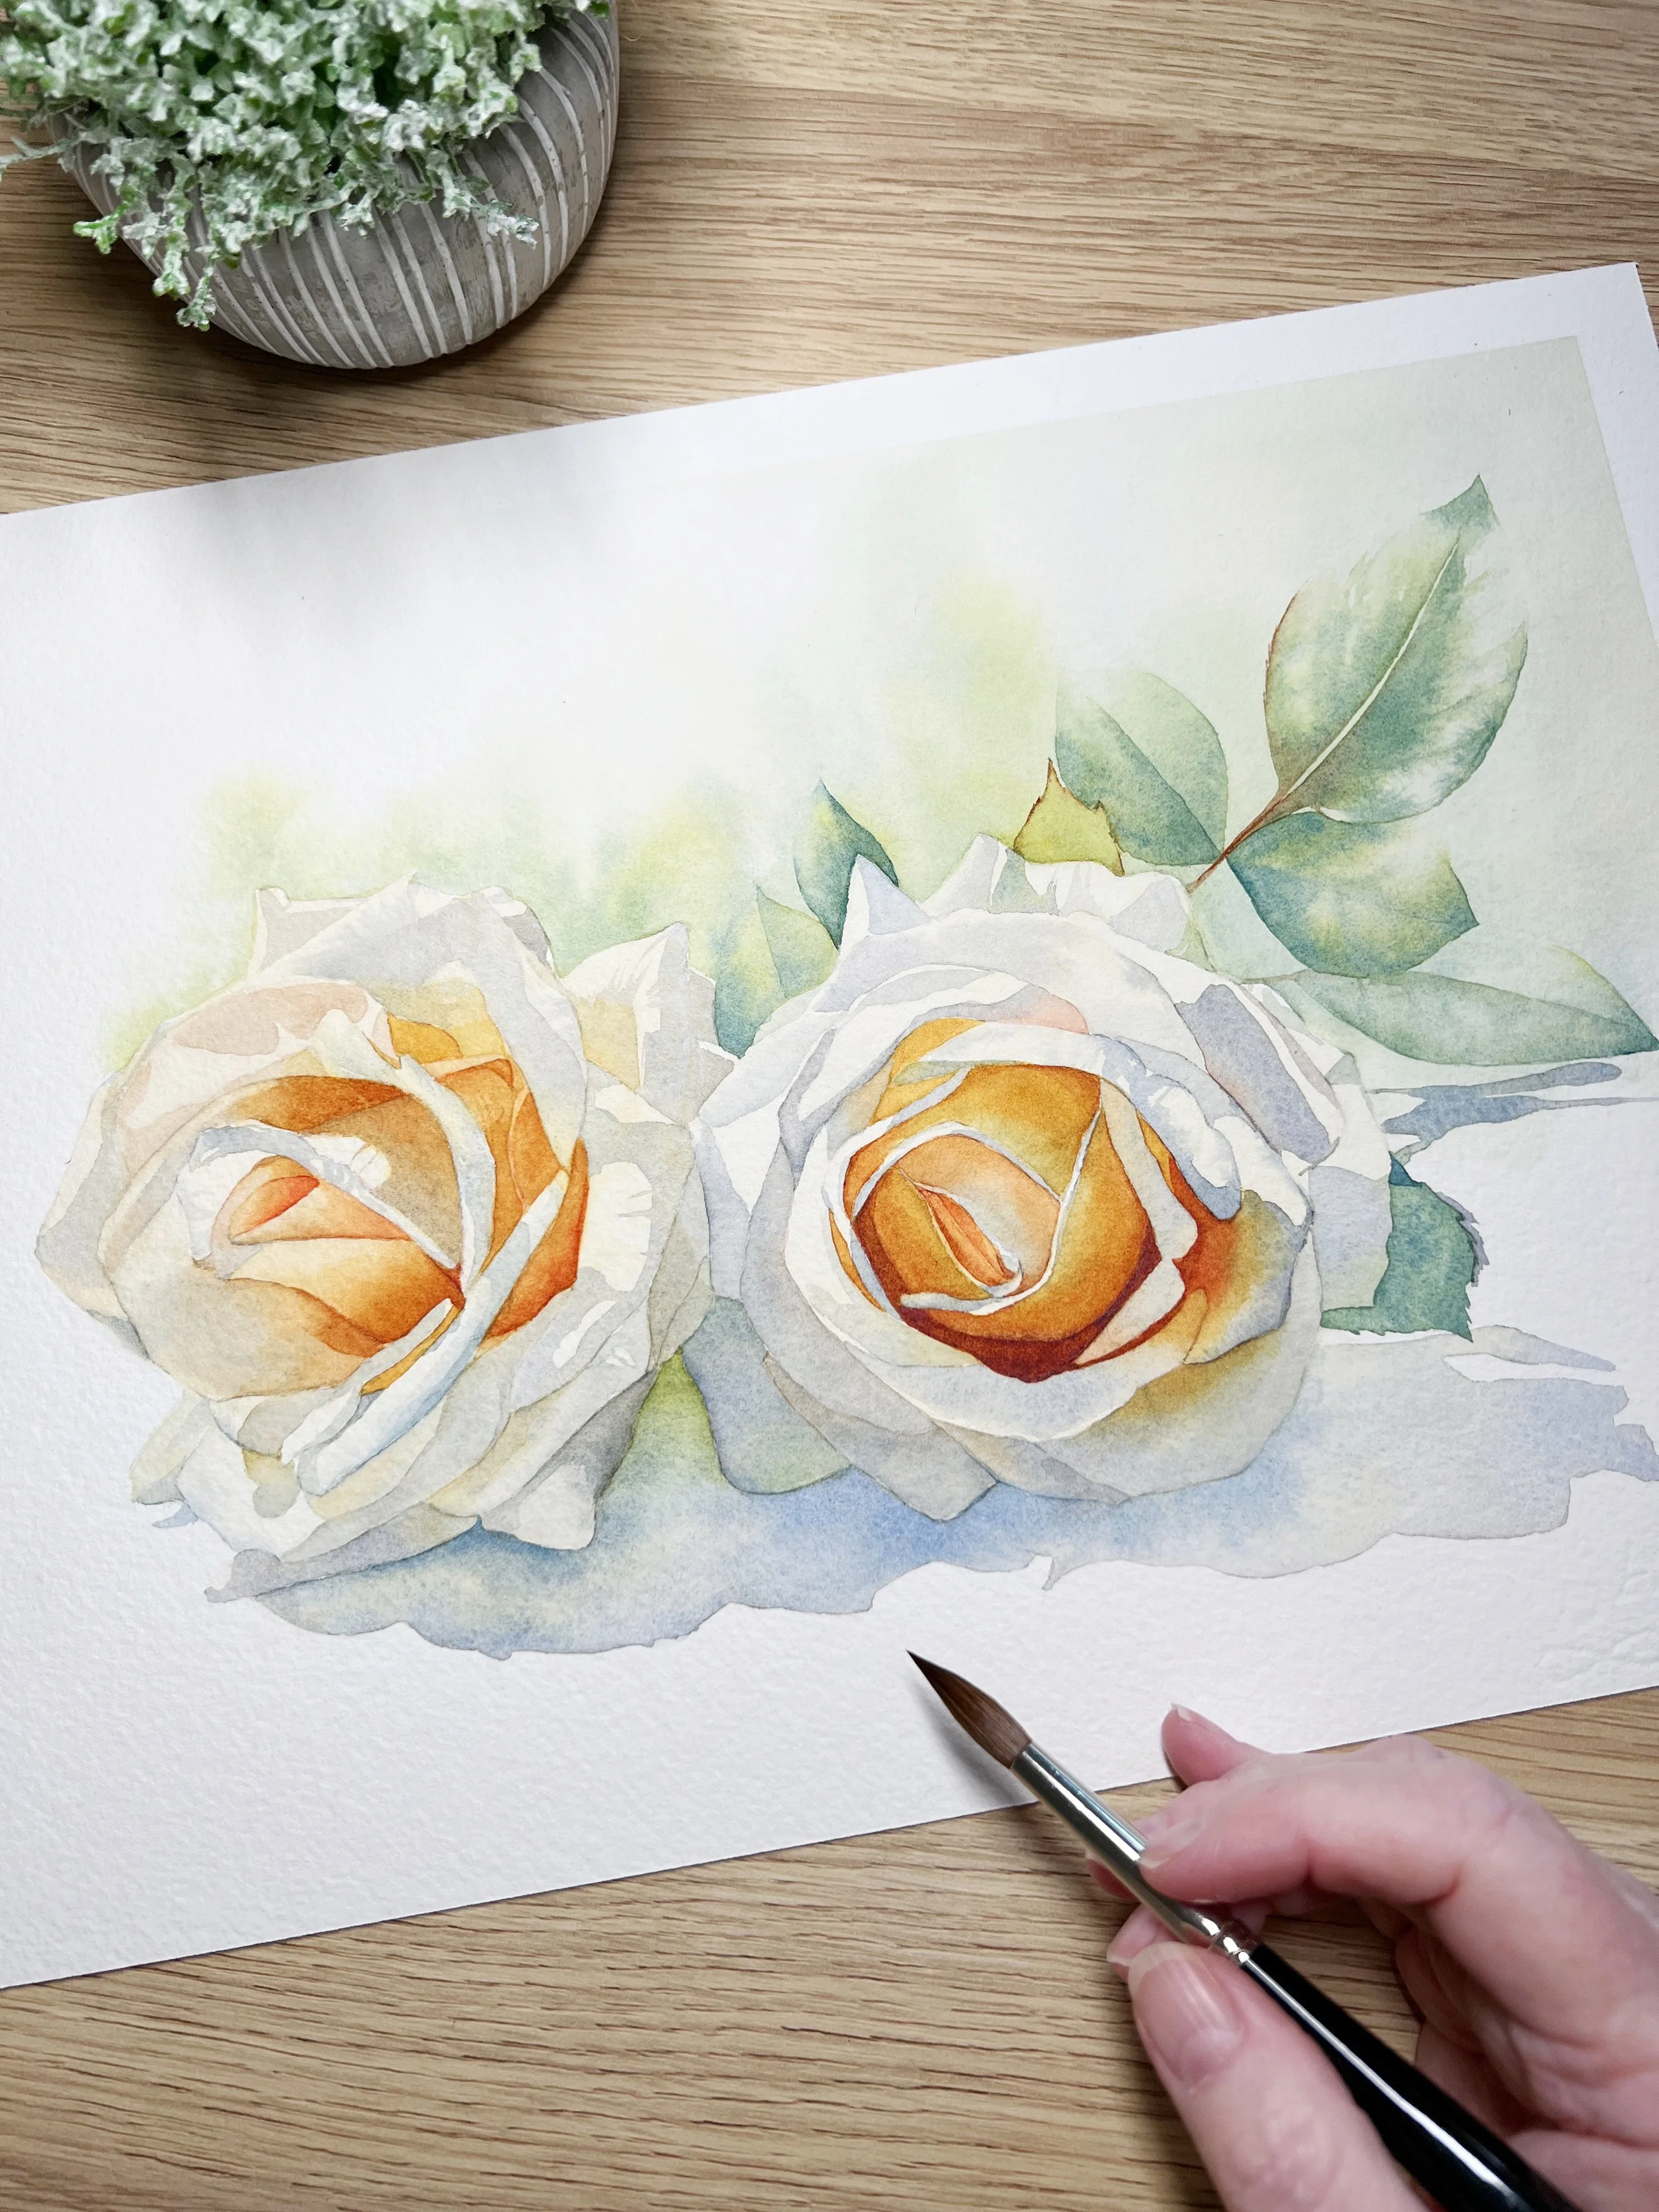
One of the biggest challenges in painting white objects is maintaining soft edges, especially in areas where light gradually transitions into shadow. To achieve this, I use a damp brush to soften the edges of my shadows immediately after applying them. This technique helps the transitions look seamless and natural.
Read MoreThese days I almost always mix my own violets because it helps me stick to a limited palette, which naturally creates better colour harmony across the whole painting. I also paint wet on wet a lot, and there's something beautiful about watching the pigments separate on the paper when you mix violet yourself - especially with granulating colours like Ultramarine.
Read MoreThere’s something so beautiful about the hydrangea flower - the full, delicate blooms, the shifting colours, and the way they fill a space with softness. I have a few hydrangea bushes growing in my garden, and when they’re in bloom, I always feel inspired to bring them indoors and start painting. This watercolour hydrangea piece came together after I popped a few freshly cut stems into a glass vase and decided it was the perfect moment for painting flowers.
Read MoreI’ve learned the hard way that Louise’s first layers always look way darker in the video than they actually are. Determined to remember this, I mix a watery paint.
I’ve also learned that if your paper is too wet and your paint is too watery, the pigment will migrate to the edges, leaving behind an unwanted harsh line. So, keeping all this in mind, I put paint on the paper—only to immediately want to quit.
Read MoreWhen you watch my tutorials, I want you to think of them as a jumping-off point. Don’t feel like you need to replicate every step exactly. Instead, start experimenting by making small changes. For instance, you could swap out the colours I use and choose a palette that resonates with you.
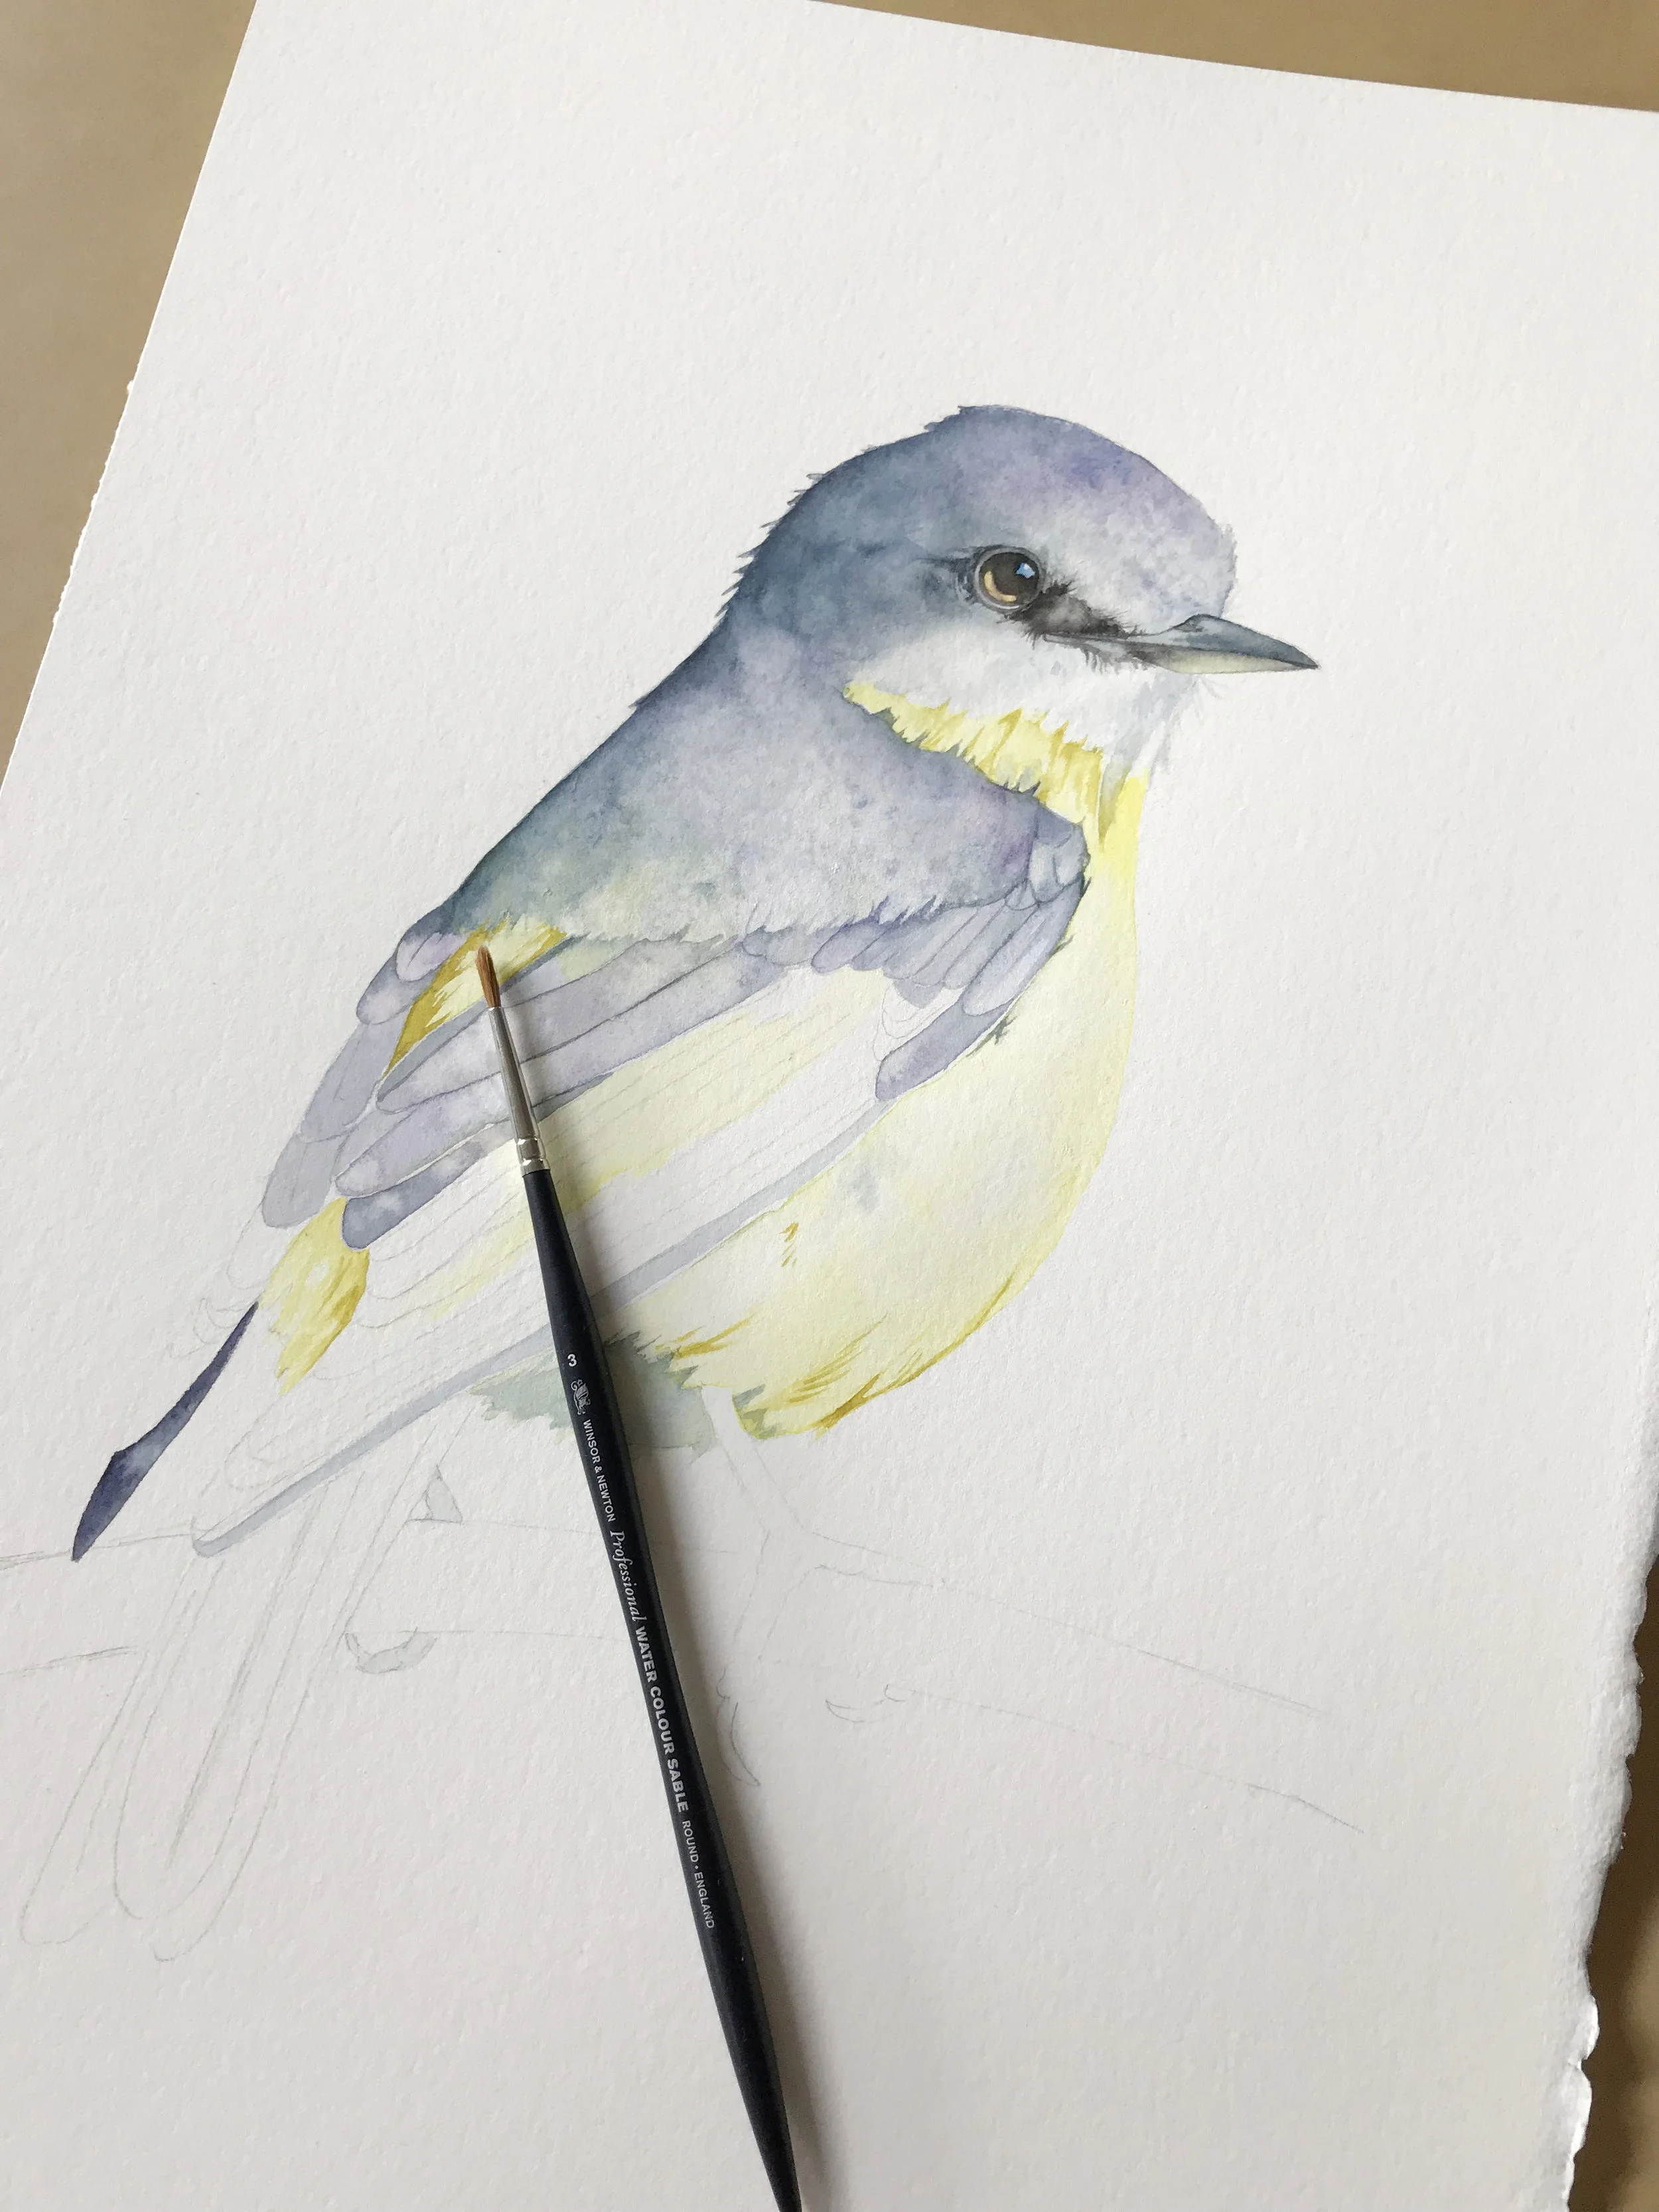
If I’m painting a bird, maybe you’ll add your own background - a loose wash of colour or some foliage to give it your unique flair. Another idea is to combine techniques or elements from different tutorials to create something entirely your own.
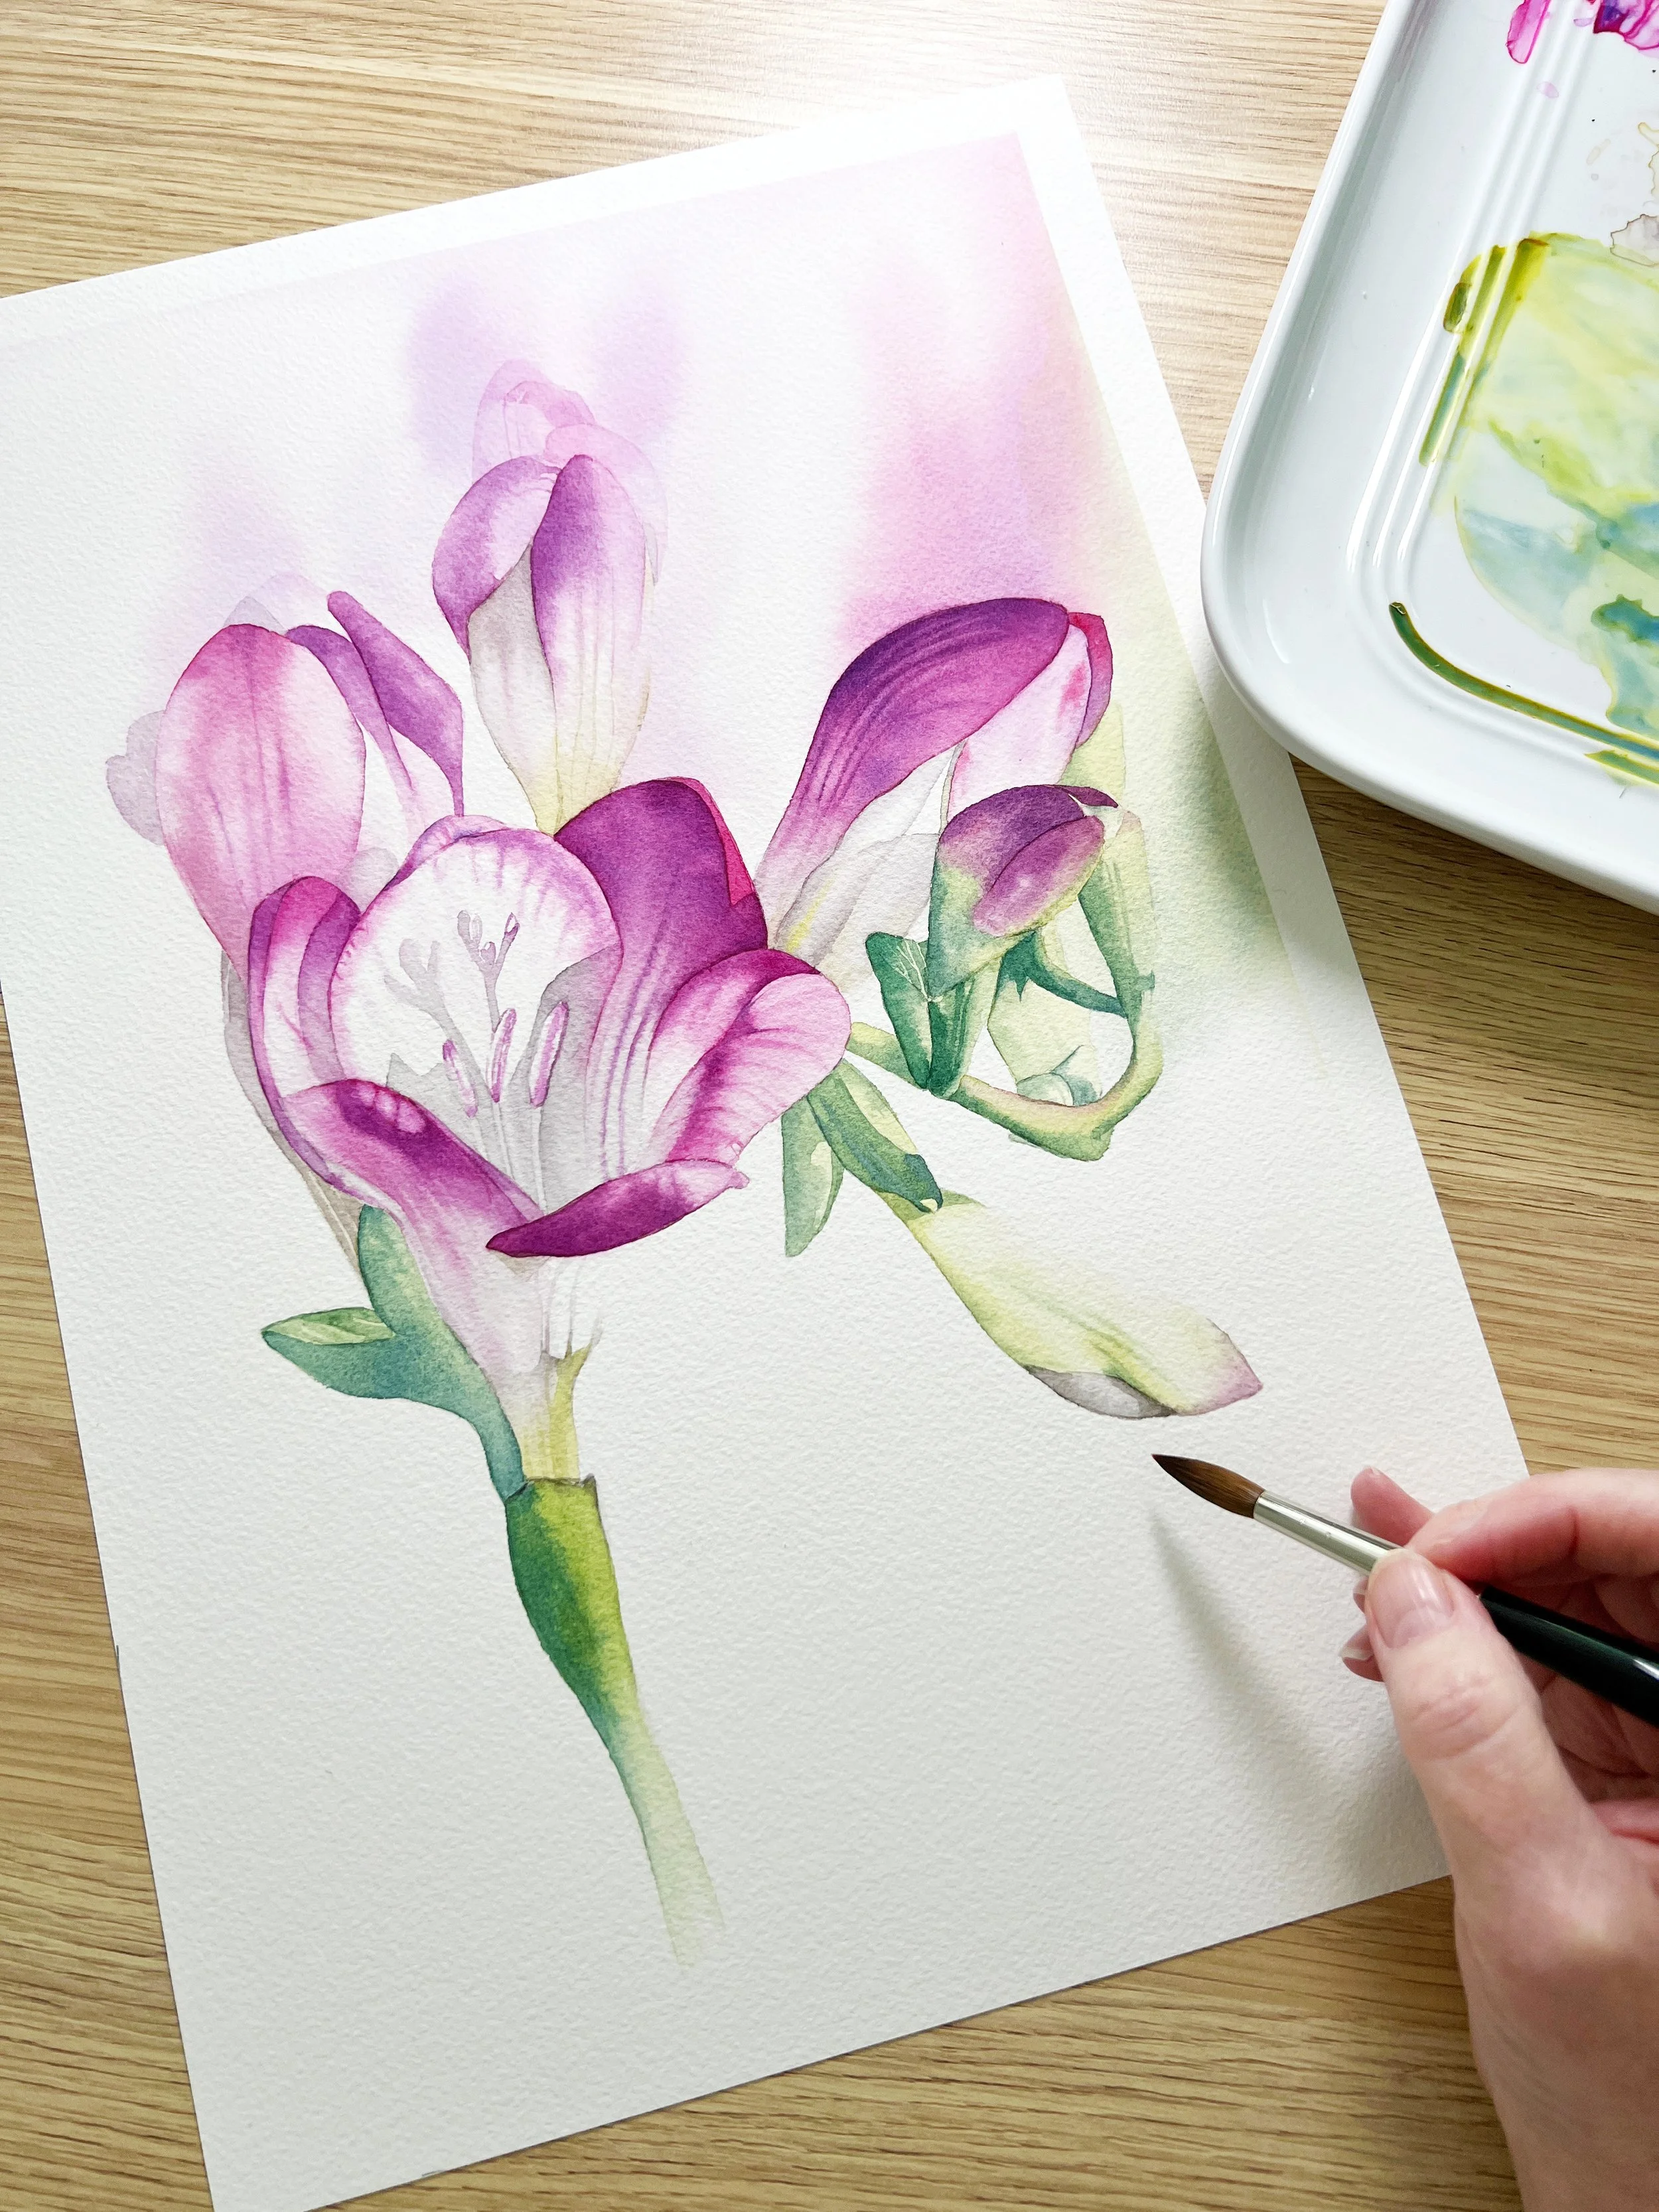
Read MoreI always begin my floral paintings with a wet-on-wet technique for the initial wash, embracing the unpredictability and softness it brings. This stage is about capturing the ephemeral qualities of petals- their delicacy and the gentle interplay of light and shadow. I wet the paper first, allowing the paint to flow freely, blending seamlessly into the damp surface. Sometimes, I paint each petal individually, while other times I apply a wash over the entire flower at once. It depends on the flower and the level of colour or value variation within each petal.
Read MoreI love using watercolour sketchbooks for small studies. They’re perfect for experimenting with colours and working out compositions before committing to a larger painting. These quick studies not only help me refine my ideas but also build my confidence, knowing I’ve tested my approach beforehand. A journal becomes a safe space to explore and make mistakes without pressure.
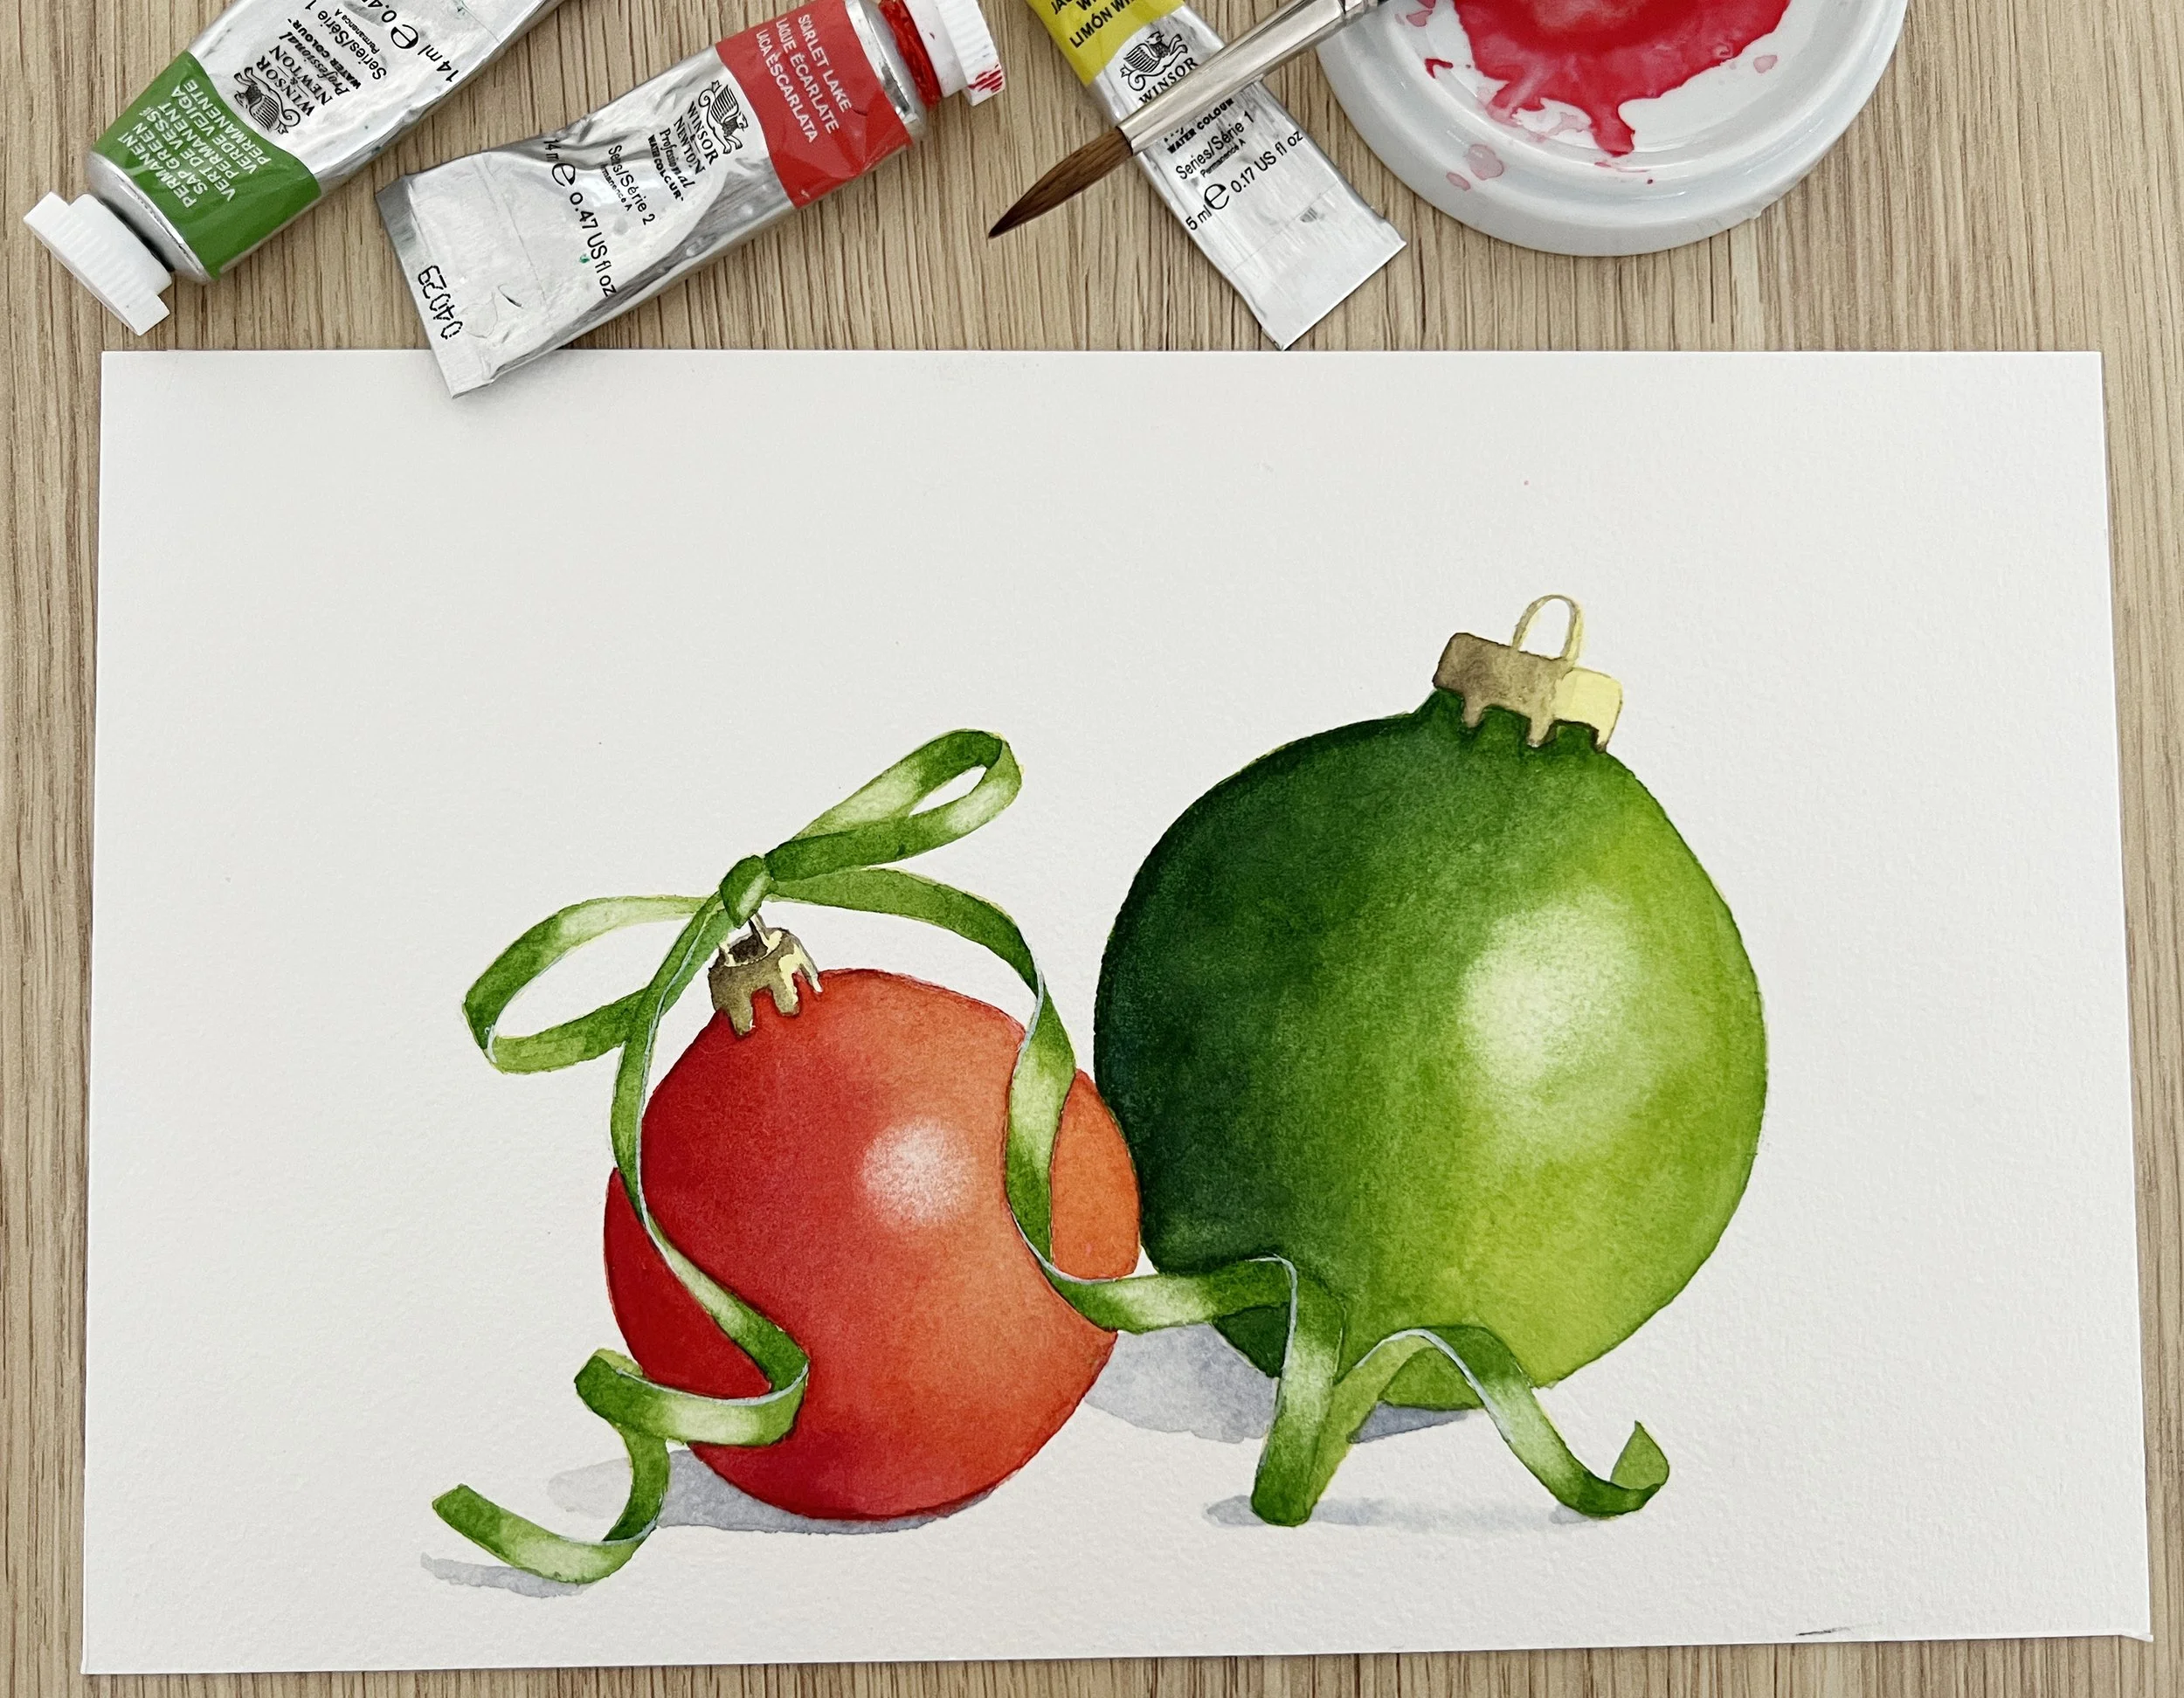
Read MoreWith patience and practice, these baubles can become stunning centrepieces for your holiday cards.
Creating your own watercolour Christmas cards is a joyful way to celebrate the season and share your creativity with loved ones. Whether you paint a single bauble or an entire festive arrangement, your handmade card is sure to bring a smile to anyone who receives it.
Read MoreOne of the great things about line and wash is its versatility, but choosing the right surface is key to letting both your ink lines and watercolour washes come to life. In my experience, a few surfaces work best, each bringing out different qualities in the technique. Opt for white paper to really let the transparency of your watercolour art supplies shine.
Read MoreYou’ve probably heard of the rule of thirds - it’s a common compositional guideline that divides your canvas into a grid of nine equal parts, with two horizontal and two vertical lines. You might’ve noticed this grid when using the camera on your phone. The idea is to place your key elements along these lines or at their intersections to create a more balanced, engaging composition.
Read MoreWatercolour’s transparency is what makes it so beautiful, but it’s also where the challenge lies. If you don’t allow each layer to dry completely before adding the next, you can disturb the underlying colours, causing them to mix in ways you didn’t intend. This can lead to muddy colours in your painting, where the vibrancy of the colours is lost.
Read MoreDifferent types of salt can produce different results. Coarse sea salt, with its larger crystals, tends to create bold, dramatic textures, while table salt results in smaller, more delicate starbursts.
It’s fun experimenting with both to see what kinds of patterns they produce on your watercolour paper.
Read MoreColour mixing is essential for any artist because it offers flexibility, enabling you to achieve unique tones and adjust the vibrancy or mood of your work. Whether you're painting landscapes, portraits, or still lifes, the ability to create custom shades gives you more control over your composition and allows for a greater level of depth and harmony in your artwork. It also teaches you how colours interact, deepening your understanding of pigments and how they behave on paper.
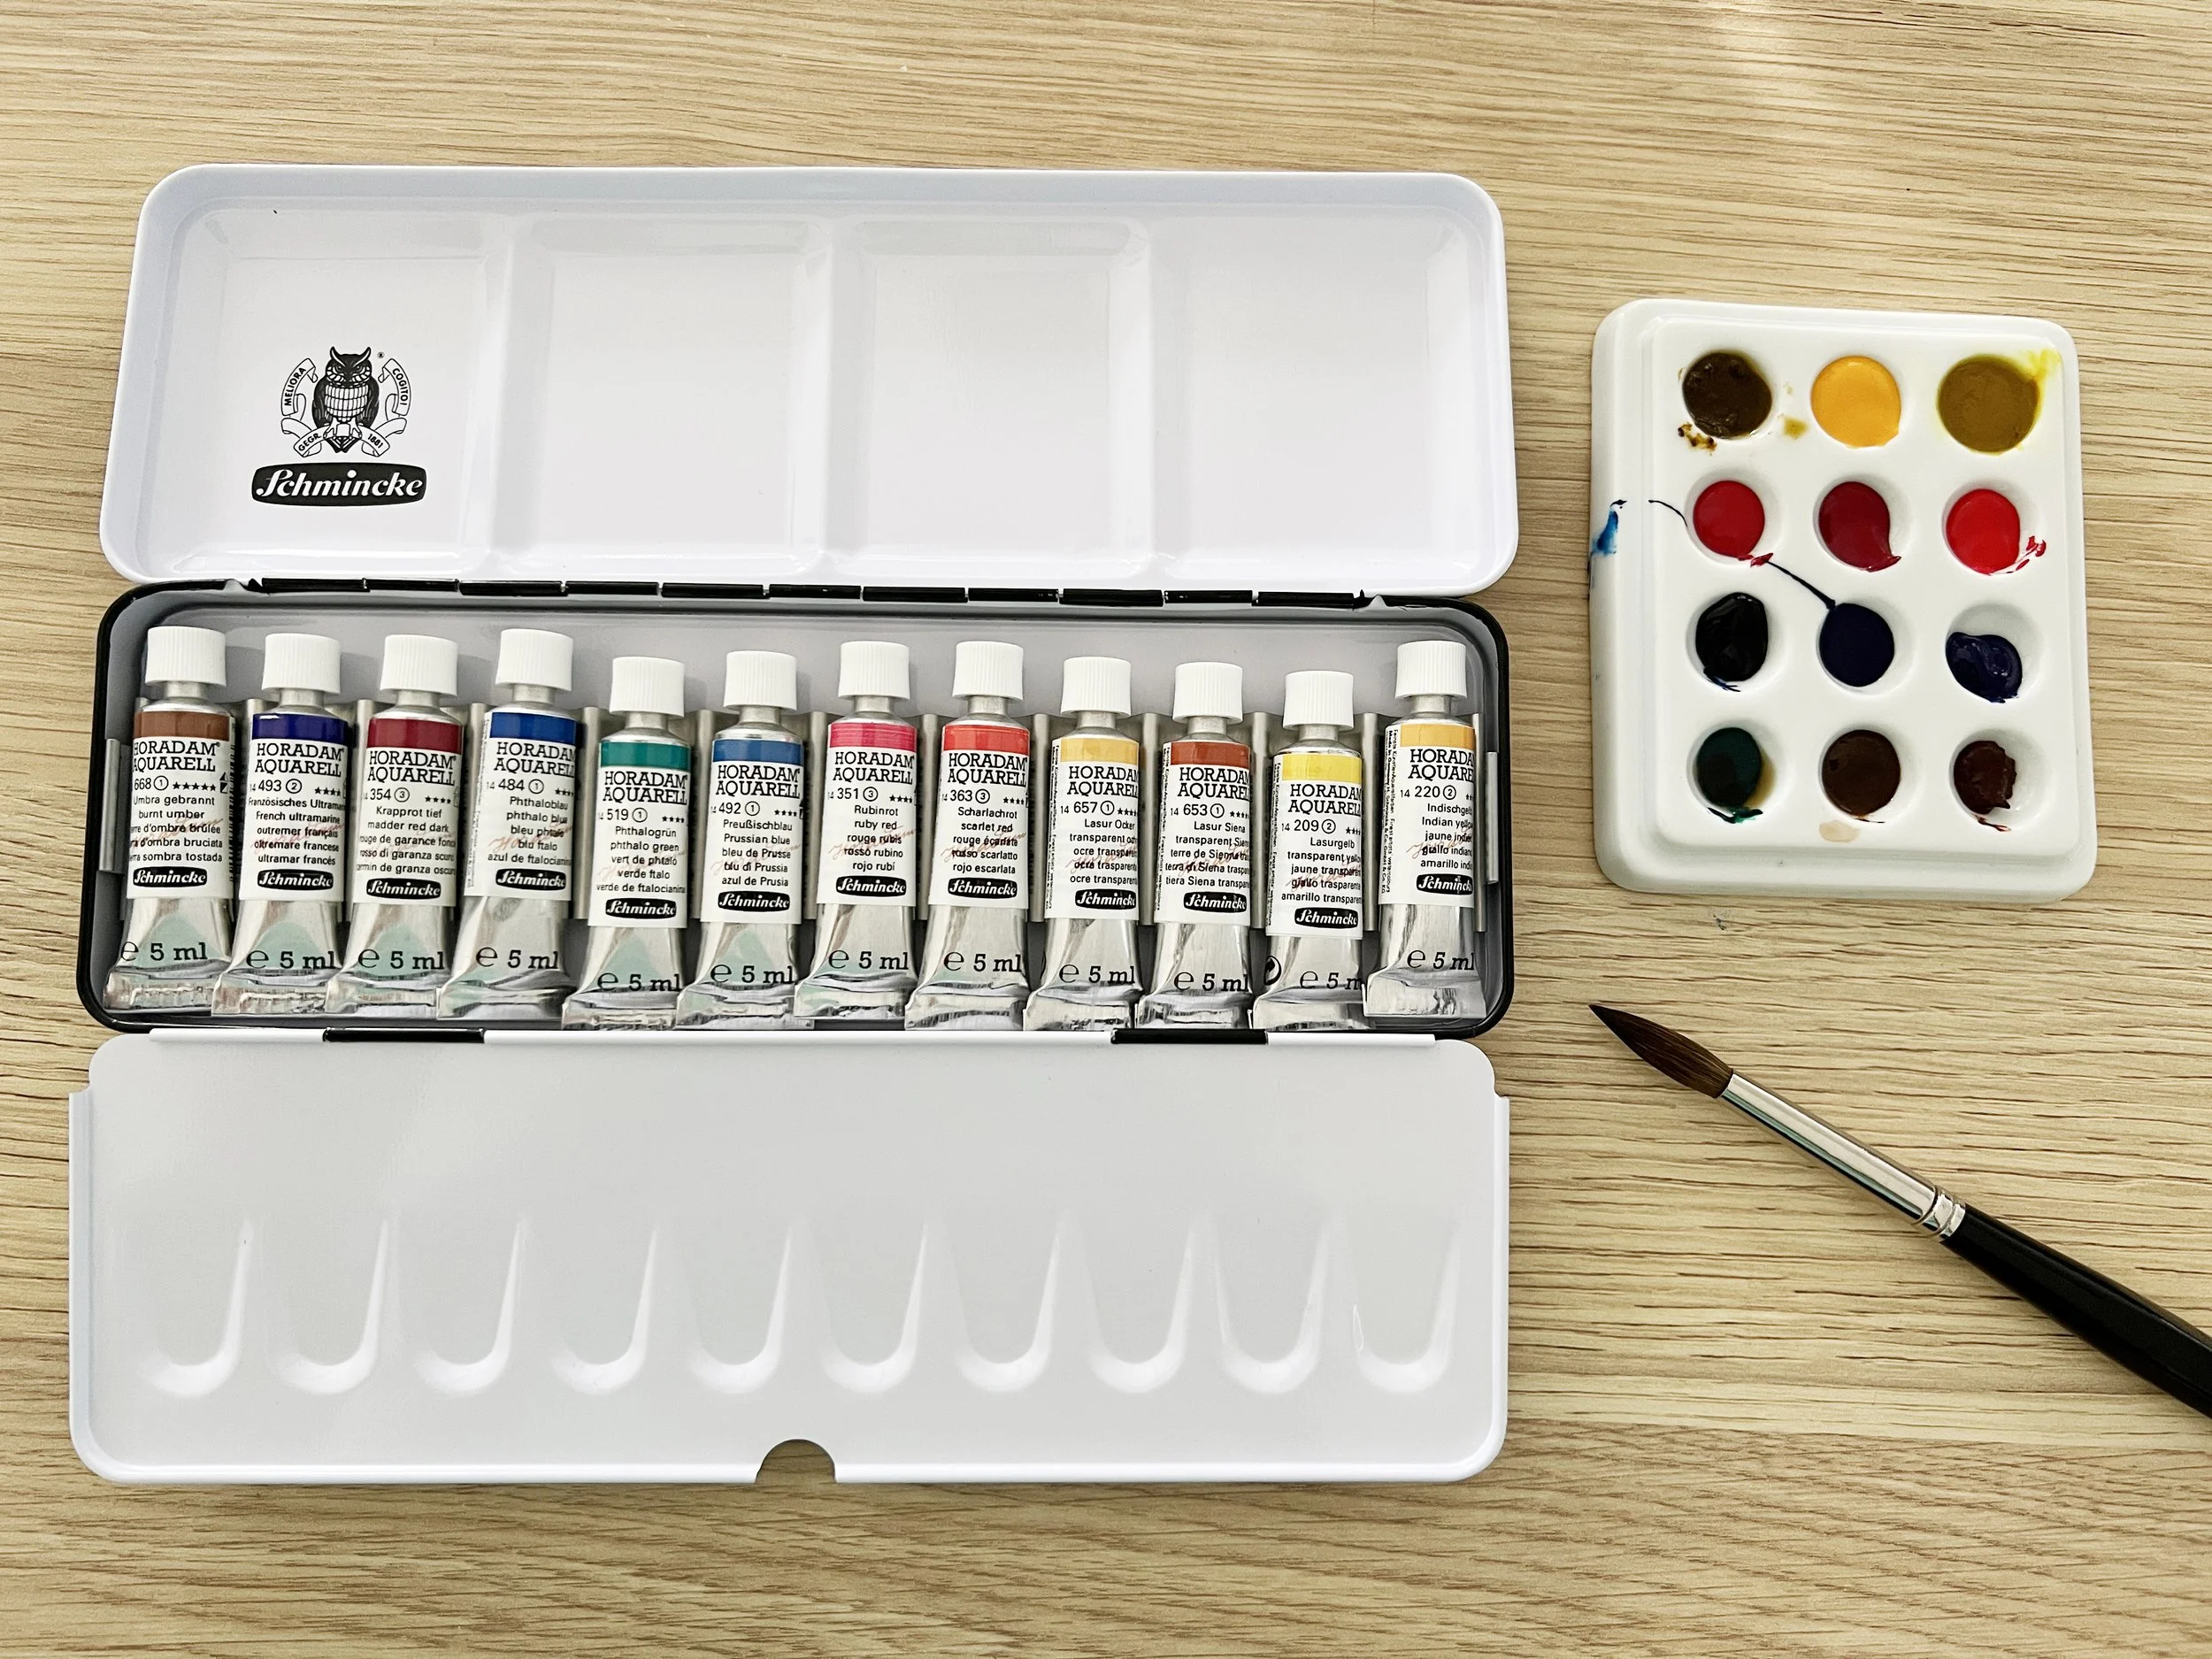
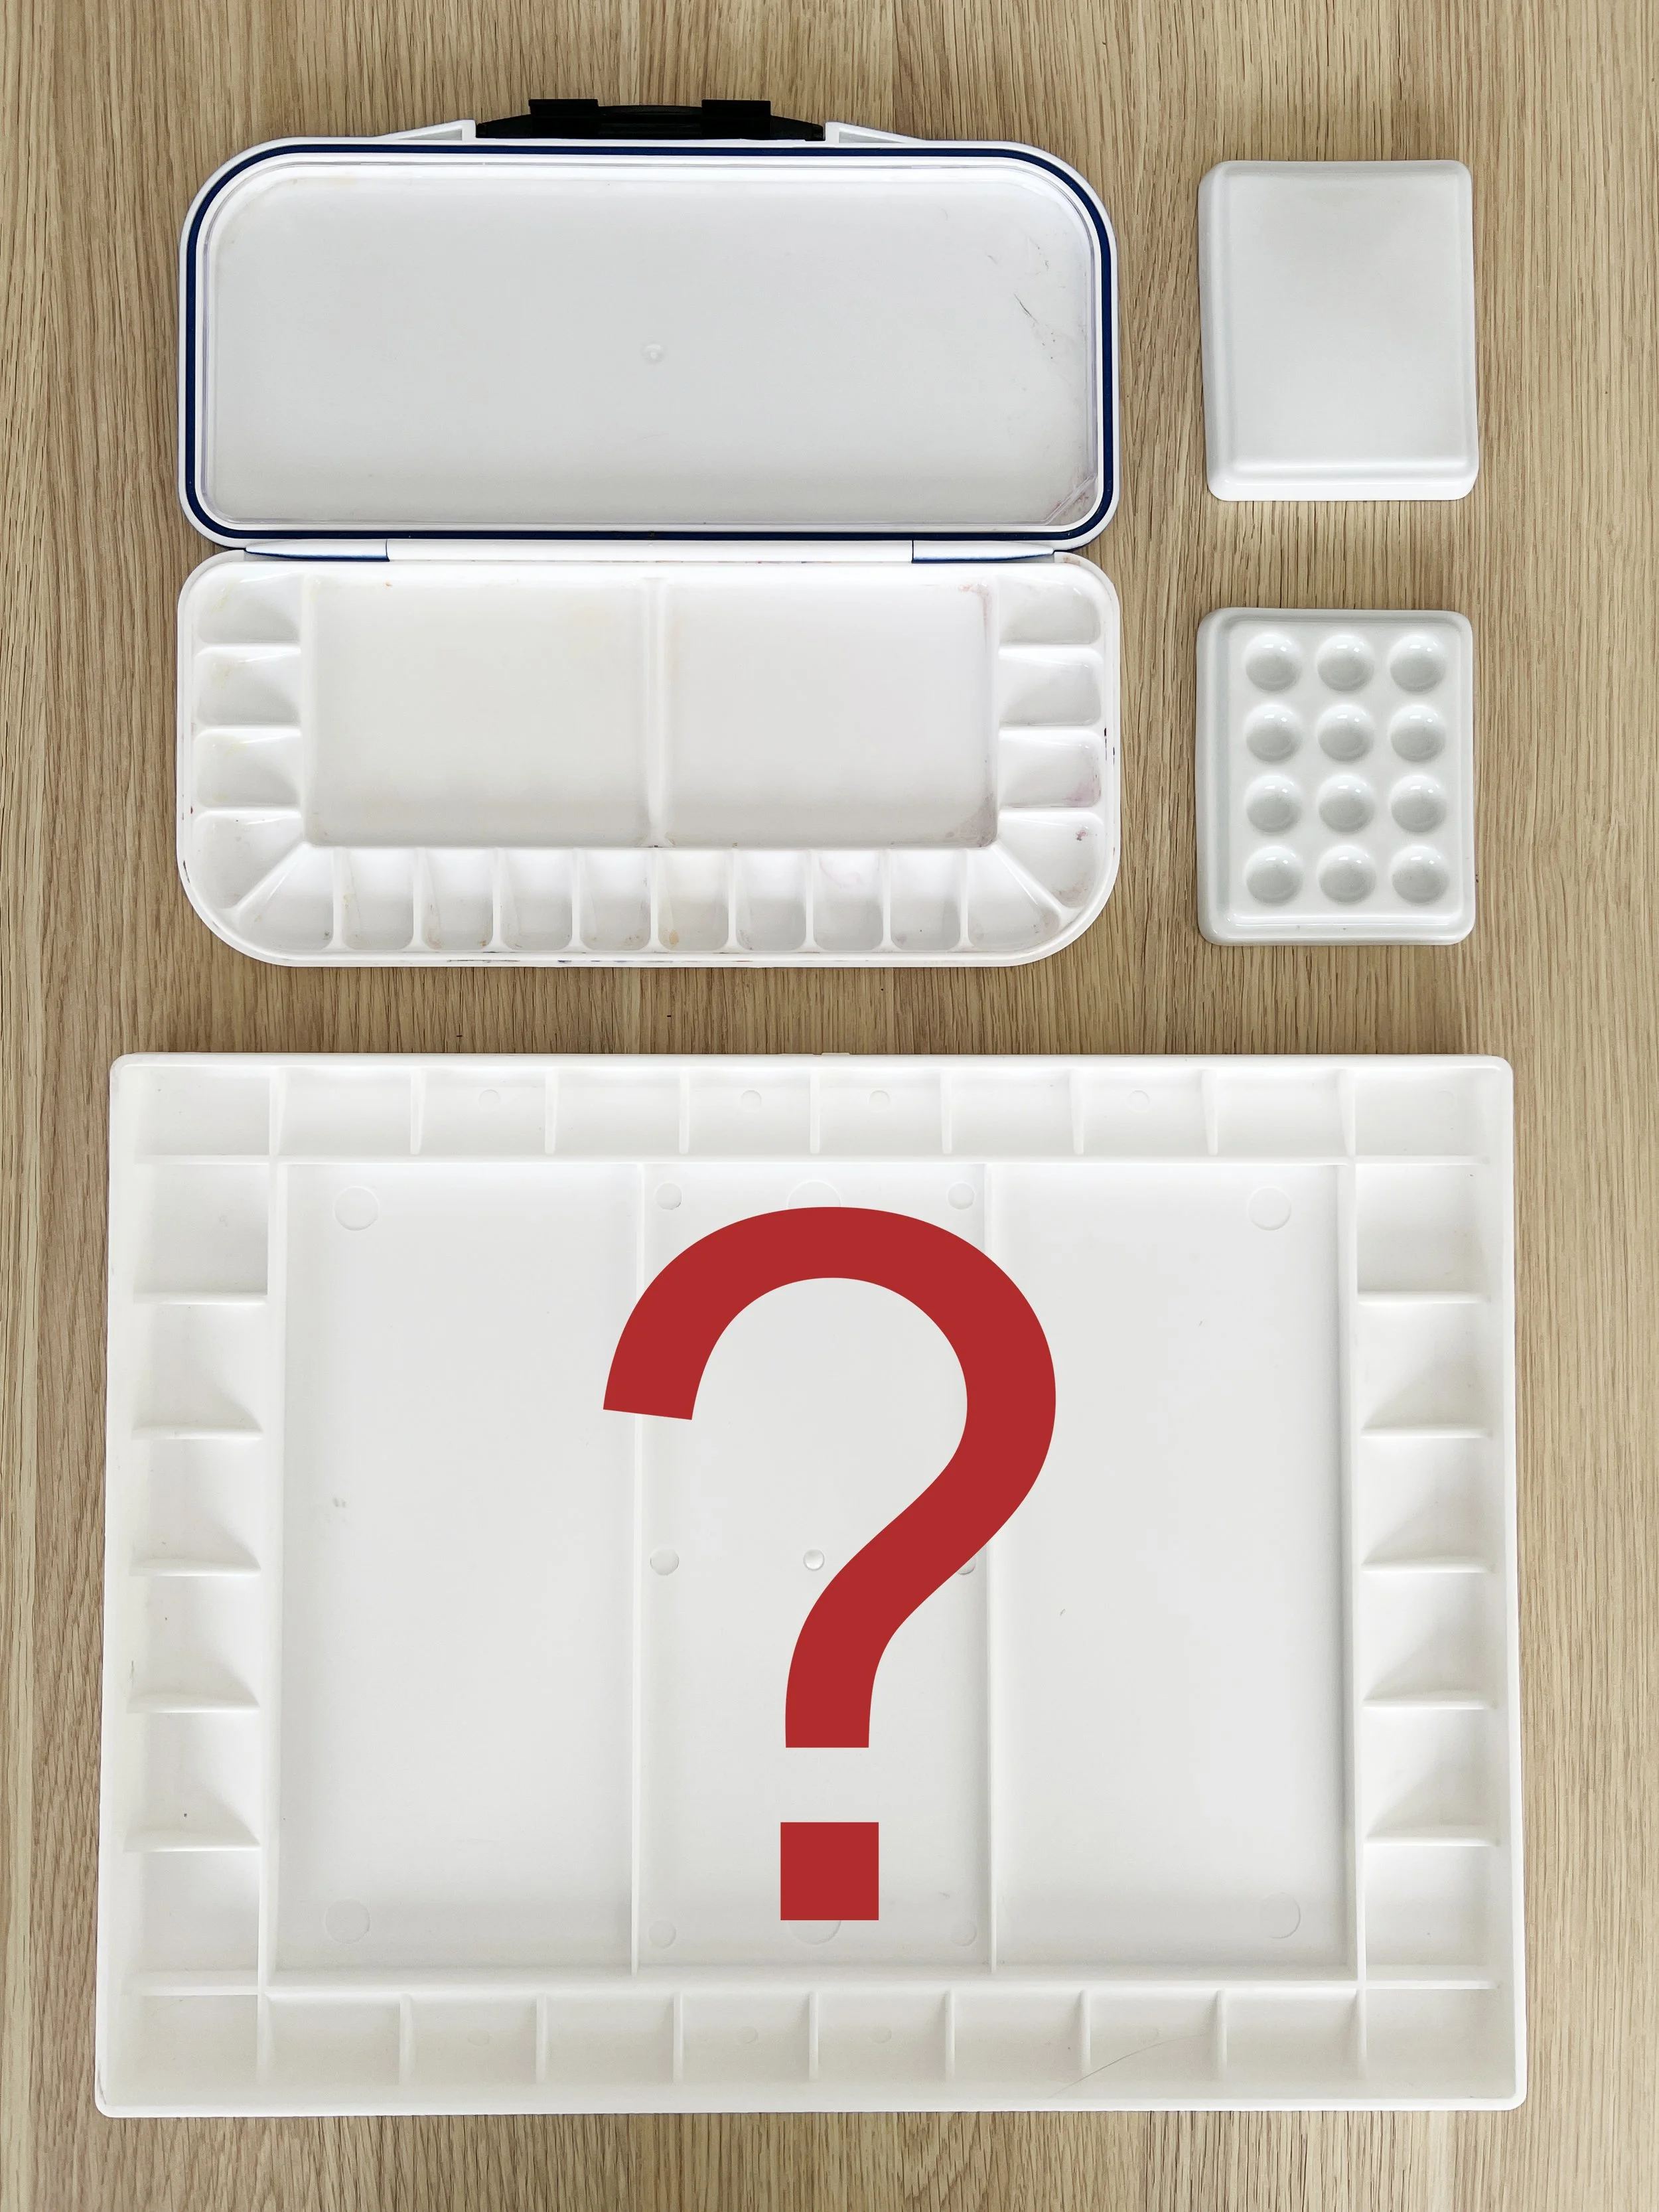
Read MoreEvery artist’s needs are different, and customising your palette for specific projects or styles can enhance your workflow. For example, you might create a separate palette for landscapes, focusing on earthy tones and a wider range of greens, while a portrait palette could include more colours for skin tones and lots of subtle neutrals.
Read MoreSealing a watercolour painting can be an excellent way to protect it from environmental factors, especially if you plan to display it without glass. When a painting isn’t framed behind glass, it is more vulnerable to moisture, smudging, and dirt.
Applying a protective sealer or workable fixative creates a barrier over the surface, adding extra durability to your artwork. For those who like to give their pieces a modern, glass-free look, sealing is essential.
Read MoreThe choice of watercolour brush can significantly influence the outcome of your washes. A larger mop brush is ideal for laying down a flat wash, as it holds a considerable amount of water and paint, allowing for smooth, even coverage. When applying a graded wash, a smaller round brush can give you more control as you gradually change the intensity of the colour.
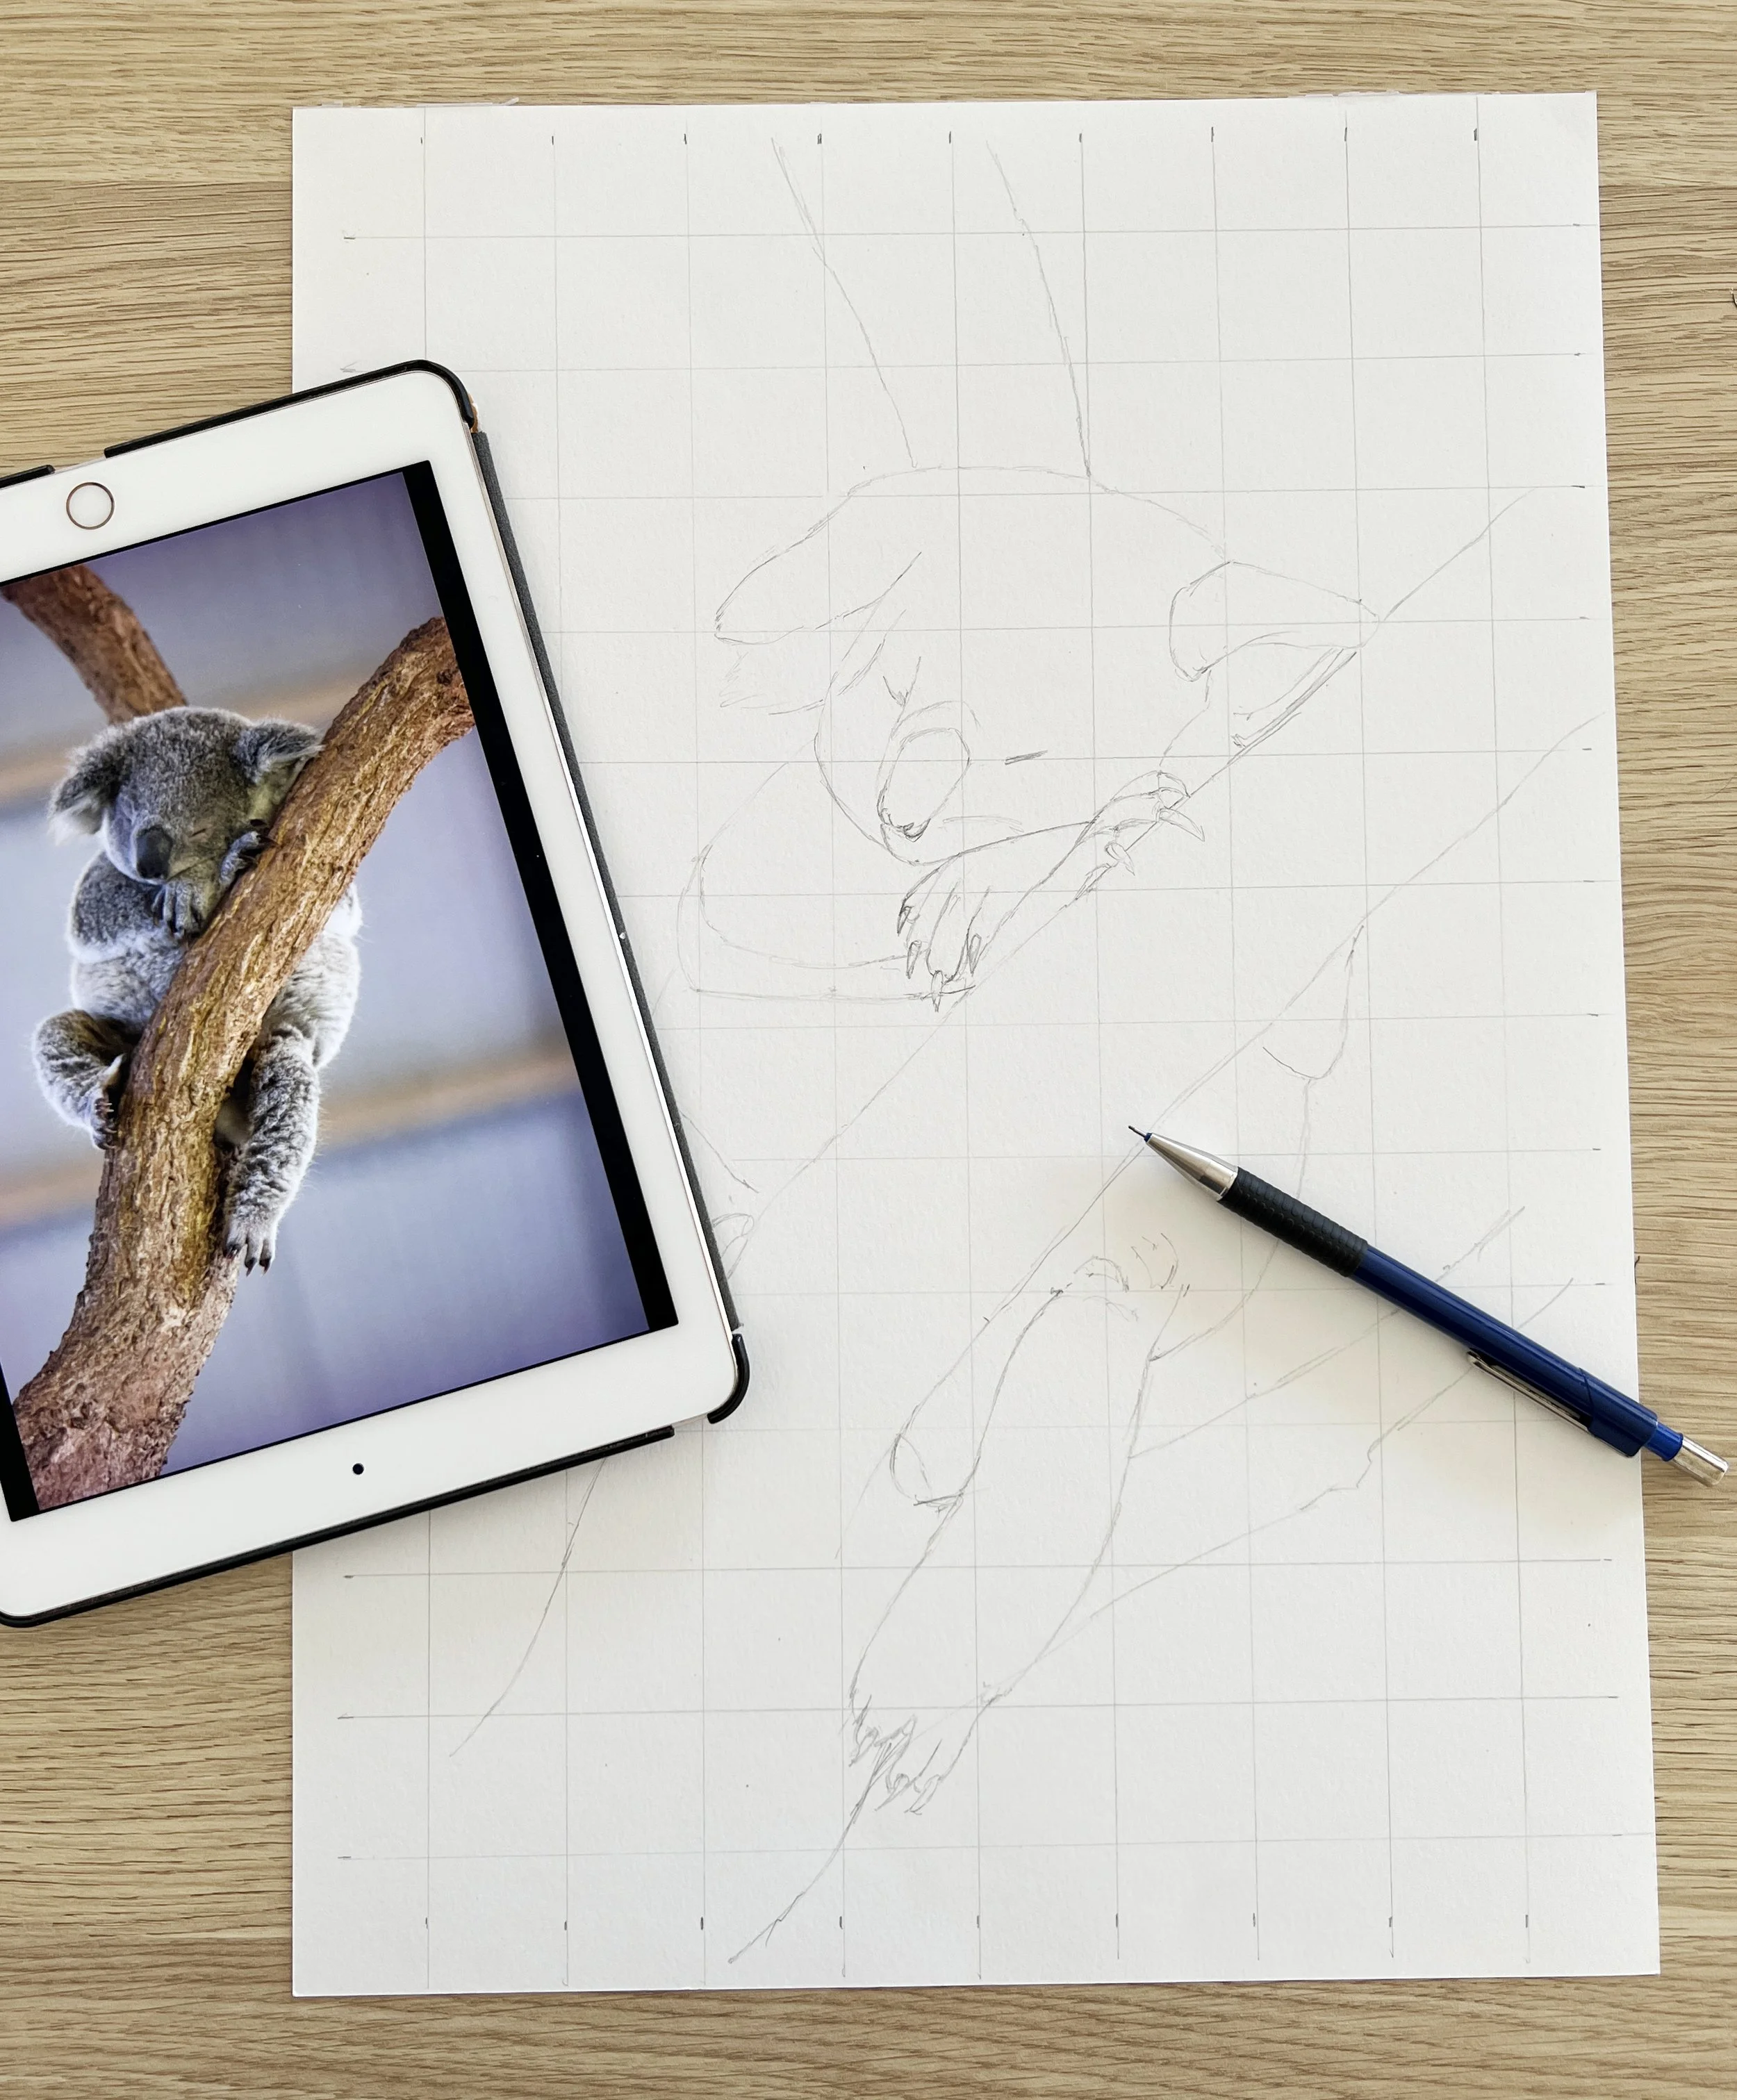
Read MoreDraw the Grid: Connect the marks with straight lines, running both horizontally and vertically across the entire surface of your sketch. Be sure to keep your lines light; you want them to be visible but not overpowering. If you’re concerned about the lines showing through, use a lightbox or tape your paper to a window to keep the lines faint.
Some artists also use diagonal lines to help maintain proportional accuracy when transferring more complex images.
Read MoreOne of the most exciting parts of starting a new watercolour piece is getting your sketch ready on the paper. But transferring that sketch, aka tracing a drawing, can be a bit tricky, especially when you want to preserve the delicacy of your watercolour paper.
There are several methods to do this, and today, we’ll explore some popular techniques, discuss which pencils work best, and answer the age-old question: is it “cheating”?
Read More


