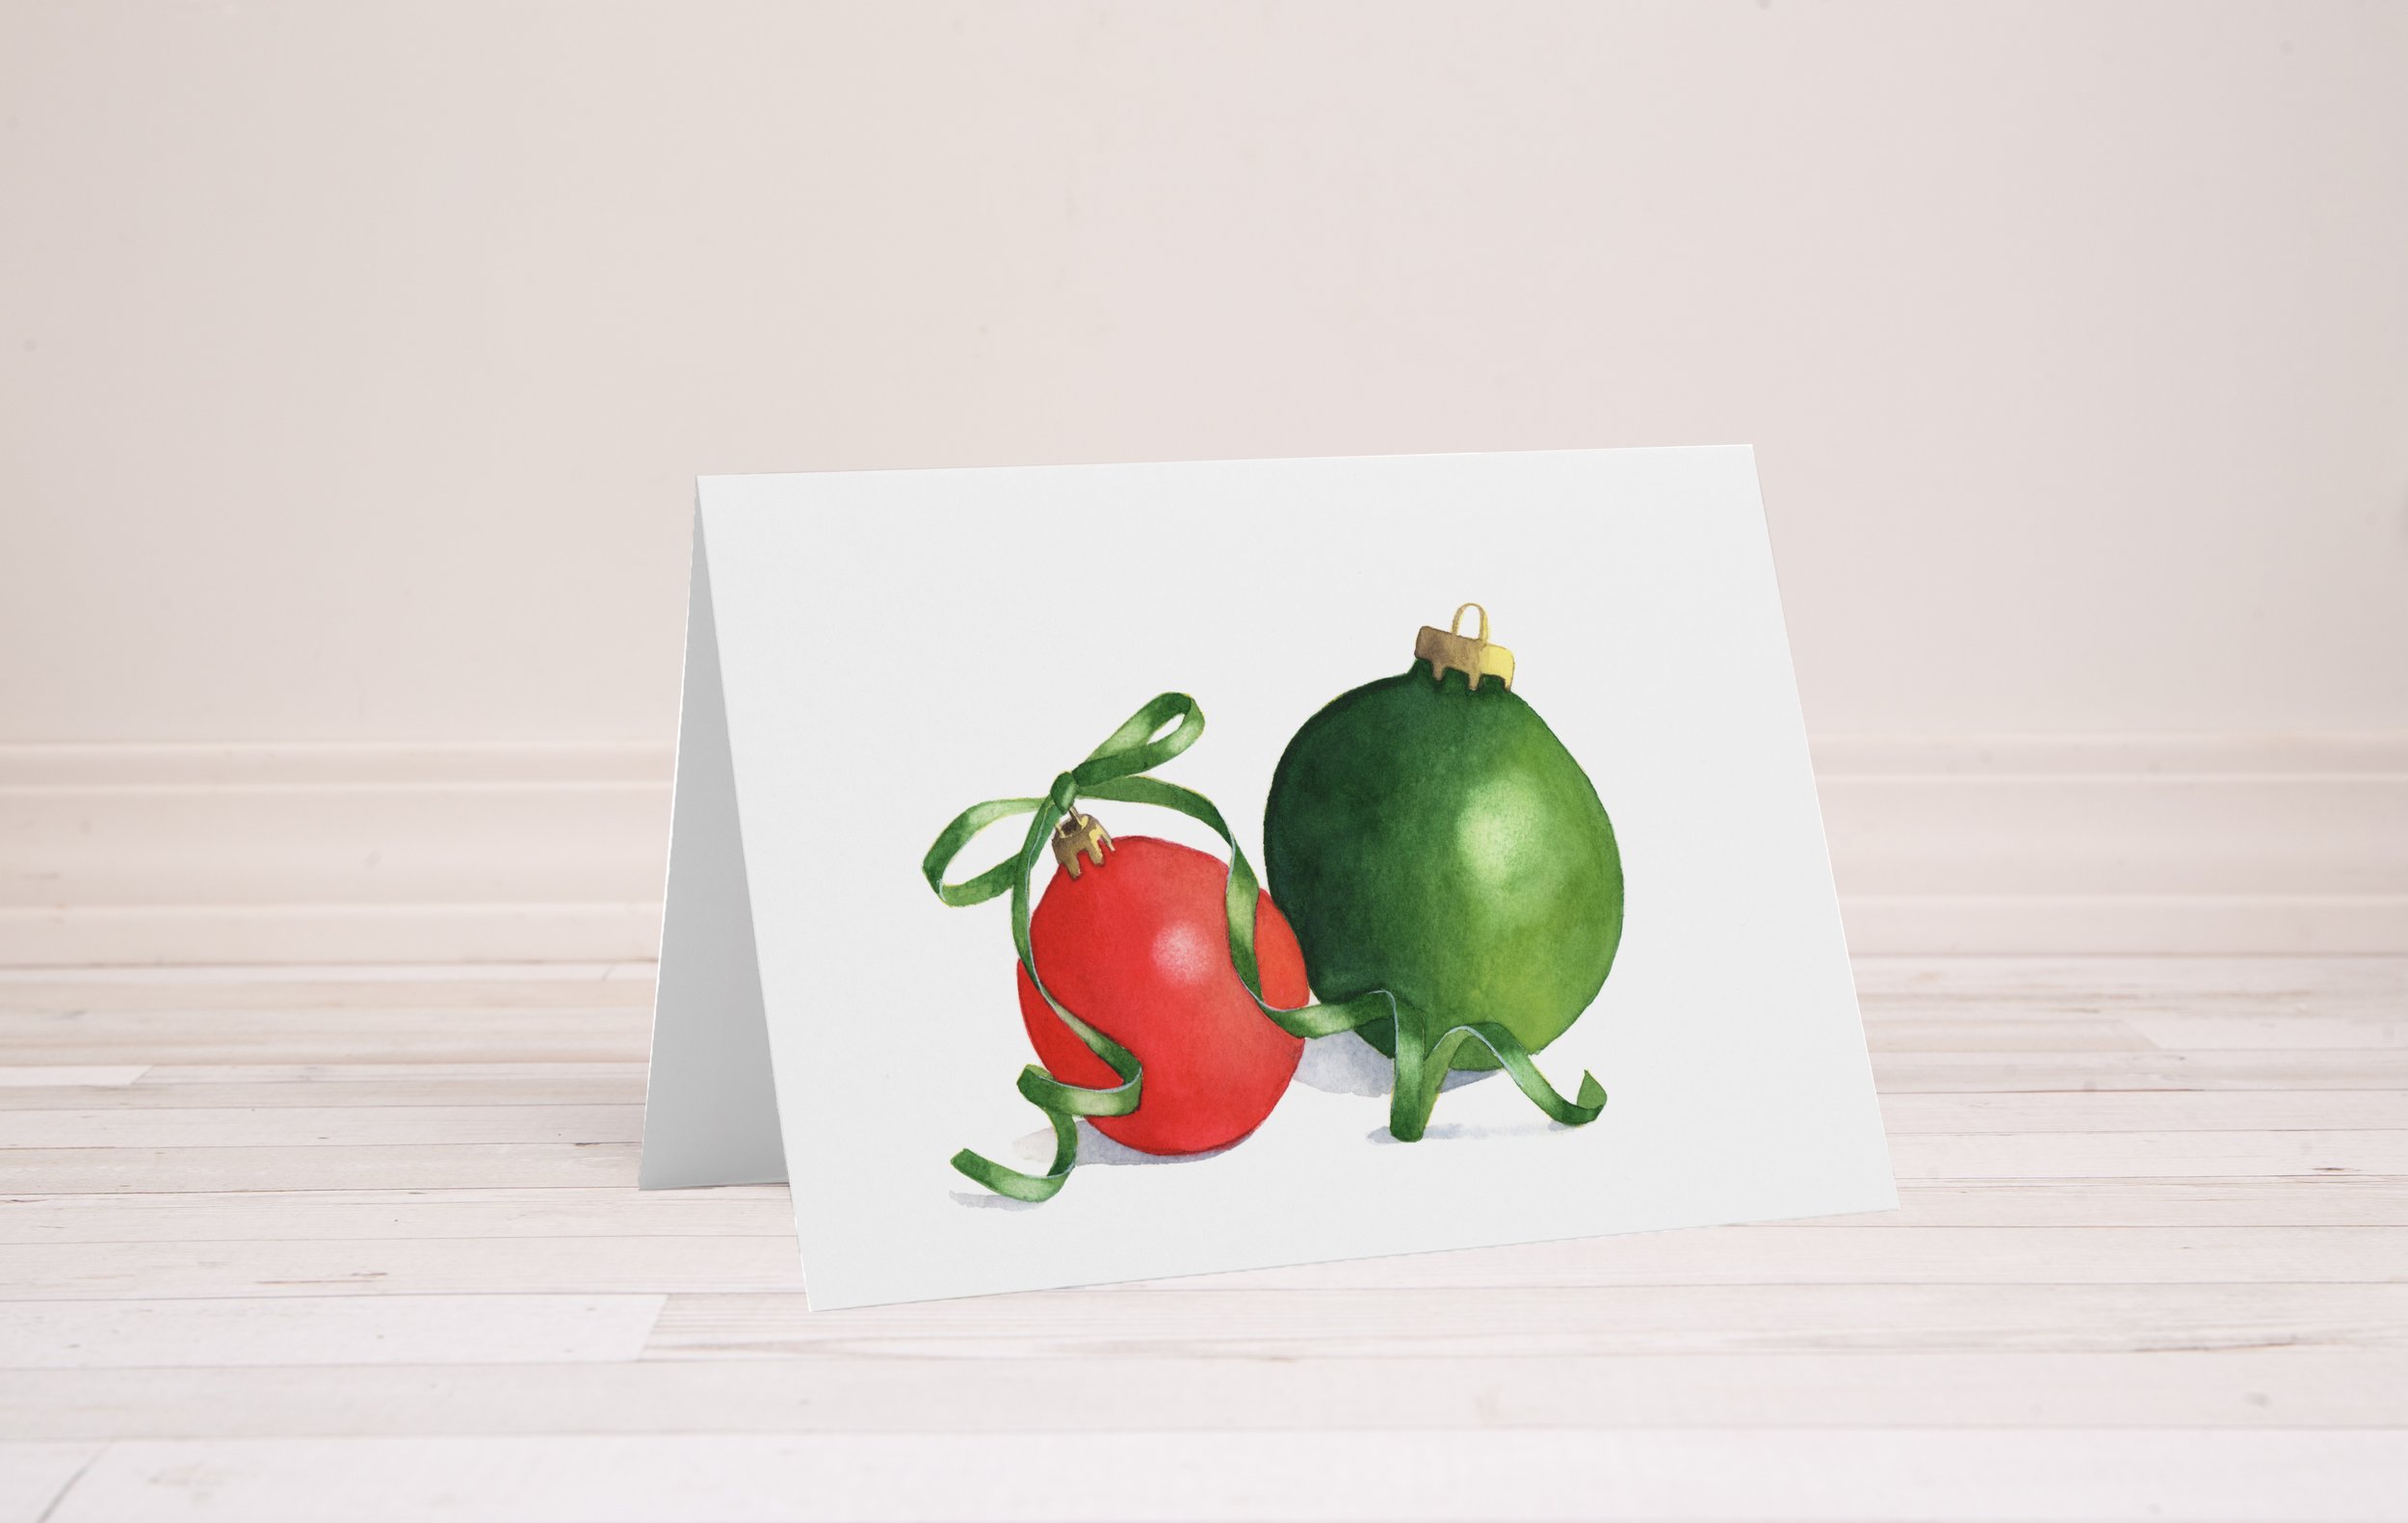
Watercolour Christmas Cards
Painting Festive Baubles in Watercolour
The holiday season is the perfect time to add a personal touch to your Christmas cards, and what better way than painting your own festive designs? In this tutorial, I’ll guide you through painting a simple yet elegant watercolour bauble that’s sure to delight.
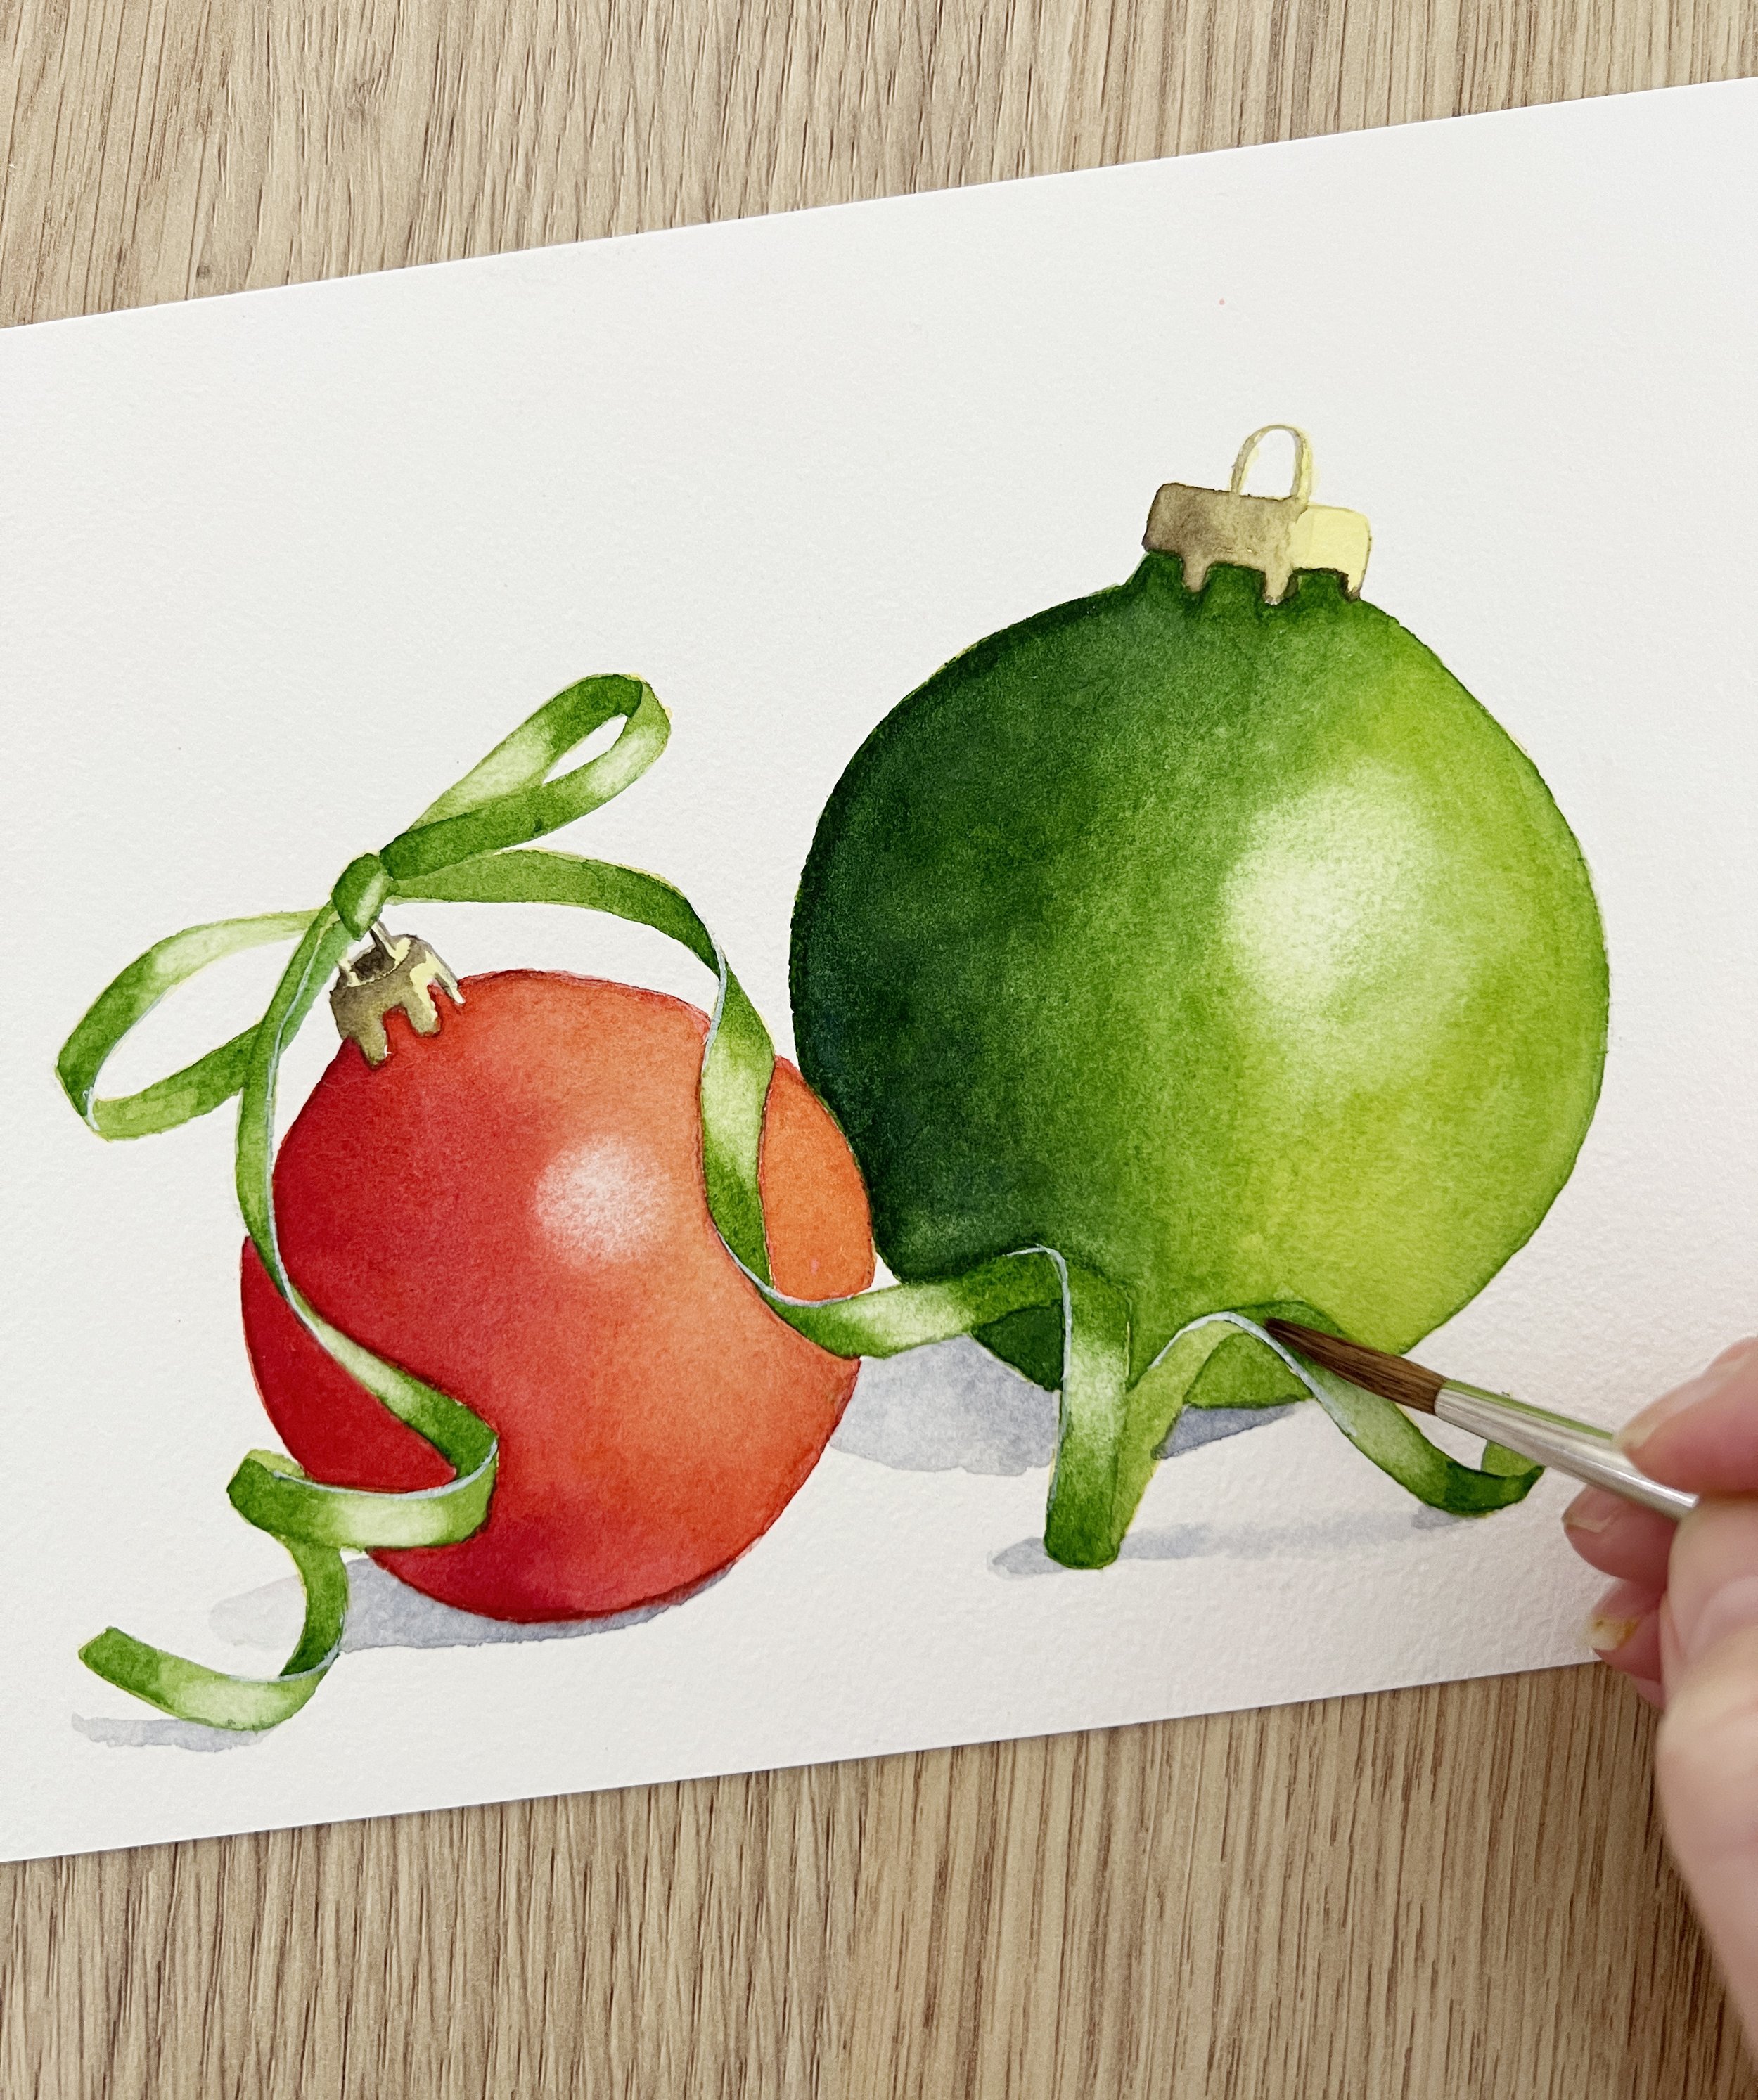
Christmas theme: baubles.
The techniques in this tutorial include:
Now, let’s paint this step by step together. If you want to follow alongside a video, this tutorial is available on my Patreon site. I also have more easy watercolour Christmas card tutorials available.
Enjoy!
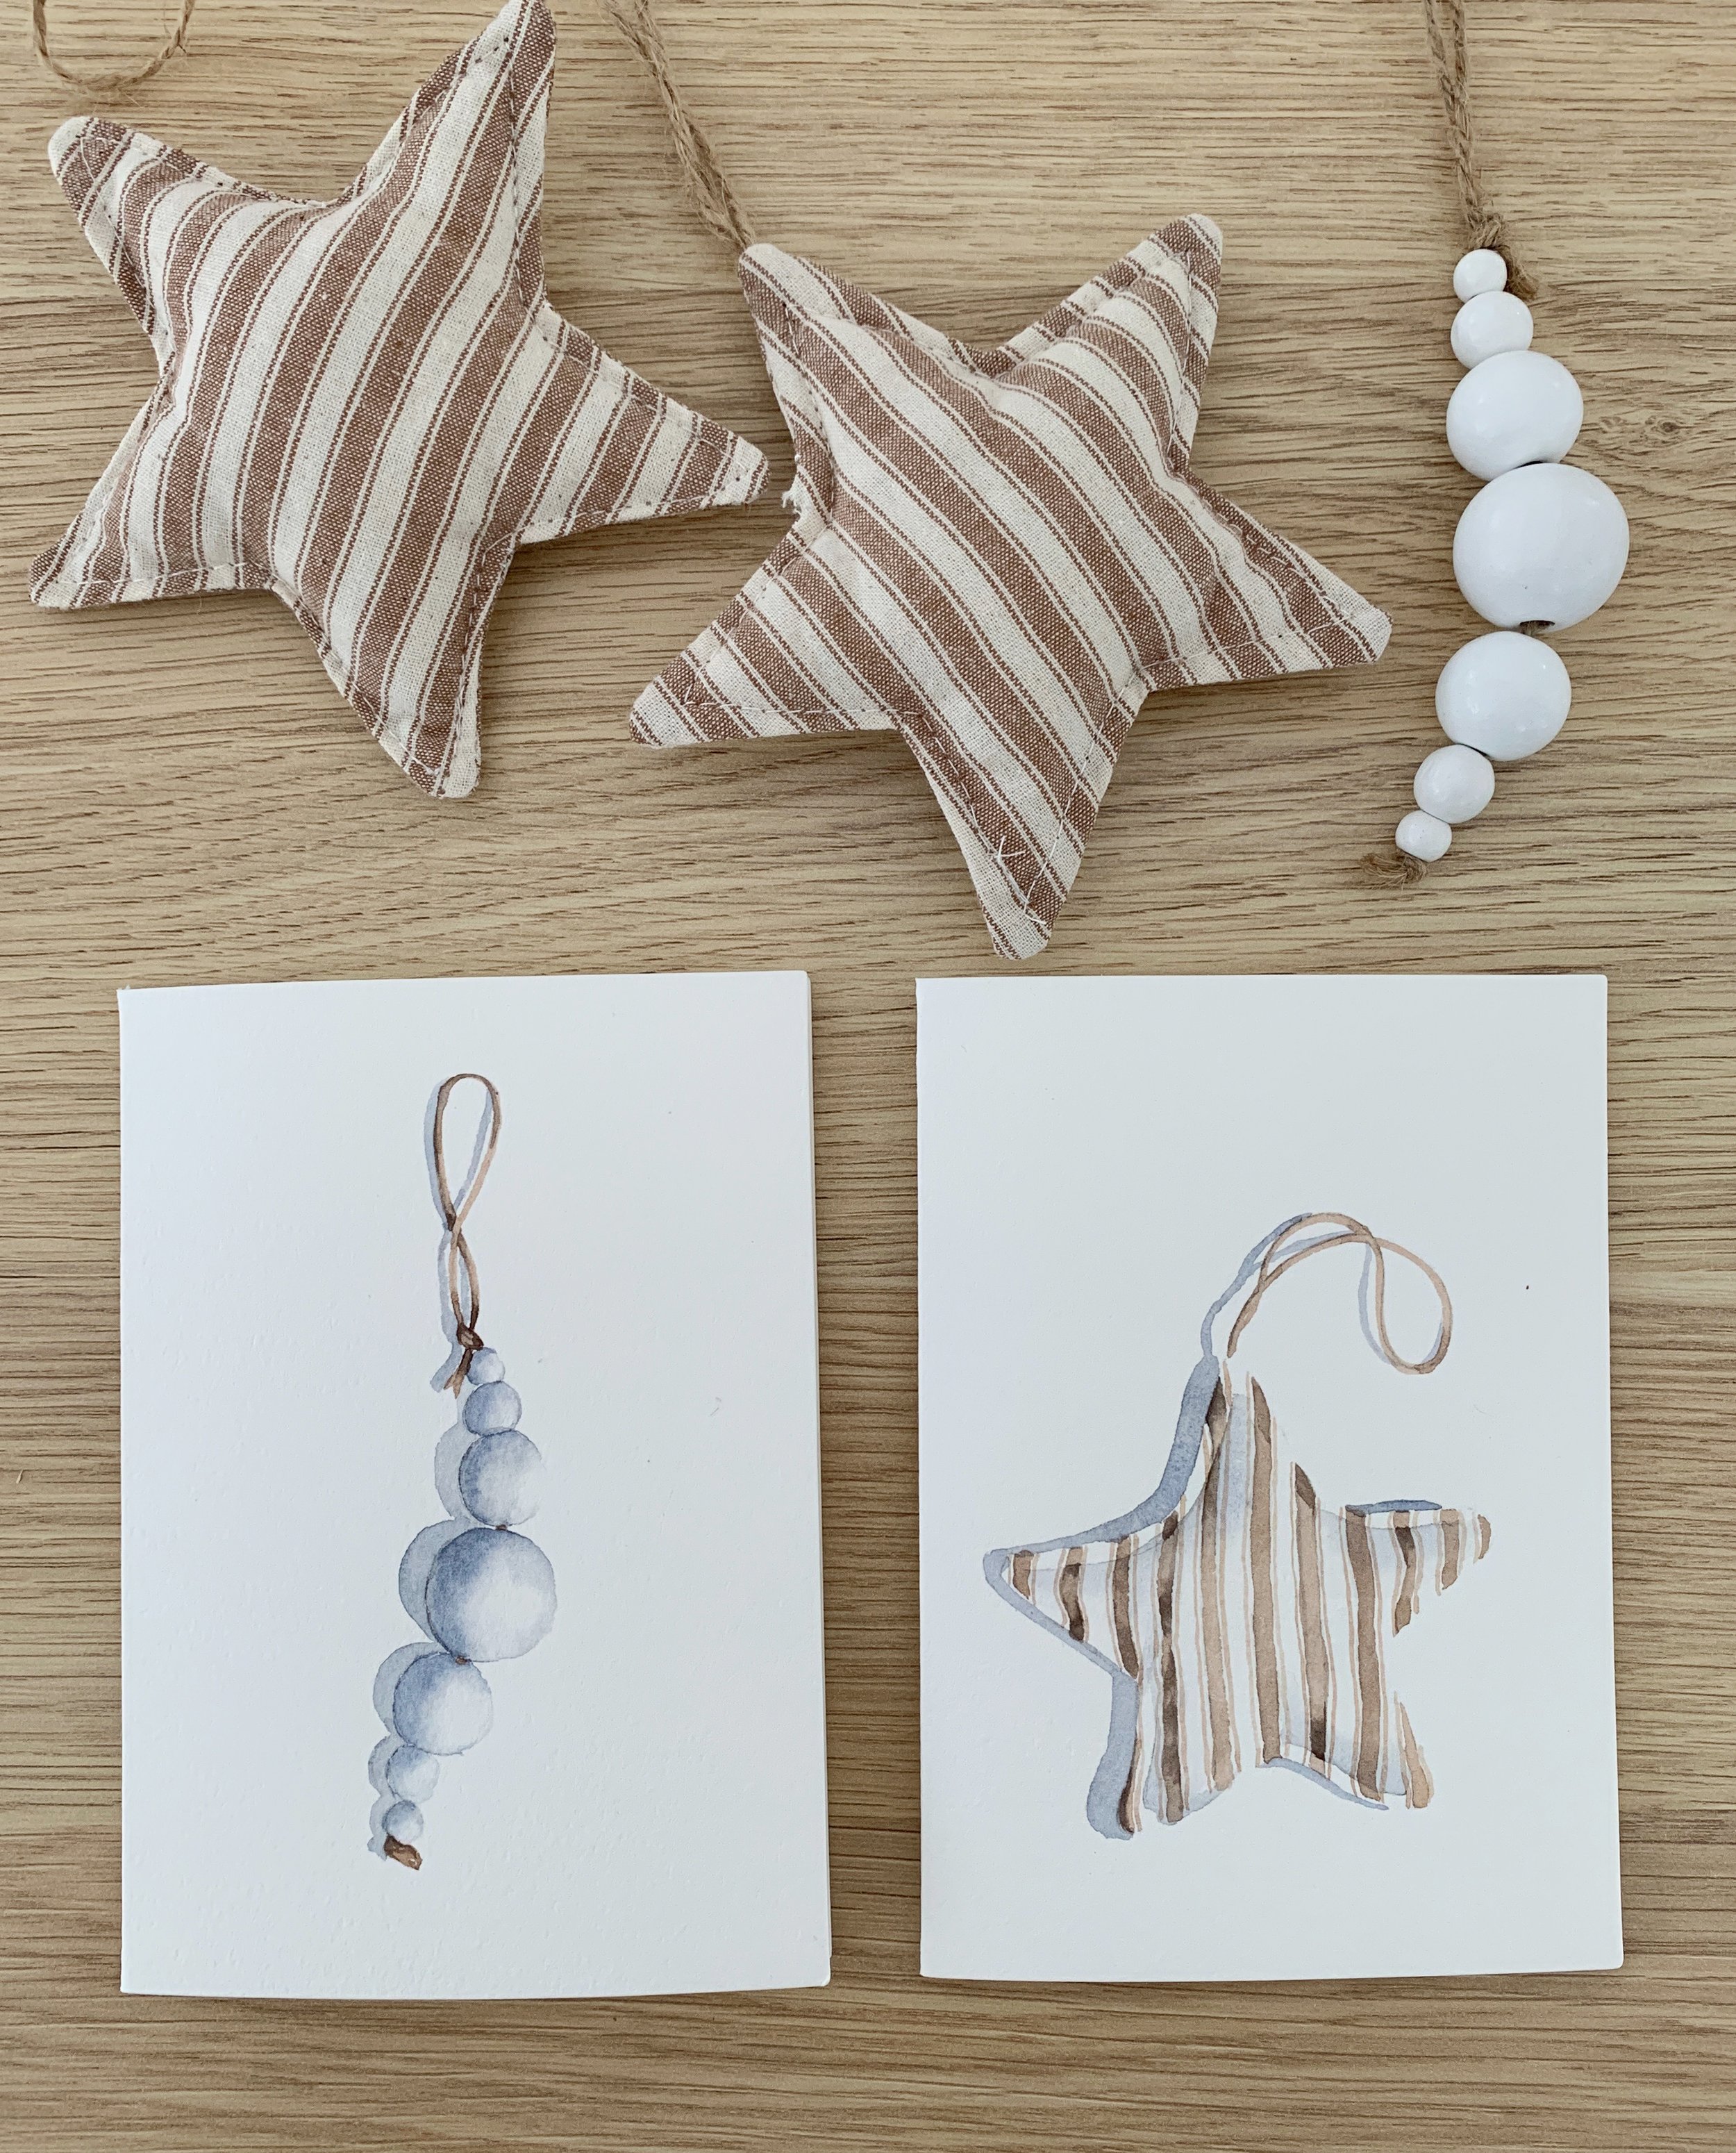
Christmas Card ideas - available as a tutorial on Patreon.
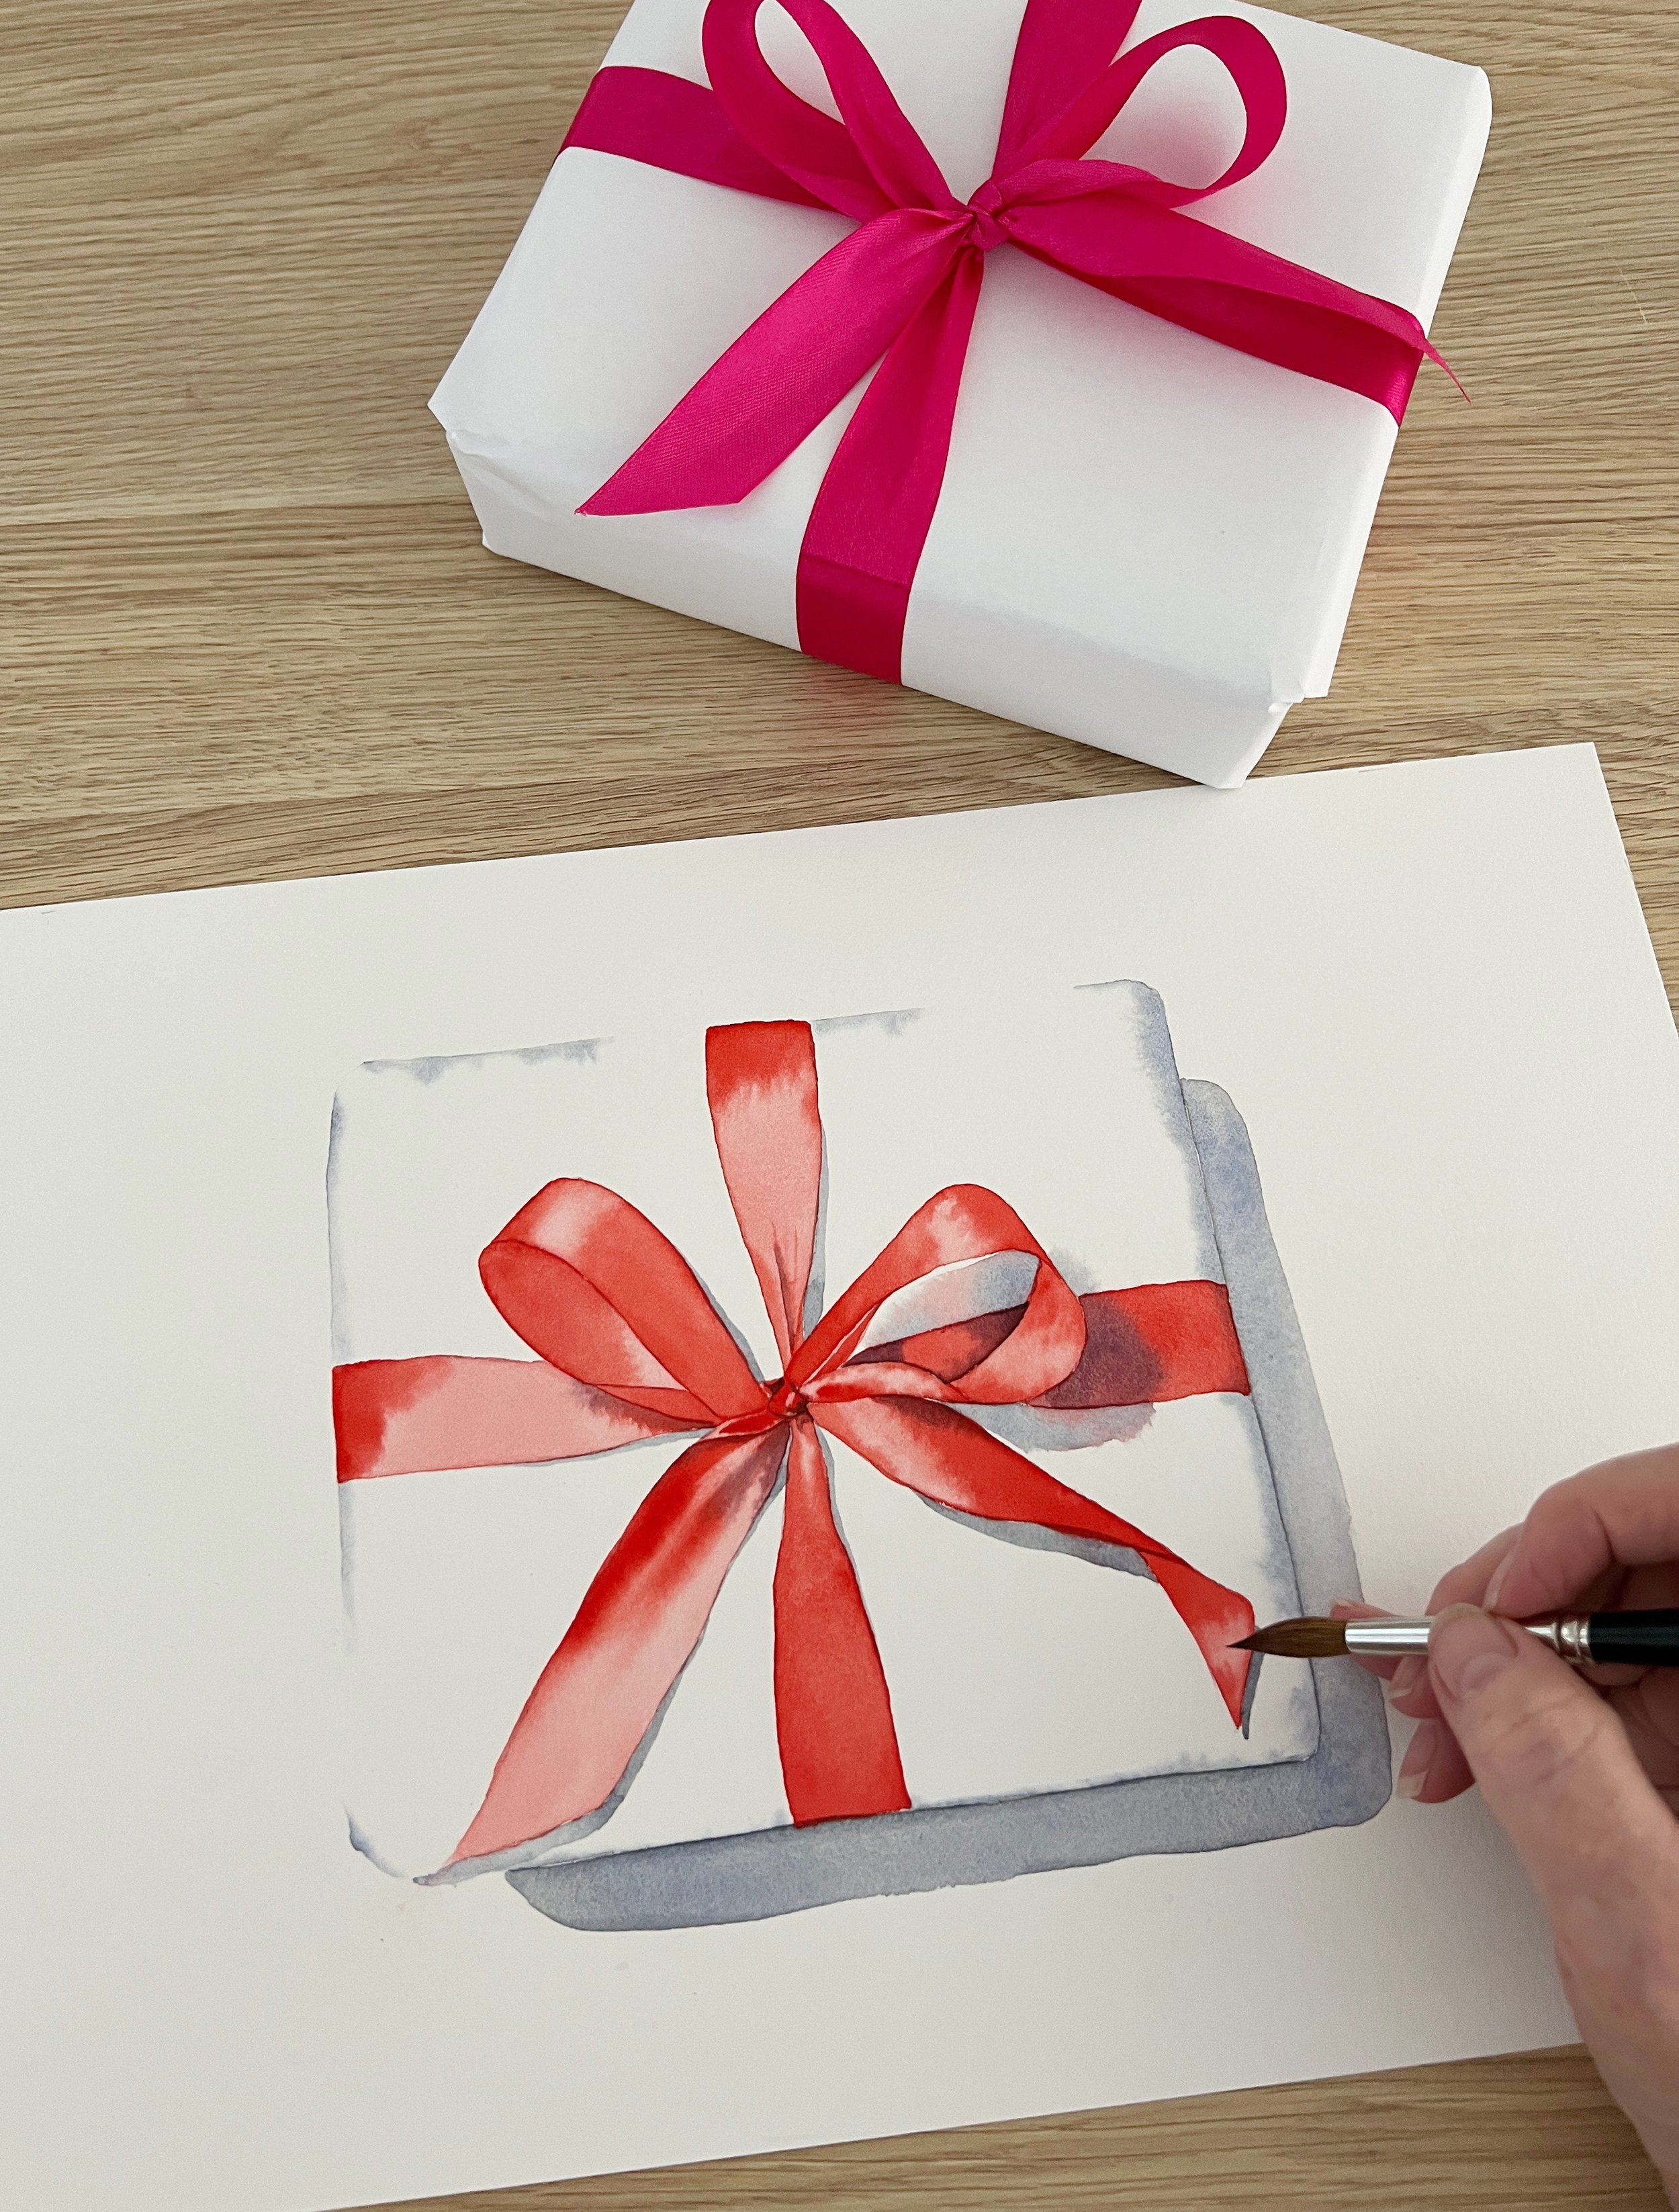
Simple brush strokes create this watercolour present- available as a tutorial on Patreon. This could be painted on Christmas cards.
Say Merry Christmas with this simple Christmas card design.
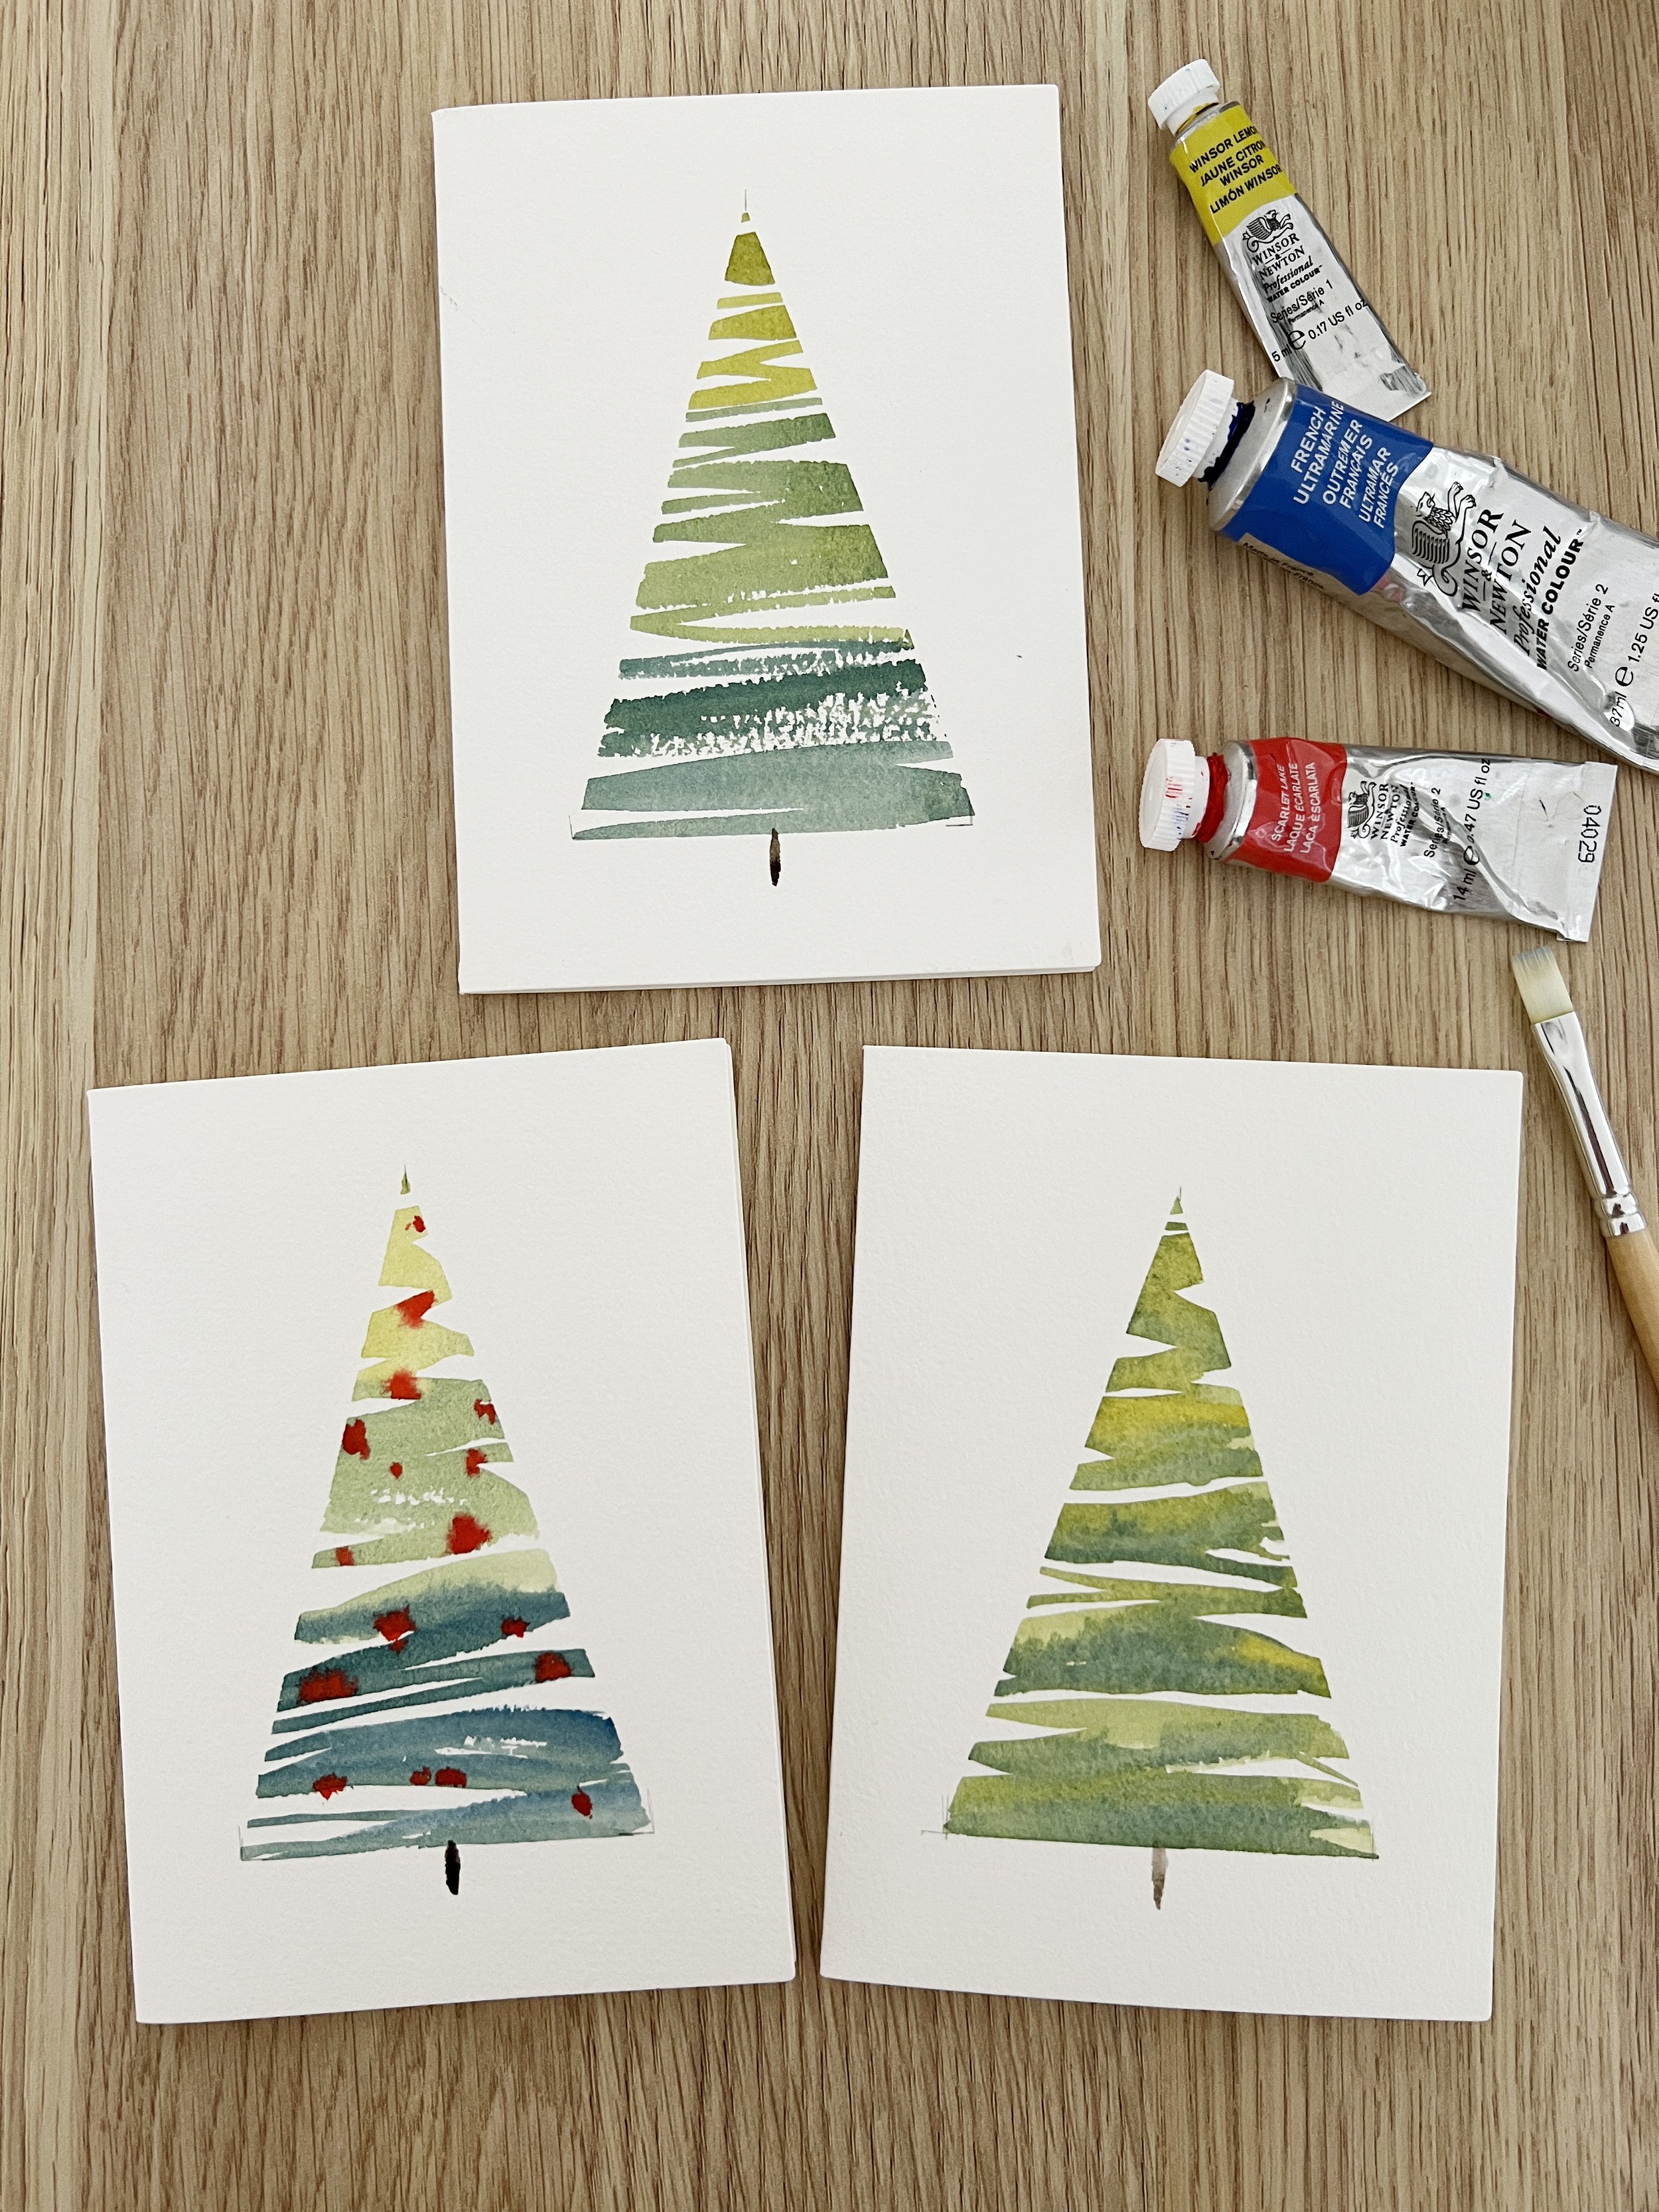
Super easy watercolor Christmas cards: Christmas trees.
Materials You’ll Need
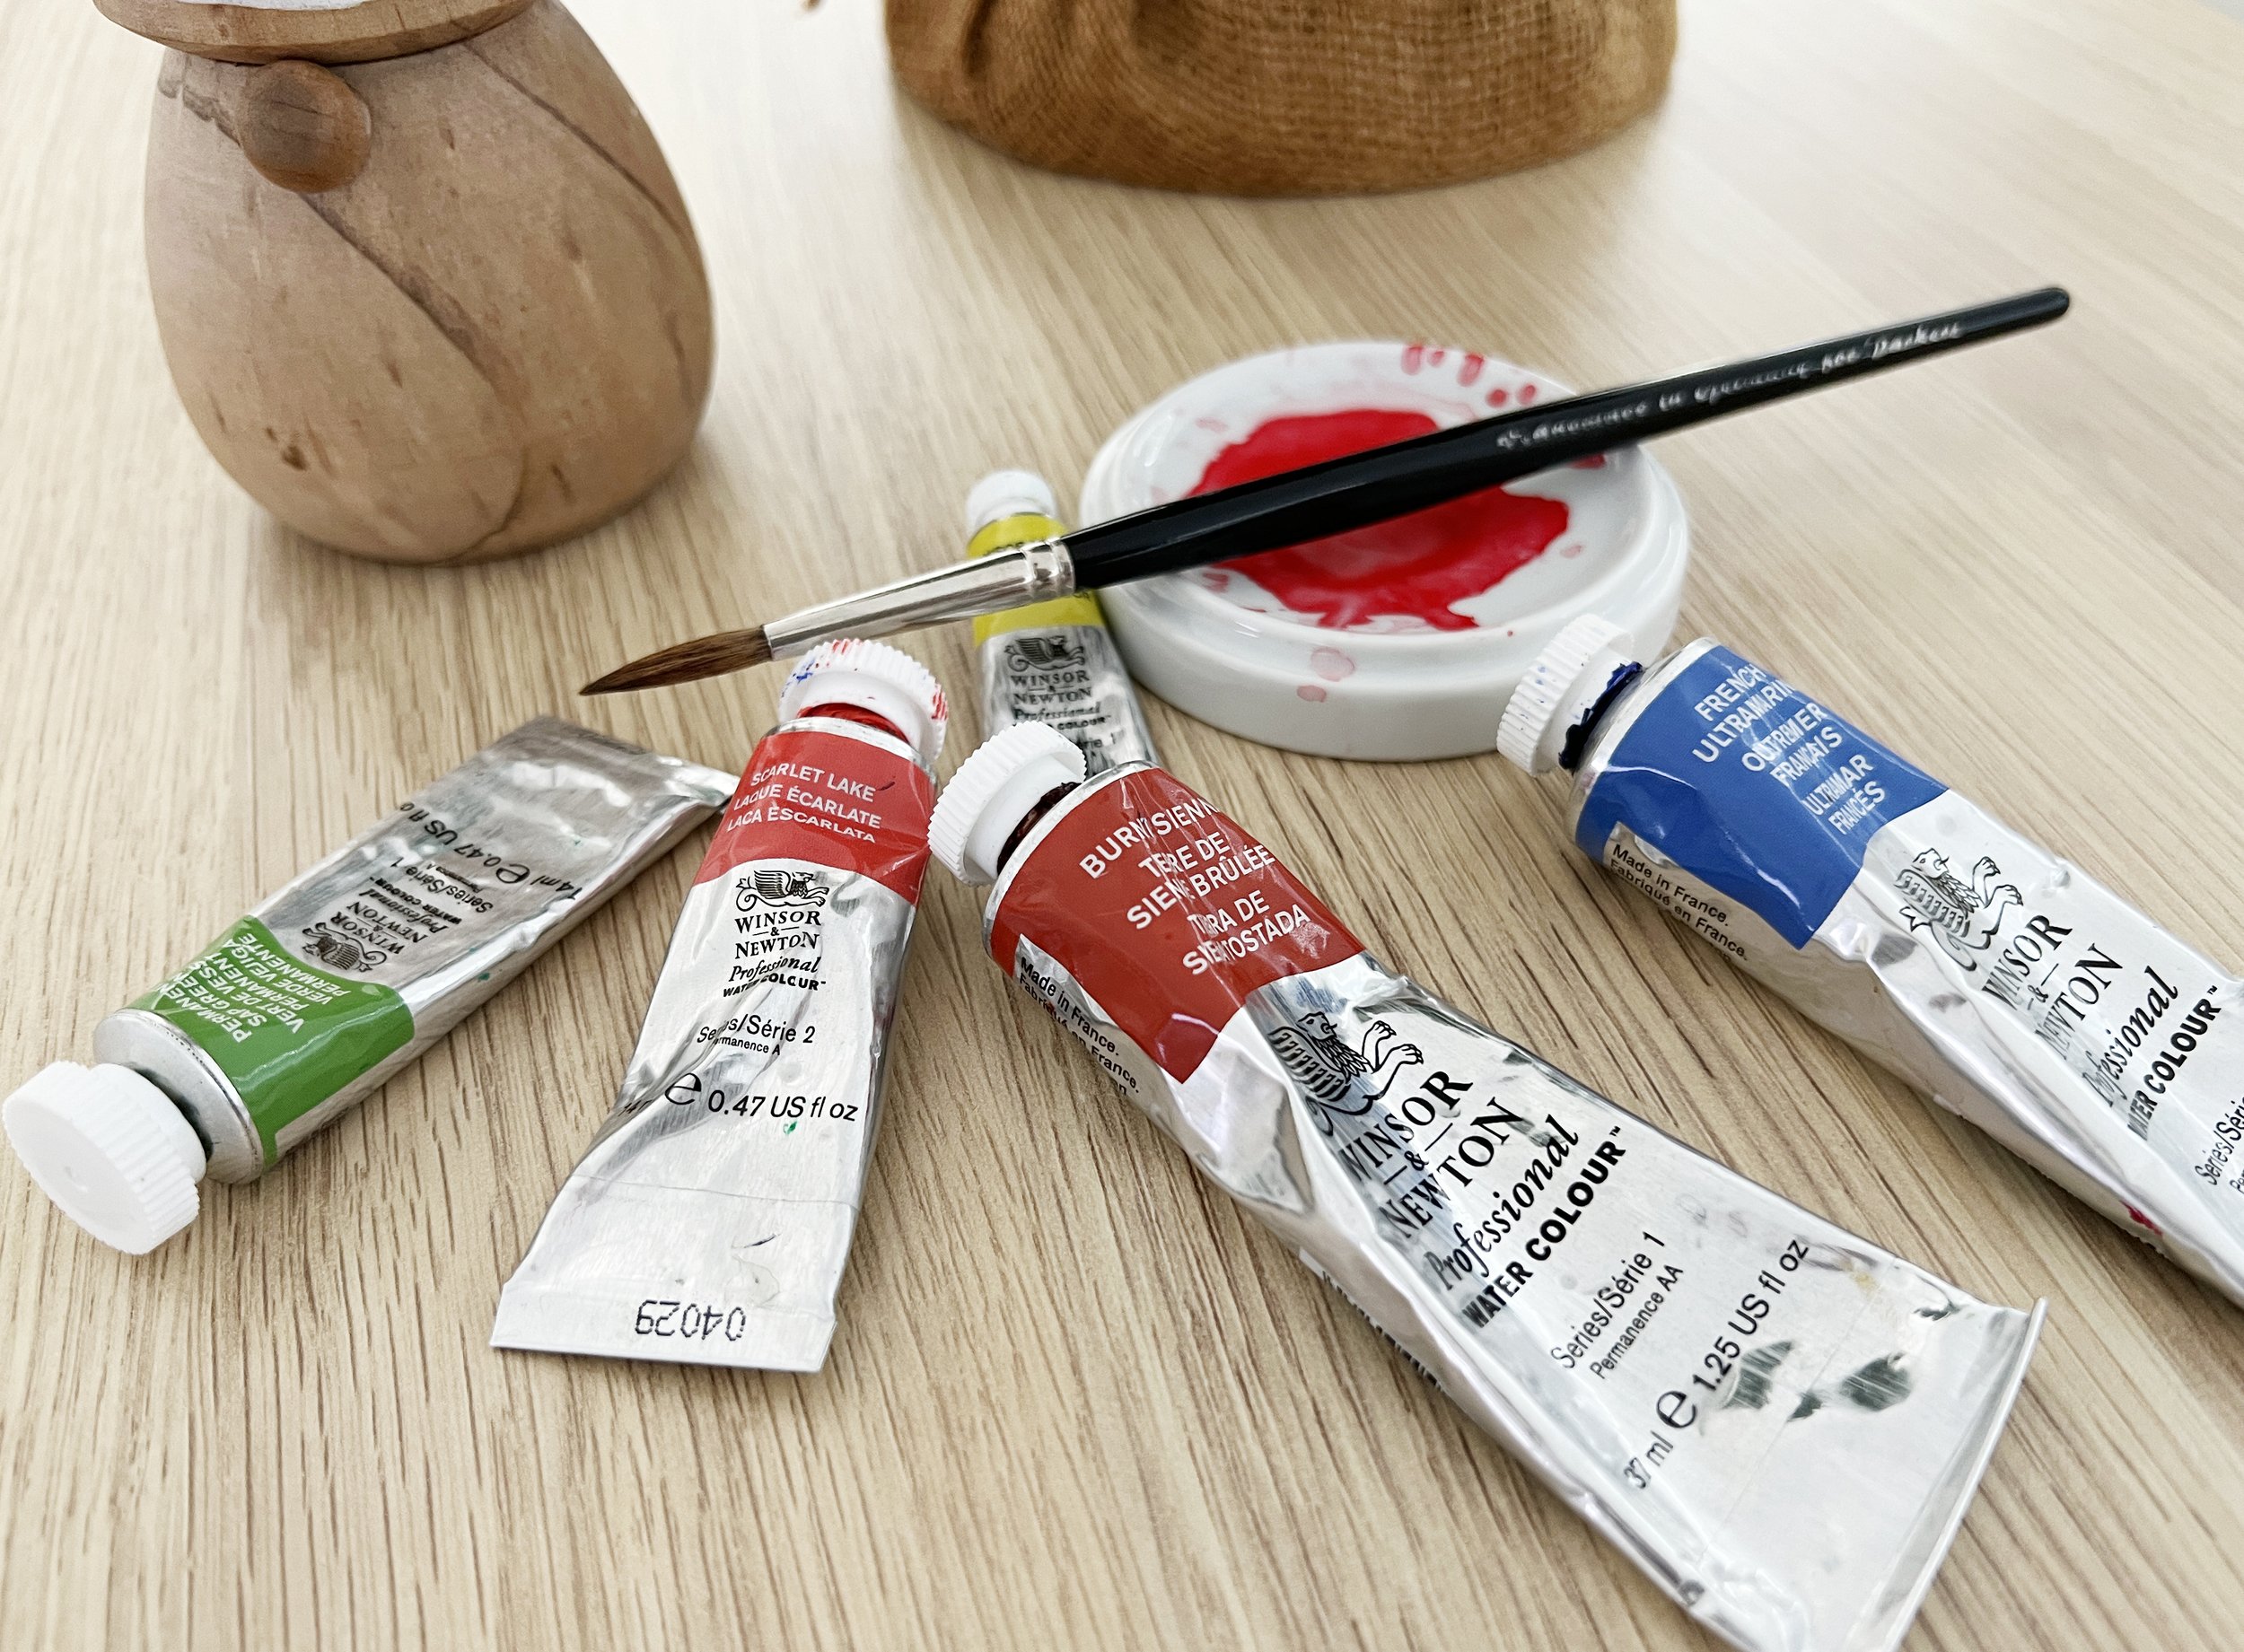
Paint colours are listed on the left for this painting.
· Paper: I used cold-pressed Arches watercolour paper, but hot-pressed paper works just as well if you prefer a smoother surface. After I cut the gummed tape away, it was 24 cm by 15 cm (9.5” by 6”).
· Brushes: Round brushes in the sizes #2/0, #3, #5, #11 are perfect for this work. I also used a scrubber or eradicator brush for removing highlights. If you are still looking for the perfect watercolour brushes, check out my Jackson's range!
· Paints: Winsor & Newton's Winsor Lemon, Sap Green, and Scarlet Lake, along with French Ultramarine and Burnt Sienna, are ideal for these vibrant baubles. I also used Quinacridone Fuchsia from Daniel Smith to deepen the red and I used some Sepia on the hanging fixtures. You can use Permanent Carmine from Schmincke or Quinacridone Rose from Winsor & Newton as well.
Substitutions: Schmincke (Lemon Yellow, Sap Green, Cadmium Red light or Permanent Red, French Ultramarine, Transparent Sienna, Sepia)
Daniel Smith (Hansa Yellow light, Sap Green, Organic Vermillion, French Ultramarine, Burnt Sienna light or Quinacridone Burnt Orange, Sepia)
Miscellaneous:
I used Saral Paper to transfer the drawings onto the paper.
Winsor & Newton white drawing ink or white gouache.
Winsor & Newton watercolours.
Step 1: Creating the Base Layer
Begin by transferring your drawing of the baubles onto your watercolour paper. You can either draw them lightly with a pencil or use tracing paper for a cleaner outline. Once your drawing is ready, start with the yellow-green bauble.
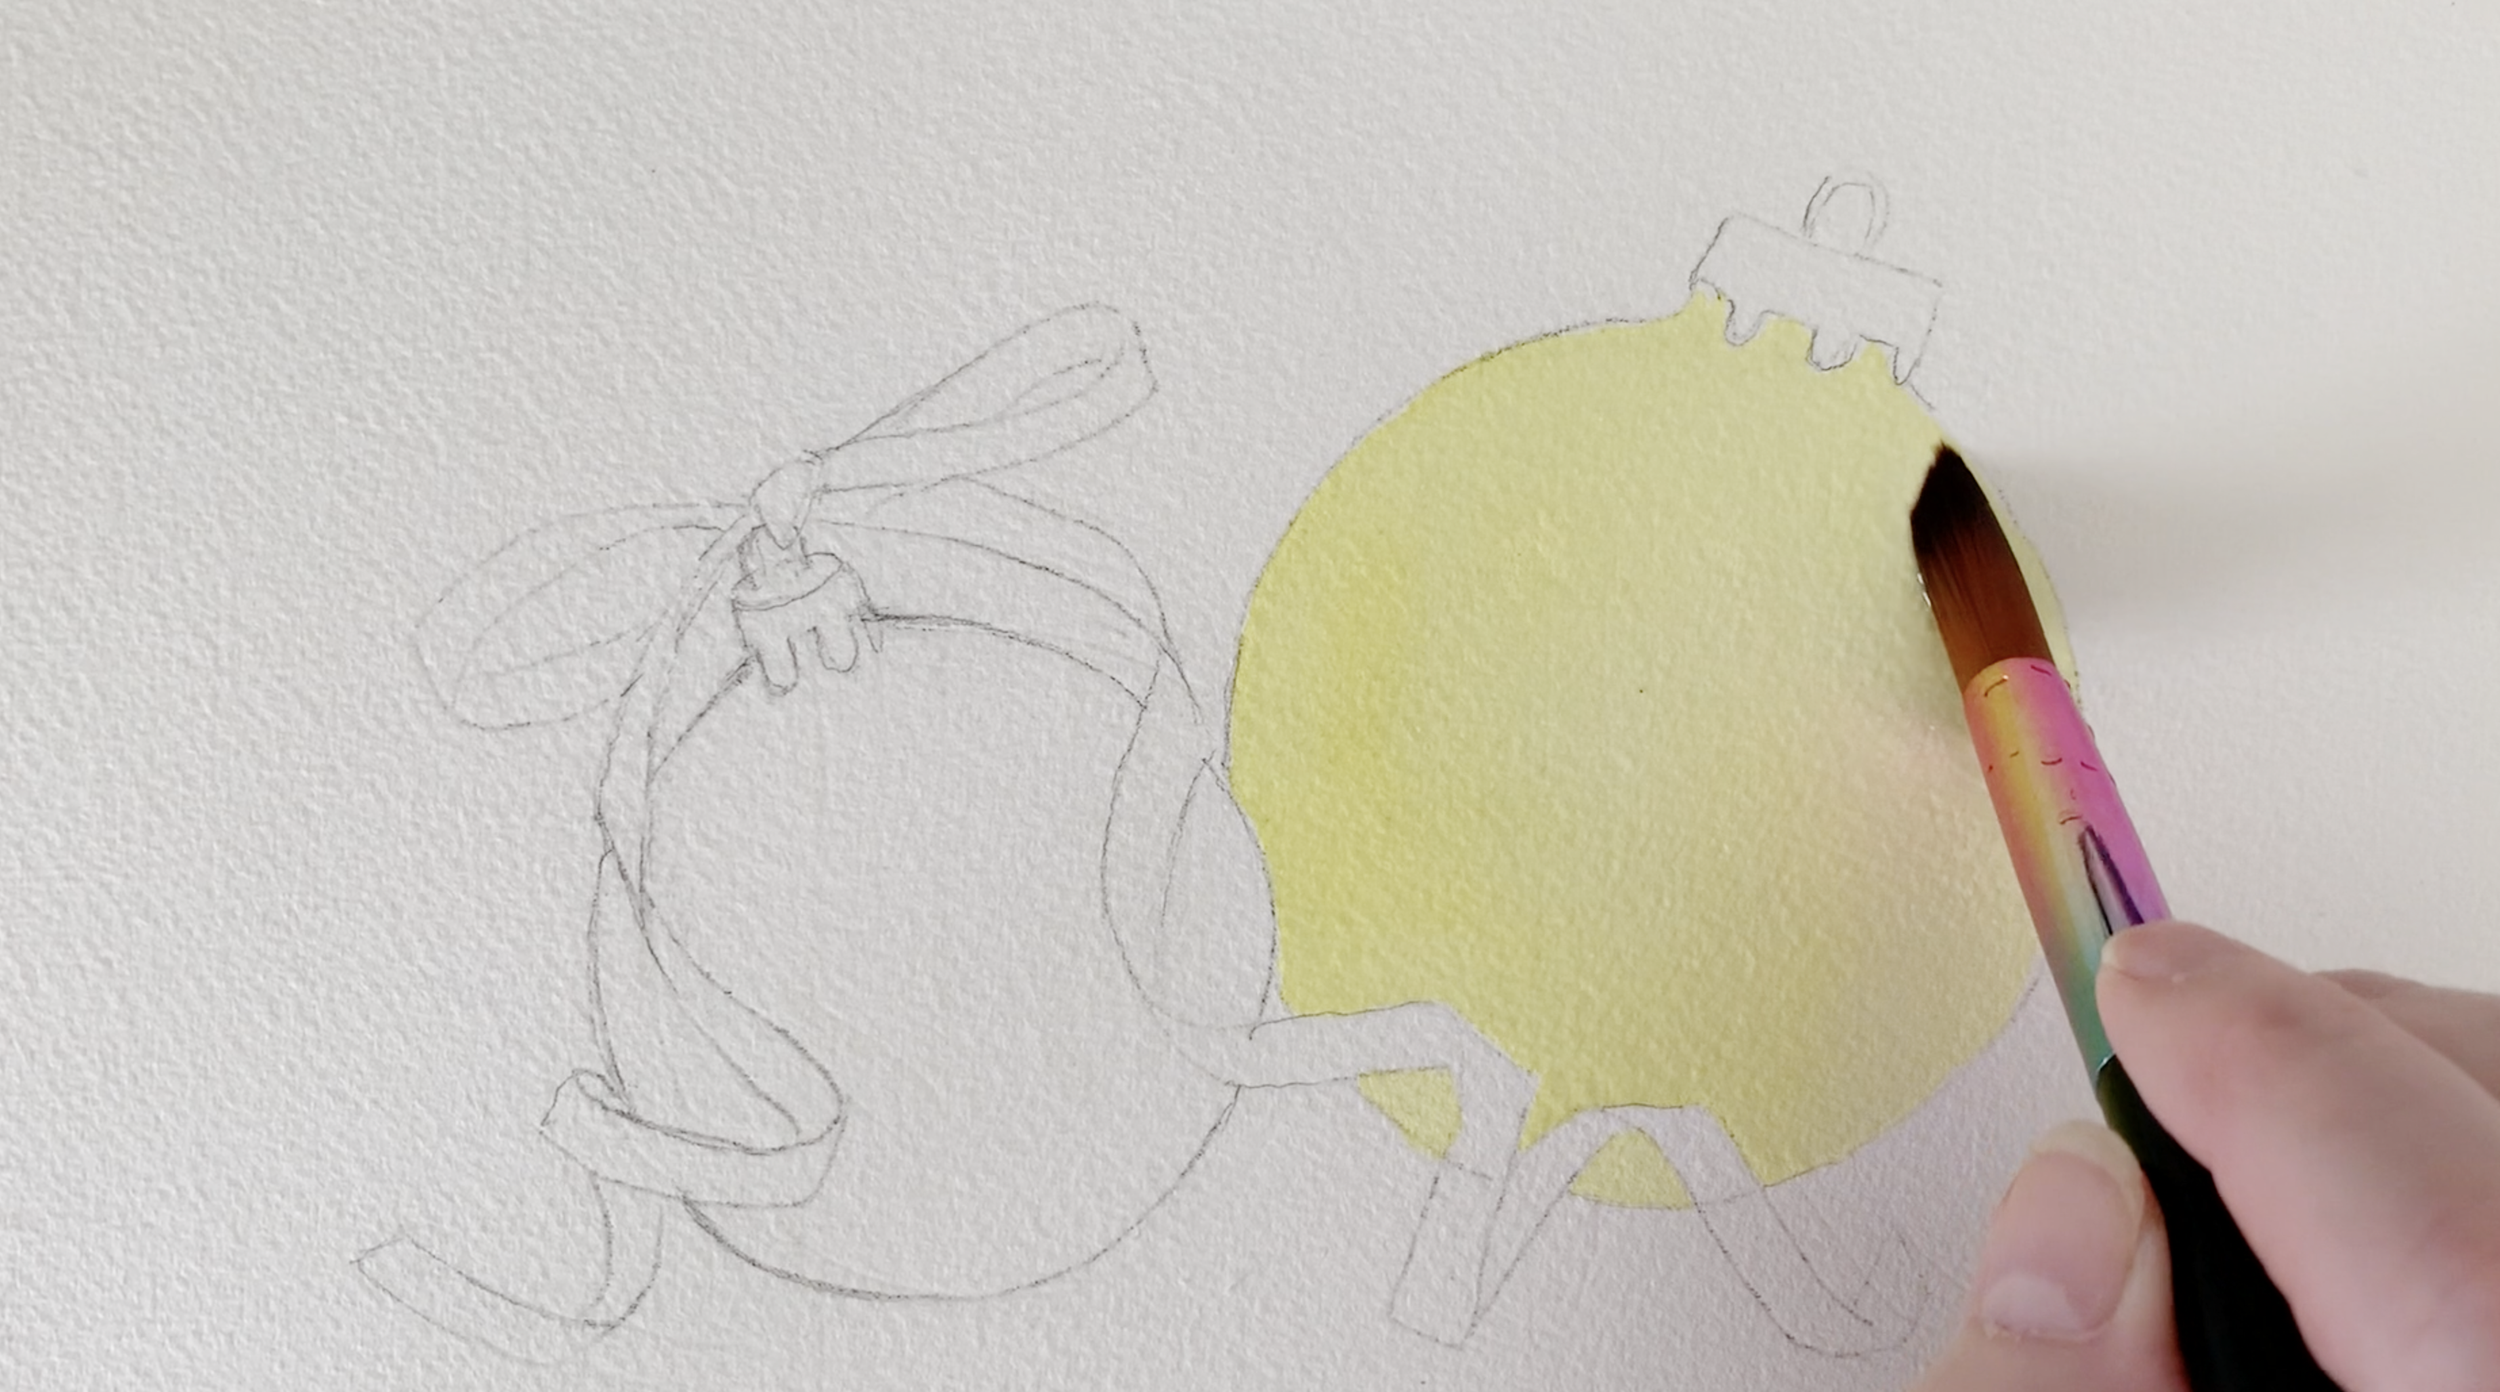
Using a round brush, mix a watery consistency of Winsor Lemon and apply it to the bauble on dry paper. This wet-on-dry technique ensures precision around the edges. If you’re worried about accidentally painting over the ribbon or other details, consider using masking fluid to protect those areas. This initial wash should be light and even, as it will serve as the base colour for your bauble.
After applying the yellow layer, it’s important to let it dry completely. While natural drying is best to avoid disturbing the pigments, using a hairdryer can speed up the process, especially if you’re working in a time-sensitive setting.
Applying a yellow wash to the first bauble.
Step 2: Adding Depth with Sap Green
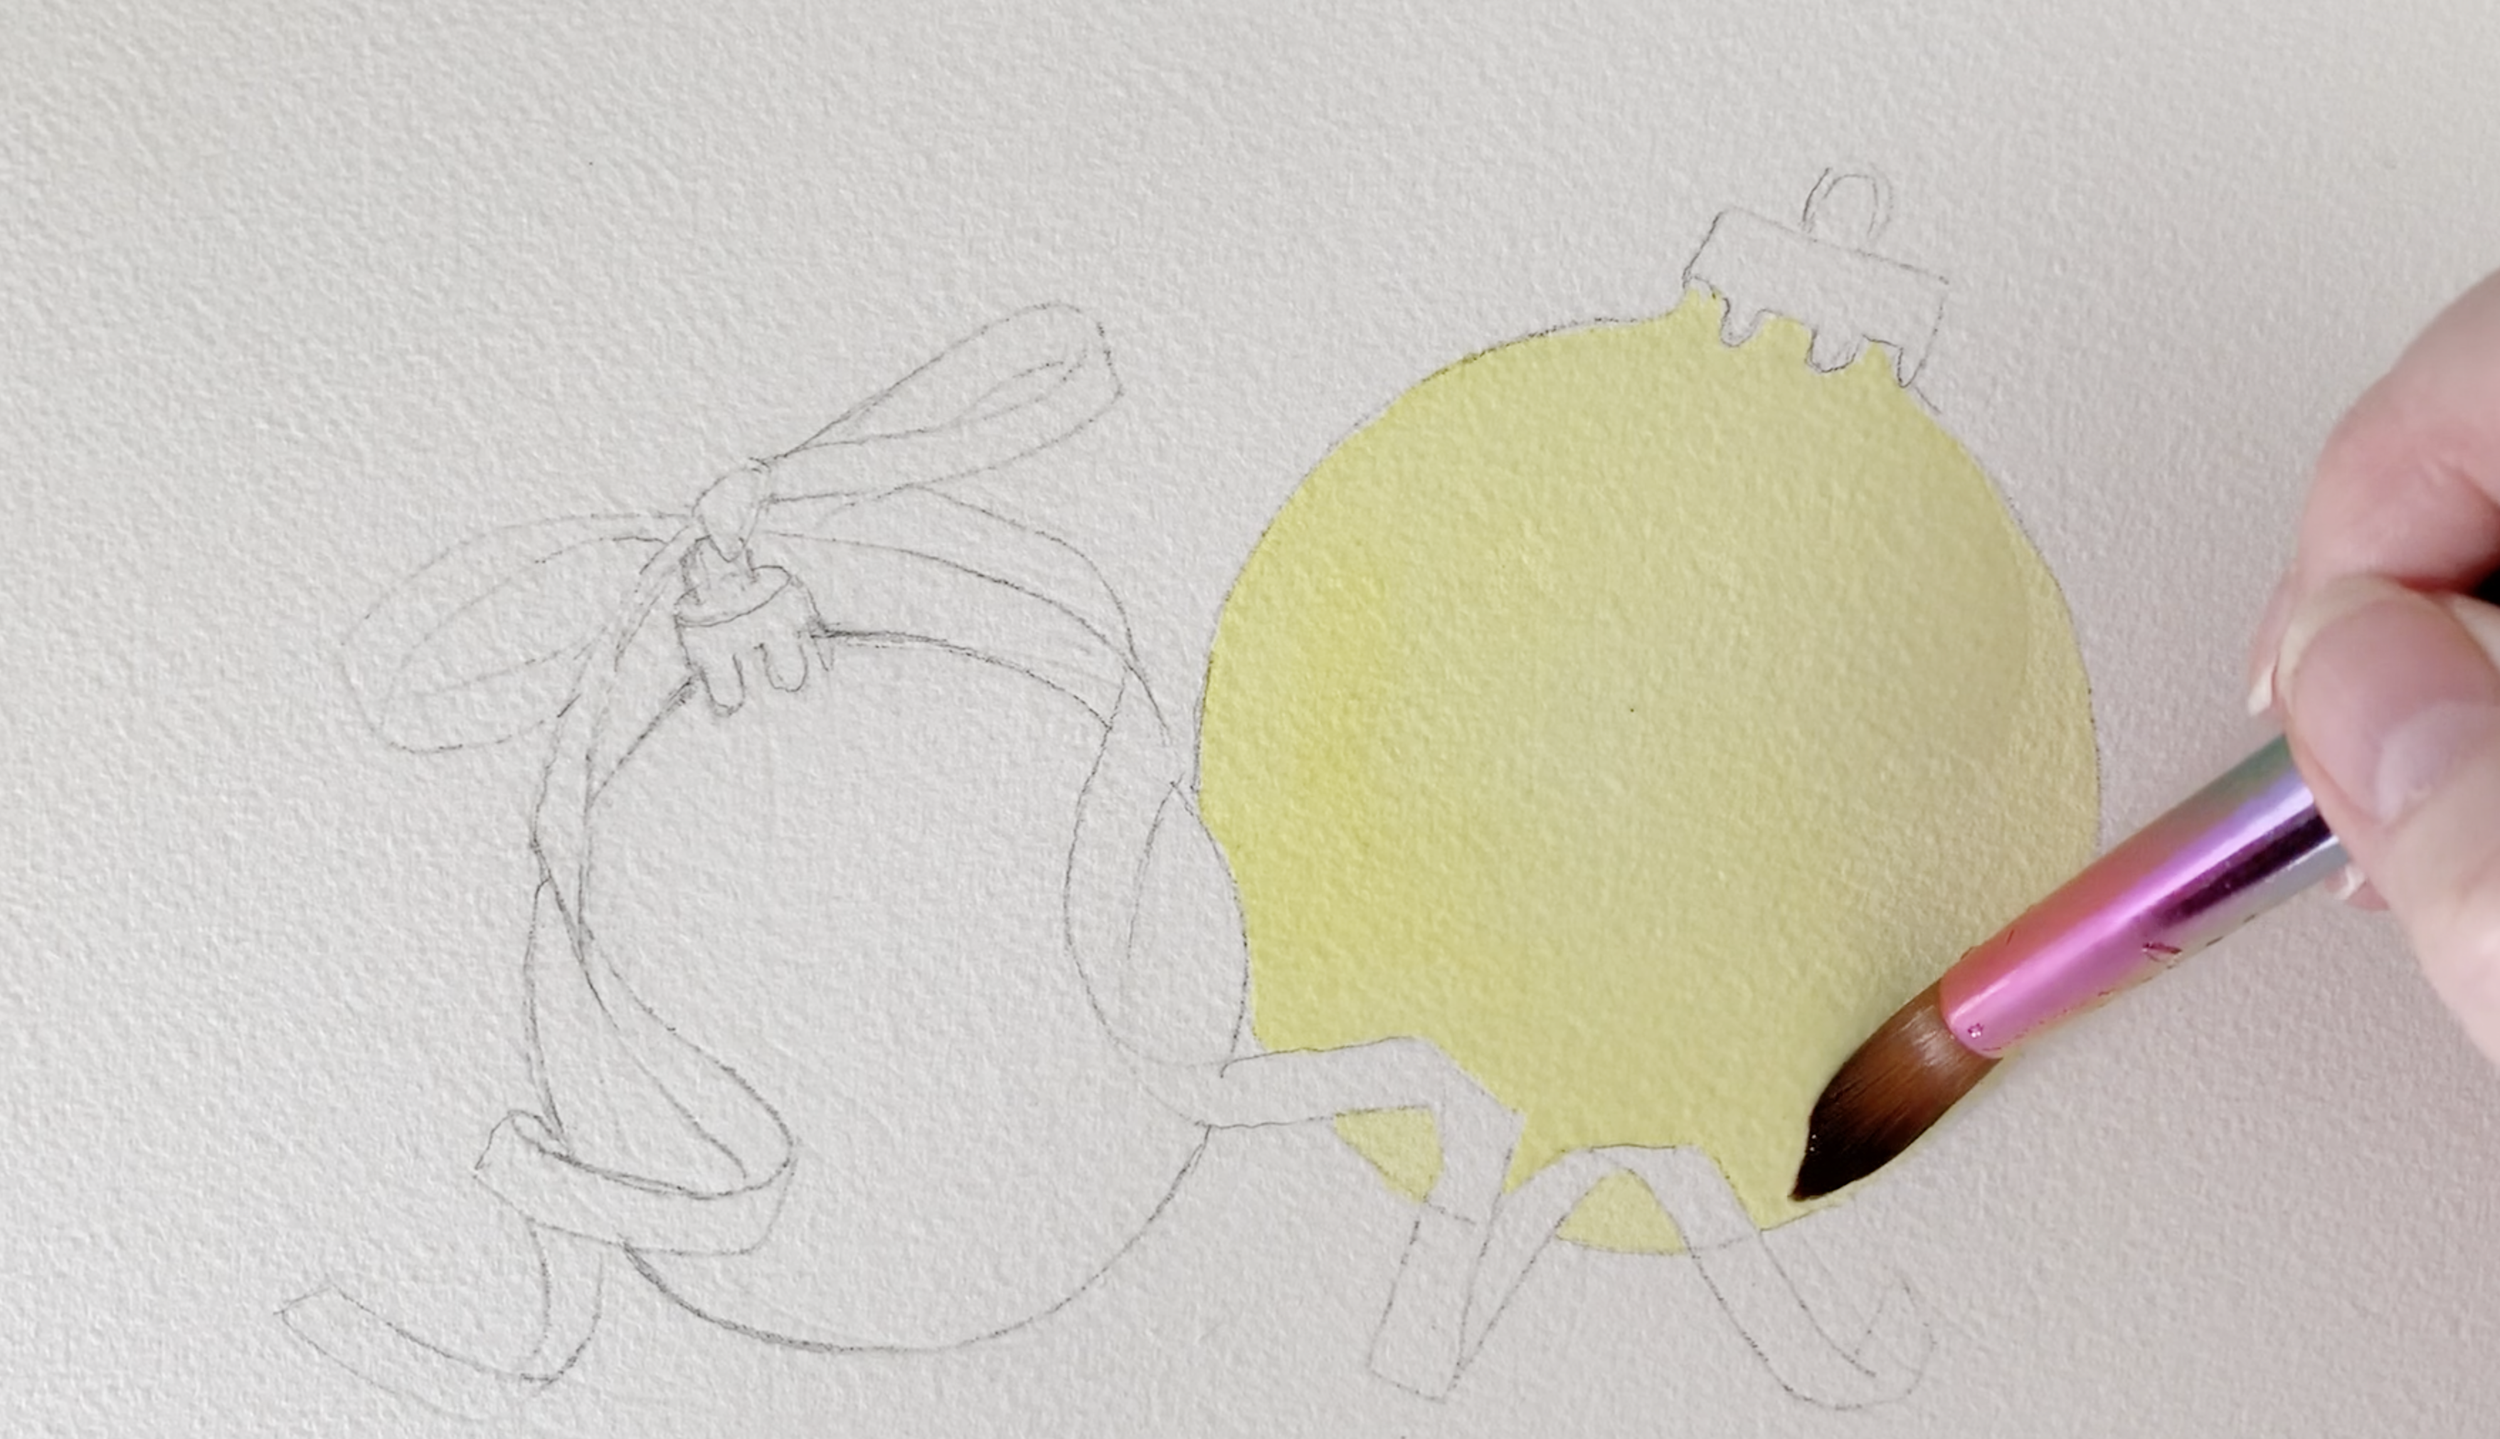
With the yellow base layer dry, you’re ready to build depth. Lightly re-wet the entire yellow area with clean water. Re-wetting the surface prepares the paper for blending and ensures soft edges when you layer colours. Be careful not to oversaturate the paper; a light sheen is all you need.
Applying water over the dried yellow wash.
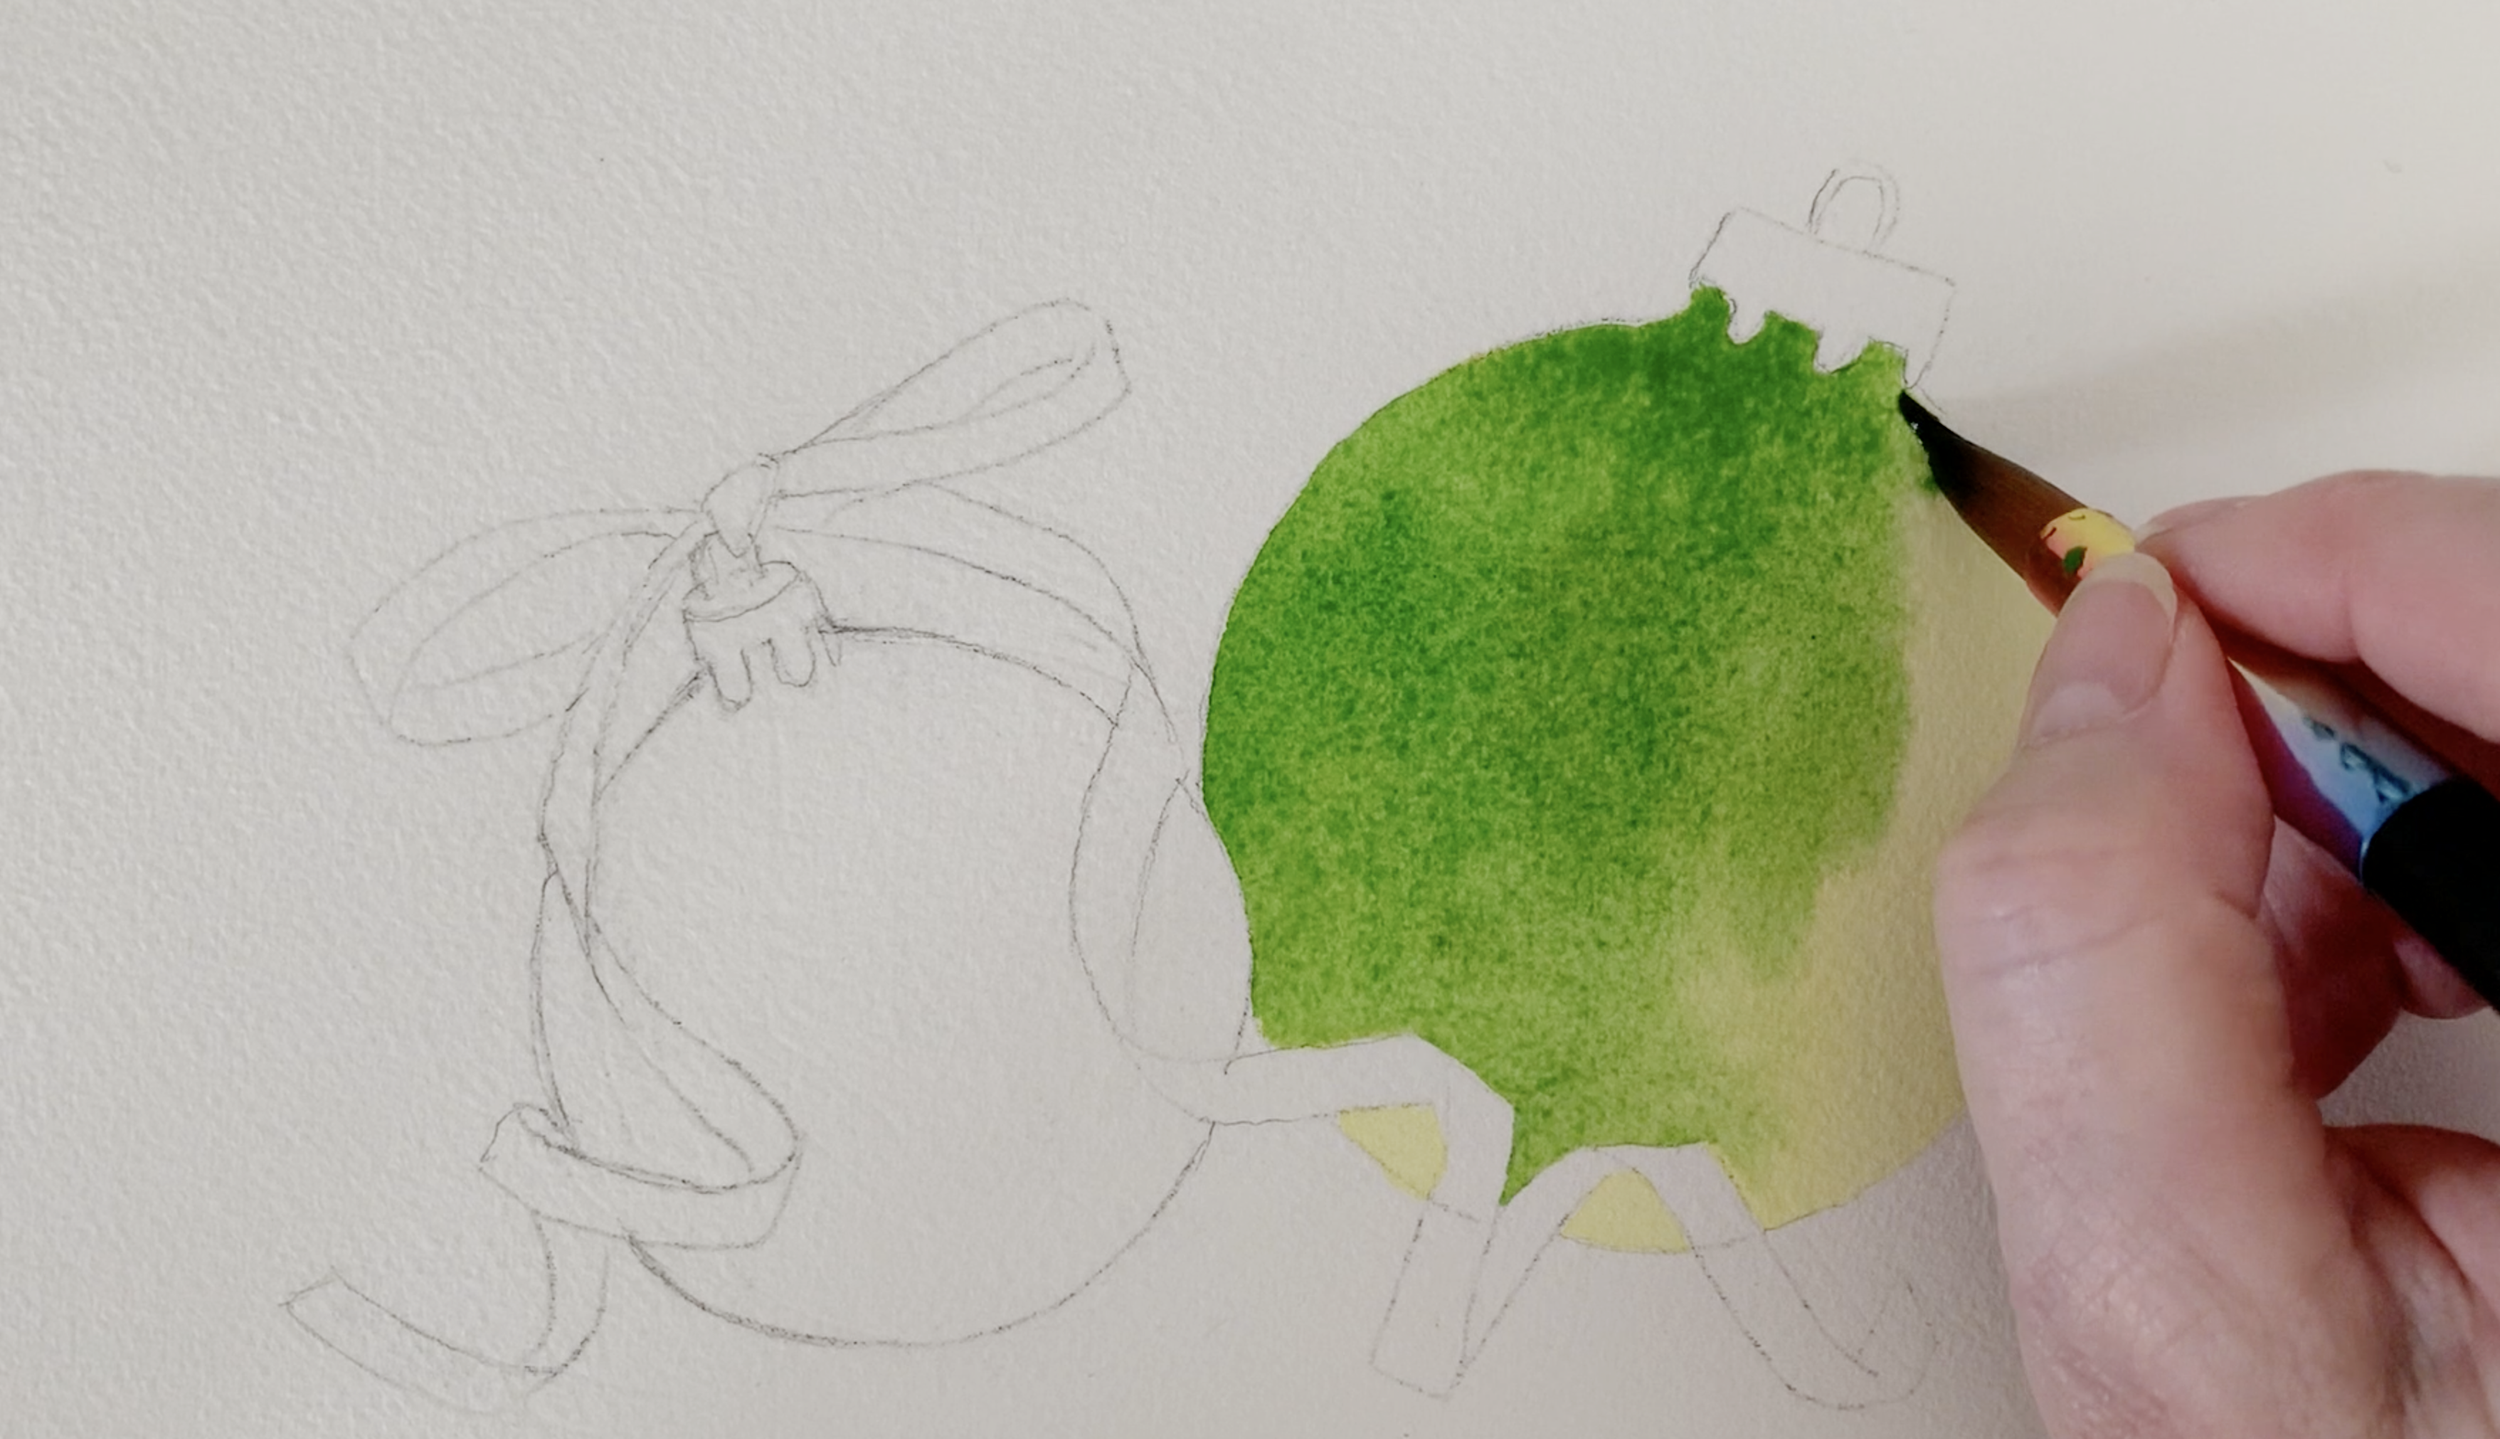
Then, with a watery mix of Sap Green, paint over the yellow base. The yellow underwash shines through the green layer, creating a warm, luminous effect. To enhance the sense of dimension, focus on adding more pigment to the left side of the bauble, leaving the right side lighter to suggest a light source.
This technique creates a gradual transition from light to dark, giving the bauble a three-dimensional look. Allow this layer to dry completely before moving on to the next step to avoid muddying the colours. You will be rewarded with vibrant colours that make your ornament come alive.
Step 3: Building Layers and Shadows
Shadows bring the bauble to life by enhancing its roundness and creating contrast. To achieve this, mix Sap Green with a touch of French Ultramarine to deepen the green. French Ultramarine’s cool tone balances the warmth of the Sap Green and adds richness to the shadows.
Wet the paper again with some water and apply this mixture to the damp surface, concentrating on the left side of the bauble, where the shadows naturally fall. Use a light touch and a clean brush to blend the edges smoothly, avoiding any hard lines.
If you accidentally create a harsh edge, don’t panic! A damp brush can soften it beautifully. Building layers gradually allows you to control the intensity of the shadow while maintaining the bauble's luminosity. Patience is key here — let each layer dry completely before adding more depth.
Step 4: Painting the Red Bauble
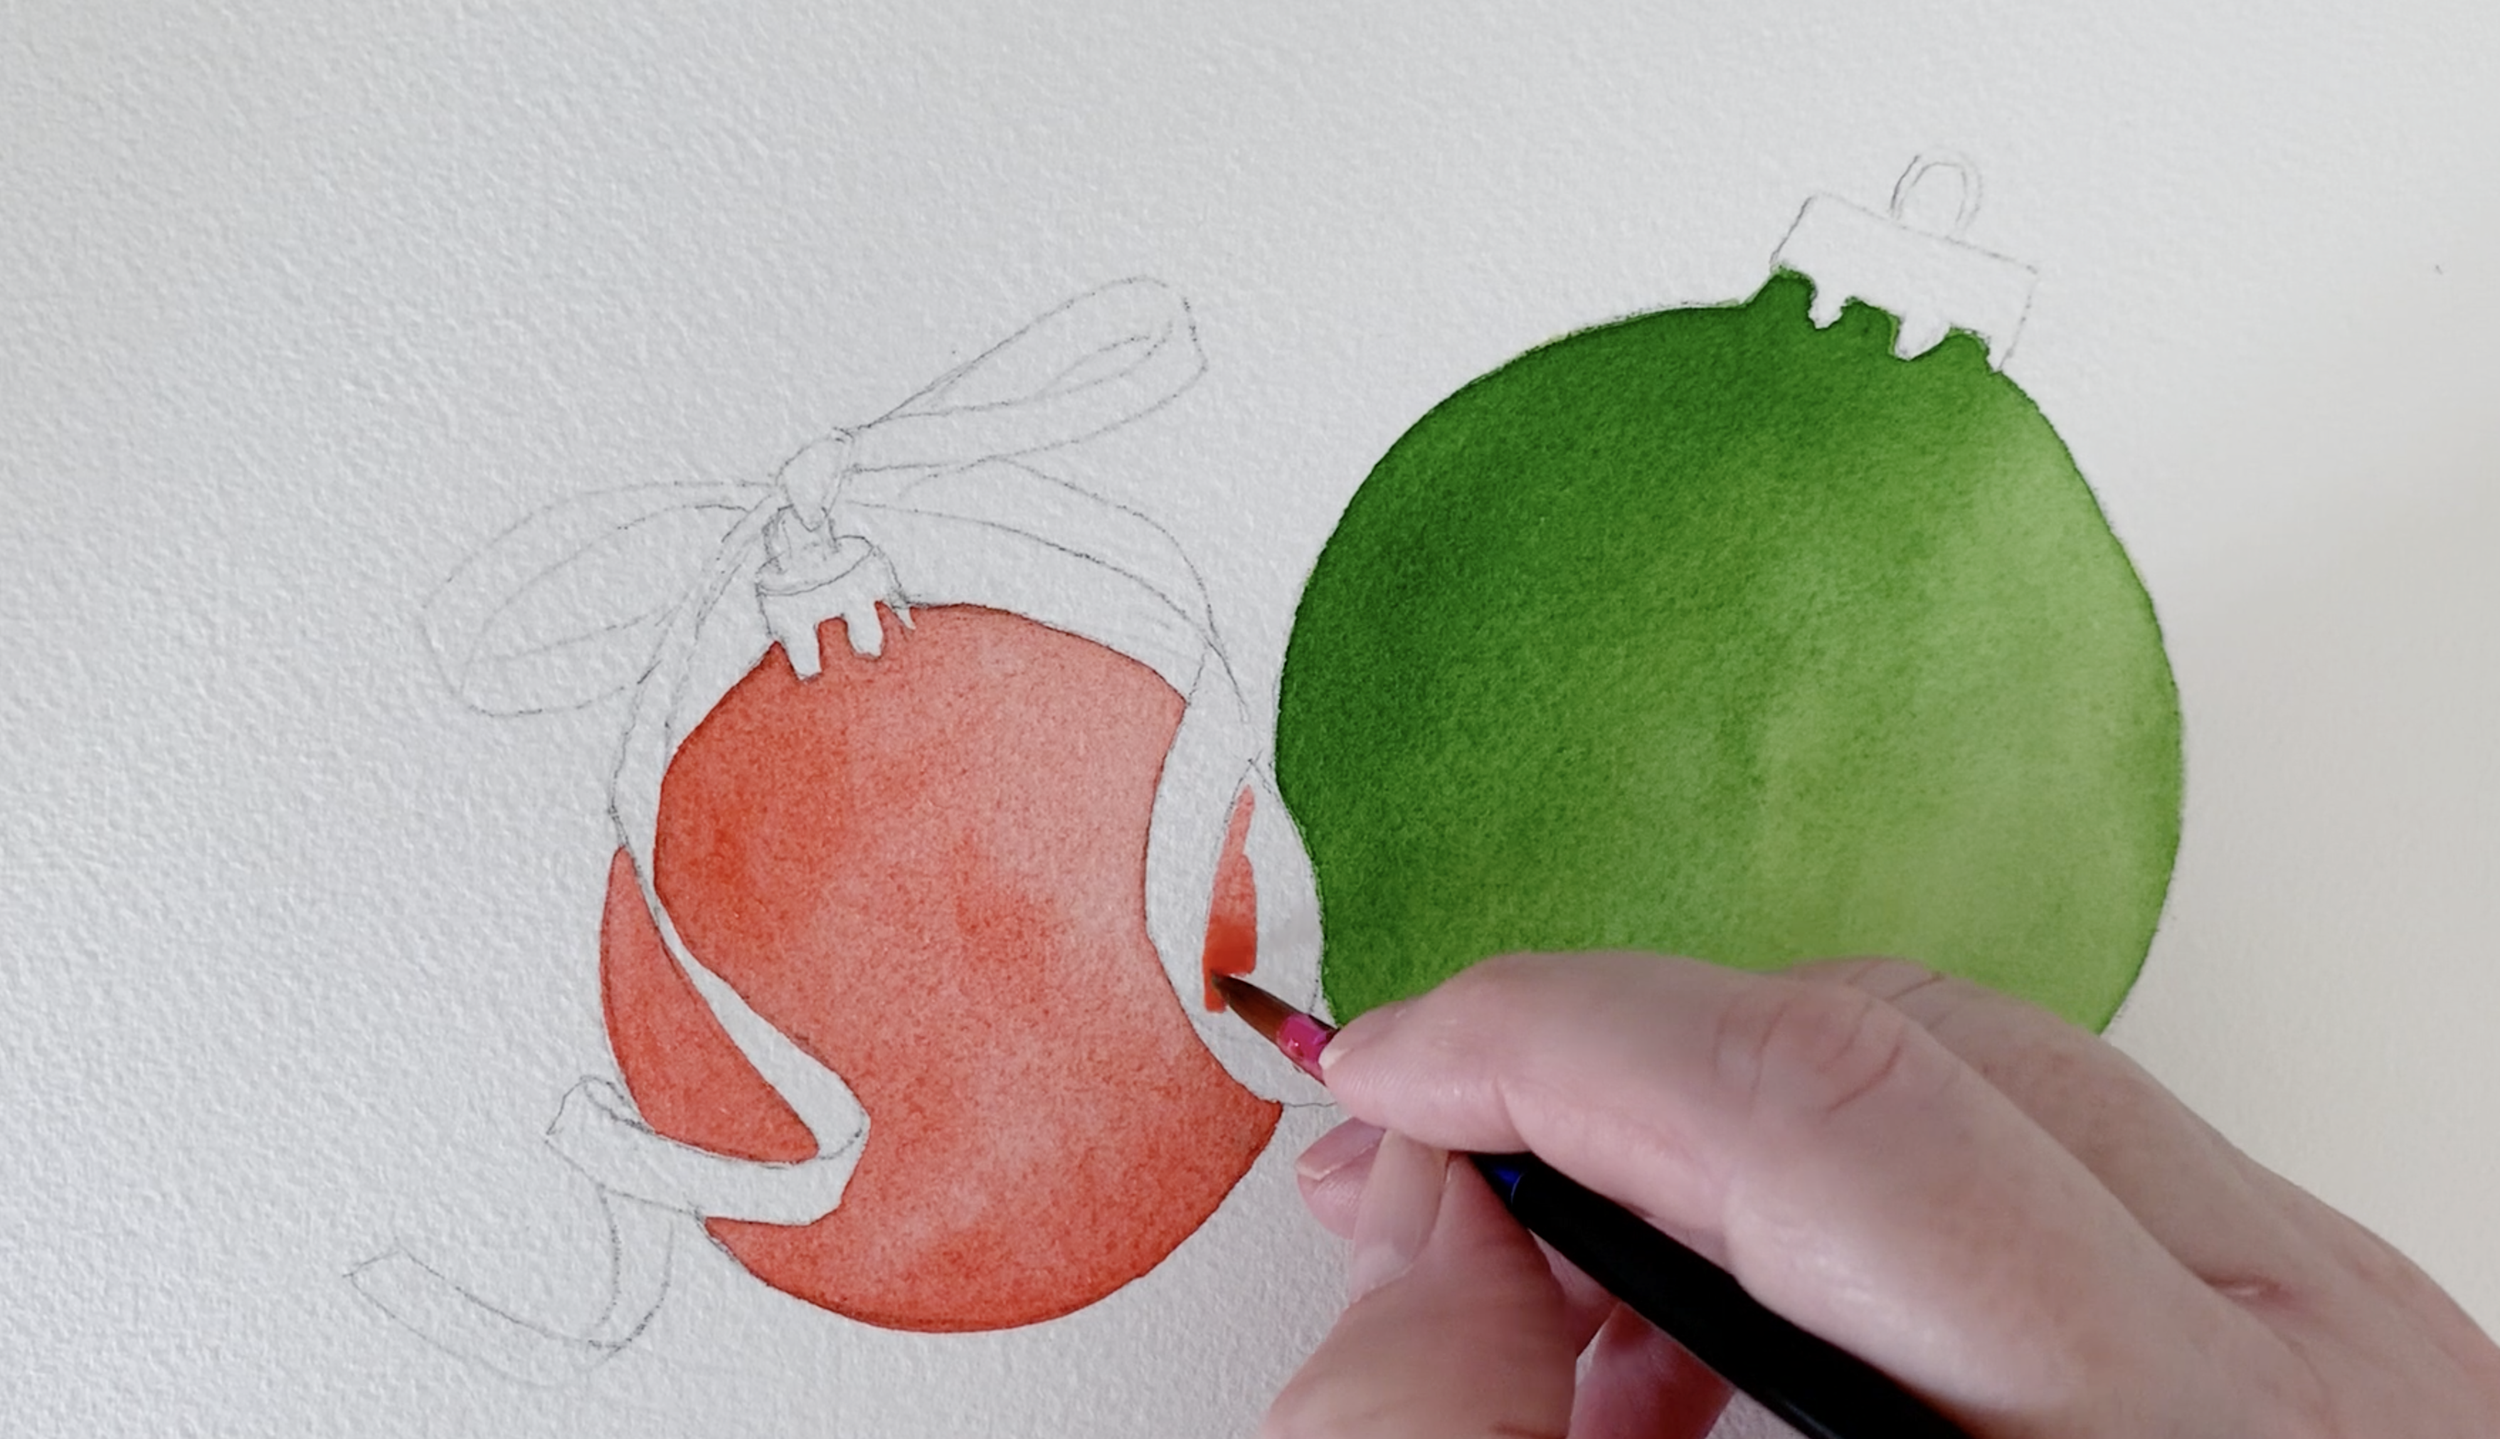
The red bauble follows a similar process but with a vibrant palette. Start with a base layer of Scarlet Lake, using the wet-on-damp technique for a soft and even application. Dampen the paper with clean water before applying the Scarlet Lake, ensuring it stays wet long enough to work with the colour.
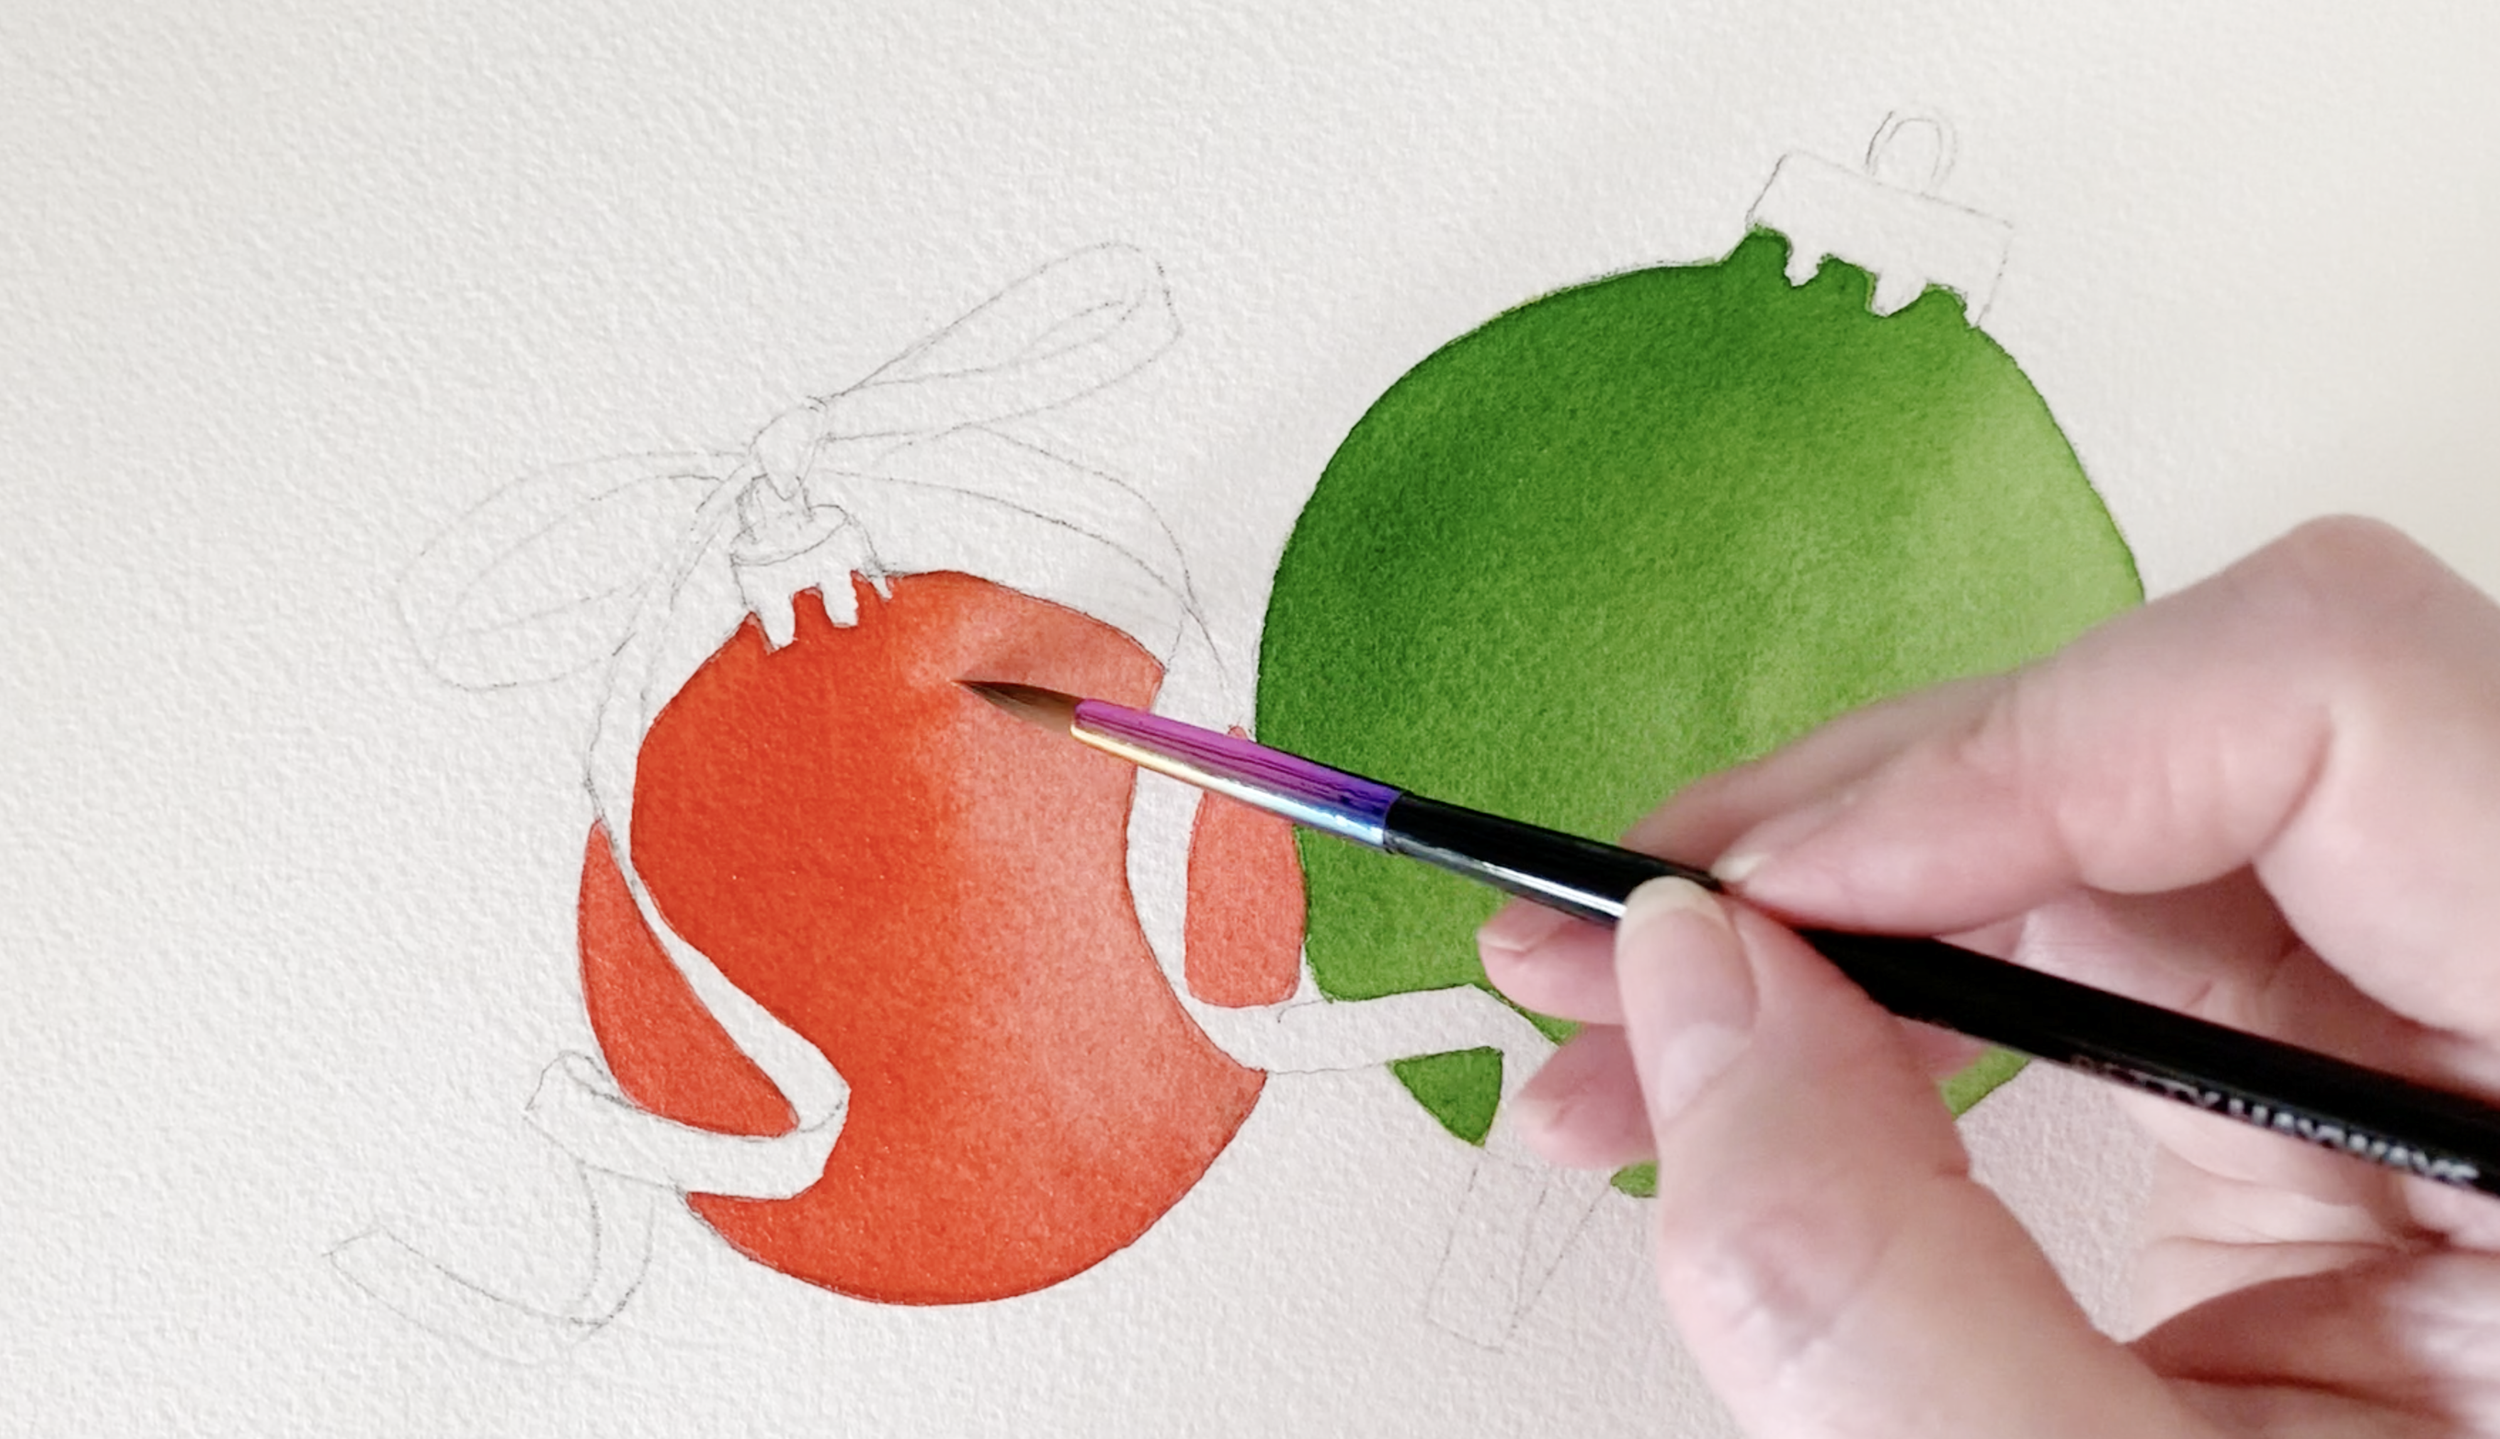
Once the base layer is dry, it’s time to add shadows and depth. Mix Quinacridone Fuchsia with Scarlet Lake to create a rich, darker red. Apply this mixture to the left side of the bauble, blending it into the lighter areas. This can be done on wet paper (like the green bauble) or you can paint it on dry paper and manually soften the darker paint edge with a damp brush.
Start painting the red bauble with Scarlet Lake.
This layering process gives the bauble its round, glossy appearance and captures the festive spirit of the holiday season.
Once the first layer of red was dry I re-wet the paper and added the darker red to the left side.
Step 5: Painting the Gold Hanging Fixture and Ribbon
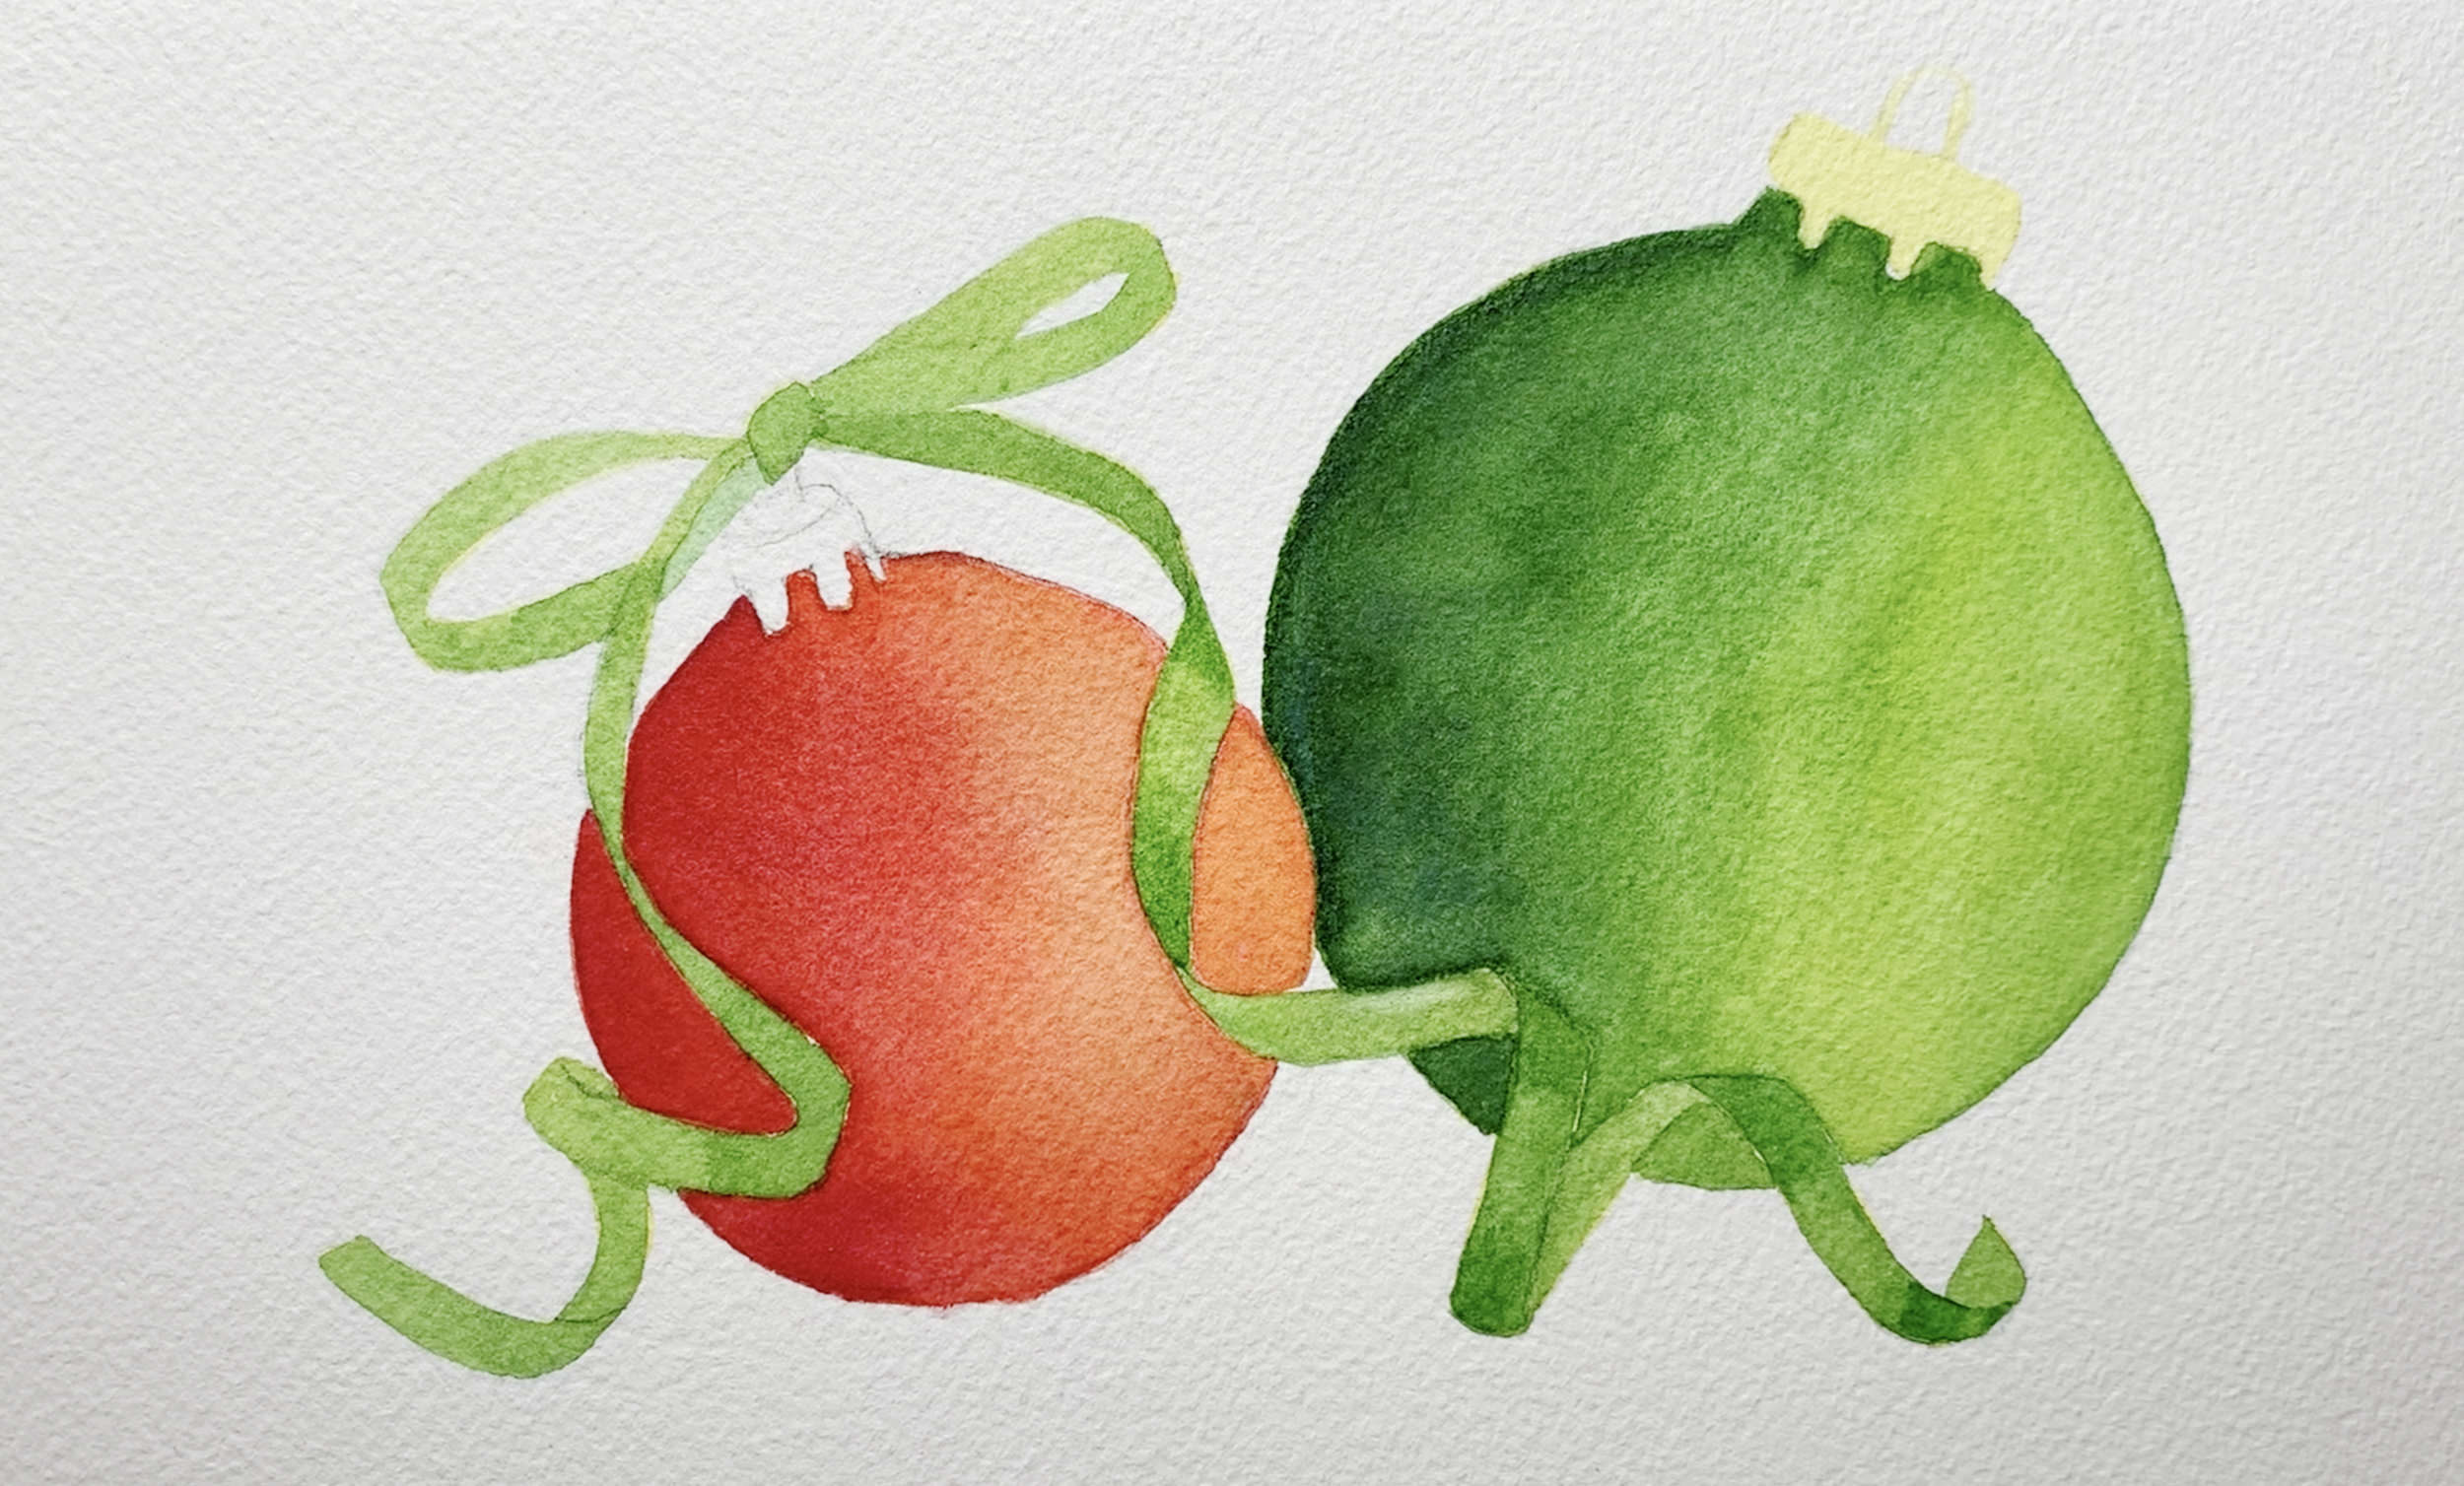
Now, let’s add the golden piece at the top of the bauble and the yellow ribbon. Start by painting a layer of Winsor Lemon to create a warm, golden colour. Using a fine detail brush, paint the metallic fixture carefully along with the yellow ribbon. The colour should be warm and glowing, but also translucent to reflect the light.
Painting yellow onto the ribbon and hanging fixture
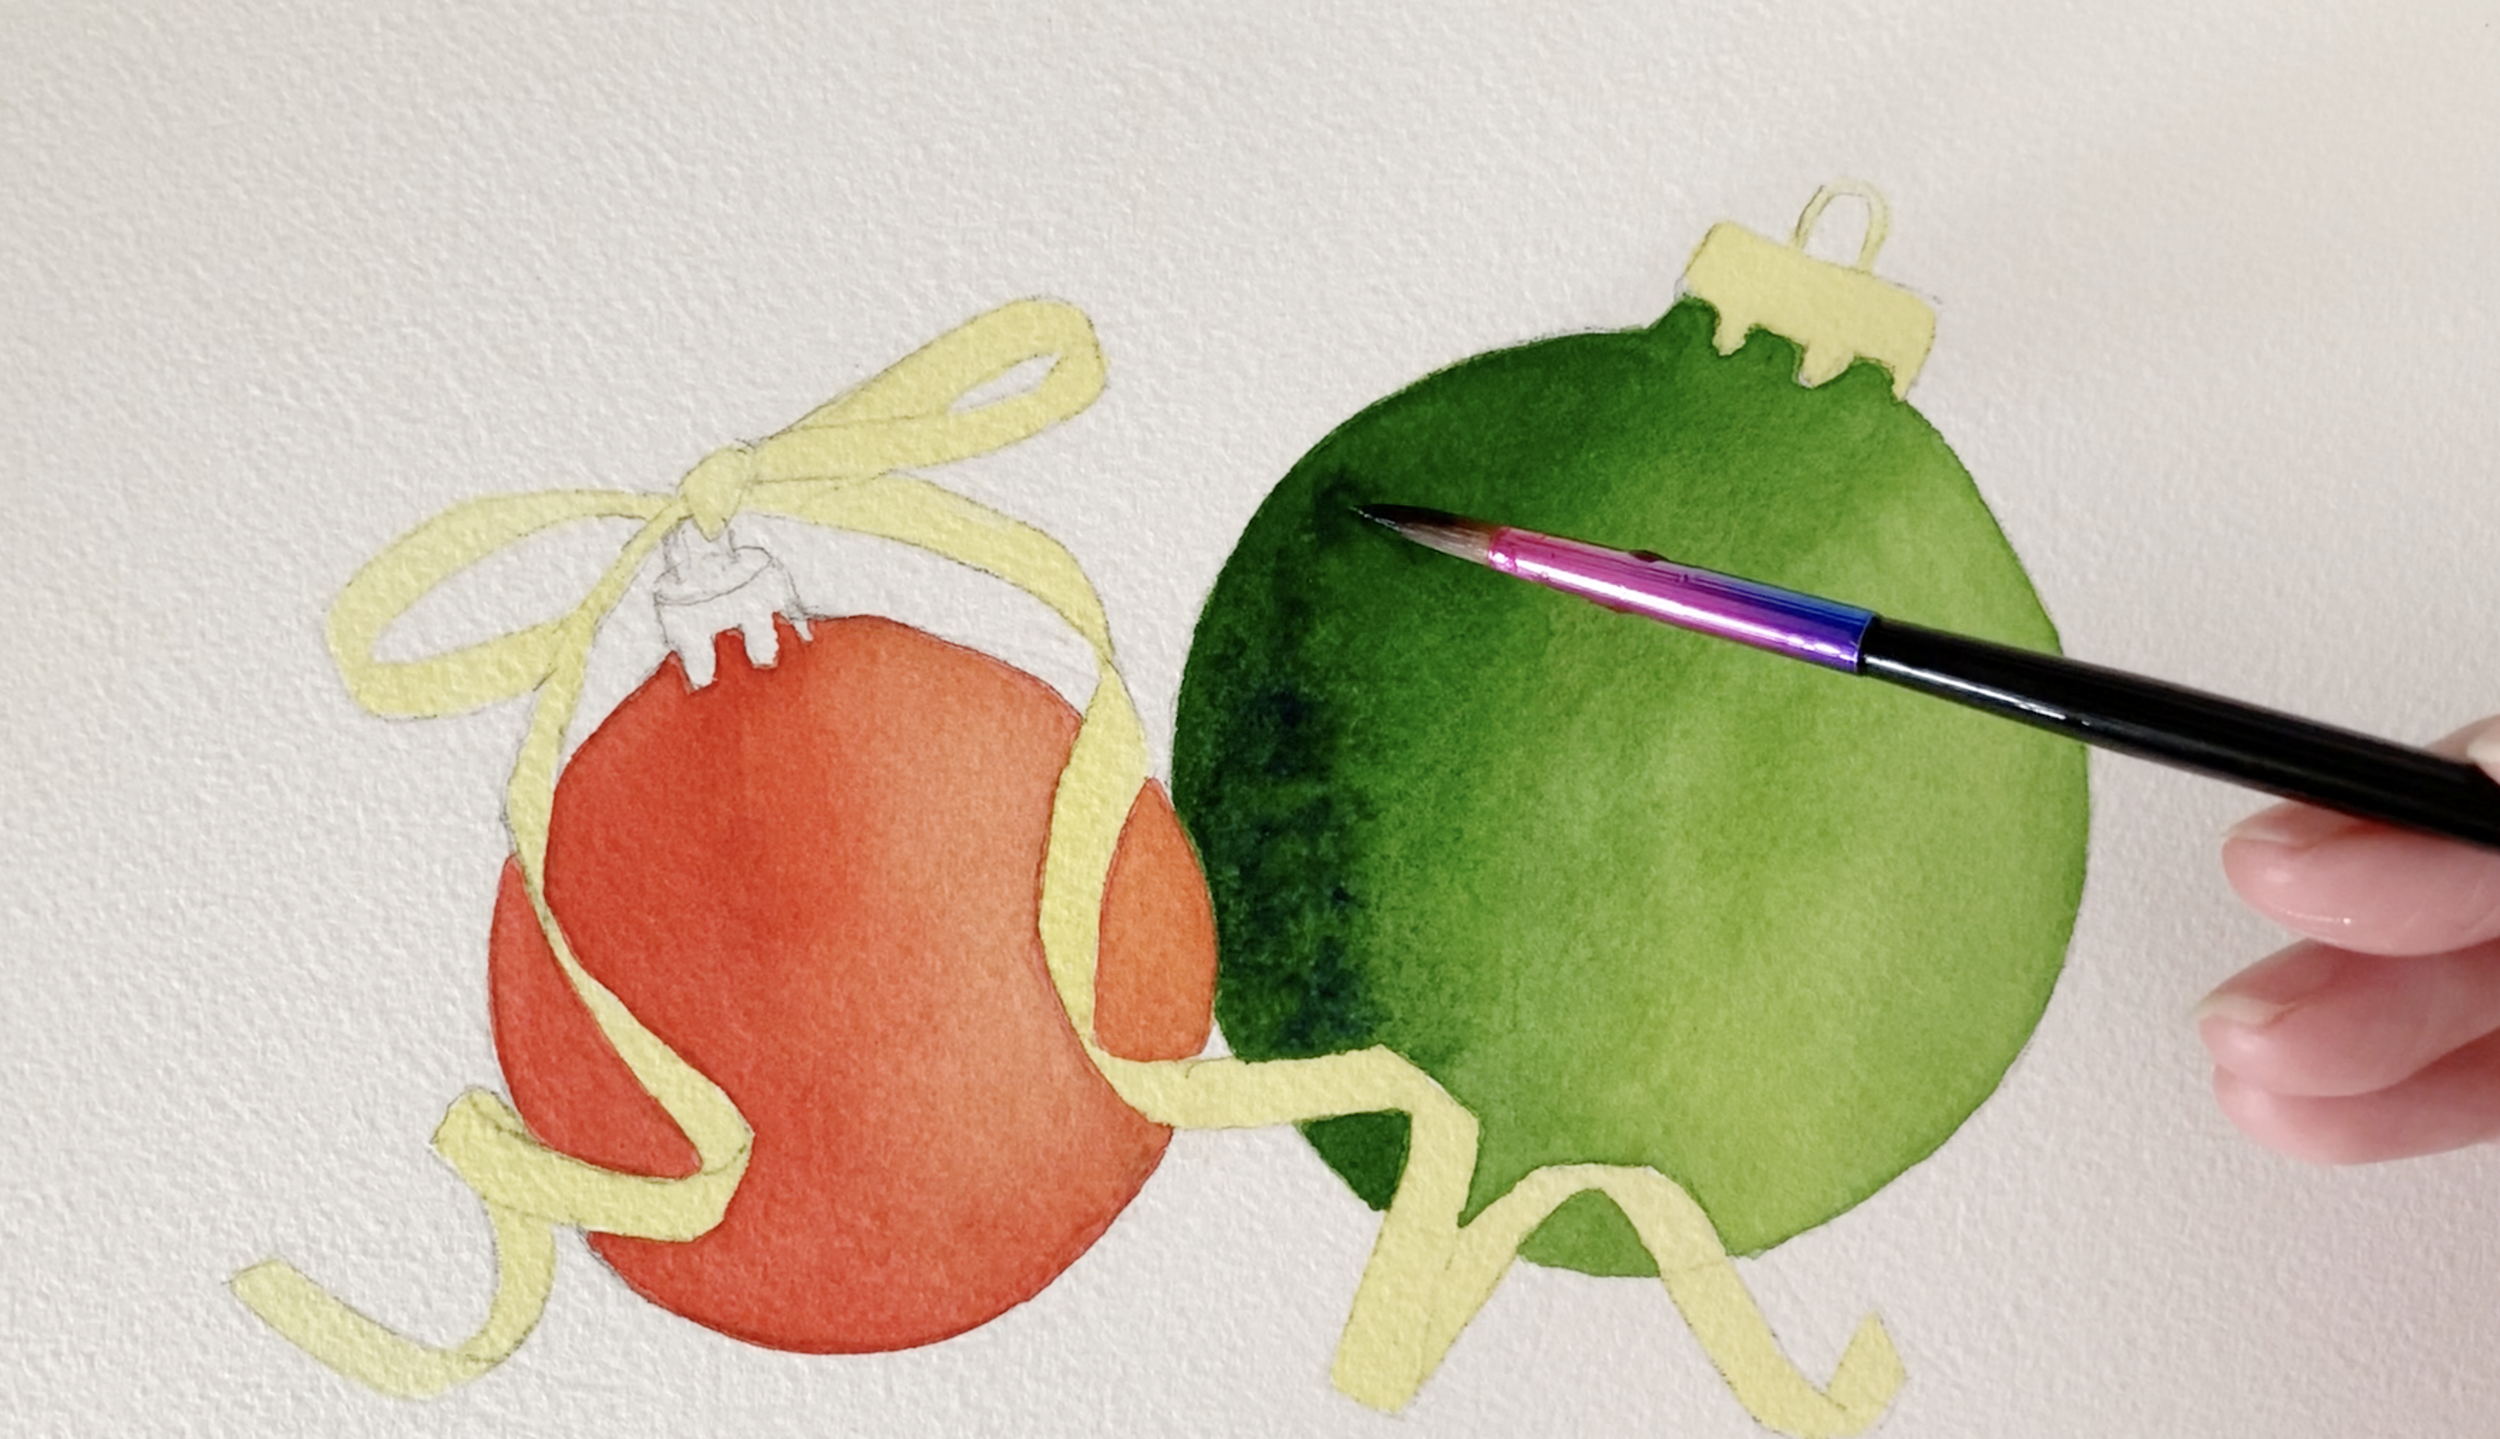
When the yellow is dry, re-wet the green bauble with some water and mix some more of the French Ultramarine into the Sap Green to make it darker and paint it onto the left hand side to deepen the shadow there.
Deepening the green shadow
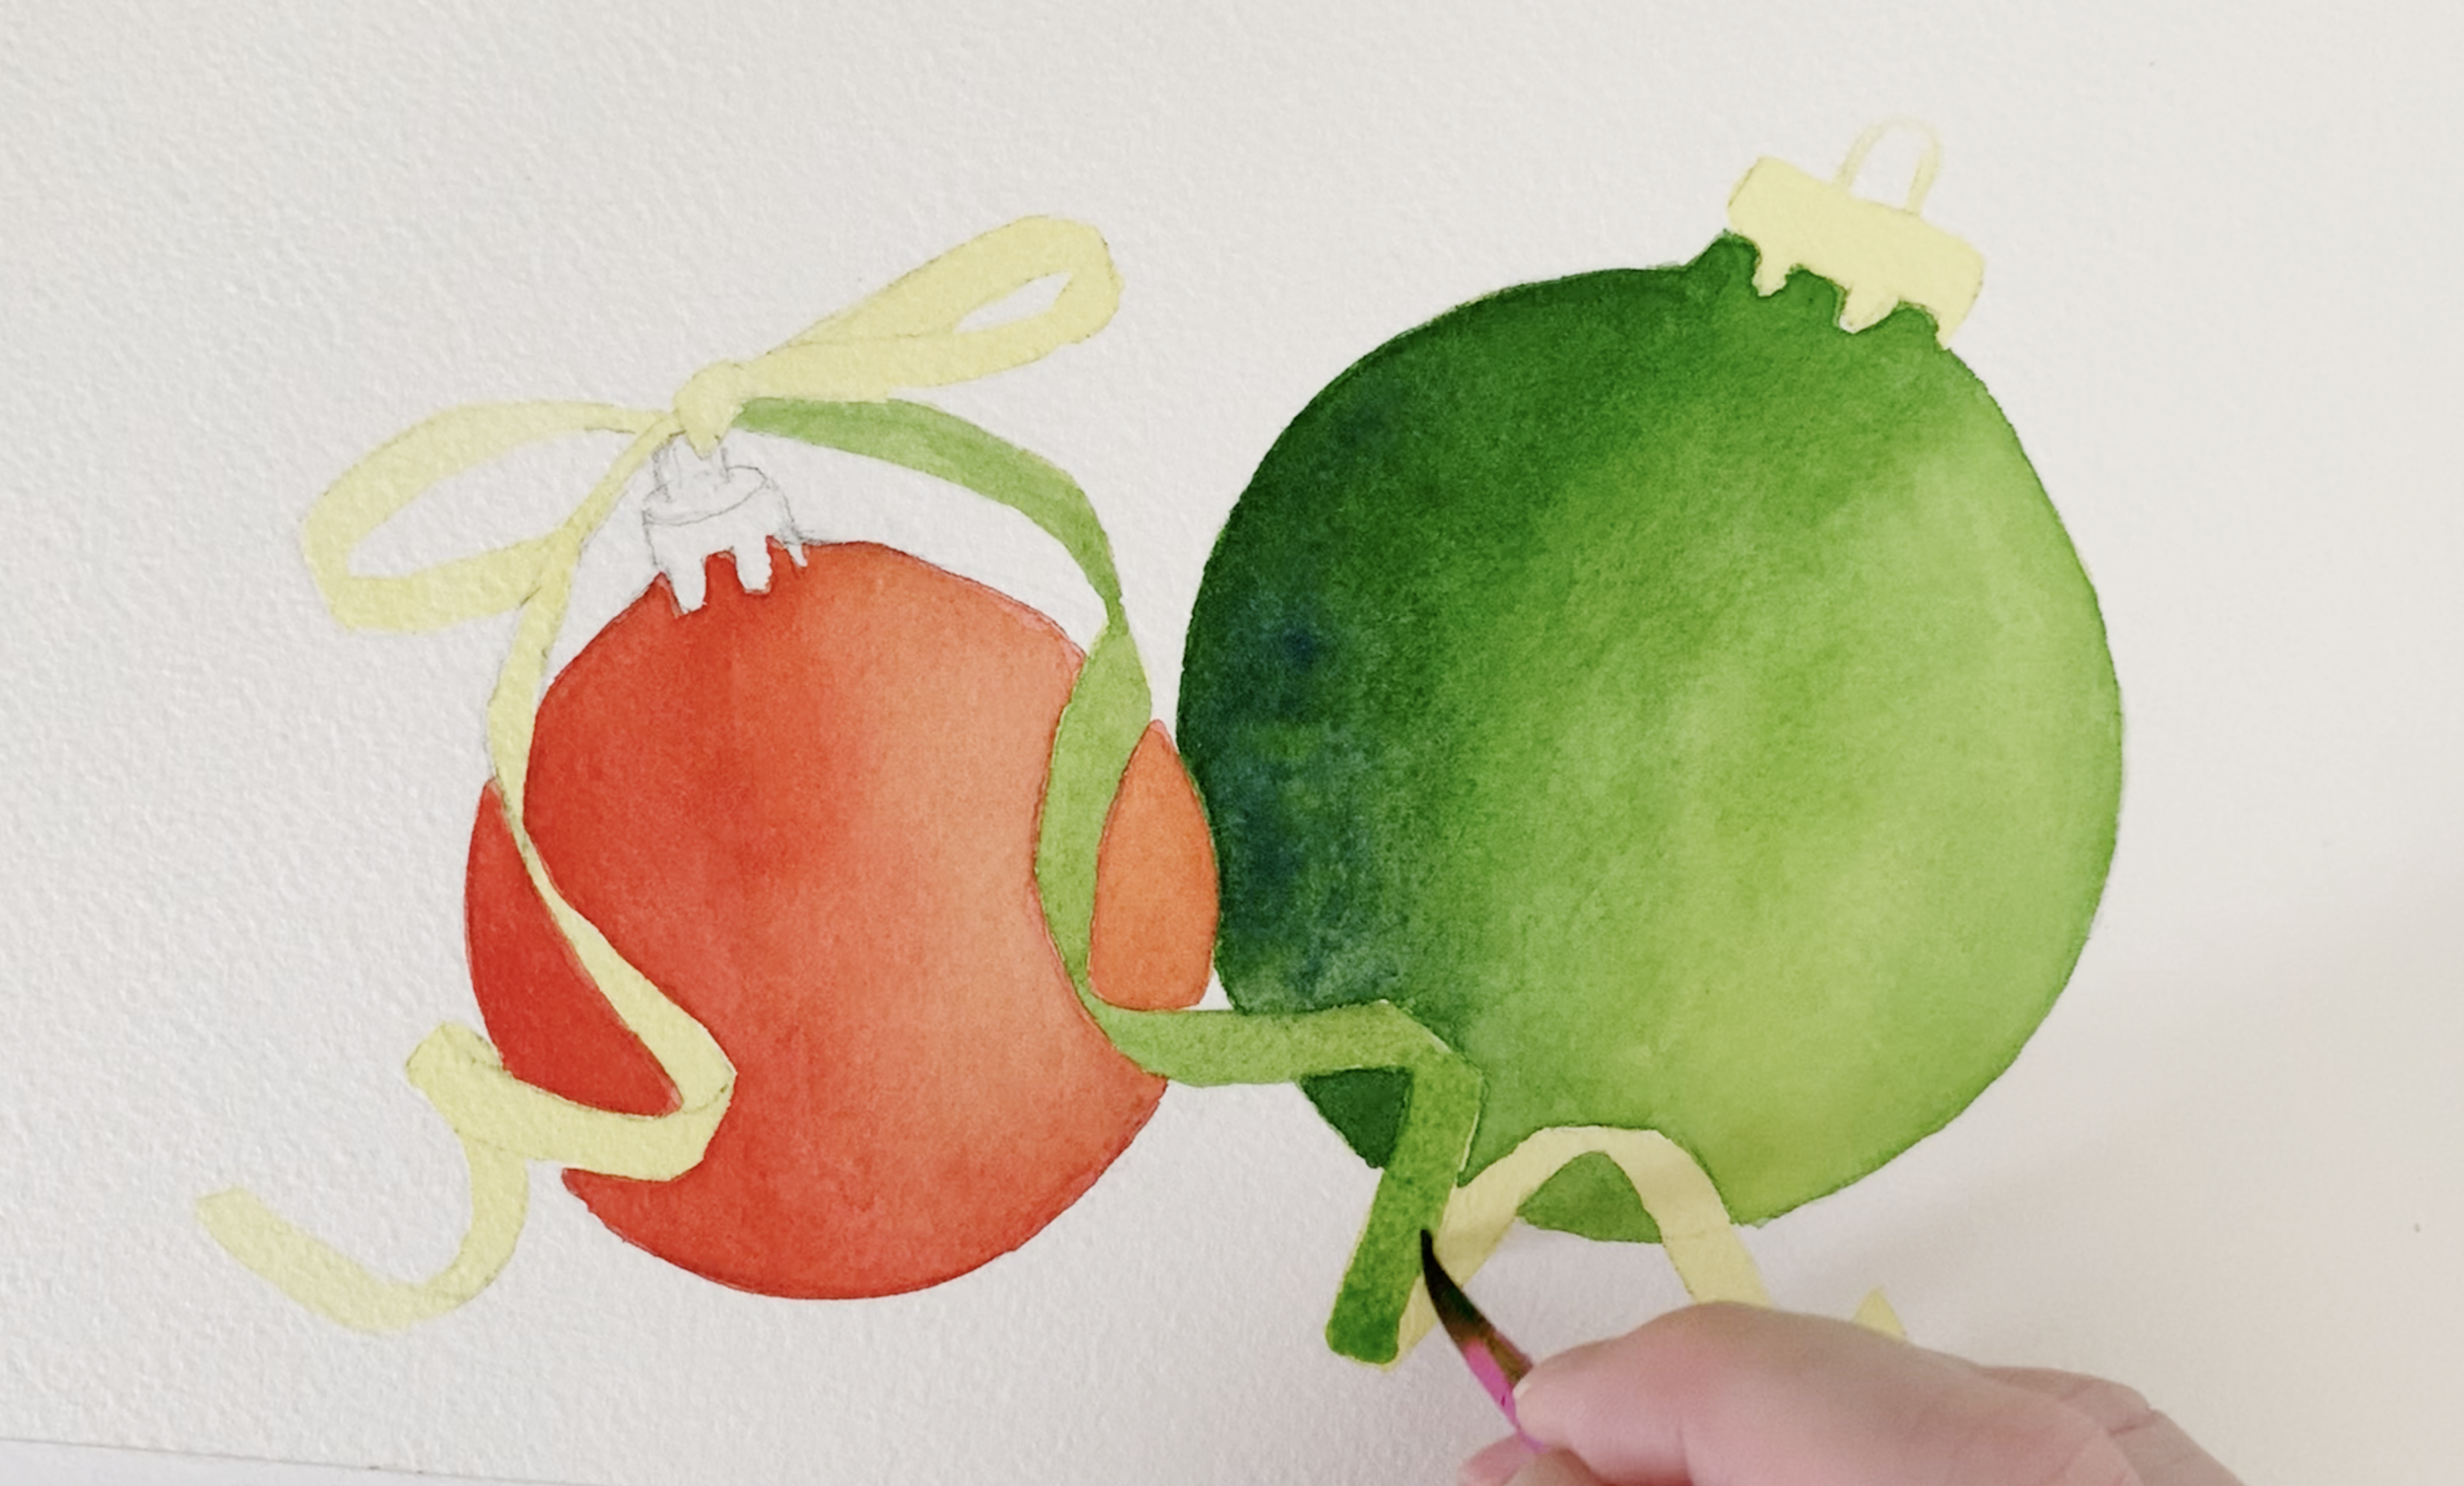
When everything is dry layer some Sap Green over the yellow ribbon.
Glazing Sap Green over the yellow ribbon
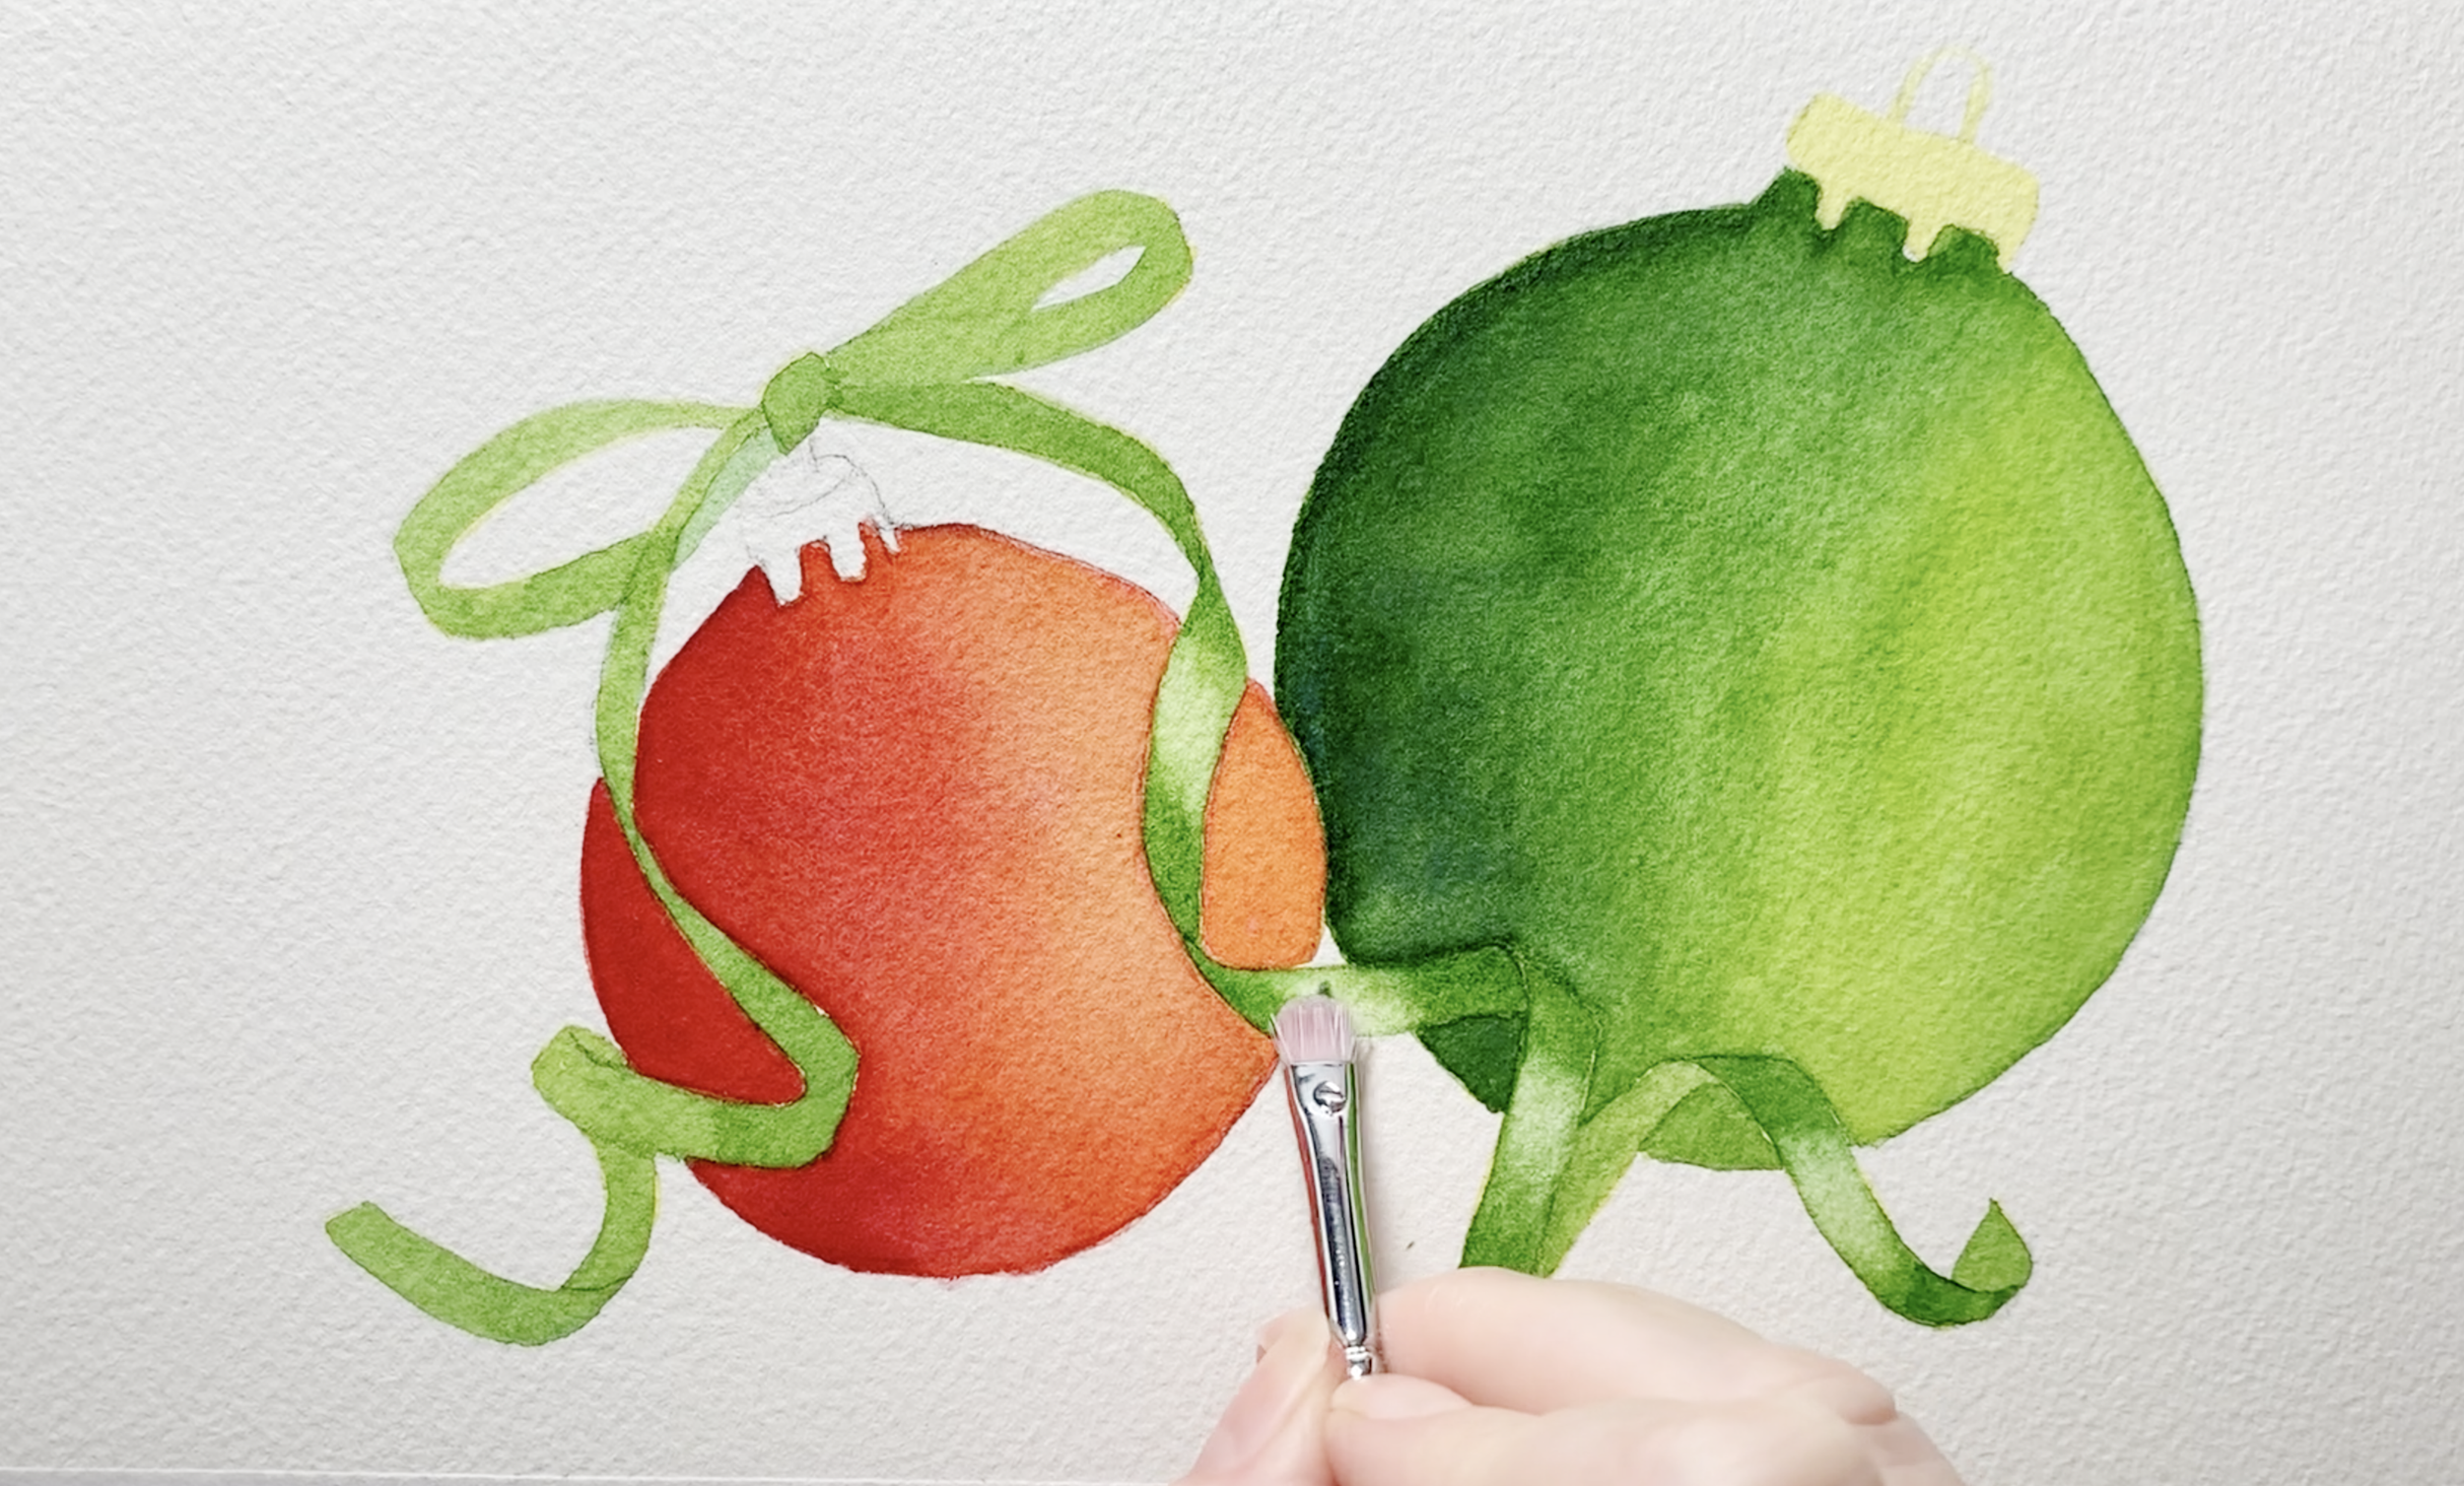
When the layer of green on the ribbon is dry, paint another layer of green onto the darkest areas.
A second layer of Sap Green applied to the ribbon in the darker areas.
When the ribbon is dry, use a wet stiff brush to gently create some highlights on the ribbon.
Adding highlights to the ribbon
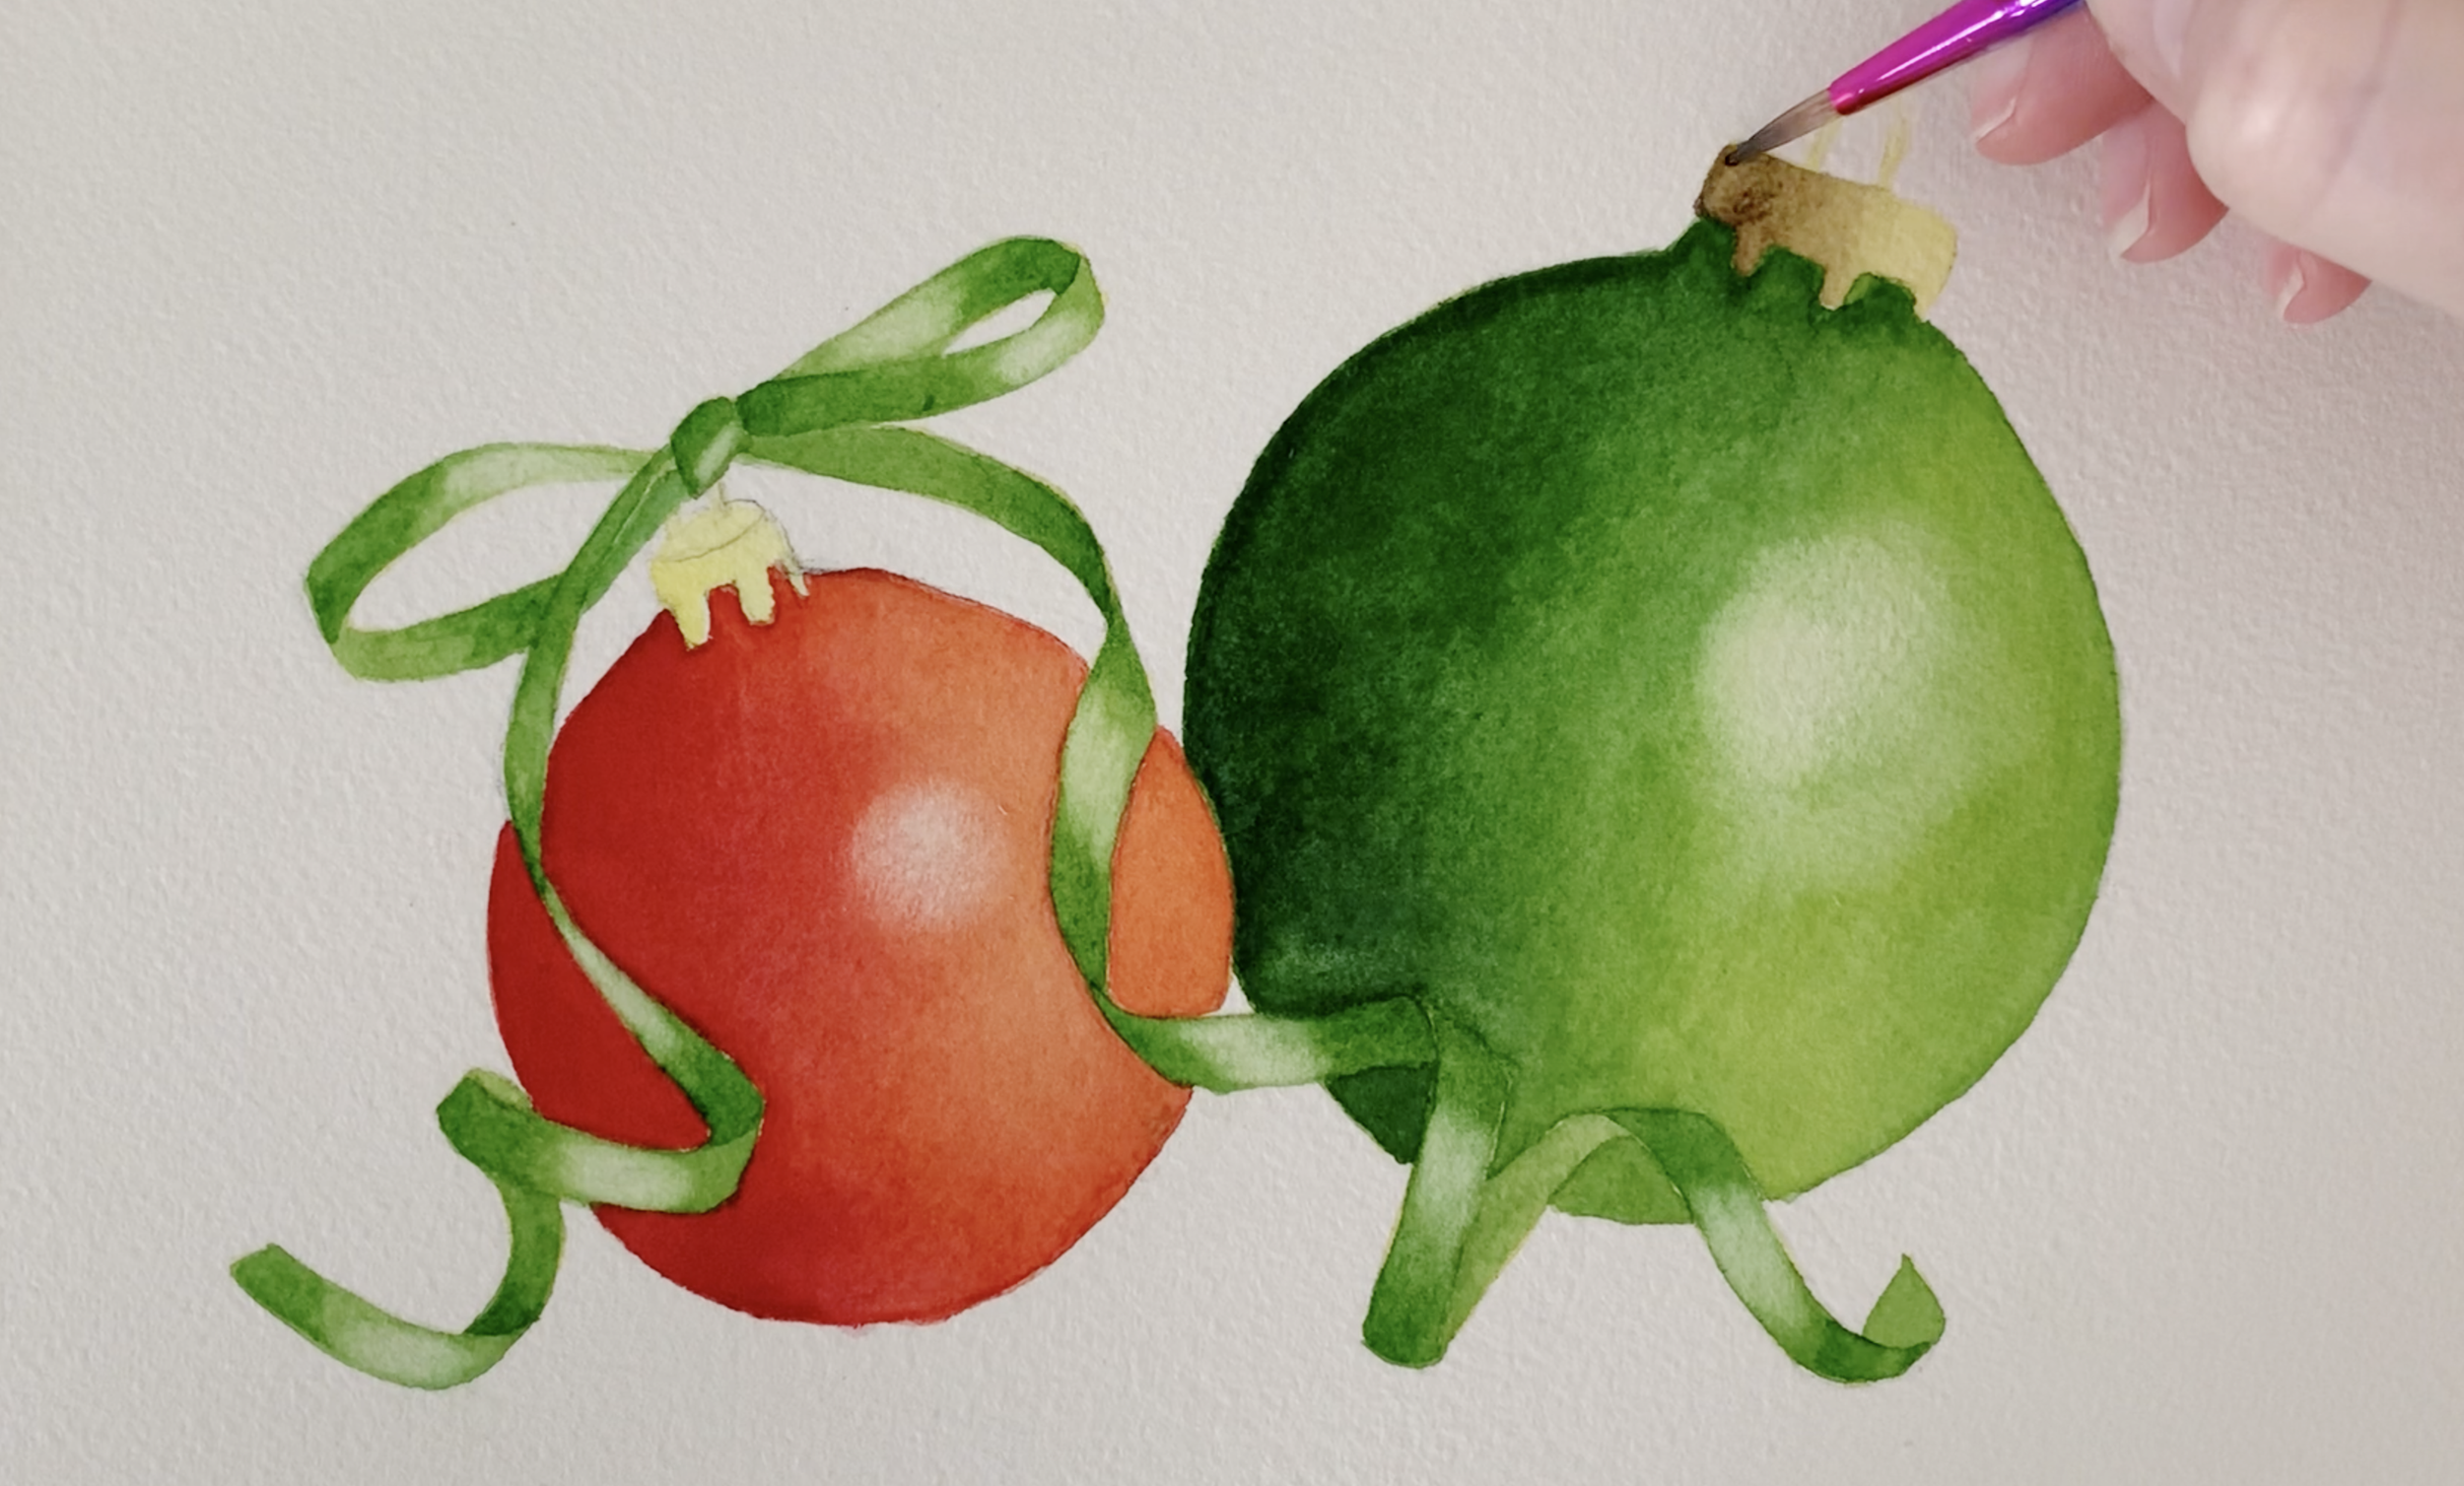
Use the stiff brush to create highlights on the baubles. Gently rub the wet brush over the dry paint.
Creating highlights on the baubles.
Add darker areas by painting over the hanging fixtures with some watery Sepia, starting from the left side, blending it seamlessly with the yellow. This can be done on dry paper - use a damp brush to soften the edge of sepia where it meets the yellow underwash.
Adding shadows on the hanging fixtures with sepia.
Step 6: Finishing Touch
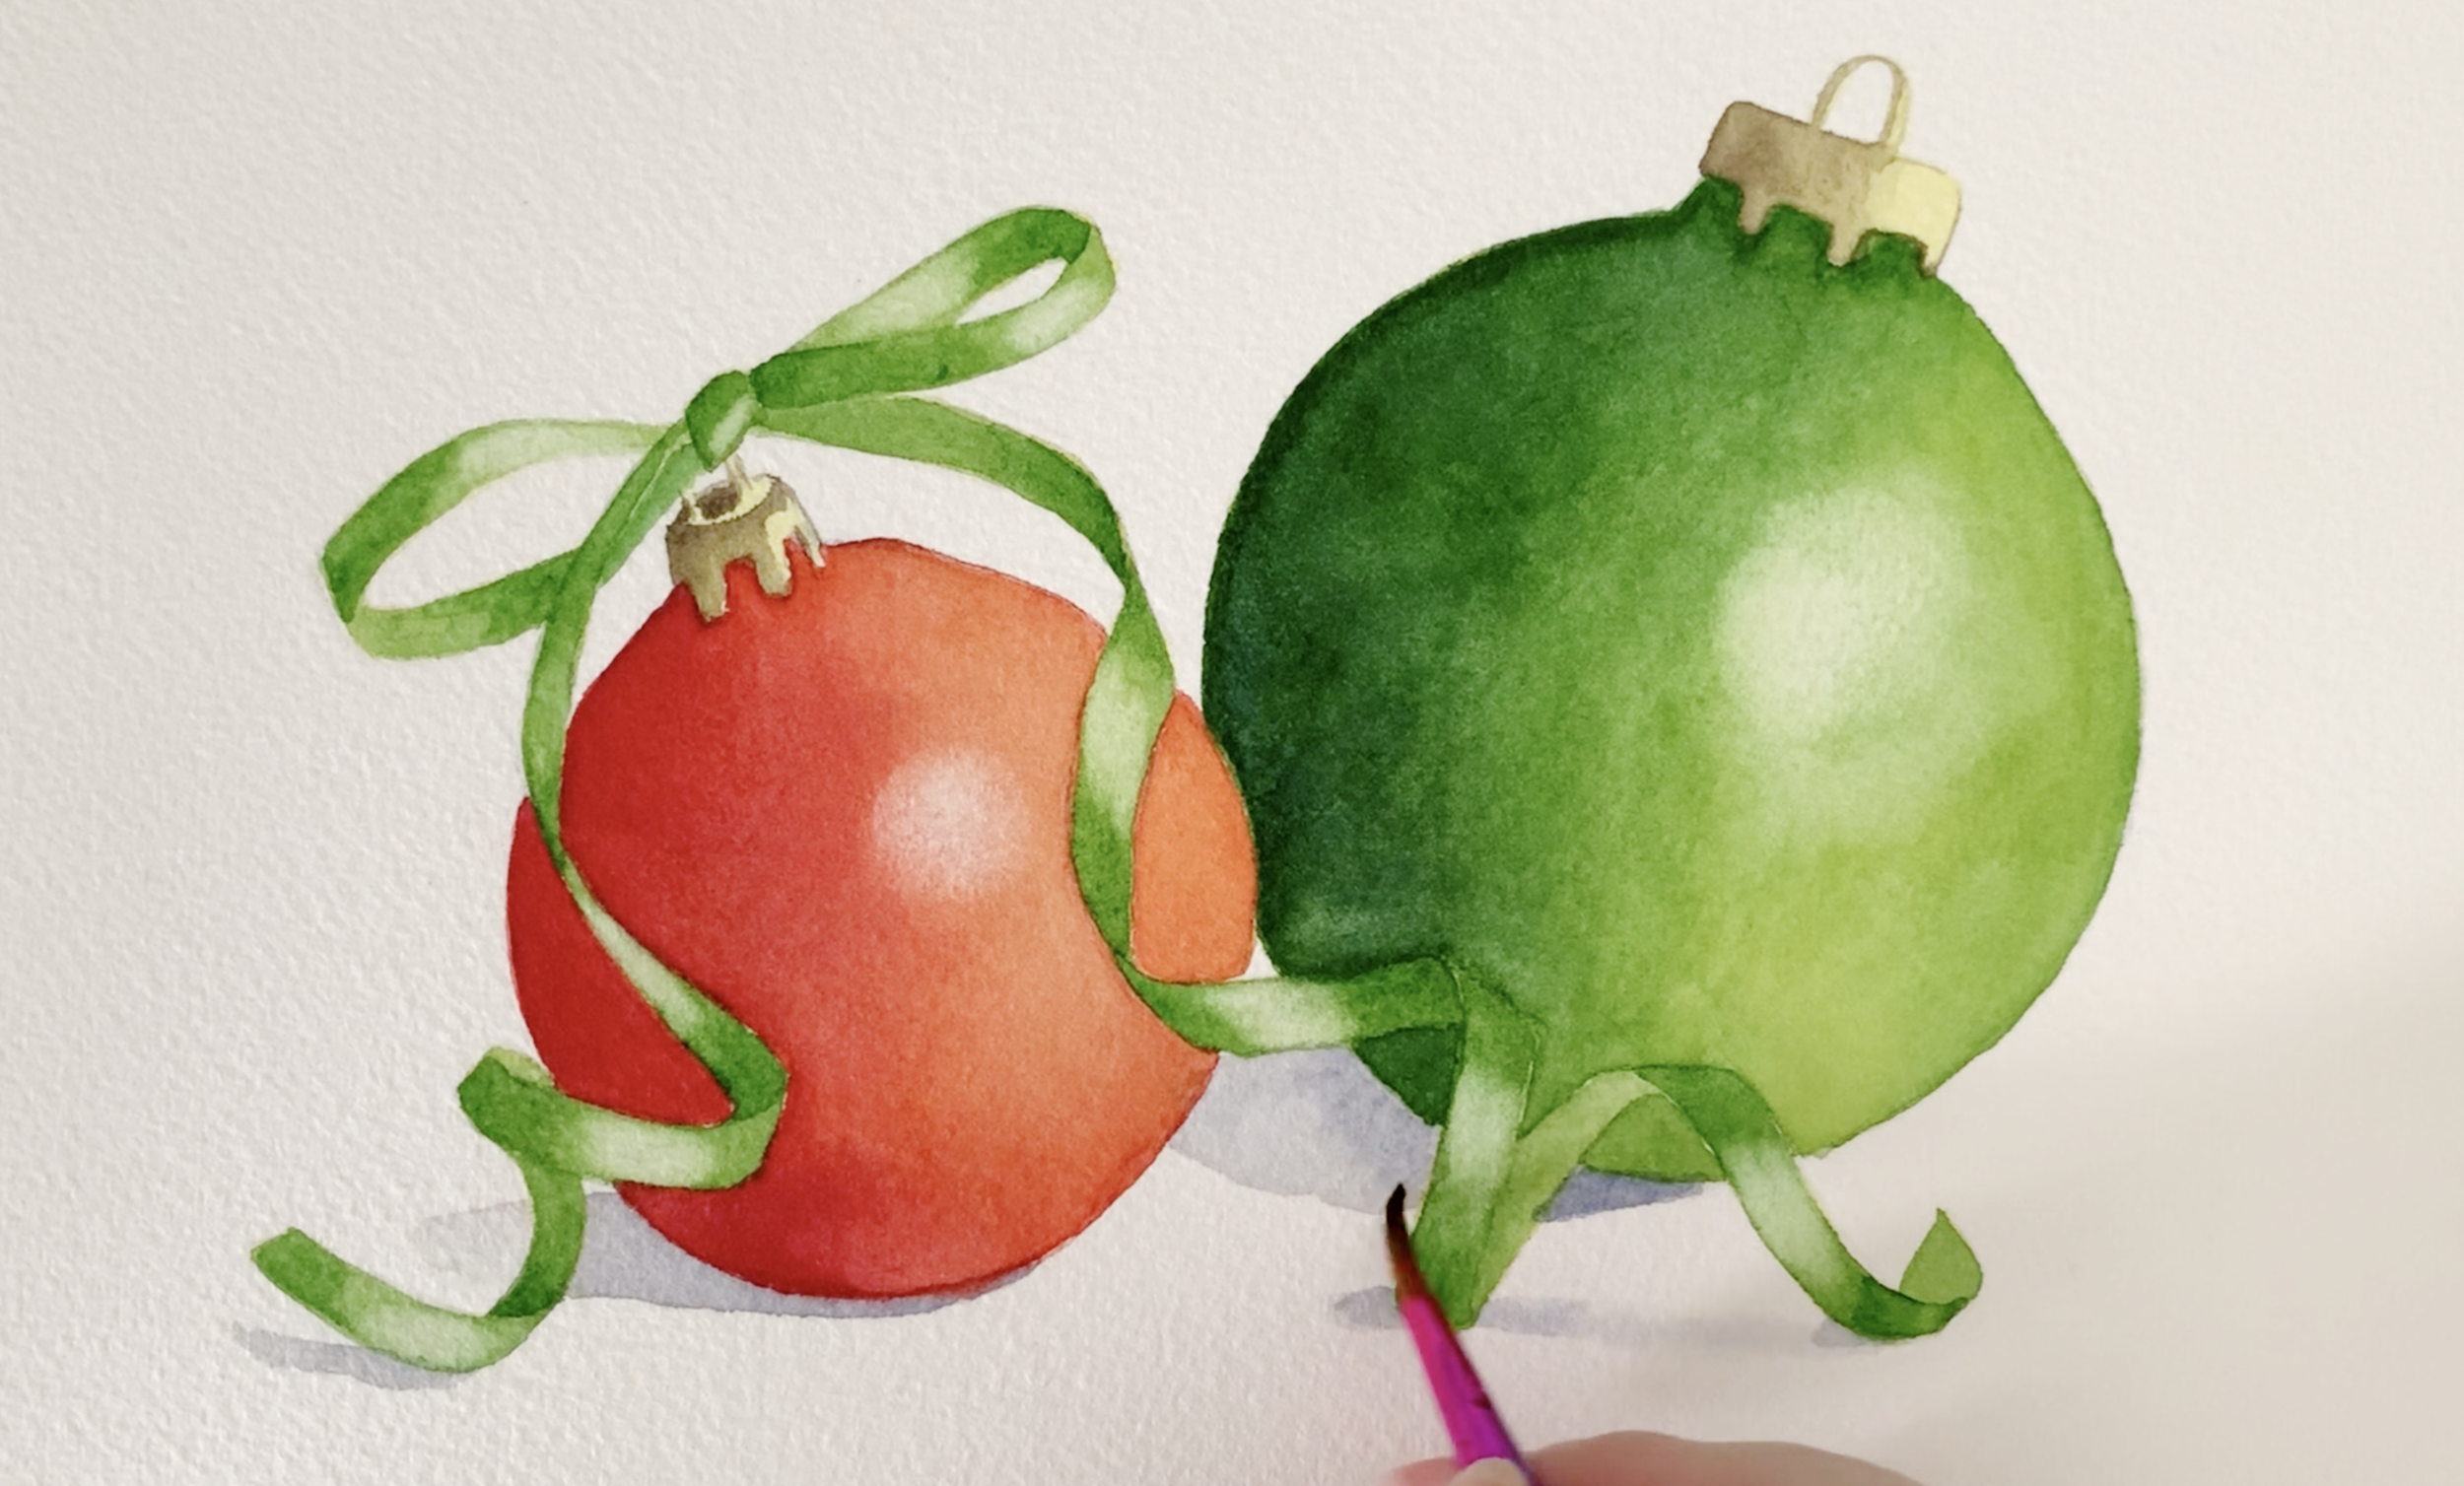
To ground the baubles, I added a cast shadow beneath them. I created the grey shadow by mixing French Ultramarine with Burnt Sienna.
Painting the cast shadow on the ground.
Tips for Success
· Be patient and allow layers to dry before adding more paint.
· Use a damp, not wet, brush for softening edges to avoid creating blooms.
· Experiment with colour combinations for unique and festive designs.
· With patience and practice, these baubles can become stunning centerpieces for your holiday cards.
Creating your own watercolour Christmas cards is a joyful way to celebrate the season and share your creativity with loved ones. Whether you paint a single bauble or an entire festive arrangement, your handmade card is sure to bring a smile to anyone who receives it.
The finished Christmas card.
With the same technique I showed you today, you are able to create your own Christmas card paintings, Christmas ornaments or any other inspiration you might have. Have fun and enjoy making your own, personal watercolour Christmas cards.
Happy painting!
Warm wishes,
Louise
If you are interested in learning to paint in watercolour, I have over 200 online, voiced over watercolour tutorials for all skill levels.

