Experimenting with Salt in Watercolour Painting
A Textured Effect
Watercolour painting is a journey of discovery, where experimentation often leads to the most delightful surprises. One of my favourite techniques to create stunning textured effects is adding salt to a wet watercolour painting. Whether you’re sprinkling table salt from a salt shaker or using coarse rock salt, this simple material can make a big impact on your art.
Today, I want to share with you how salt can transform your watercolour washes into beautiful, organic textures.
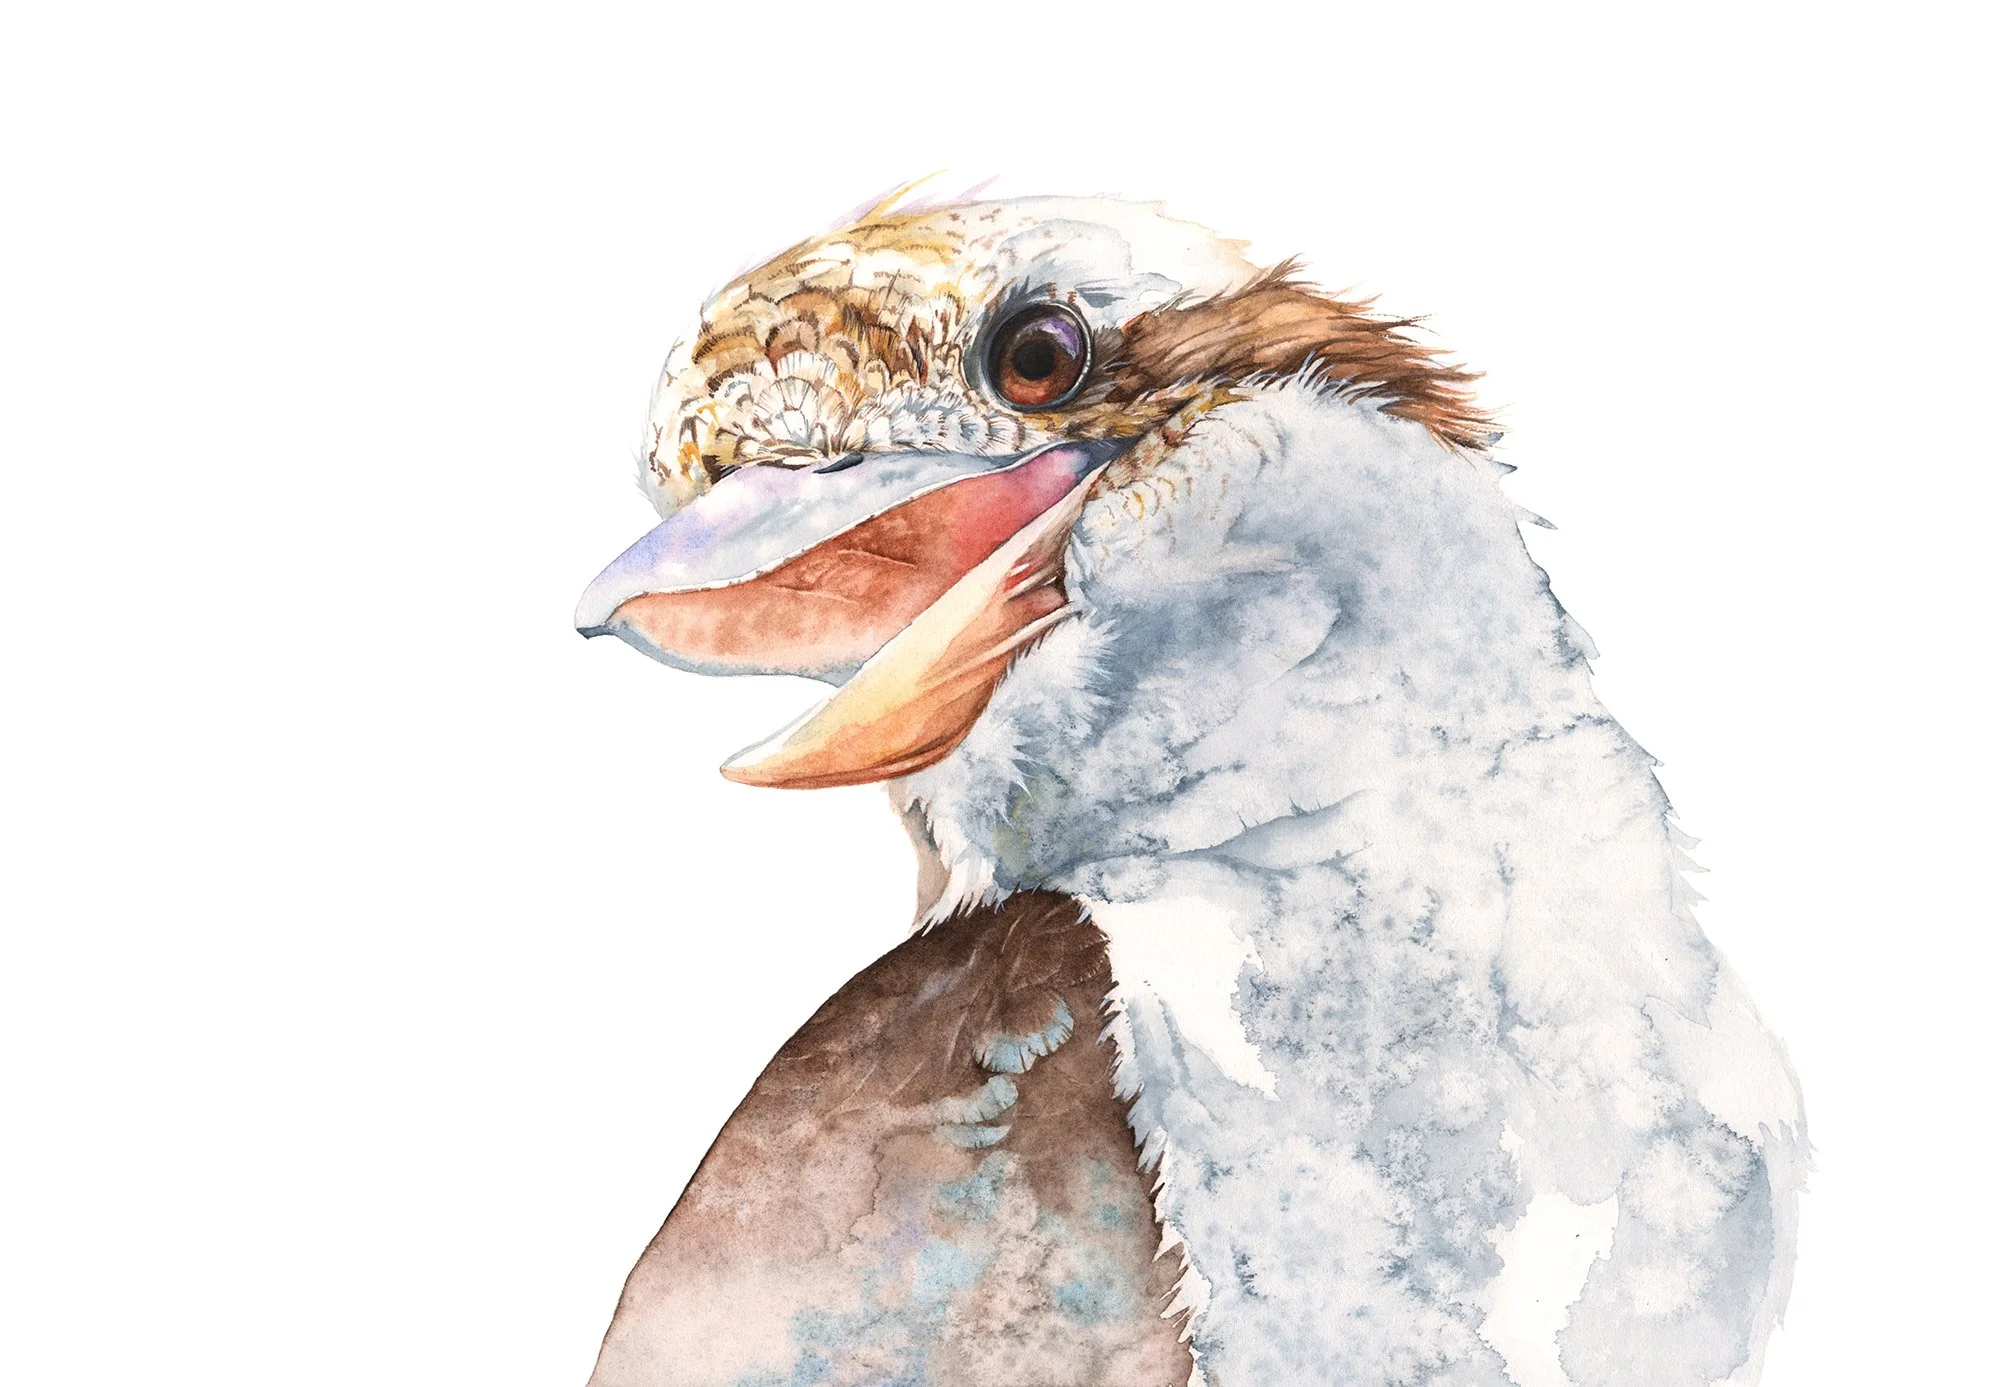
I used salt to create texture on the feathers of this Kookaburra painting.
What Happens When You Add Salt to Wet Watercolour?
Grey Fantail watercolor painting with salt texture
When you apply salt to a wet watercolour wash, the salt absorbs water, pulling the pigment with it. As the water moves toward the salt, pigment redistributes, creating lighter areas where the water is absorbed and darker edges where the pigment settles. This process forms the unique organic patterns we see as the wash dries.
As the water evaporates, the salt leaves behind delicate, starburst-like patterns that enhance your artwork with texture and depth. It’s all about timing - adding the salt when the wash has lost a little bit of its sheen - but is still quite damp is crucial. If you apply the salt too early or too late, you might miss out on the stunning effects.
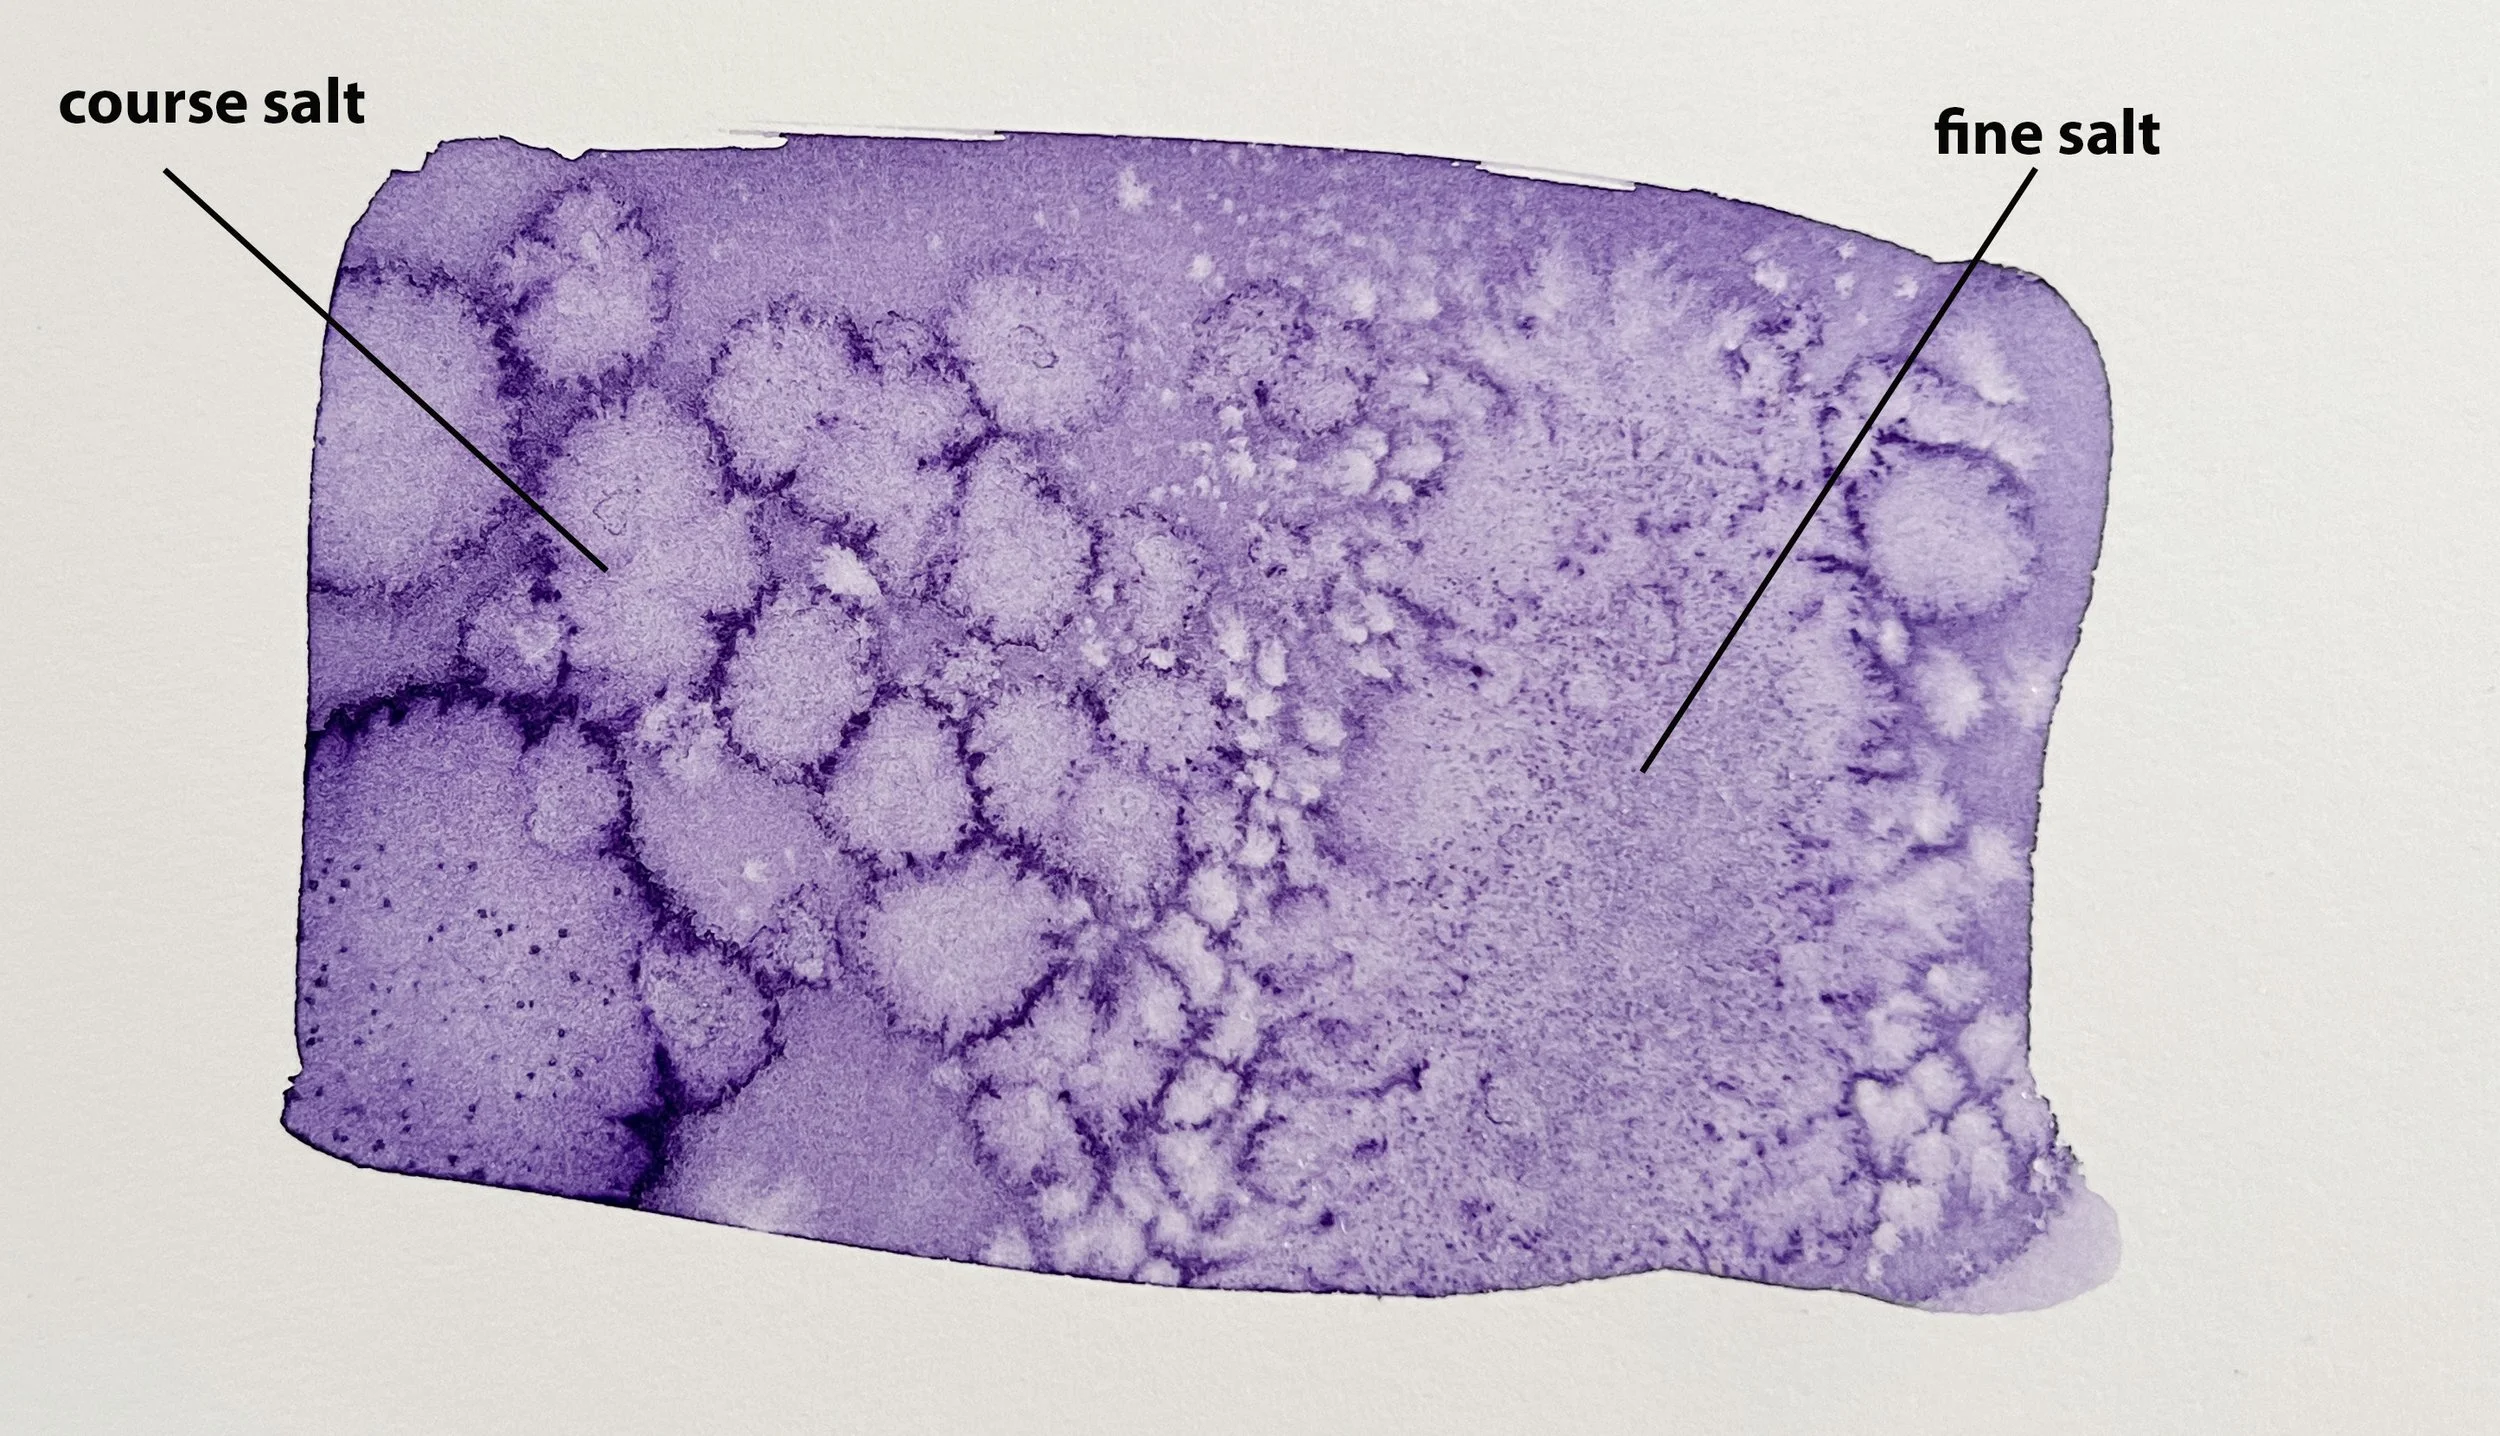
Different types of salt can produce different results. Coarse sea salt, with its larger crystals, tends to create bold, dramatic textures, while table salt results in smaller, more delicate starbursts.
It’s fun experimenting with both to see what kinds of patterns they produce on your watercolour paper.
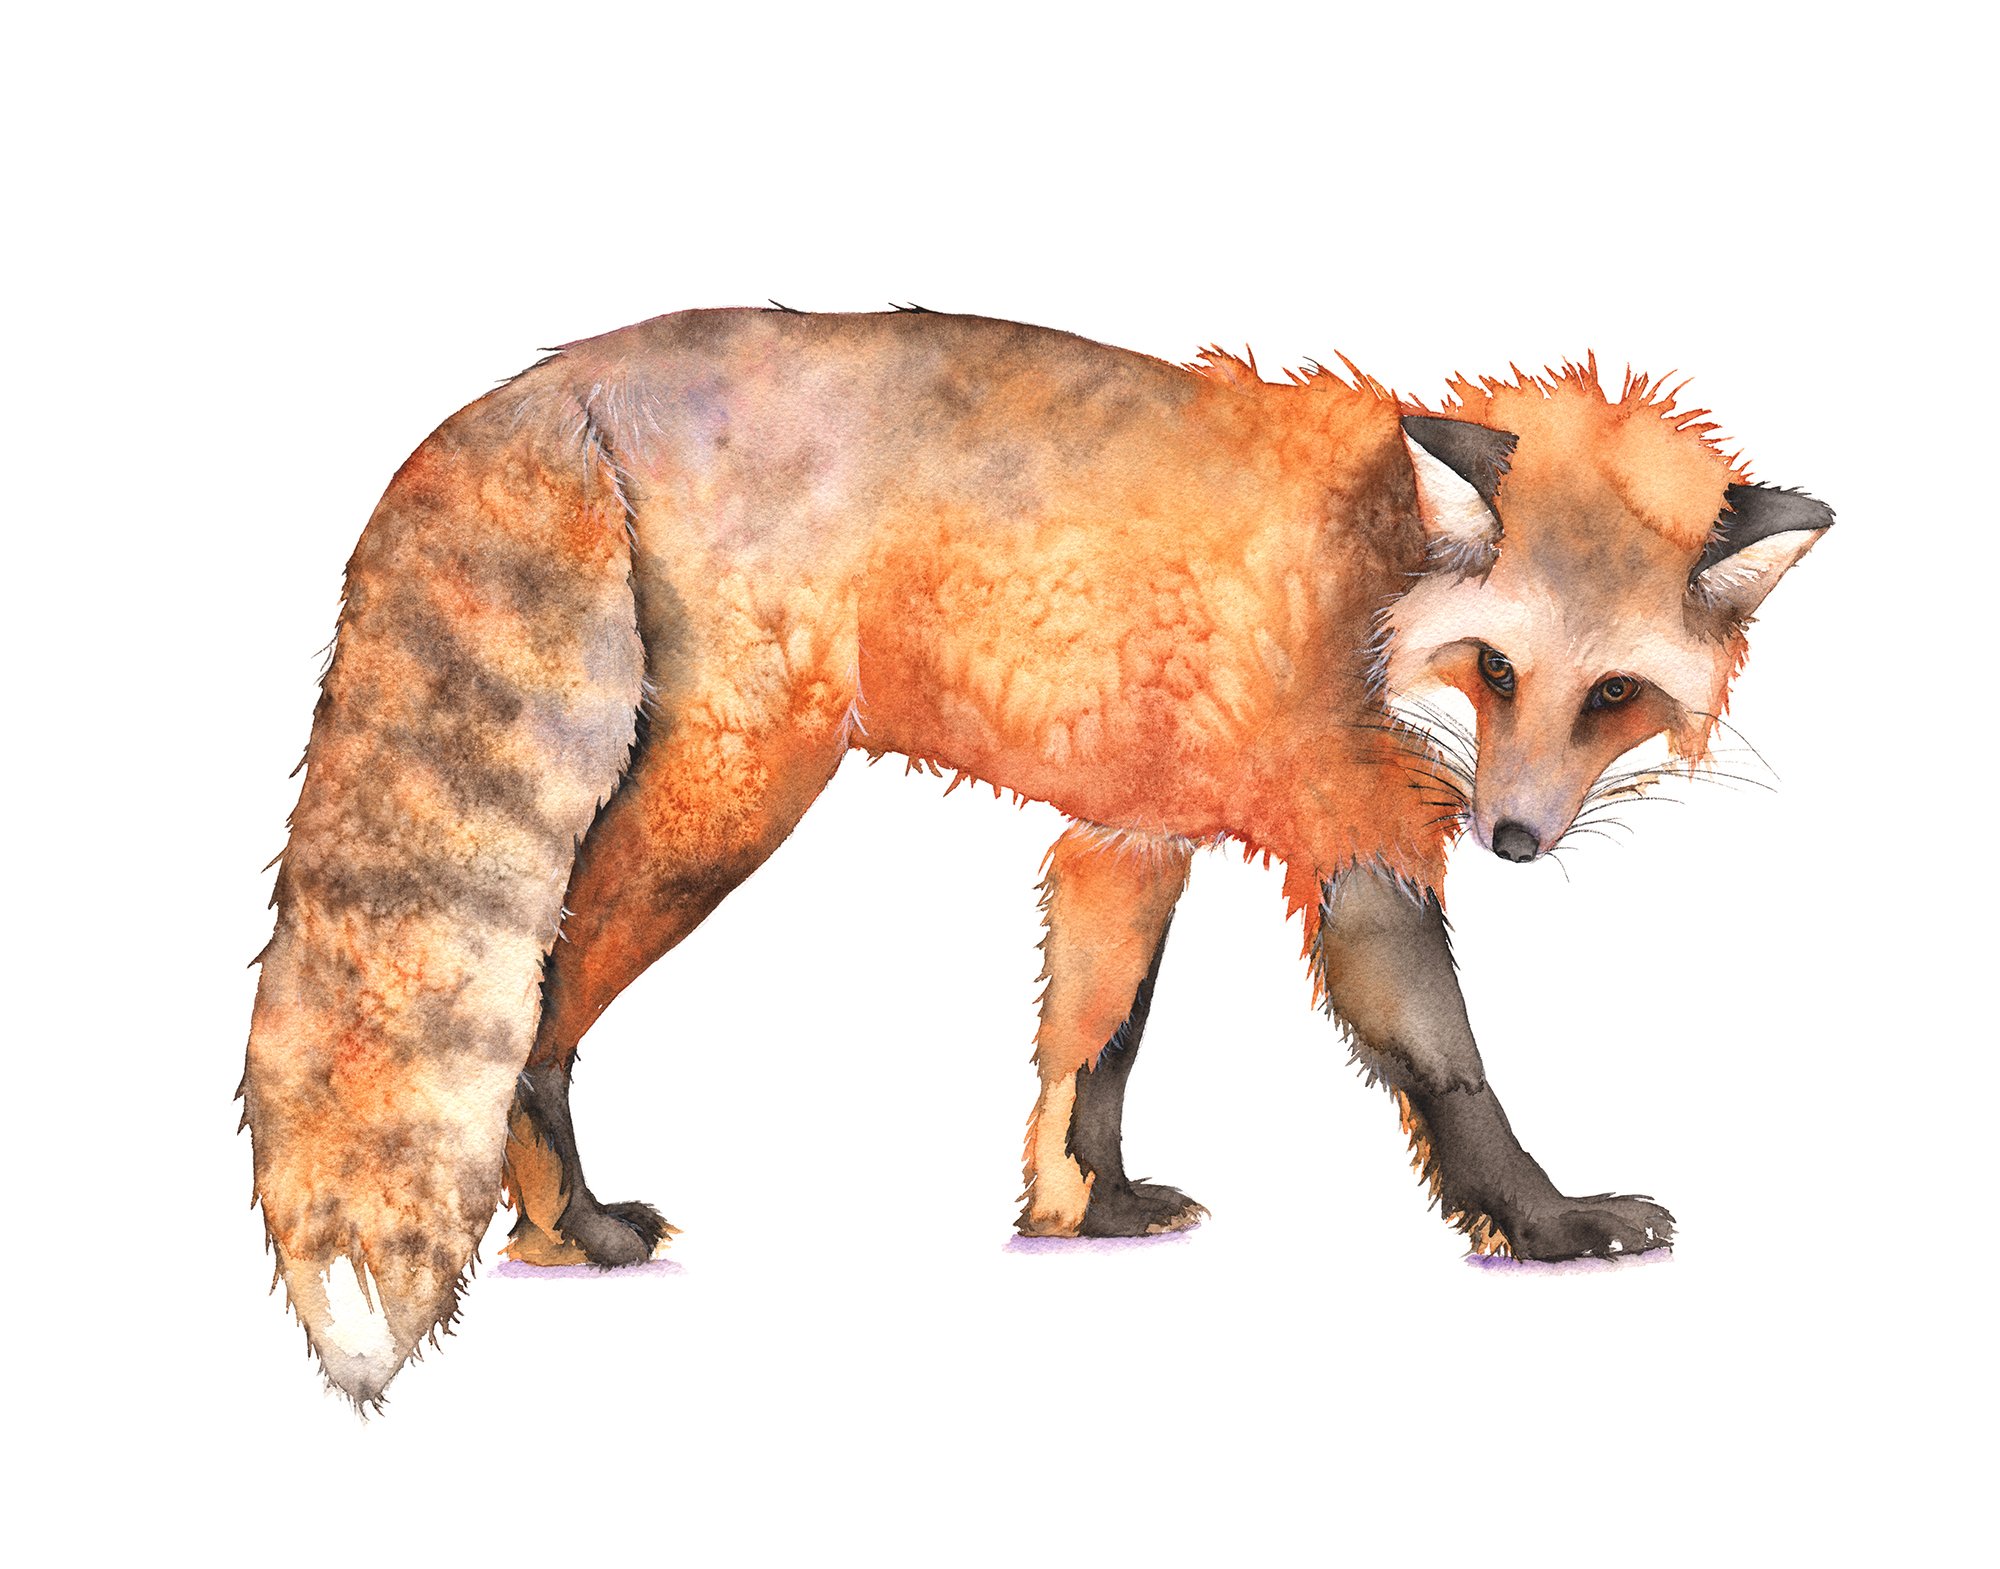
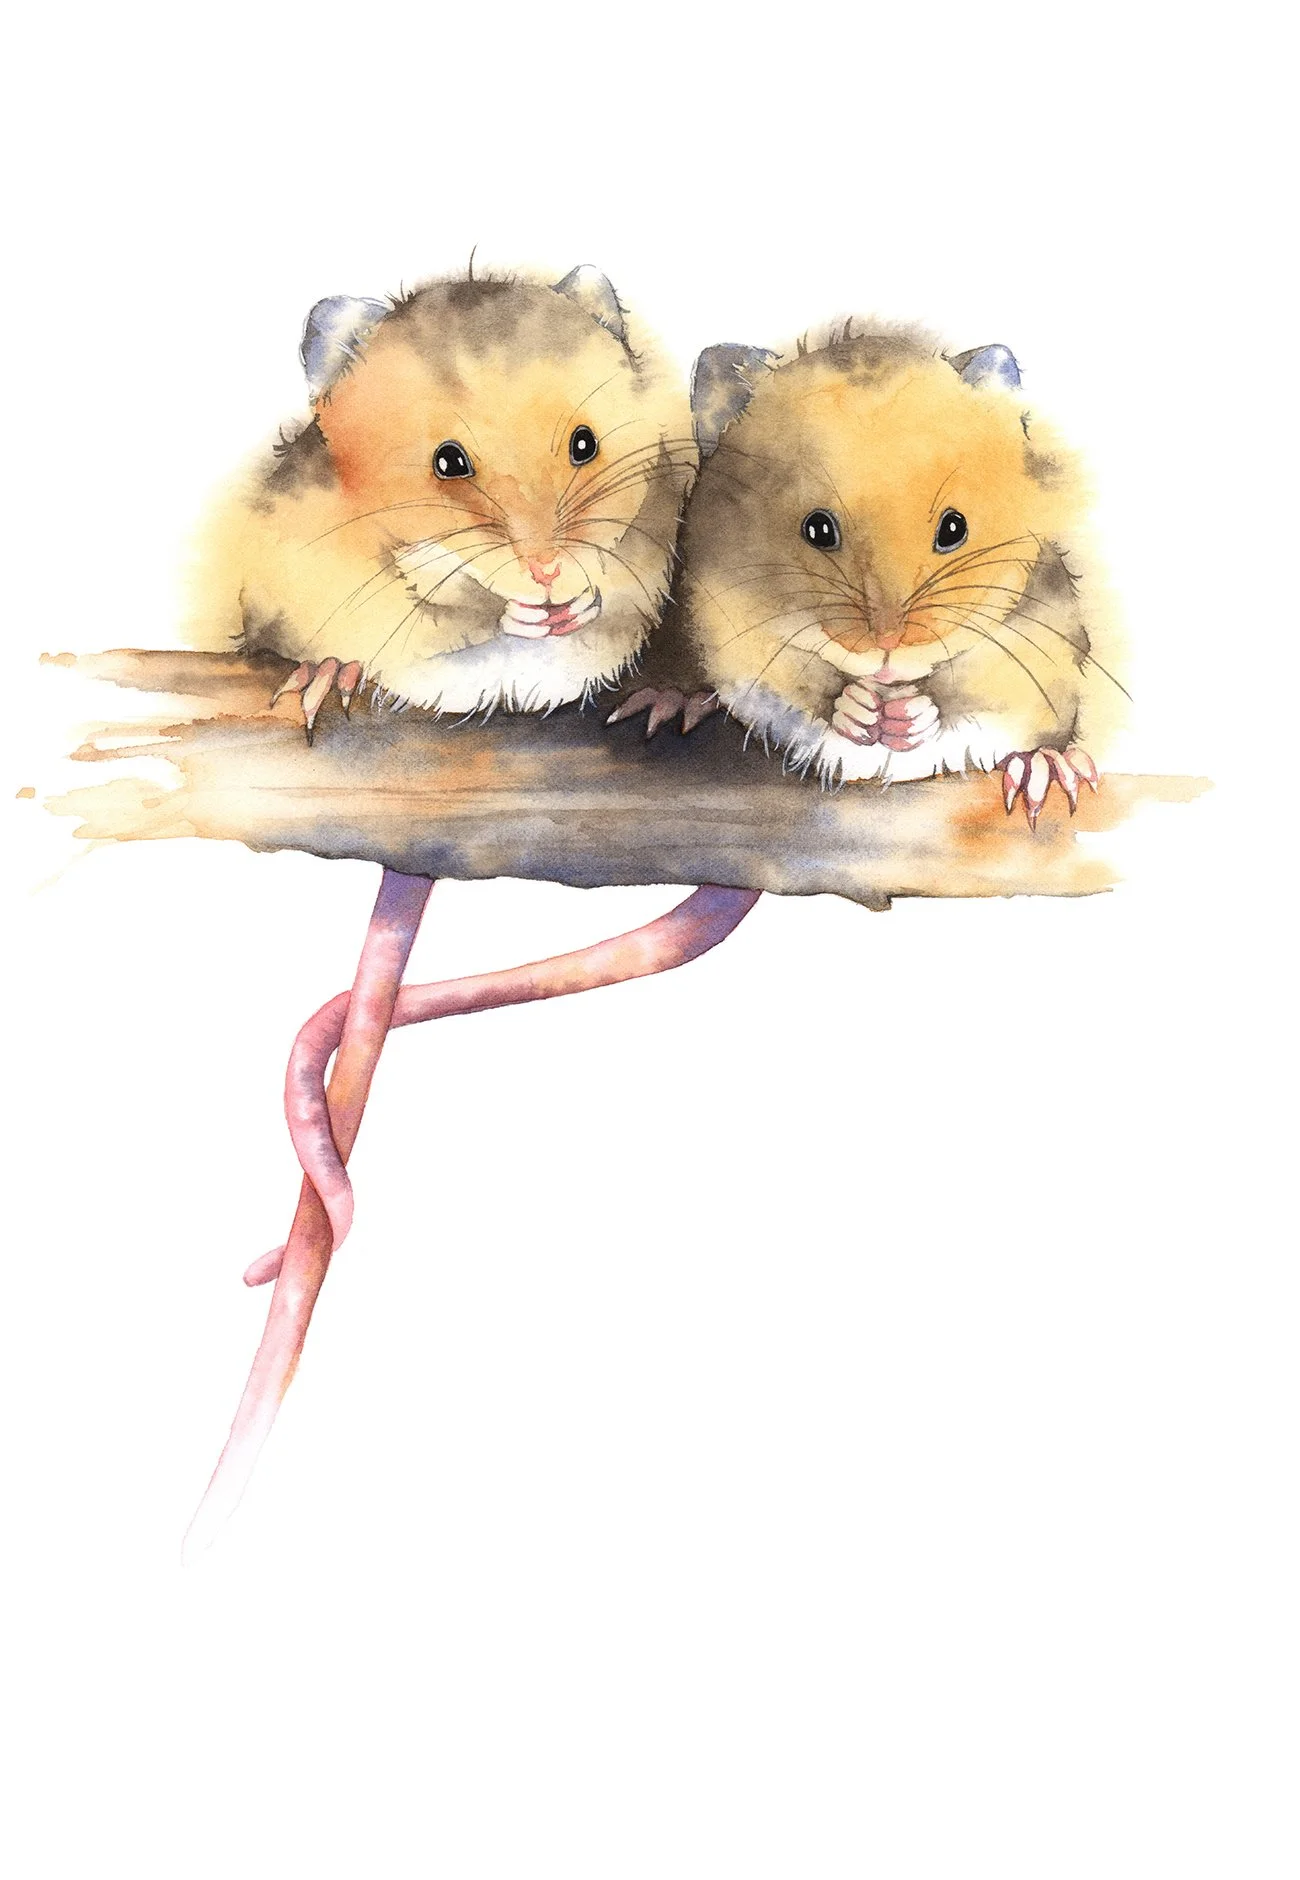
I have used coarse sea salt to create texture in the feathers of my magpie and fox paintings, and table salt to add subtle details to my koalas and kookaburras.
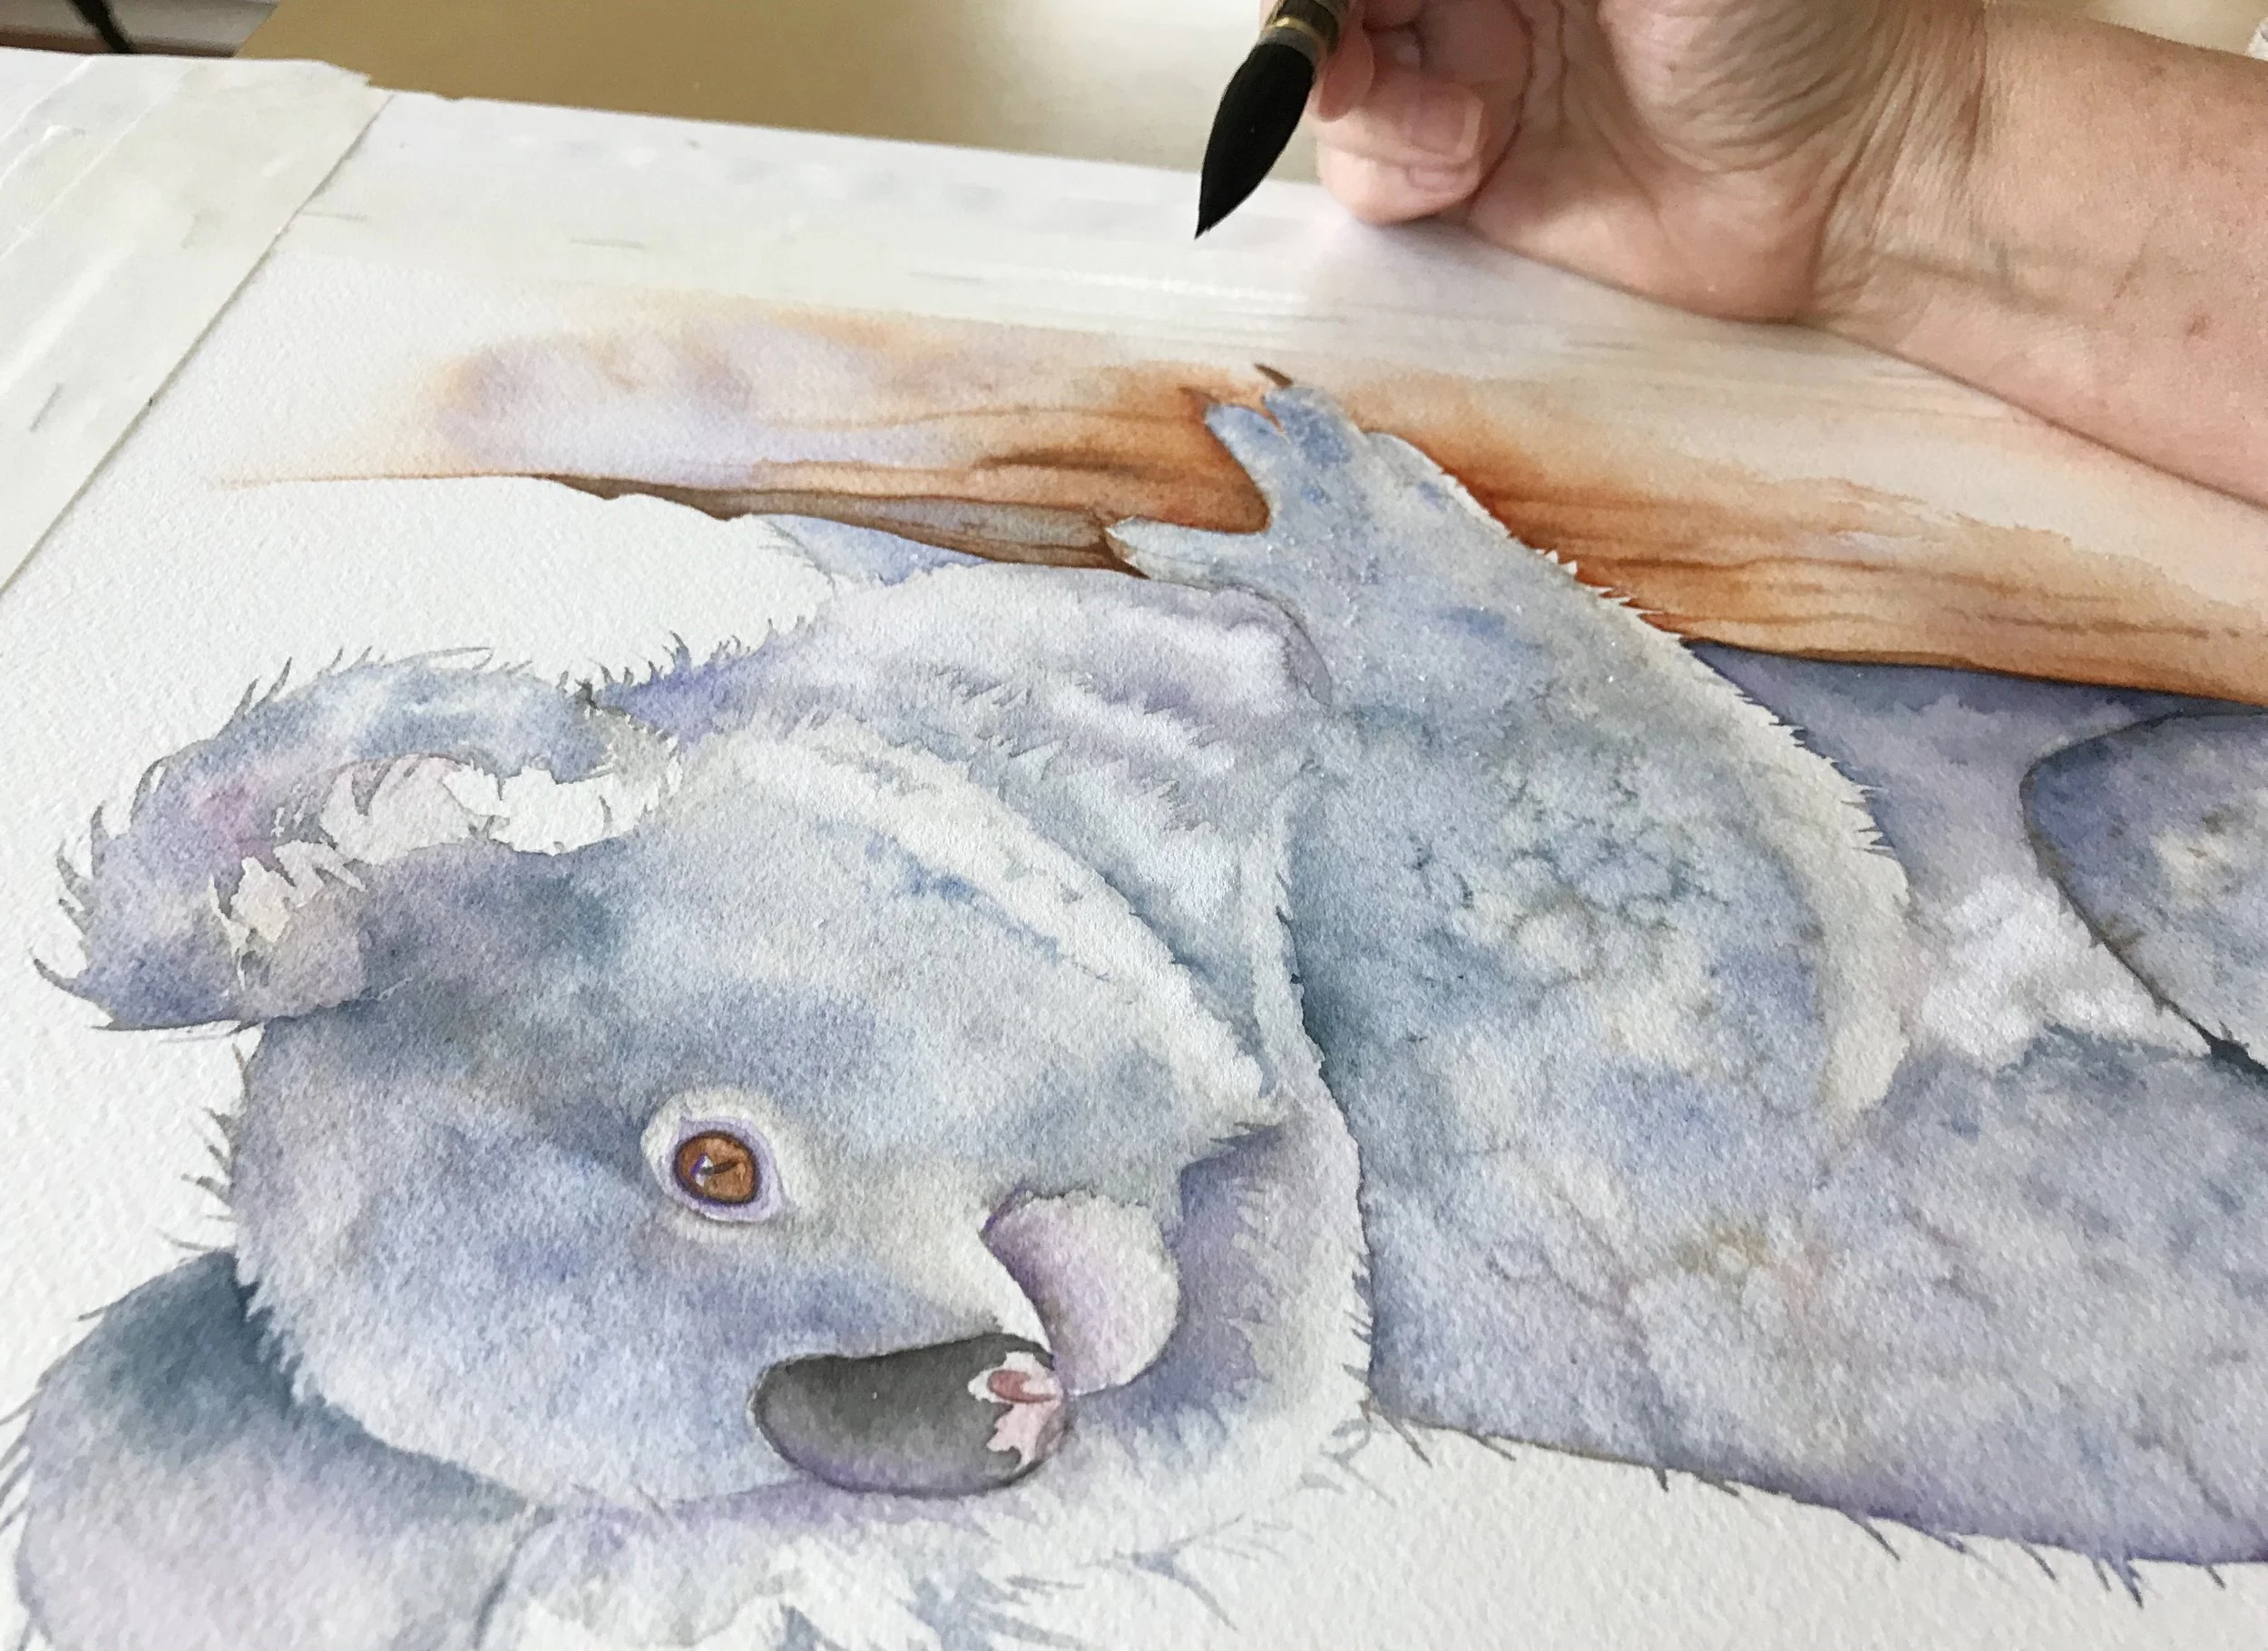
I used salt to create texture on this koala.
Preparing Your Watercolour Painting for Salt
To start, you’ll need a wash of wet watercolour paint on your paper. The salt technique works best when the paint is still damp but not too wet. If the paint is too wet, the salt doesn’t have any effect. On the other hand, if the paper is too dry, the salt won’t be able to absorb enough moisture to create those lovely starburst patterns.
Working with granulating colours is also really fun, as these tend to produce the most dramatic results when combined with salt. Once your wash is applied, gently sprinkle salt over the wet paint. You can use a salt shaker for a fine sprinkling, or apply rock salt by hand for more variation in texture.
The amount of salt and how evenly you sprinkle it will also influence the final effect.
How Different Pigments React
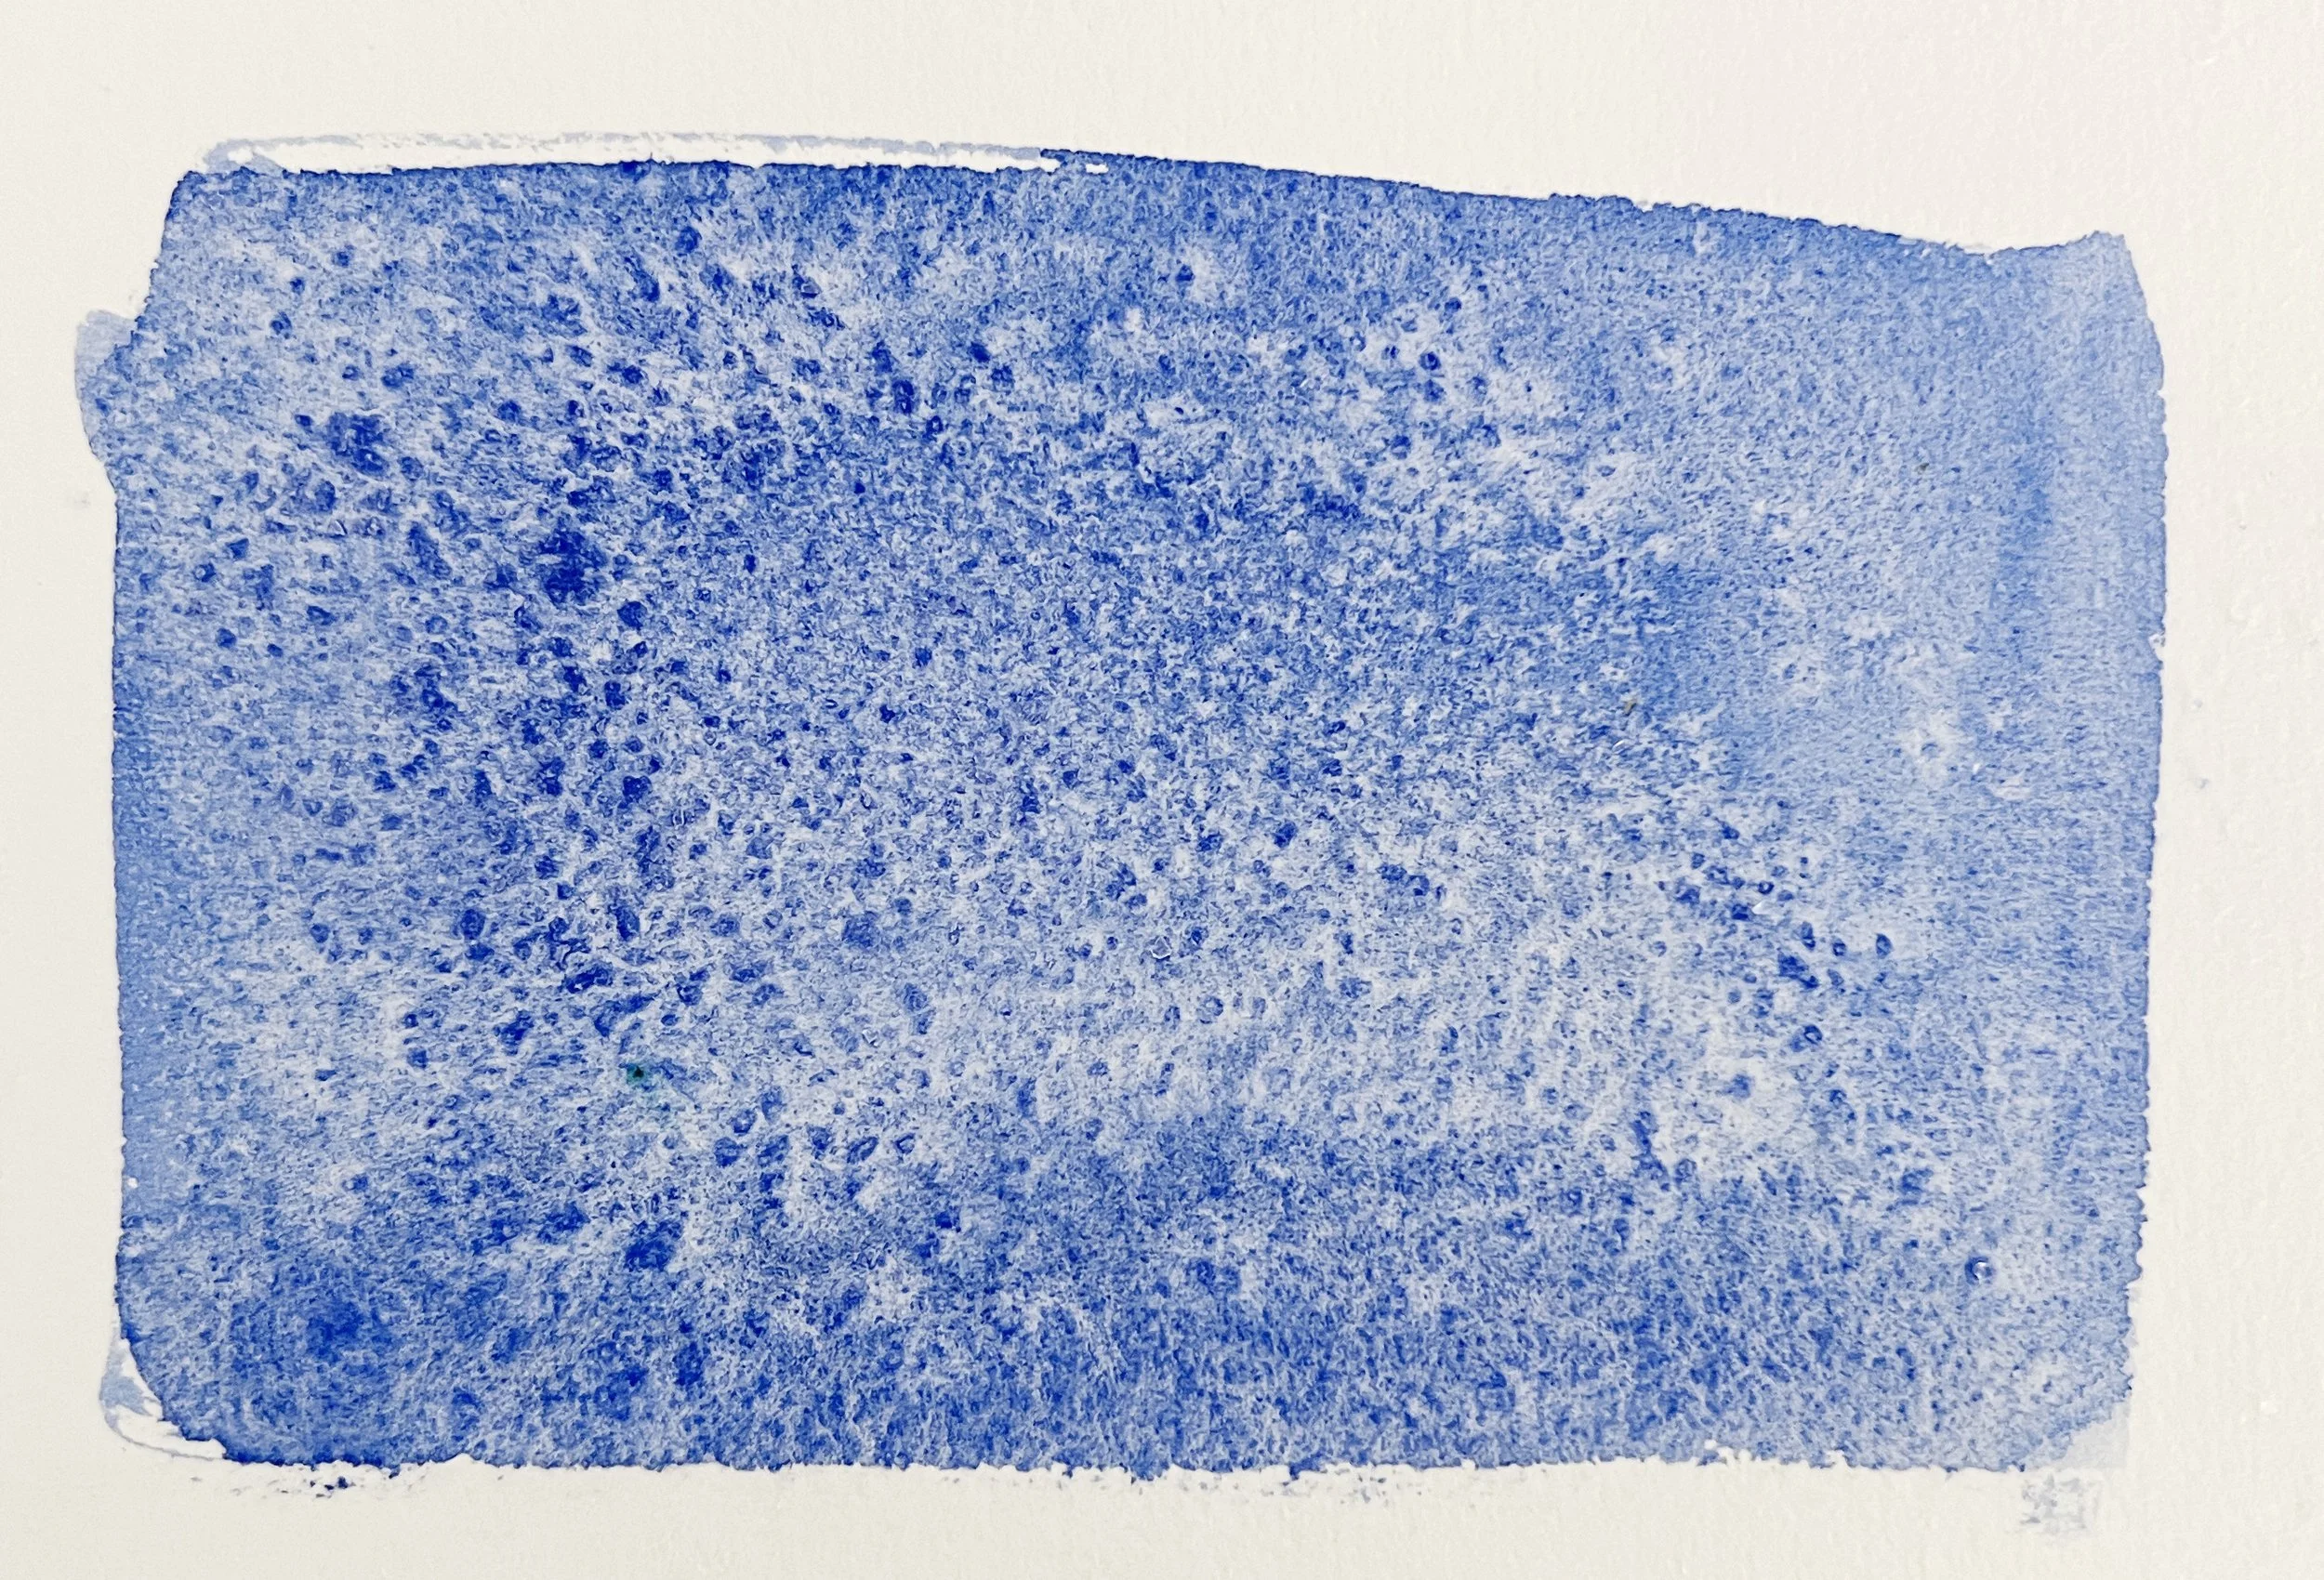
Not all pigments behave the same when combined with salt. It's often suggested that granulating colours, like Ultramarine, create more dramatic textures when salt is applied. These pigments naturally break apart on the paper, and the salt is said to enhance this effect, producing more variation in texture. However, in my experience with Ultramarine, the results have been underwhelming - there's some texture, but not as much as I'd expect.
The salt effects on a French Ultramarine wash always leaves me feeling underwhelmed.
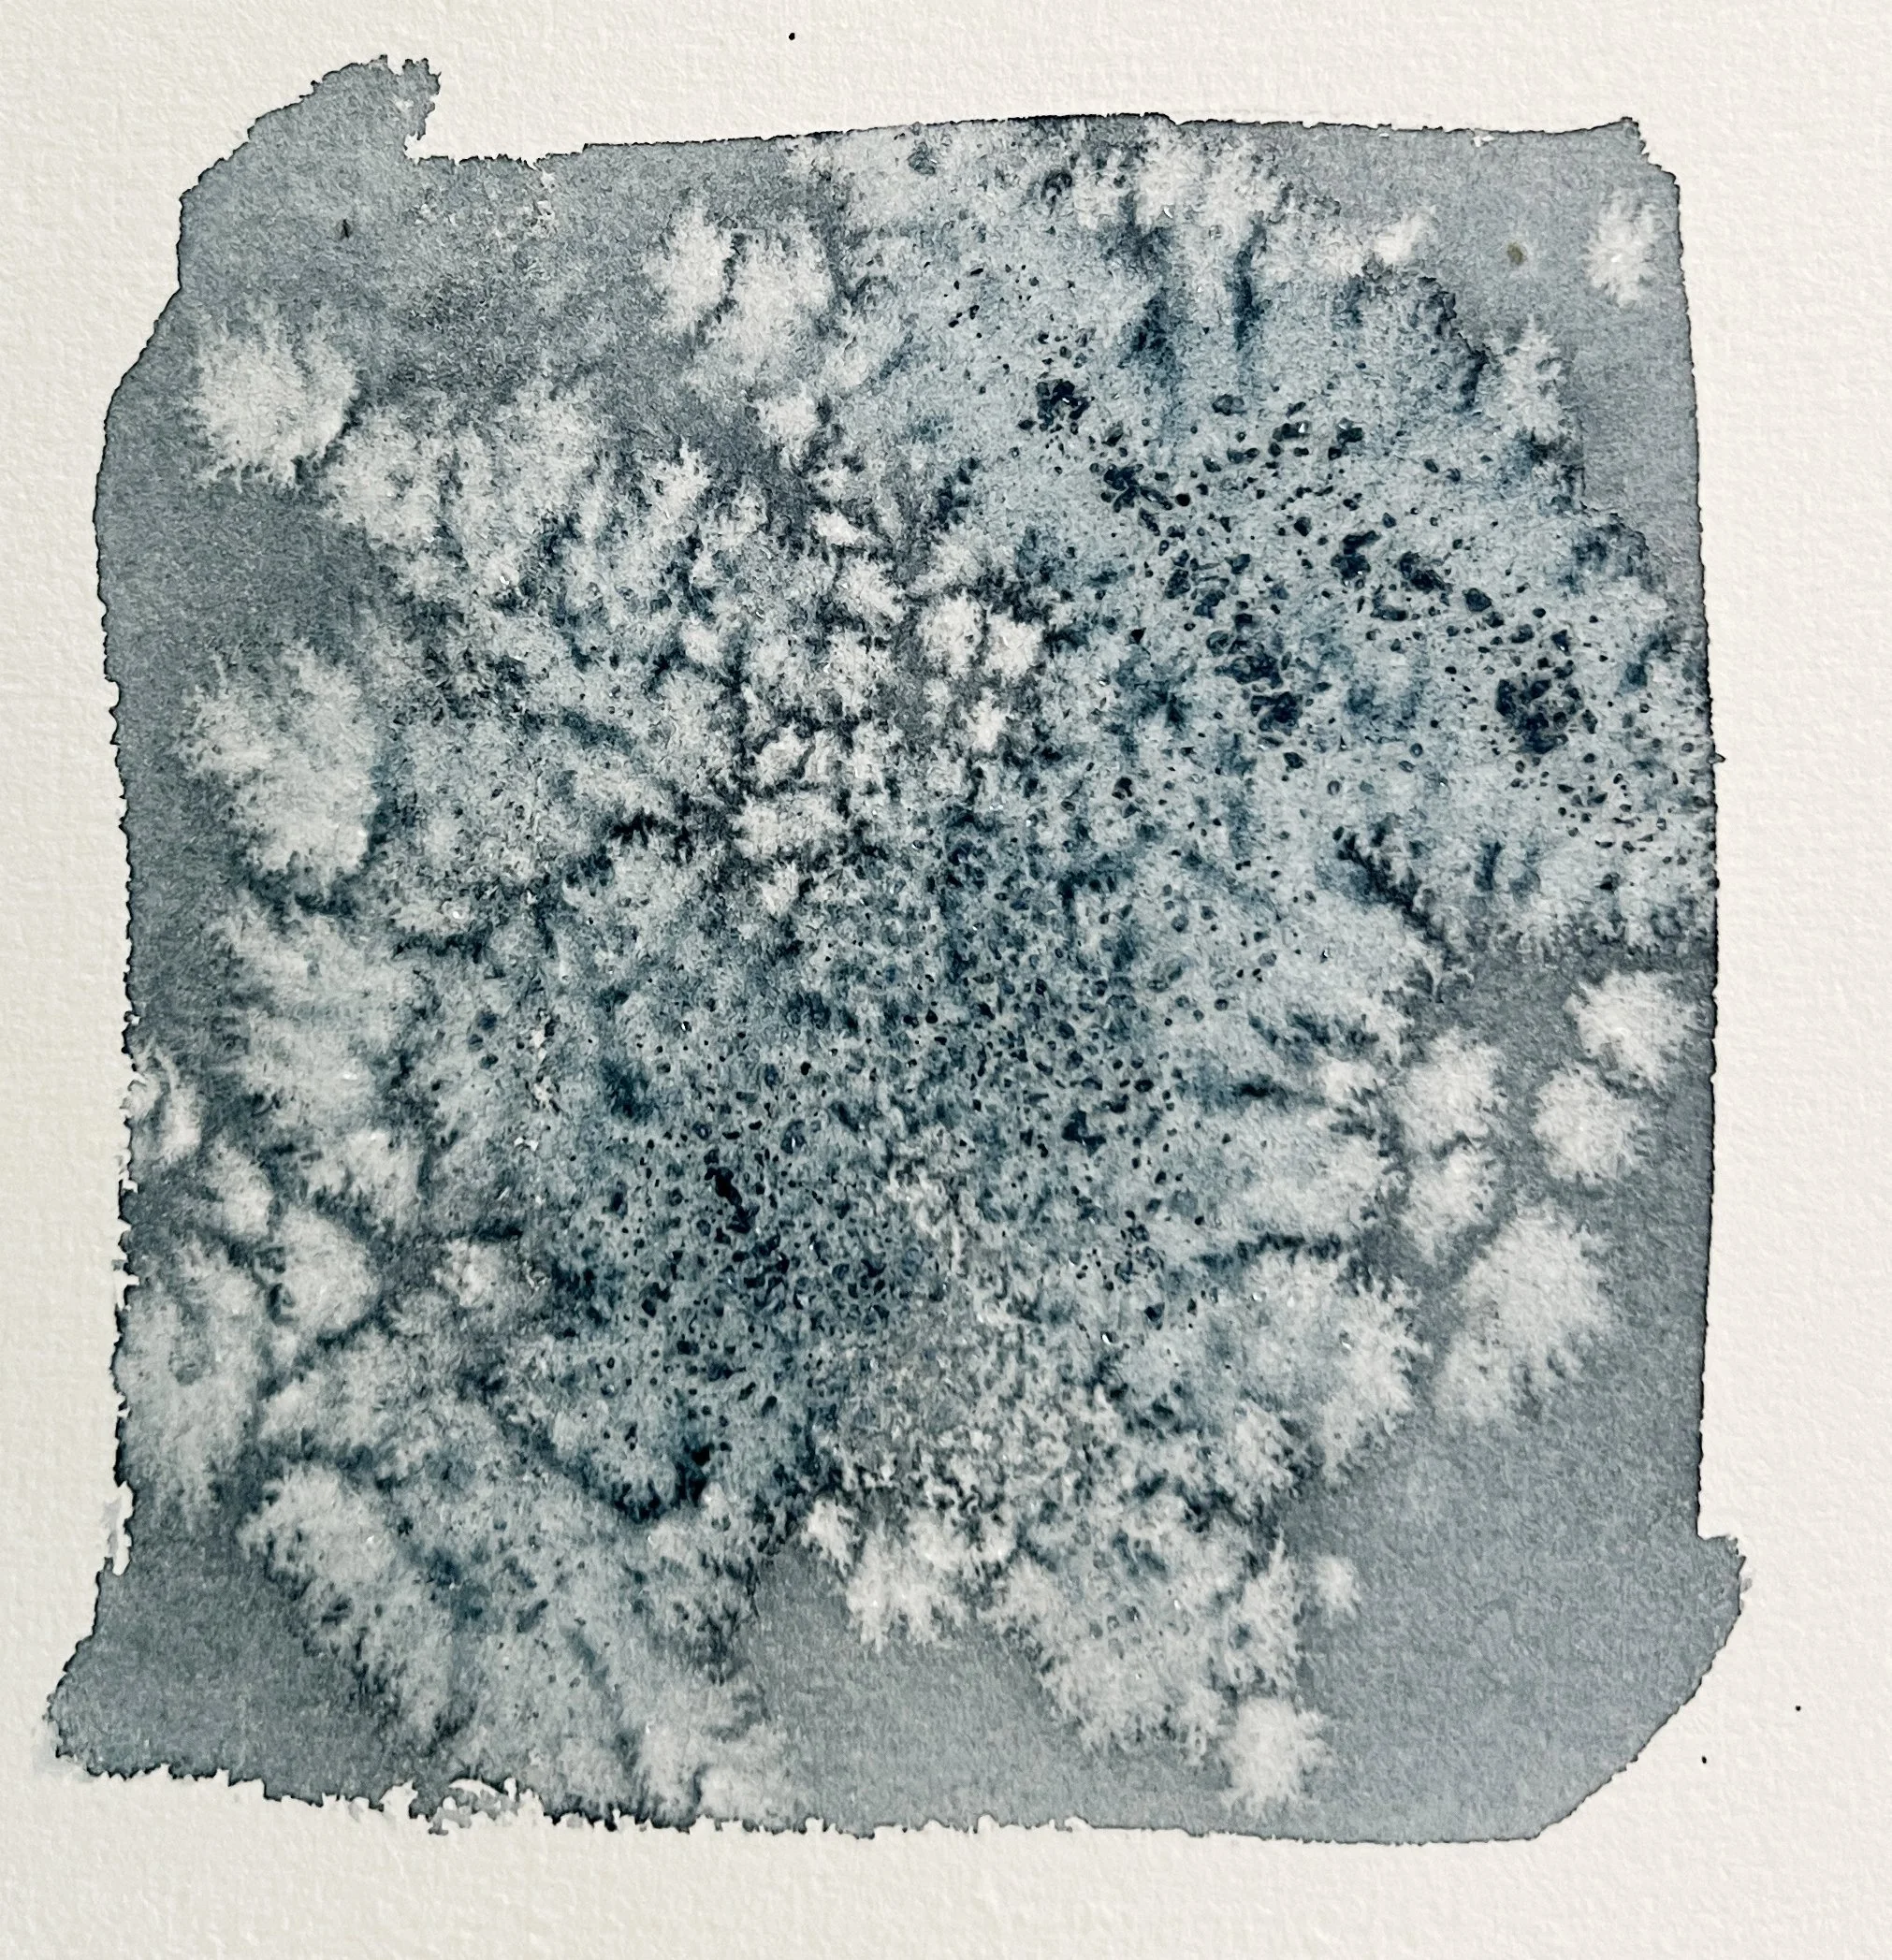
Schmincke's Paynes Grey Bluish with salt sprinkled onto a wet wash.
I've also read that transparent pigments tend to react better than opaque ones and that non-staining pigments don't perform as well. But my results contradict this. For instance, Schmincke's Payne's Grey Bluish, which is semi-opaque and semi-staining, gave me far more dramatic texture than French Ultramarine above.
Why this happened- I'm not sure, but it could be down to several factors. Payne's Grey Bluish may contain pigments that interact with water and salt differently, or its semi-opaque nature could allow salt to disrupt the pigment in a more noticeable way. It seems like, in this case, Payne's Grey just has the right balance of properties to make the salt patterns stand out more.
When planning your painting, it’s worth experimenting with different colours to see how they react with salt. You’ll discover that certain pigments, especially granulating ones, can create unexpected and delightful effects. Experiment in your watercolour journal or on the back of failed paintings.
Why Timing Matters
As I mentioned, timing is everything when it comes to adding salt to your watercolour painting. The paper’s ability to absorb moisture decreases as it dries, and this affects how the salt interacts with the pigment. Keeping an eye on the paper as it loses its sheen will give you the perfect window to sprinkle the salt and achieve the texture you want. It's a delicate balance, but with practice, you'll start to recognise that sweet spot.
Here I applied the salt too late to the wet wash and it is having no effect.
The Waiting Game: Let it Completely Dry
Once you've sprinkled the salt, resist the urge to fiddle with your painting. After sprinkling salt, patience becomes your best friend. It’s essential to wait until the paint has fully dried before removing the salt crystals.
The salt absorbs the water, disturbs the pigment, and leaves behind beautiful, pale, organic shapes. However, touching the painting too early can interfere with this process. So, resist the urge to rush—the results are worth the wait!
Removing the Salt
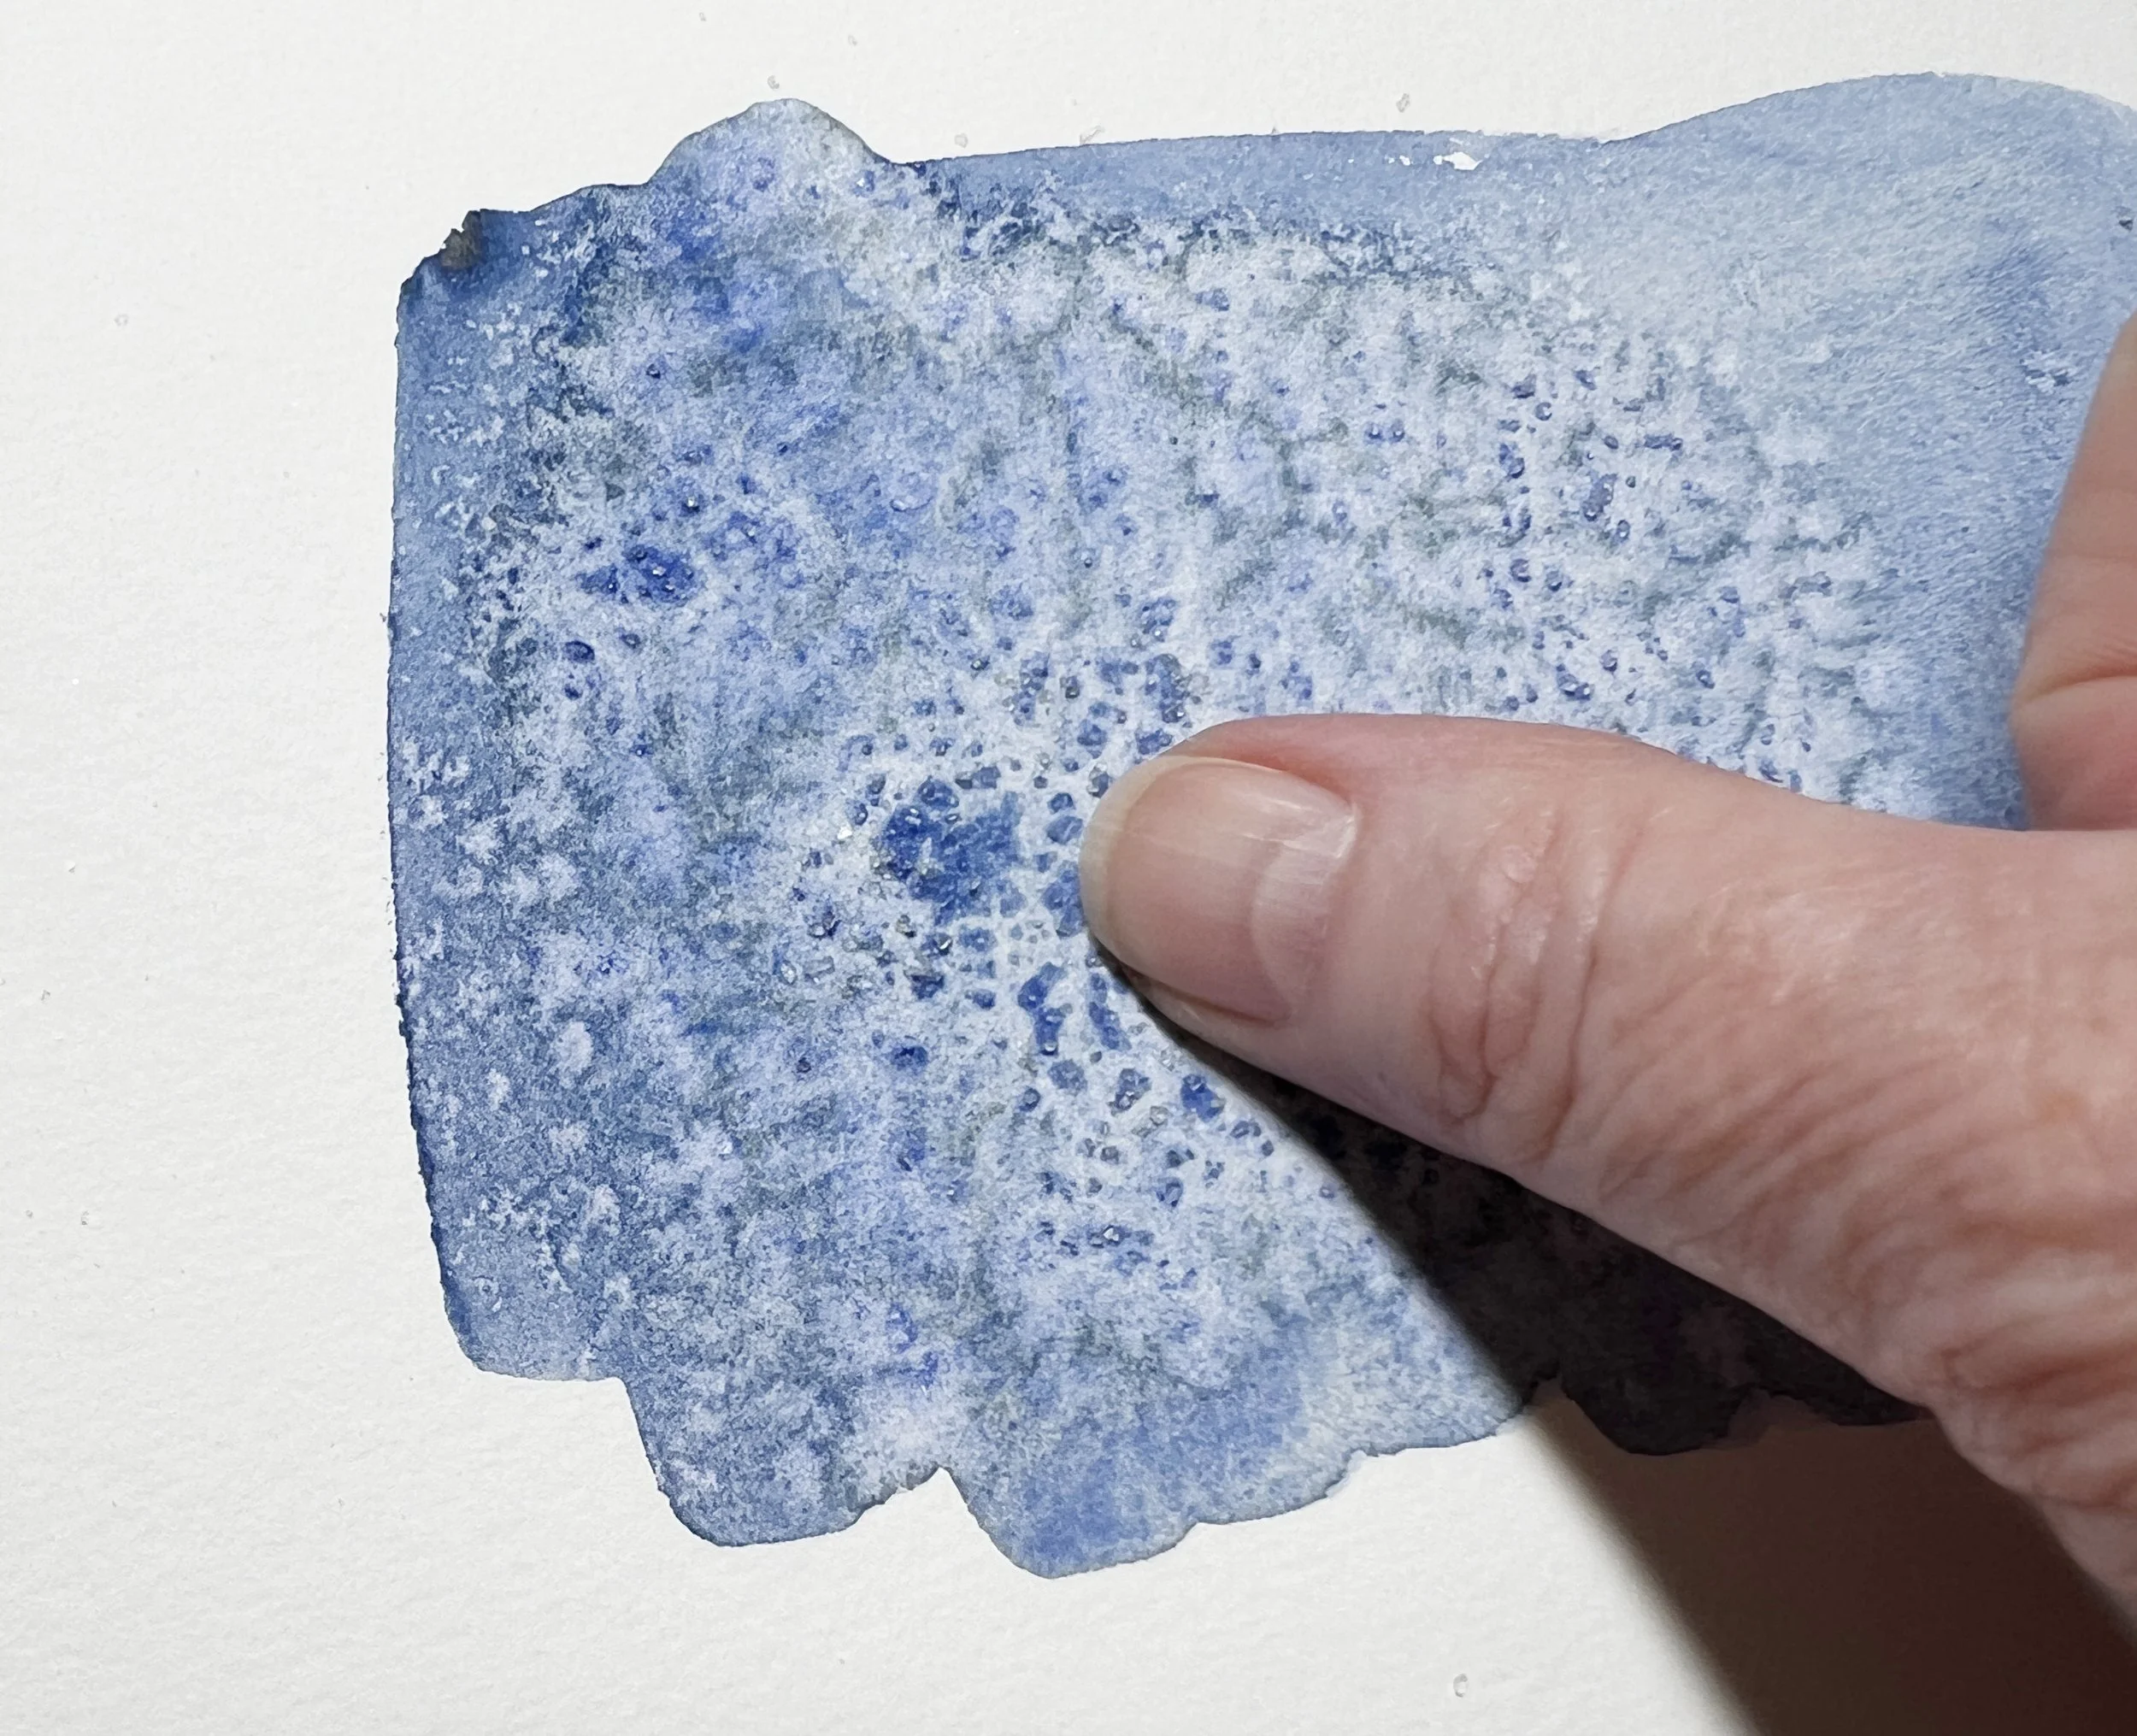
Once your painting is completely dry, it's time to gently remove the salt. Sometimes it sticks to the paper so you may need to rub it with your finger. You can also tap the back of the paper lightly to dislodge any remaining salt grains.
Be gentle during this process - if you’re too rough, you could damage the surface of your painting. And remember, don't remove the salt too early! If the painting isn't fully dry, you might smudge the delicate patterns the salt created, or even end up with paint on your hands.
Removing the salt by gently rubbing it with my finger
Experimenting with Different Salt Types
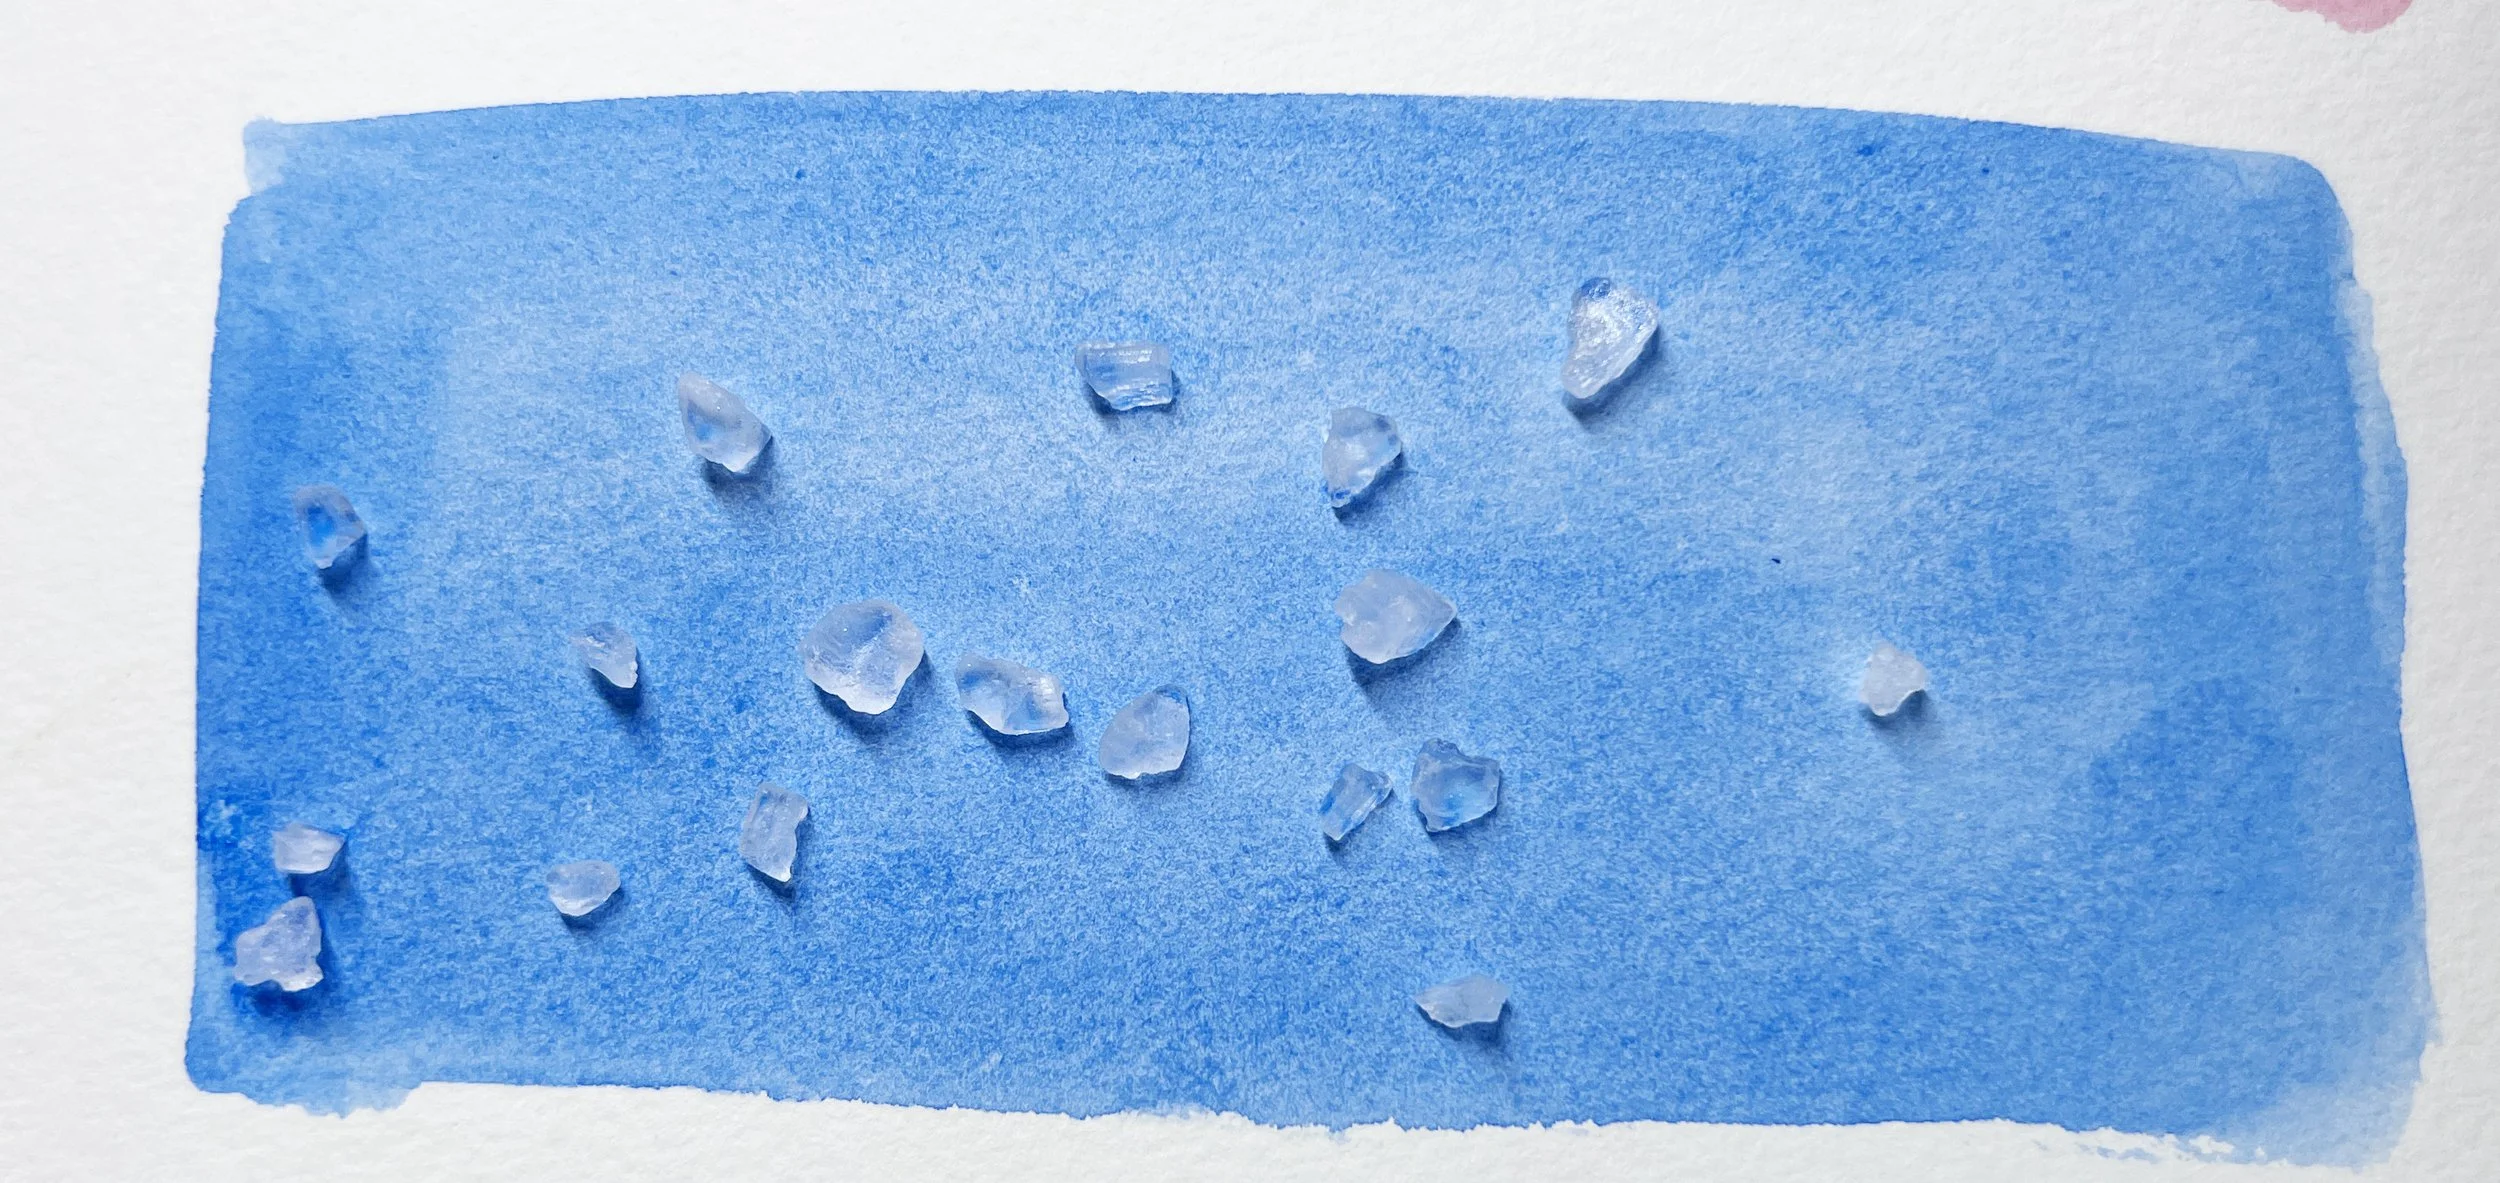
Different salts will produce different effects. Rock salt, sea salt, and table salt all react with watercolour paint in their own unique ways. Each one has a different level of absorbency and crystal size, which creates varied textures on the painting surface.
I use natural sea salt. For finer textural marks I'll use it from the grinder and if I want larger more distinct textural marks I'll use the larger crystals.
Larger crystals, like those from rock salt, will produce bolder textures, while smaller grains of table salt create more intricate, delicate patterns.
Experiment with combining different salt types in one painting. For example, you could use coarse rock salt to create bold textures in a background wash and table salt to add more subtle effects in a foreground wash. The variety in texture will add visual interest and depth to your watercolour painting.
I used course salt on one side of this wash and fine salt on the other.
I used coarse sea salt in my fox painting to add texture to the fur and tail, creating lovely, organic patterns. Table salt helped define the feathers of a grey fantail (pictured earlier in the post) by leaving delicate starburst shapes along its neck and wings. It’s exciting to experiment with different salts and discover how they react with your chosen pigments.
Where and When to Use the Salt Technique
I used salt to create texture on the black area of this Honey Eater's neck feathers.
Salt effects work beautifully in a variety of subjects, but I find they are particularly lovely in nature-themed paintings. Sprinkling salt over a wet wash of greens or blues can create the look of textured foliage or the sparkling highlights of a sunlit ocean. In flowers, you can use salt to suggest the delicate textures of petals or leaves. It’s a technique that invites endless creativity and experimentation.
I frequently use salt in animal portraits to add texture to feathers, fur, or even the rough bark of trees. It’s a technique that invites endless creativity and experimentation.
Watch Out for Pitfalls
There are a few things to be mindful of when using salt in watercolour painting. One common mistake is applying too much salt. While it’s tempting to be generous with the salt, a little goes a long way. Too much salt can overwhelm the texture, causing an overly uniform look.
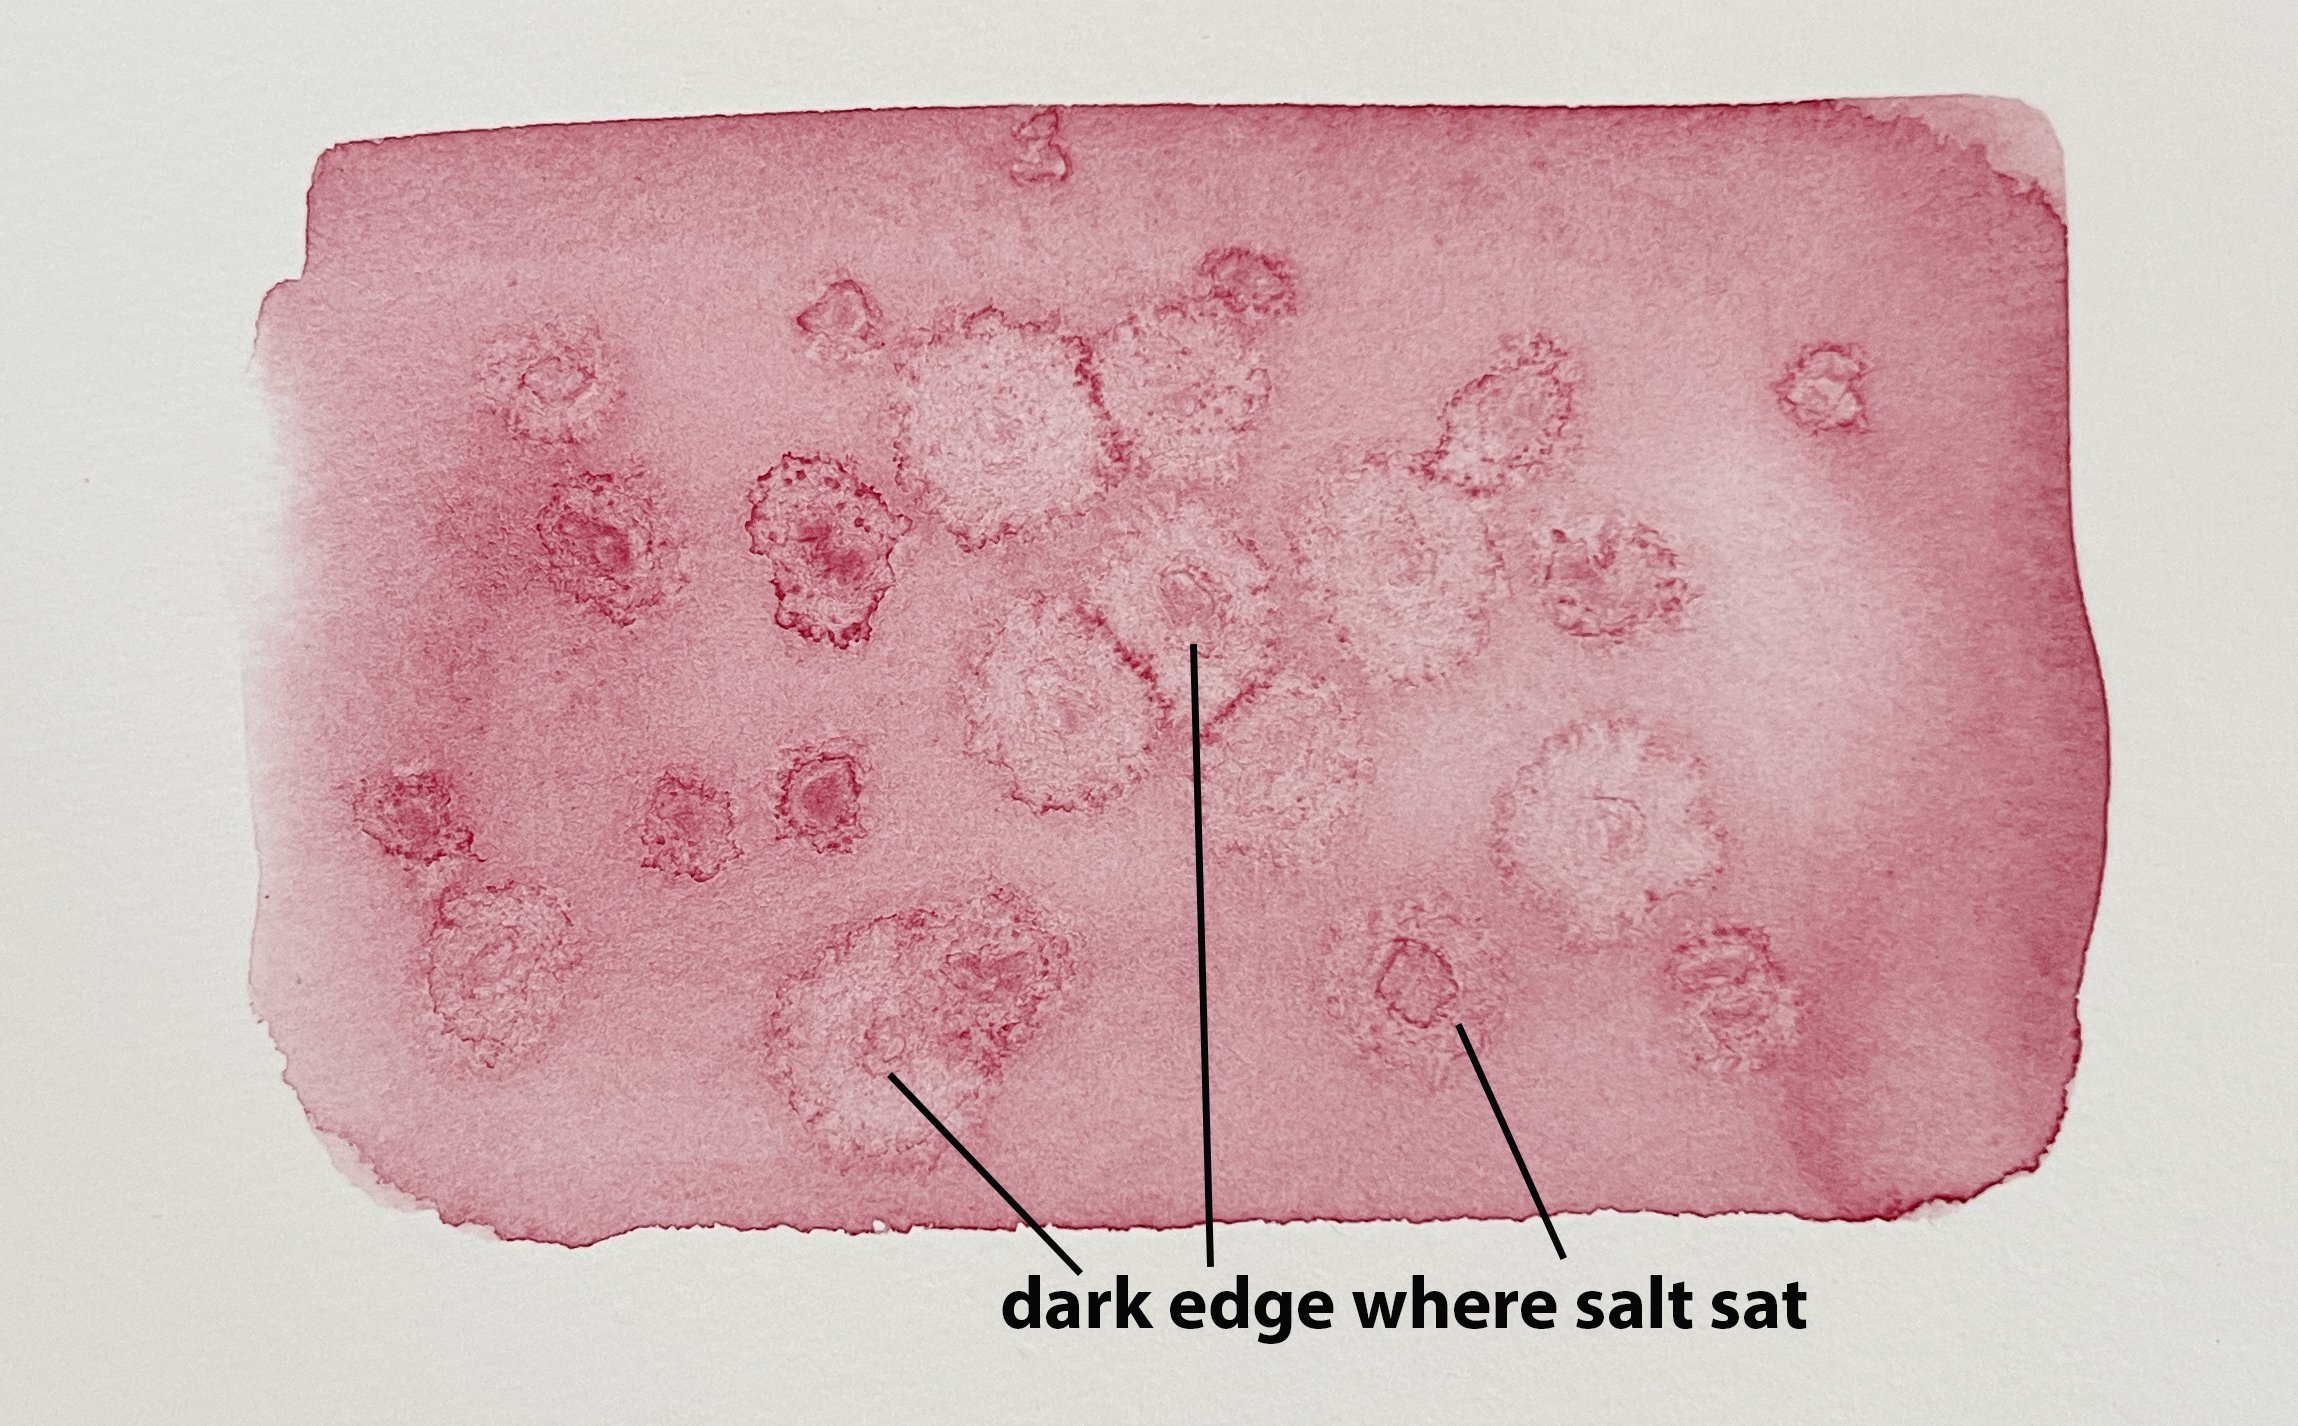
When using coarse salt sometimes a dark ring of pigment settles around the salt that you can see after you have removed it.
Little circles of pigment form where the salt was sitting.
The dark ring that forms around the salt happens because the salt absorbs water from the surrounding area, which pulls some of the pigment with it. As the water evaporates, the pigment tends to concentrate at the edges where the salt crystals were sitting, creating those darker rings. This effect is more pronounced when using pigments that have a tendency to move easily in water, and it can vary depending on how much water is on the paper and how much salt you use. The size and type of salt (e.g., fine table salt versus coarse sea salt) can also influence this effect.
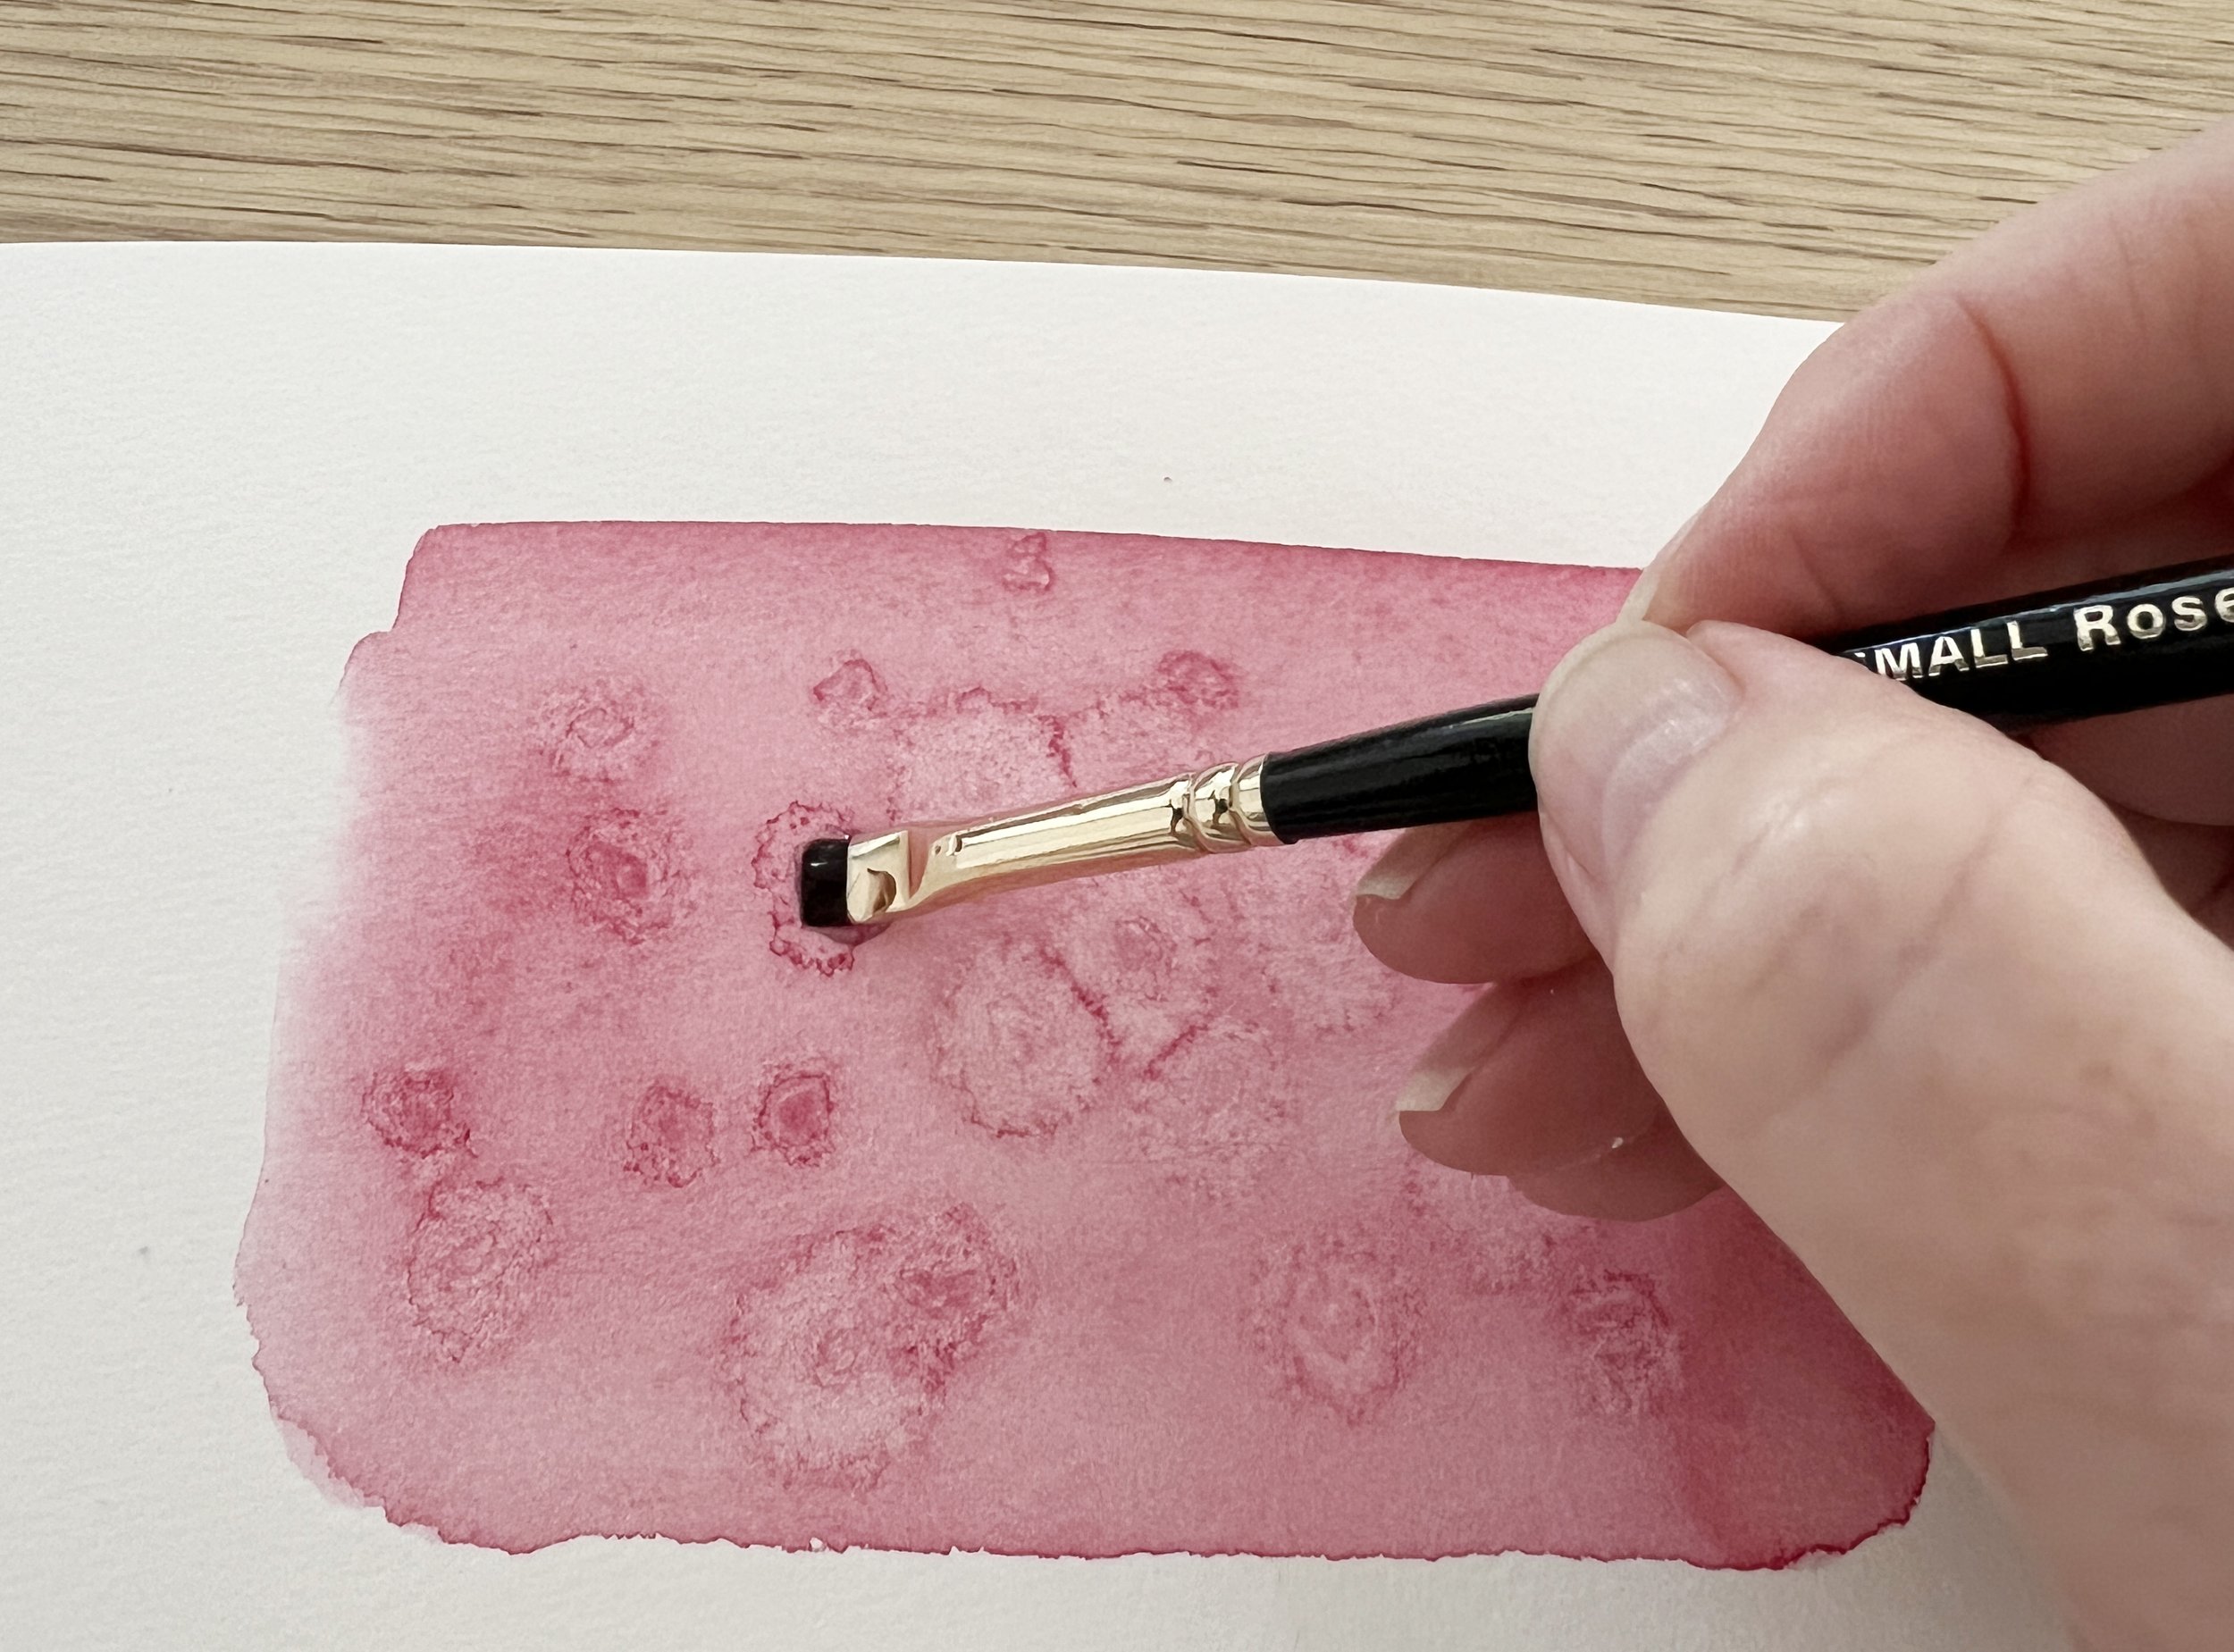
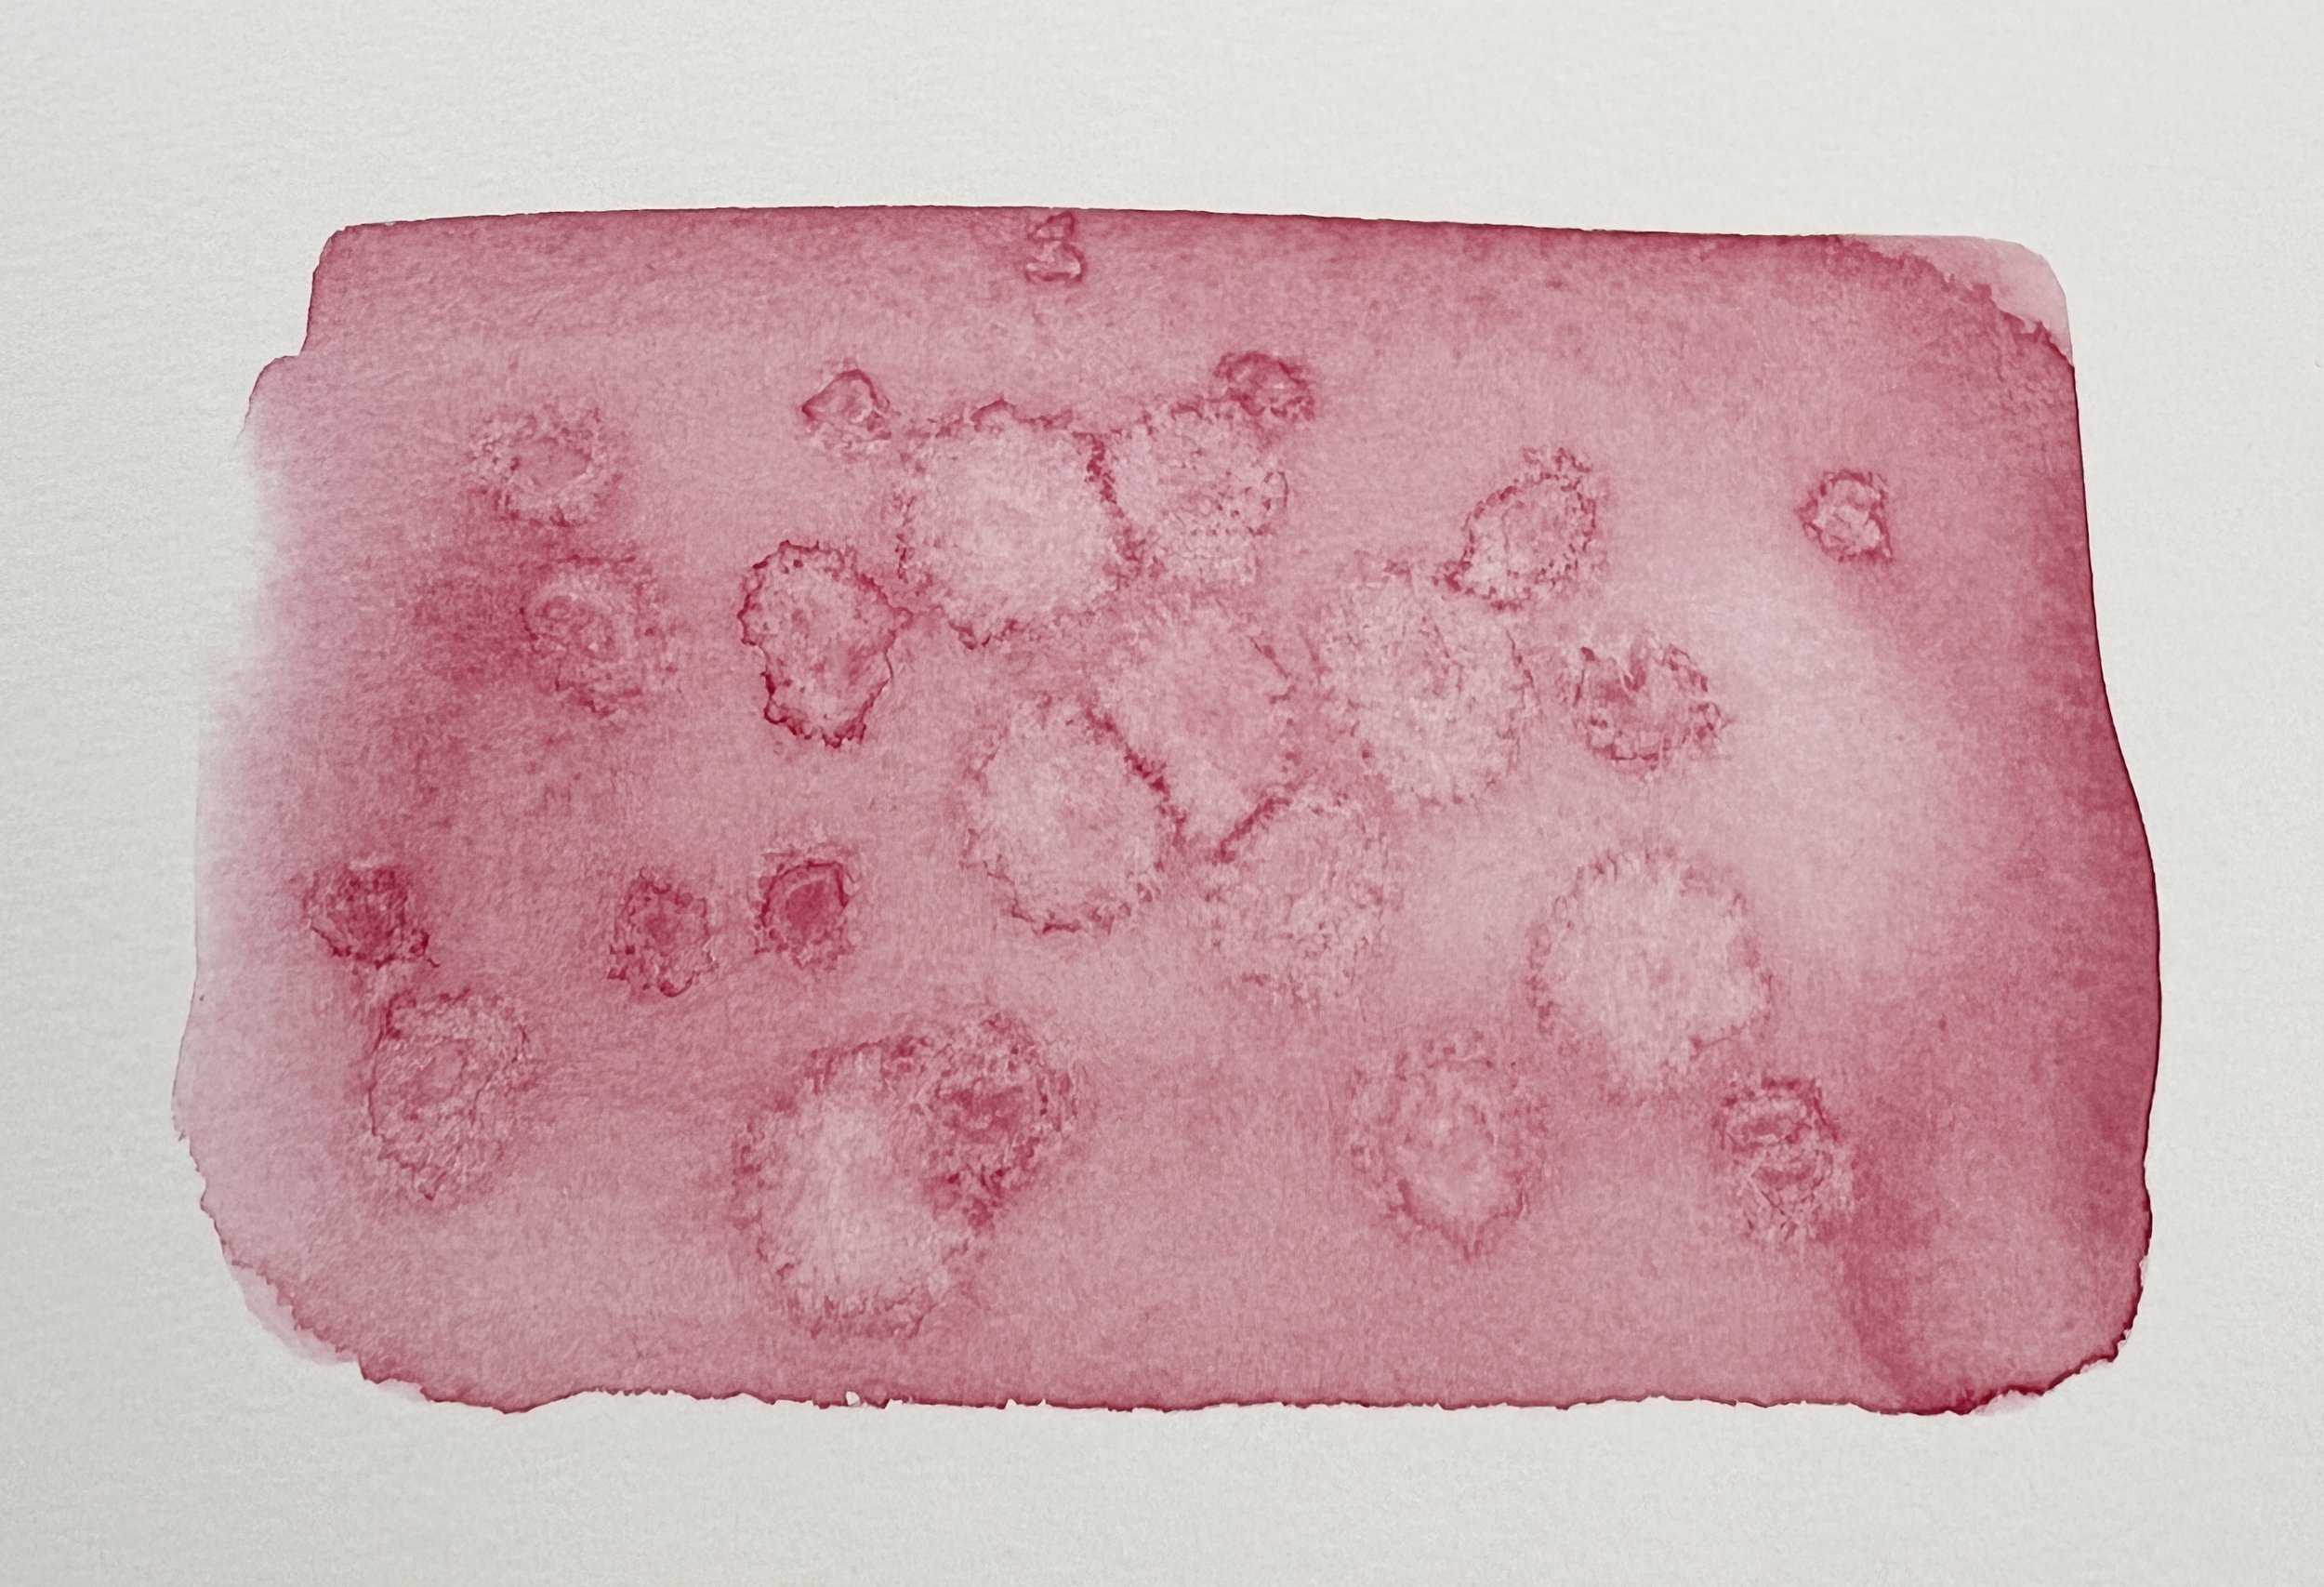
It's nothing to worry about, but those dark rings can sometimes be a bit distracting. When that happens, I use a small eradicator brush, dampened with water, and gently rub over the rings to soften and minimise them.
Using the eradicator brush to soften the rings.
After using the eradicator brush to soften the rings.
Combining Salt with Other Techniques
Salt effects can be beautifully combined with other watercolour techniques. You might try using a spray bottle to keep certain areas of your painting damp for longer, giving you more time to add salt precisely where you want it. Or you could apply a wash of water over a salt-textured area once it’s dry, to soften the effect and blend it with the rest of your painting.
Experimenting with layering other washes or using soft brush techniques alongside the salt will give you a range of textures and effects, adding even more depth to your artwork.
A Pinch of Salt to Consider
Adding salt to wet watercolour is one of the easiest and most fun ways to create texture in your paintings. The process is simple, yet the effects can be truly stunning. Whether you’re using table salt, rock salt, or sea salt, the reaction between the salt crystals and watercolour pigment produces a range of beautiful, organic patterns that can elevate your artwork.
Remember, the key to success with this technique is to experiment! Try using different types of salt, varying the moisture levels of your paint, and adjusting how much salt you sprinkle. The possibilities are endless, and each painting will be uniquely yours.
So, next time you’re looking to add a little “flavour” to your watercolour art, grab a salt shaker and have fun creating!
If you are interested in learning to paint in watercolour, I have over 200 online, voiced over watercolour tutorials for all skill levels.
