How to Paint Florals in Watercolour
My Approach
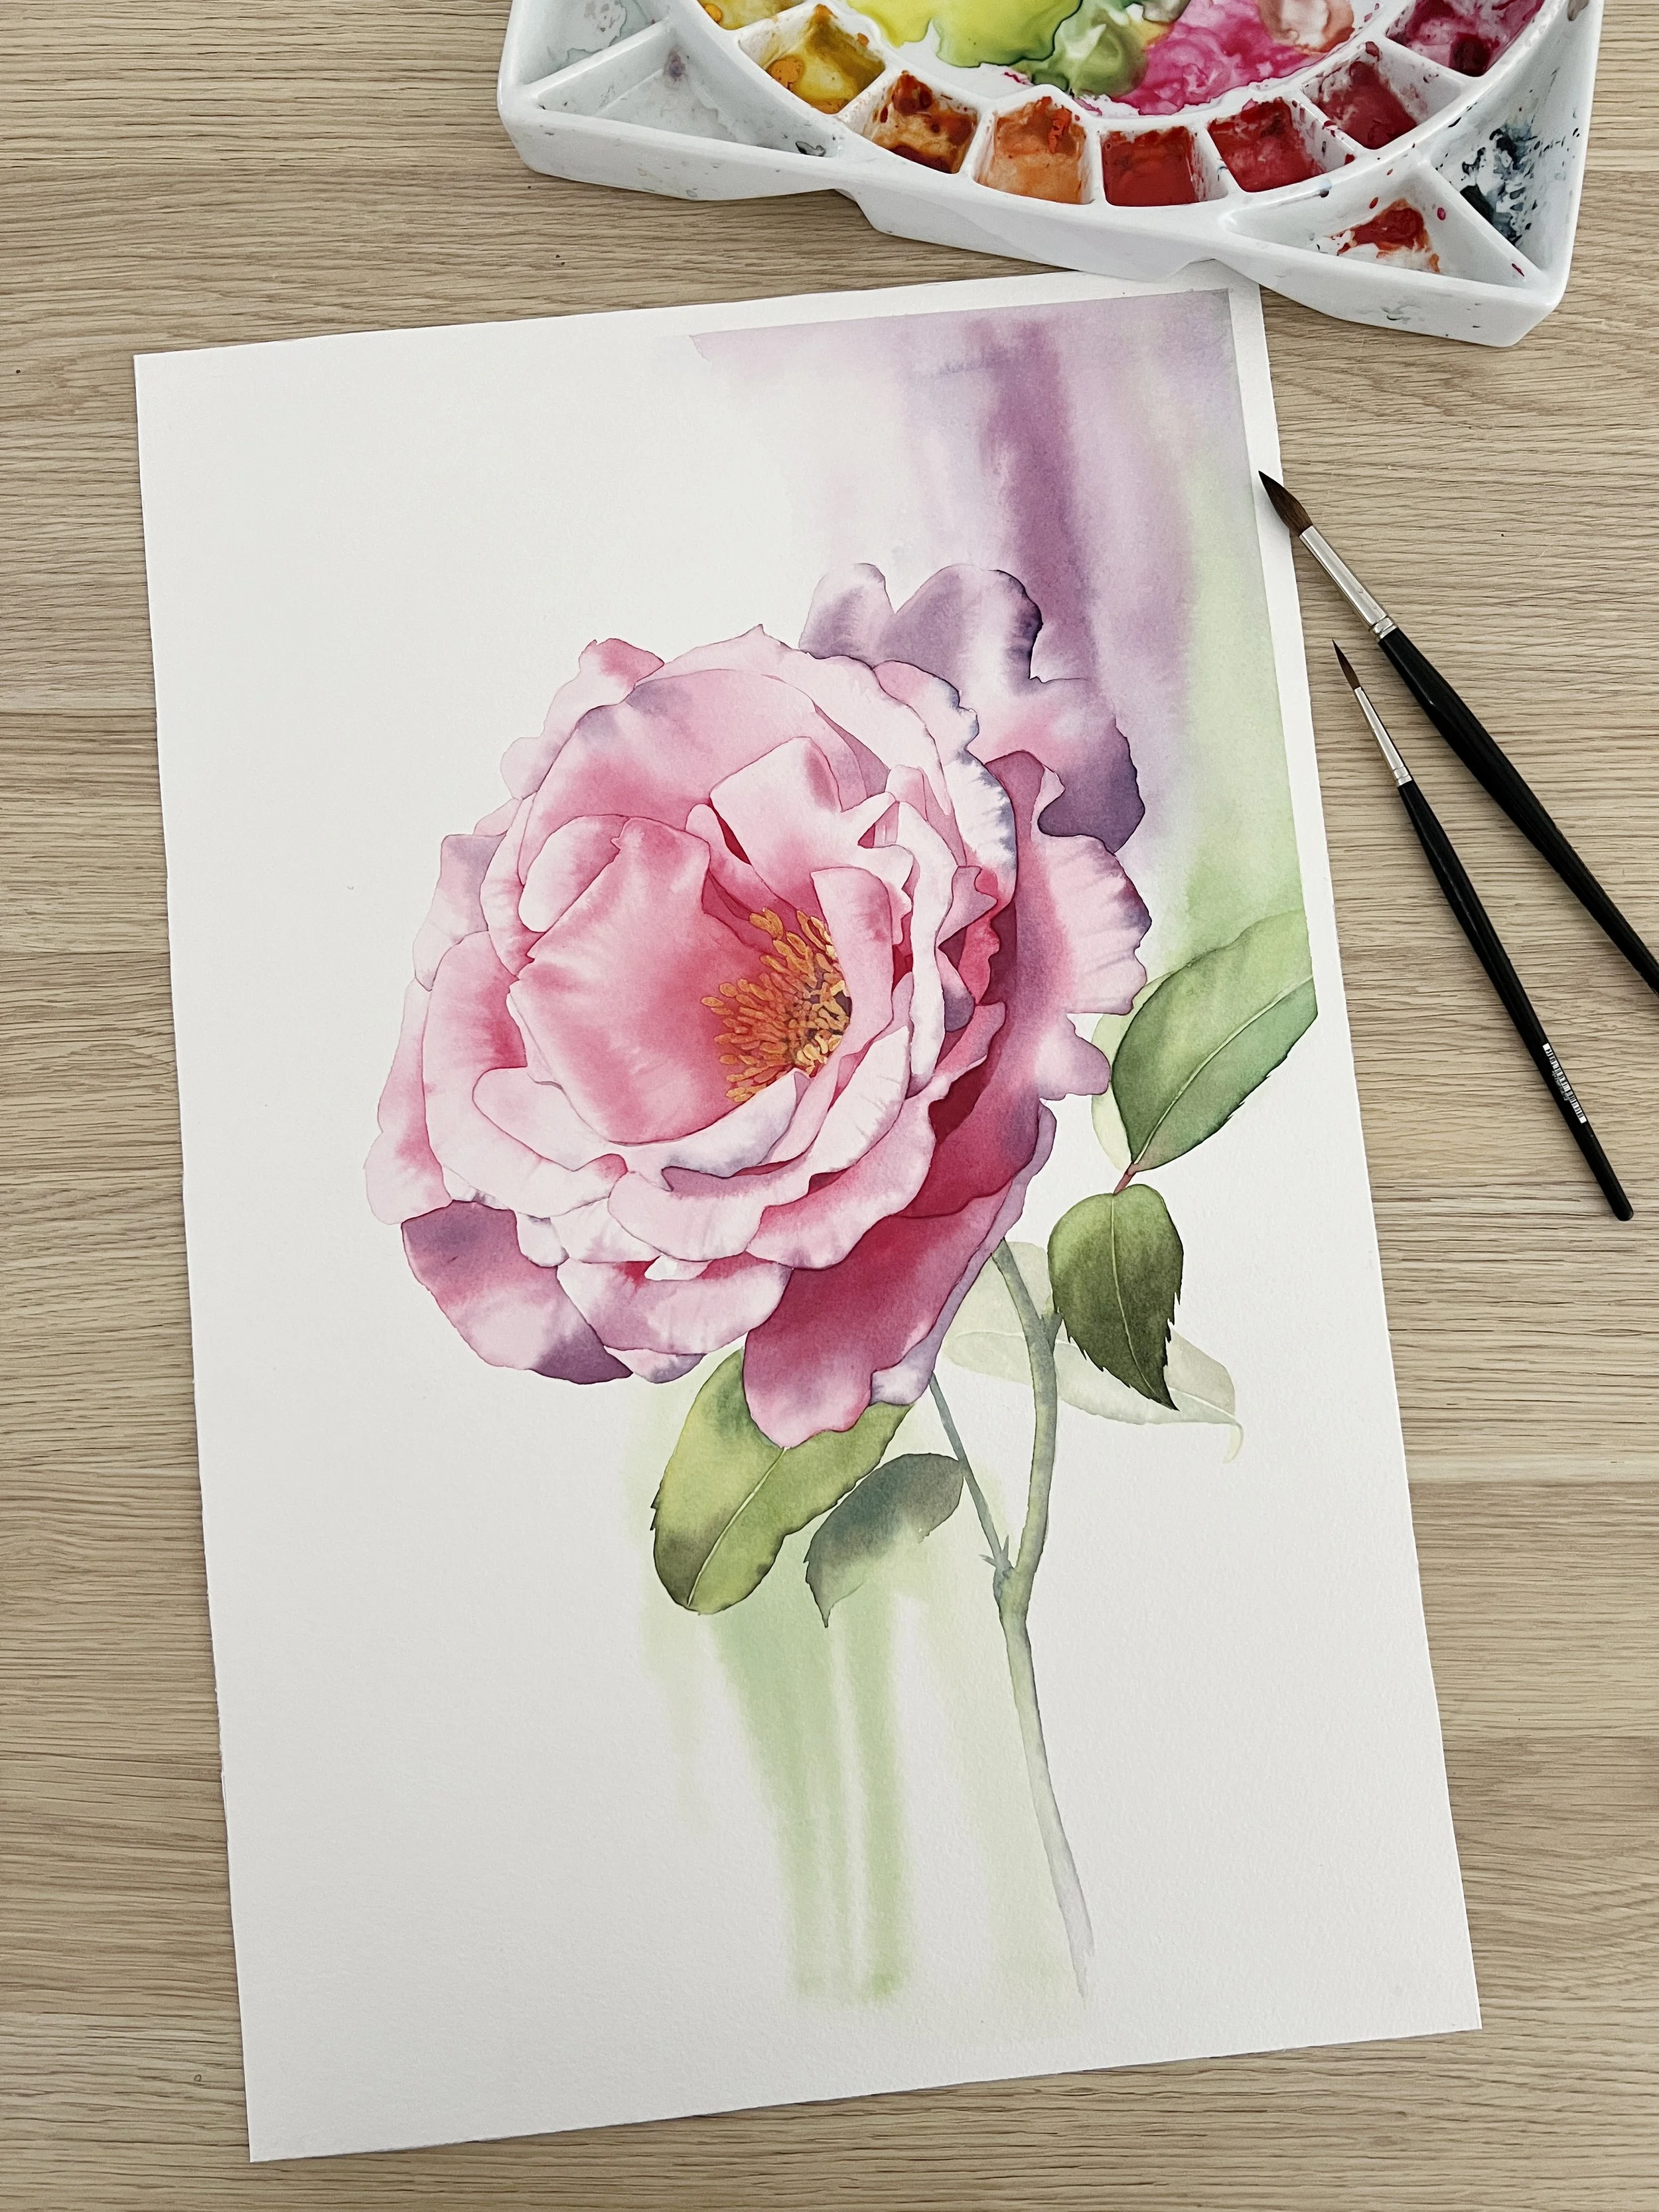
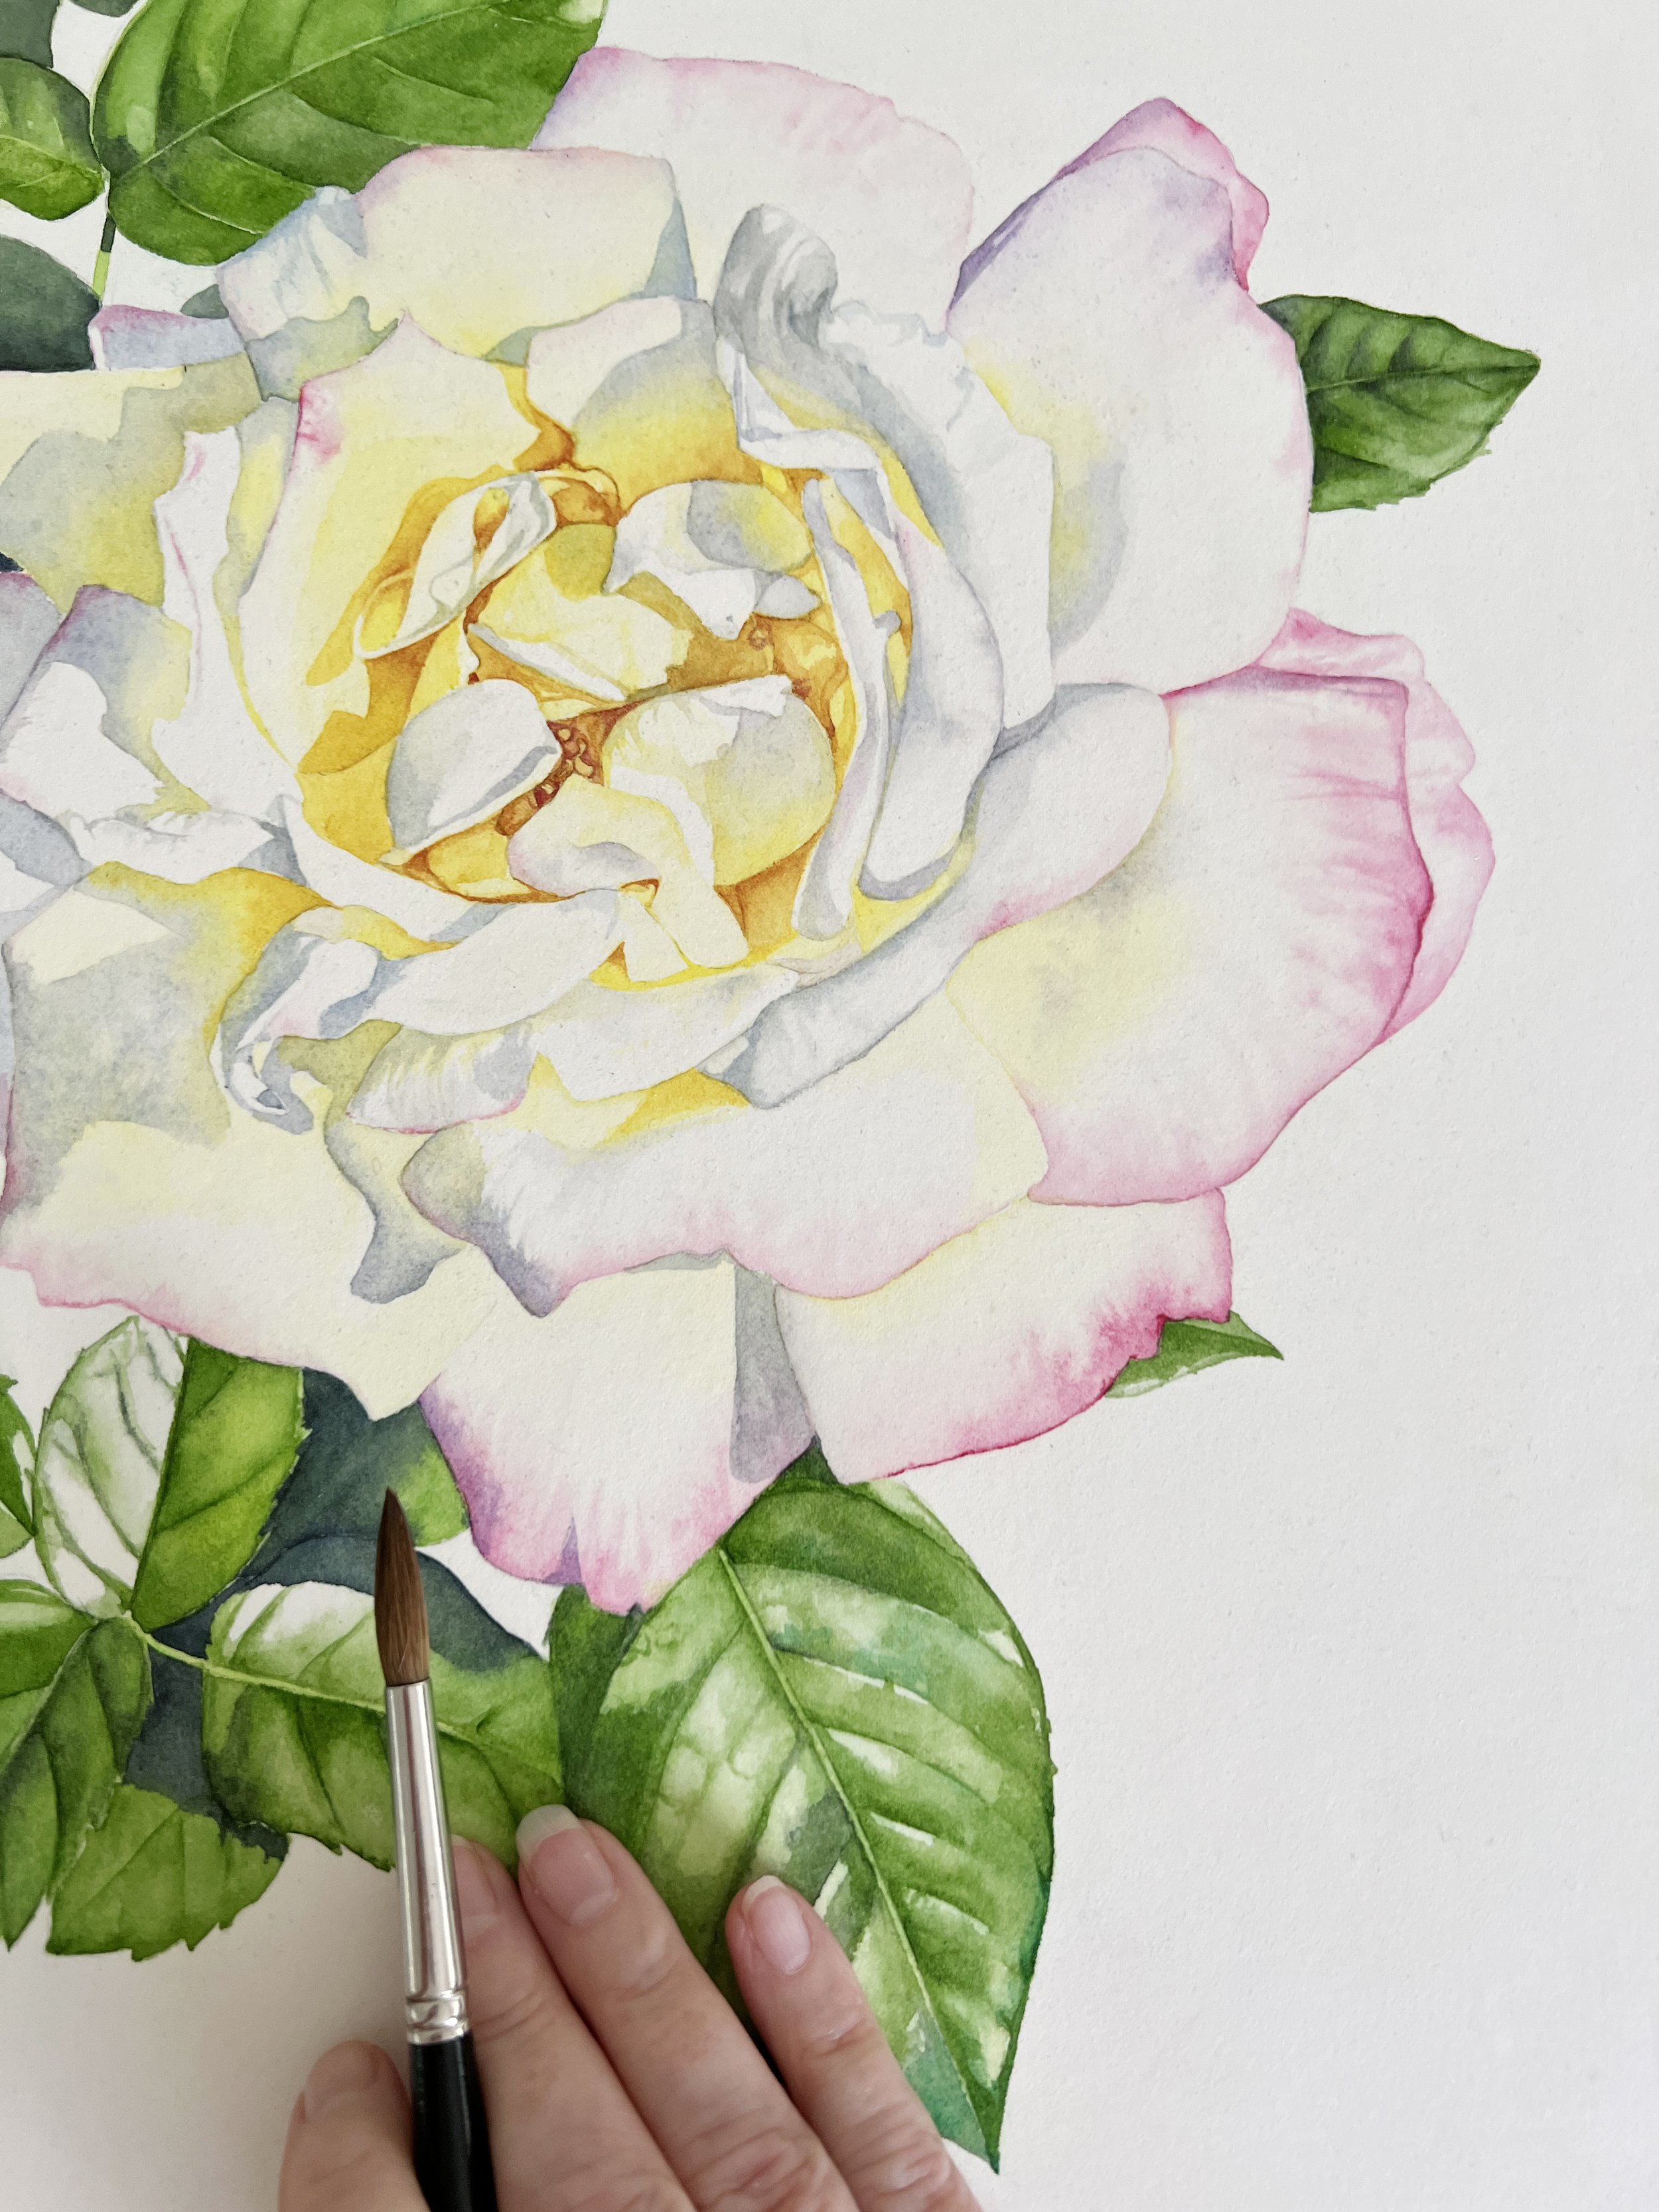
Rose watercolour painting.
Over the years I have painted many flowers, they are one of my favourite subjects to paint. Their delicate beauty and intricate shapes make them both a joy and a challenge. Watercolour, with its fluidity and transparency, feels perfectly suited to capturing their essence. Each brushstroke can echo the softness of a petal or the vibrancy of fresh blooms. Today, I’ll take you through how I approach painting watercolour flowers and share the fundamental techniques I use.
My steps to create beautiful watercolour flower paintings
Painting flowers in watercolour is a joyful way to explore colour, light, and texture. In this post, I’ll guide you through my process - from selecting the perfect reference to adding the finishing touches.
Whether you’re just starting out or have experience with watercolour, these techniques will help you create vibrant, lifelike flowers while embracing the loose, luminous quality that makes this medium so magical. Let’s bring your flowers to life!
Step 1: Choosing a Reference Photo
When selecting a reference for a floral watercolour, I seek more than just an aesthetically pleasing image; I want something that resonates emotionally. The way sunlight illuminates the petals, creating a soft glow or a dramatic play of shadows, captivates me.
Light is a storyteller - it shapes the form, defines the structure, and infuses life into the subject. I gravitate toward images where highlights and shadows are prominent, as they bring depth and contrast to my painting.
Perfection isn’t my goal; it’s the uniqueness of nature that draws me in. A bloom with a slight imperfection - a folded petal, a tear in the edge - can tell a richer story than a flawless specimen. These details invite interpretation rather than replication, which is central to my artistic philosophy.
Painting flowers is about simplifying what I see, capturing their essence, and using my brush to communicate their delicate beauty. By focusing on what speaks to me most - the light, the form, or a tiny, imperfect detail - I can convey a piece of nature’s charm in a way that feels authentic and alive.
I often start by taking a photograph myself outside in my garden or on outings with my husband, Dom. I prefer to take the photographs when it's sunny, as this gives me beautiful, crisp and clear shadows to work with.
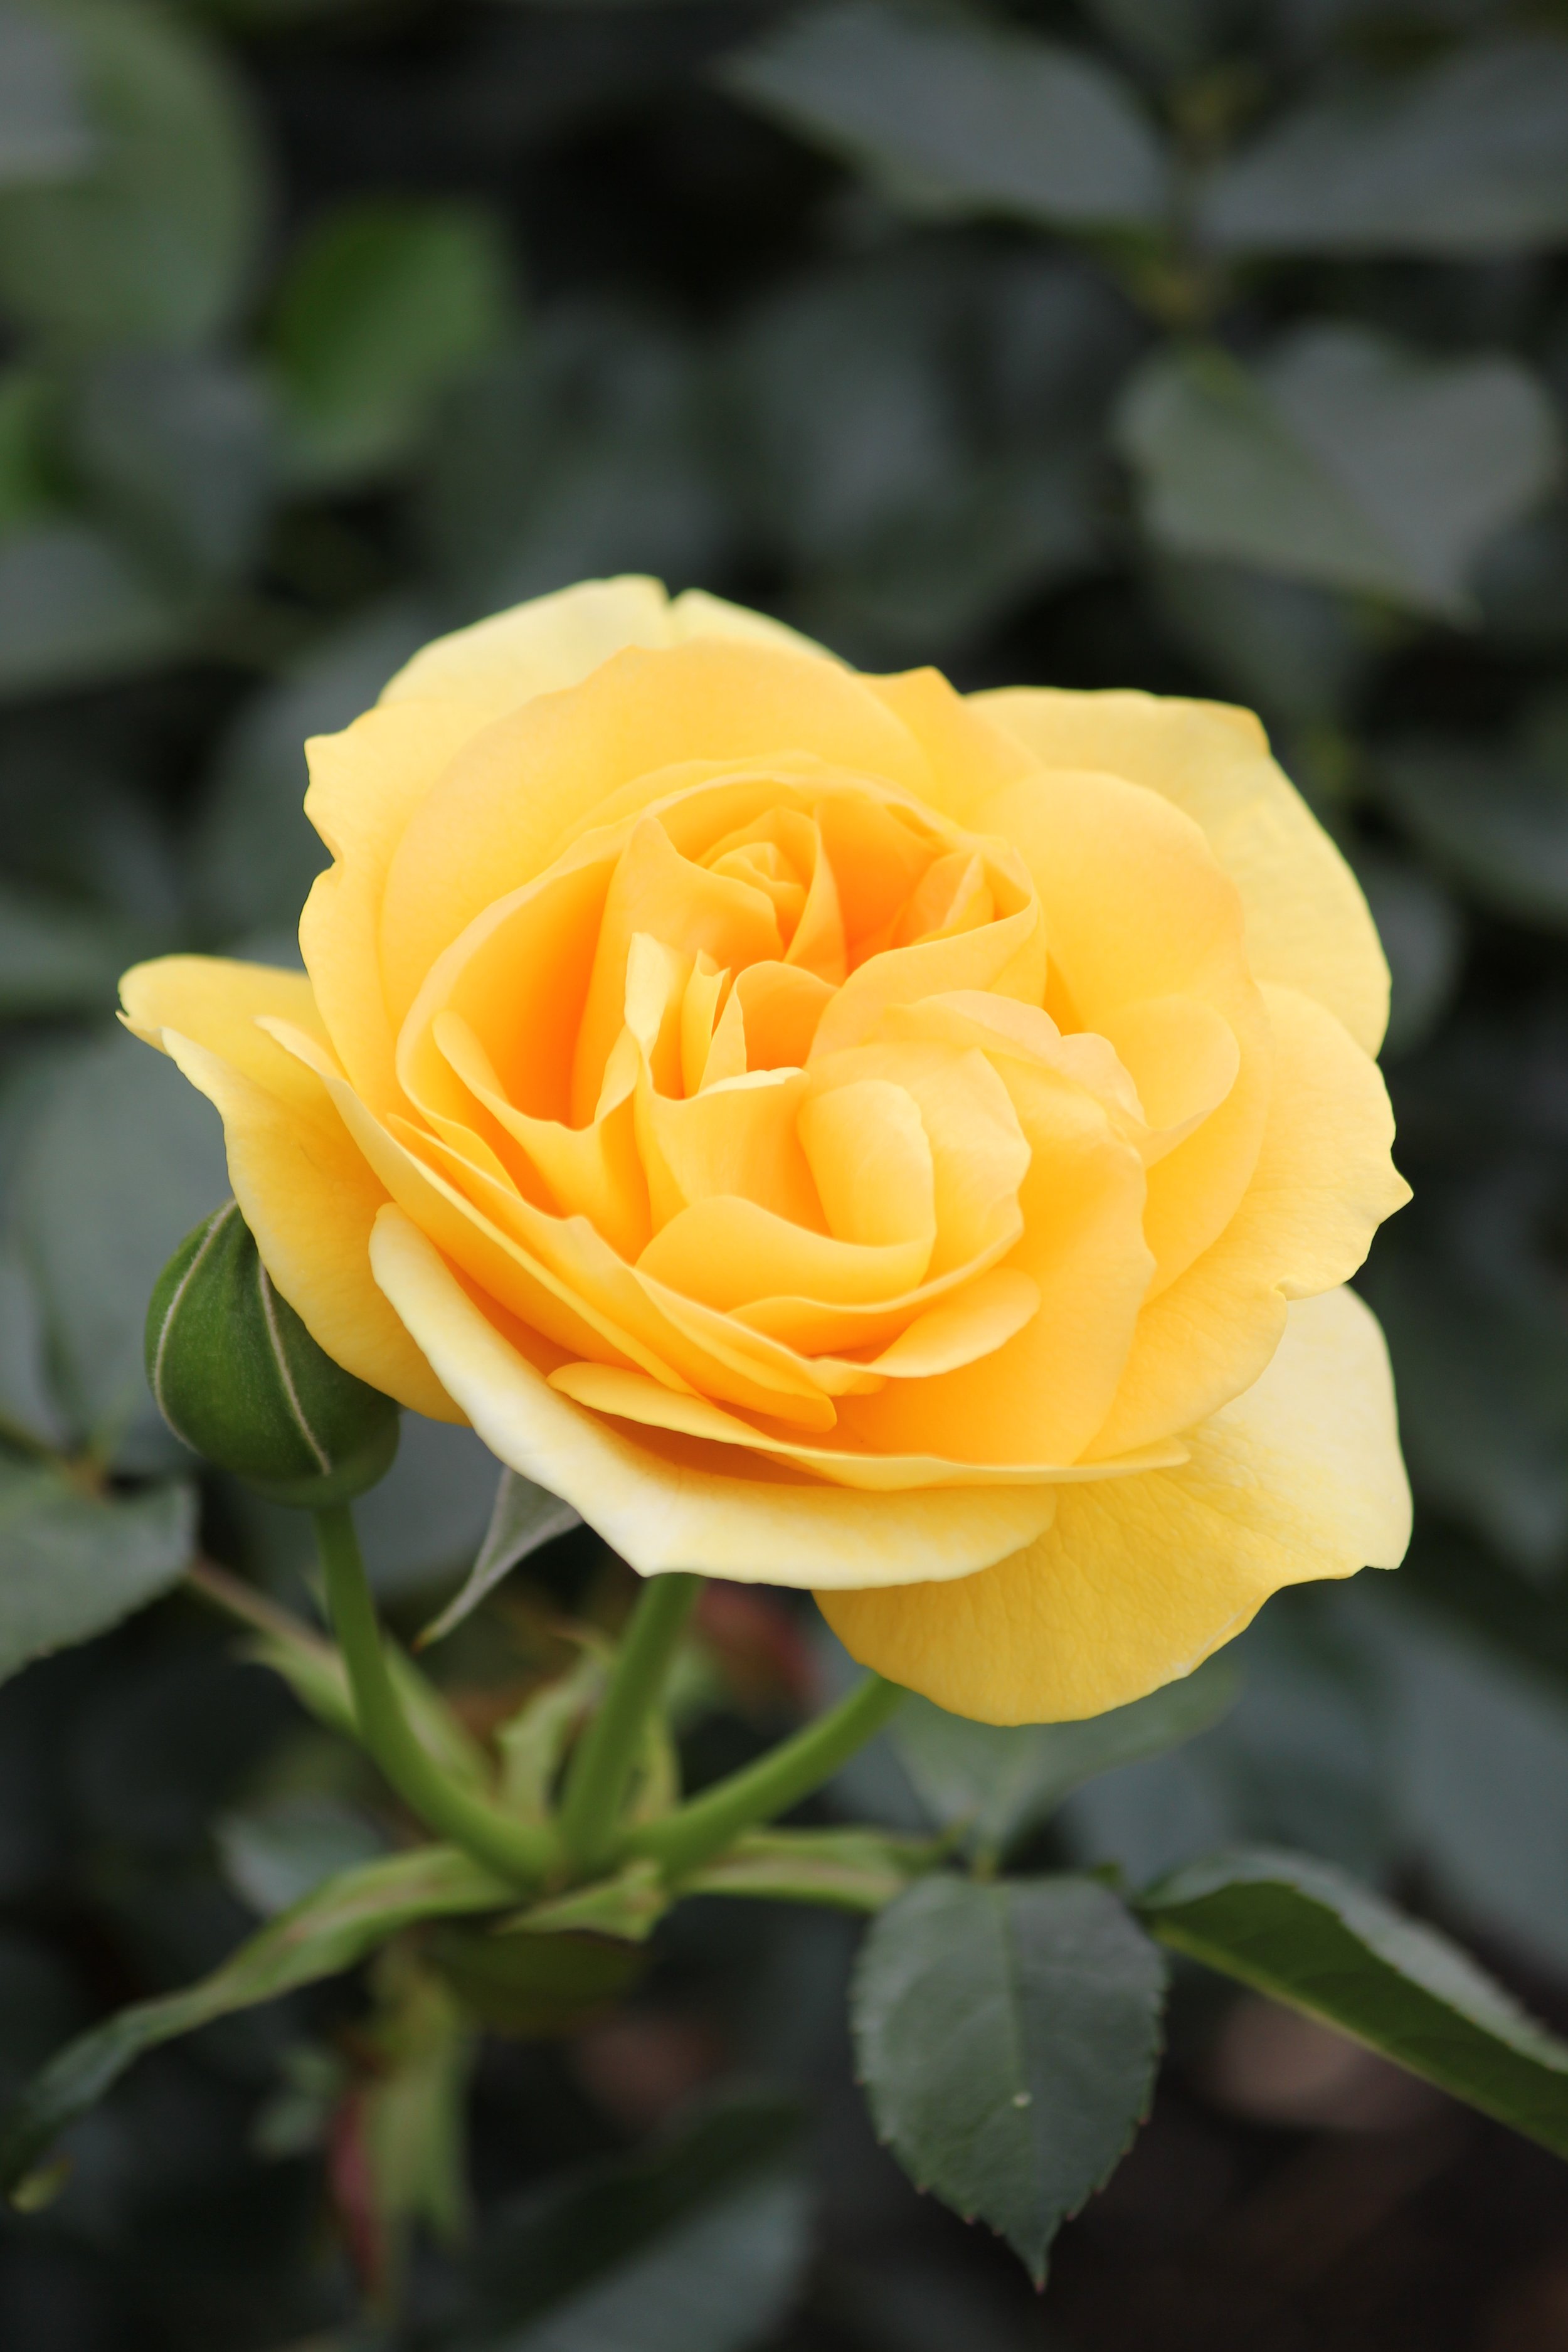
Looking at my photos below, I find myself more drawn to the yellow rose on the left than the one on the right because it has greater contrast and interesting cast shadow shapes.
If you would like to know more about how to use and simplify a reference photo, I speak about it in detail here.
Step 2: Preparing My Palette
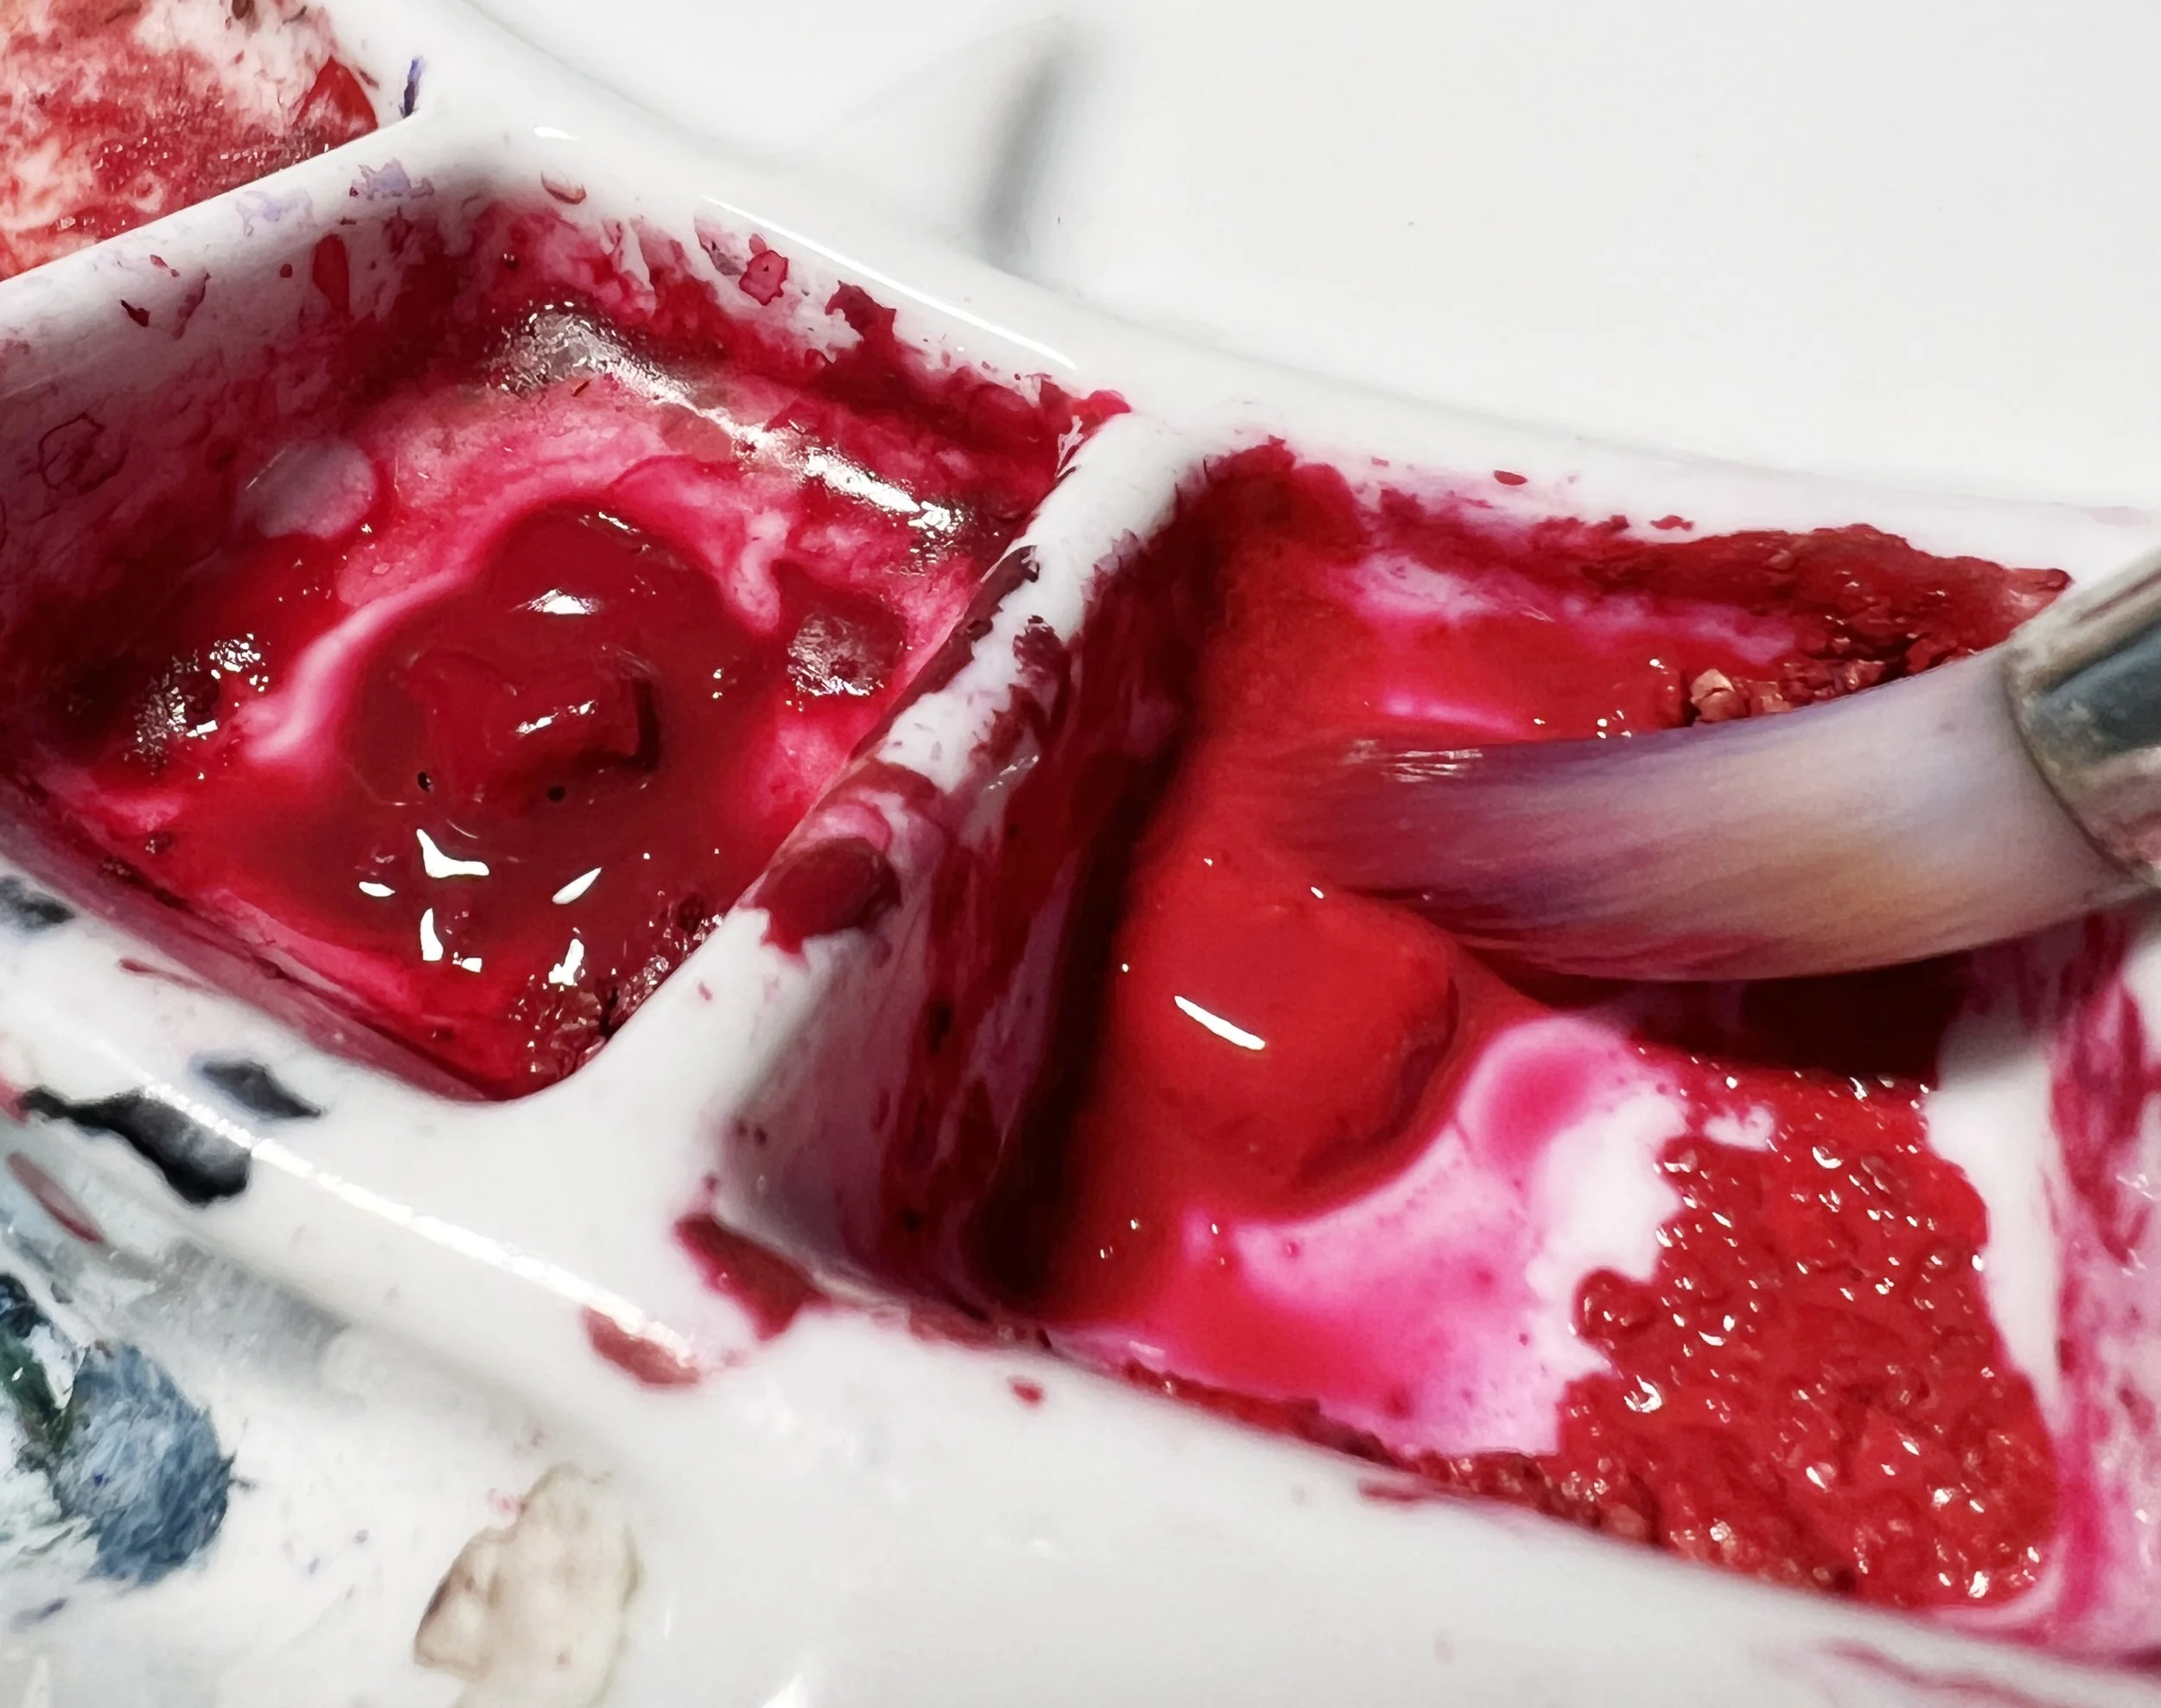
Before I begin painting, I take time to prepare my palette thoughtfully, ensuring it reflects the subject’s character. For flowers, I focus on transparent pigments that allow for luminosity and layering without becoming muddy. For pink flowers I often use Ruby Red (PV19) - its vibrant yet delicate quality, perfect for floral subjects. French Ultramarine adds a soft, natural touch to shadows or cooler areas.
Beautiful, cool, transparent Ruby Red (PV19).
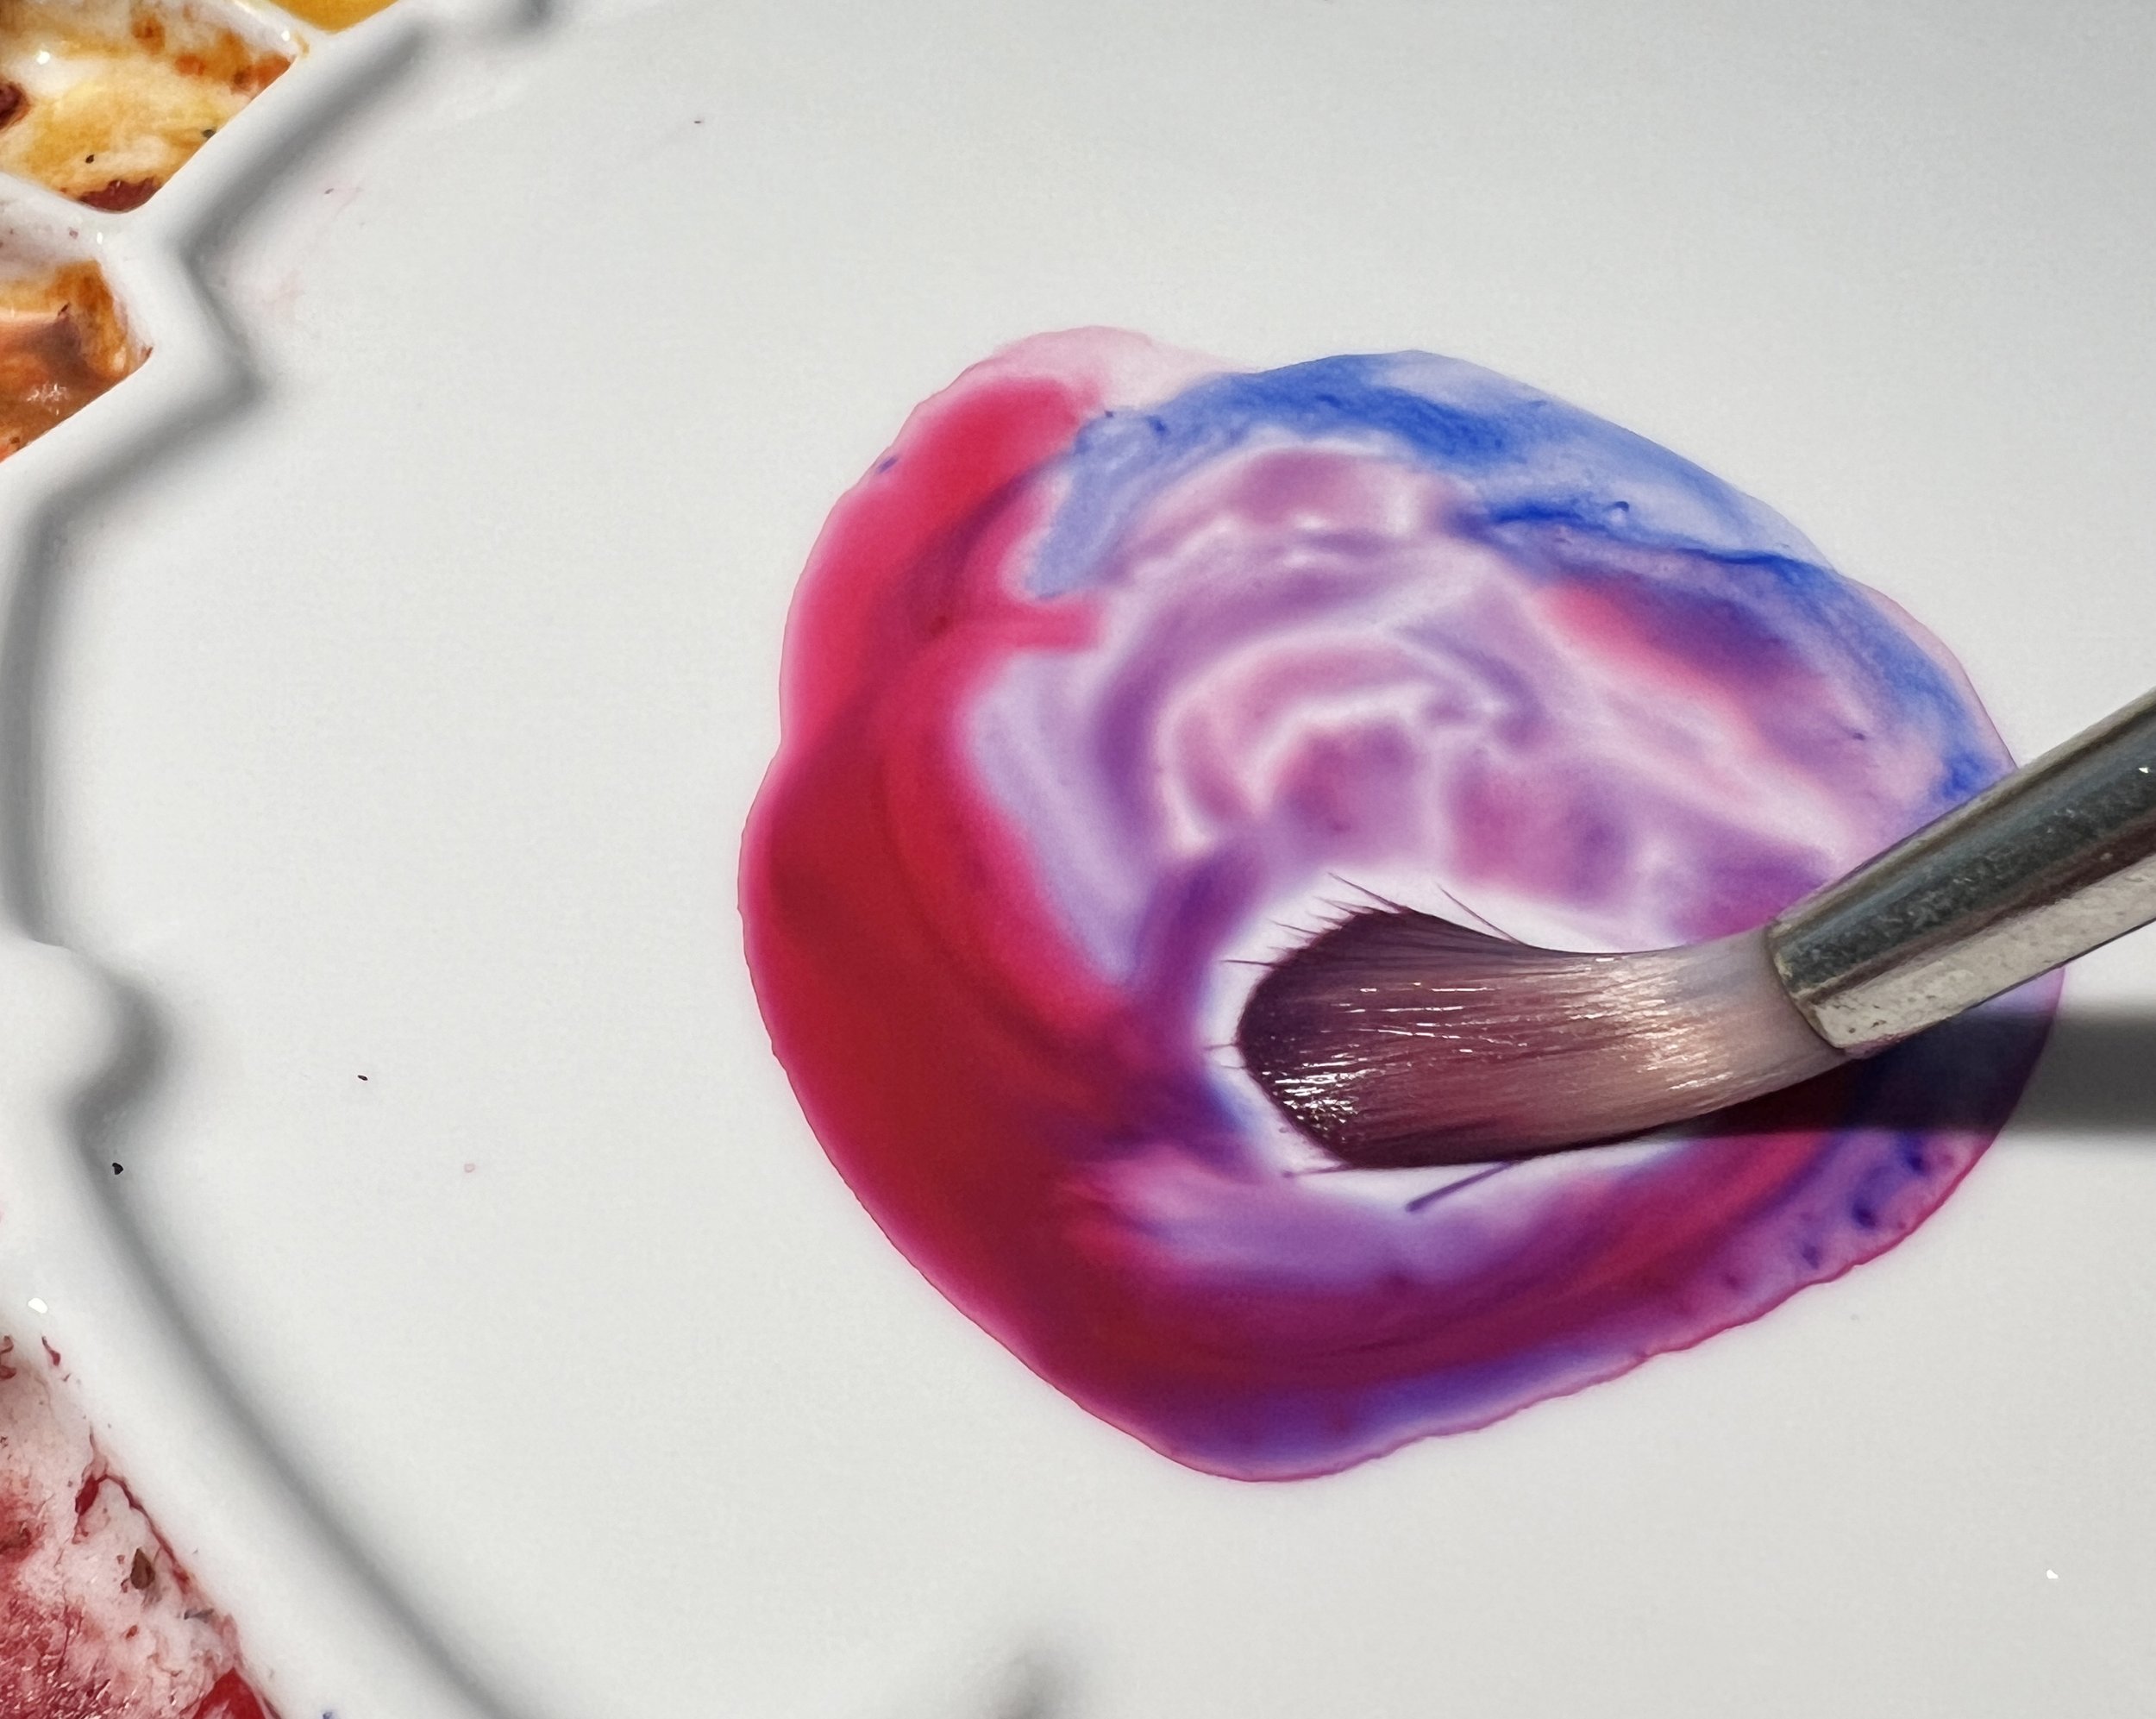
I often mix French Ultramarine with Ruby Red for the shadow areas on pink flowers.
For the leaves and stems, I mix subtle greens using combinations of my own mixed green with touches of French Ultramarine or Burnt Sienna to achieve realistic, varied tones. To unify the painting, I like to carry some of the flower's colours into the stems and leaves. For example, I might charge a soft violet - mixed from French Ultramarine and Ruby Red - into the shadows. This subtle touch creates a sense of harmony and connection throughout the piece
I’ve been mixing my own greens for some time now, moving away from relying on pre-mixed greens. You can read all about my process here.
I also pay close attention to the consistency of my mixes, adjusting the water-to-paint ratio for both transparency and control. By understanding how these colours interact, I ensure they work together seamlessly, setting a strong foundation for my painting process.
Step 3: Light Sketching
A delicate pencil sketch is an essential part of my process, setting a strong yet understated foundation for my watercolour painting. My approach focuses on simplicity, ensuring the lines are faint and unobtrusive.
Rather than striving for perfection, I prioritise capturing the essence of the subject with minimal marks. This keeps the composition open and welcoming to the fluidity of watercolour, preserving its spontaneous nature. I emphasise key shapes and relationships, avoiding intricate details that might constrain the organic flow of pigment and water.
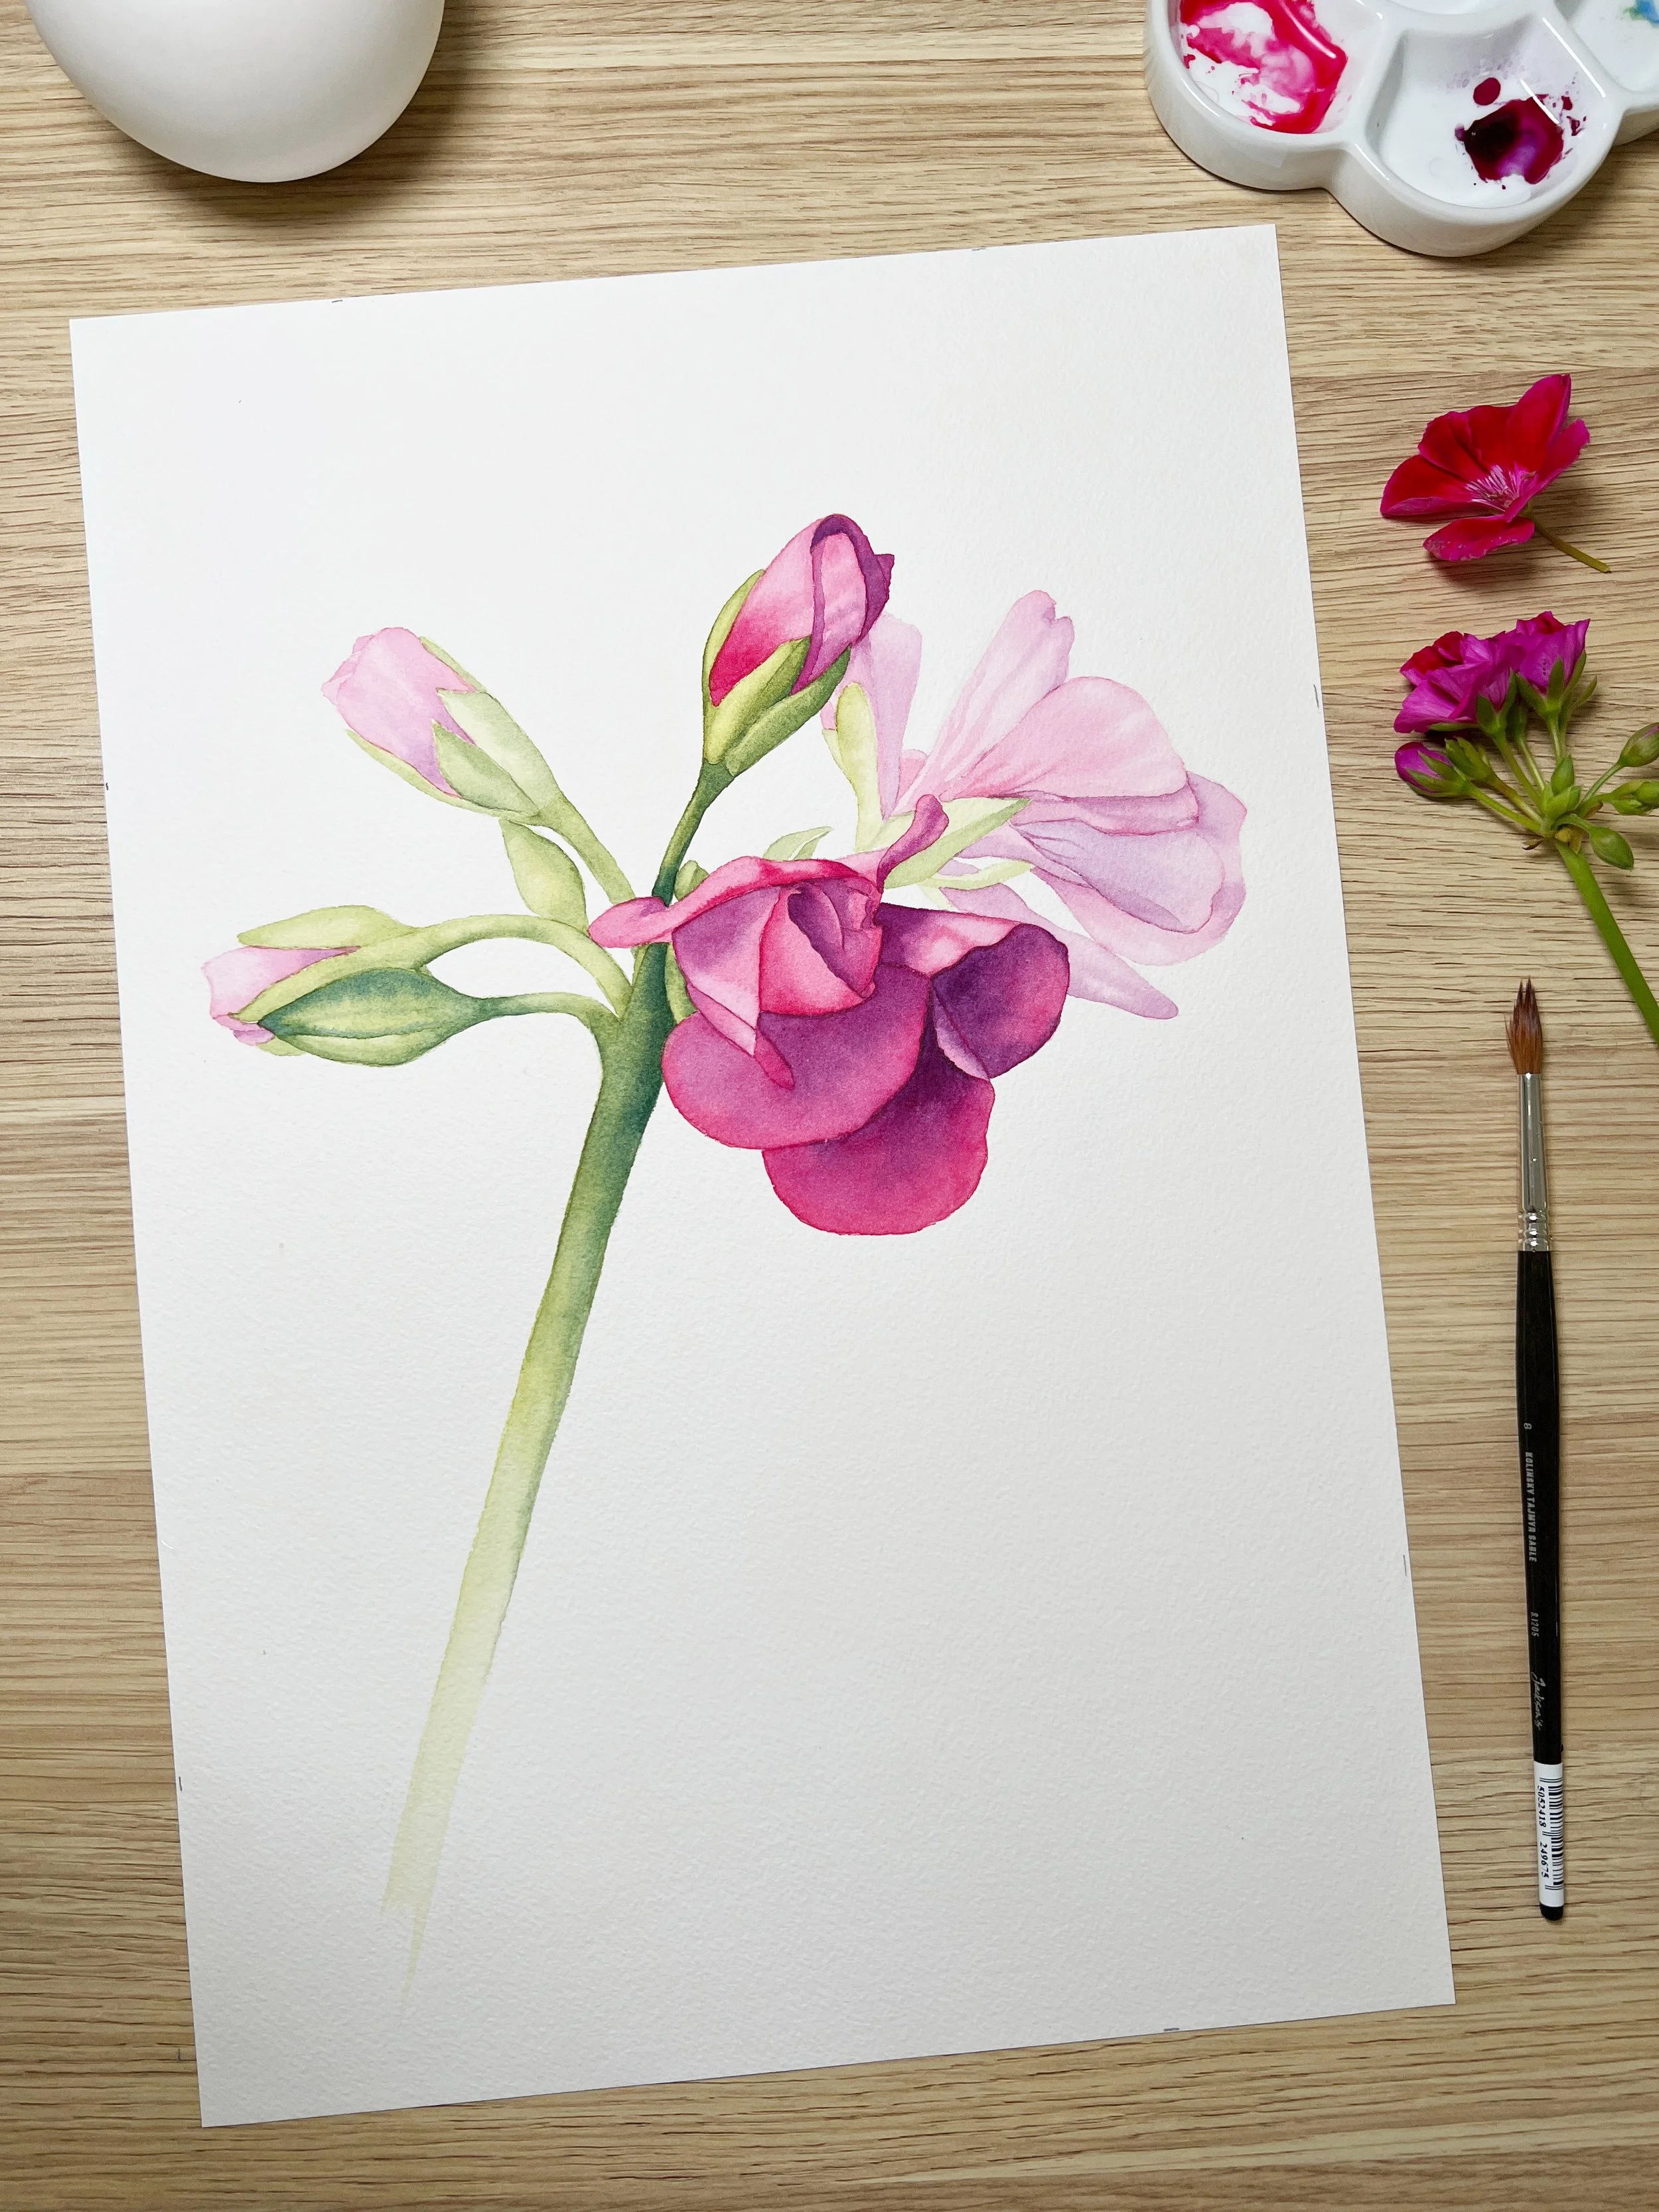
Line drawing of a geranium.
An additional consideration is placement and balance. A well-thought-out sketch ensures the subject has room to breathe on the page, harmonising with the surrounding negative space.
Negative space plays a vital role in enhancing the lightness and elegance of a watercolour piece. By starting with a thoughtful yet flexible sketch, I allow the painting to unfold naturally, embracing the serendipity that makes watercolour so enchanting.
For more insight into my approach, feel free to explore this blog post.
Step 4: Laying Down the First Wash
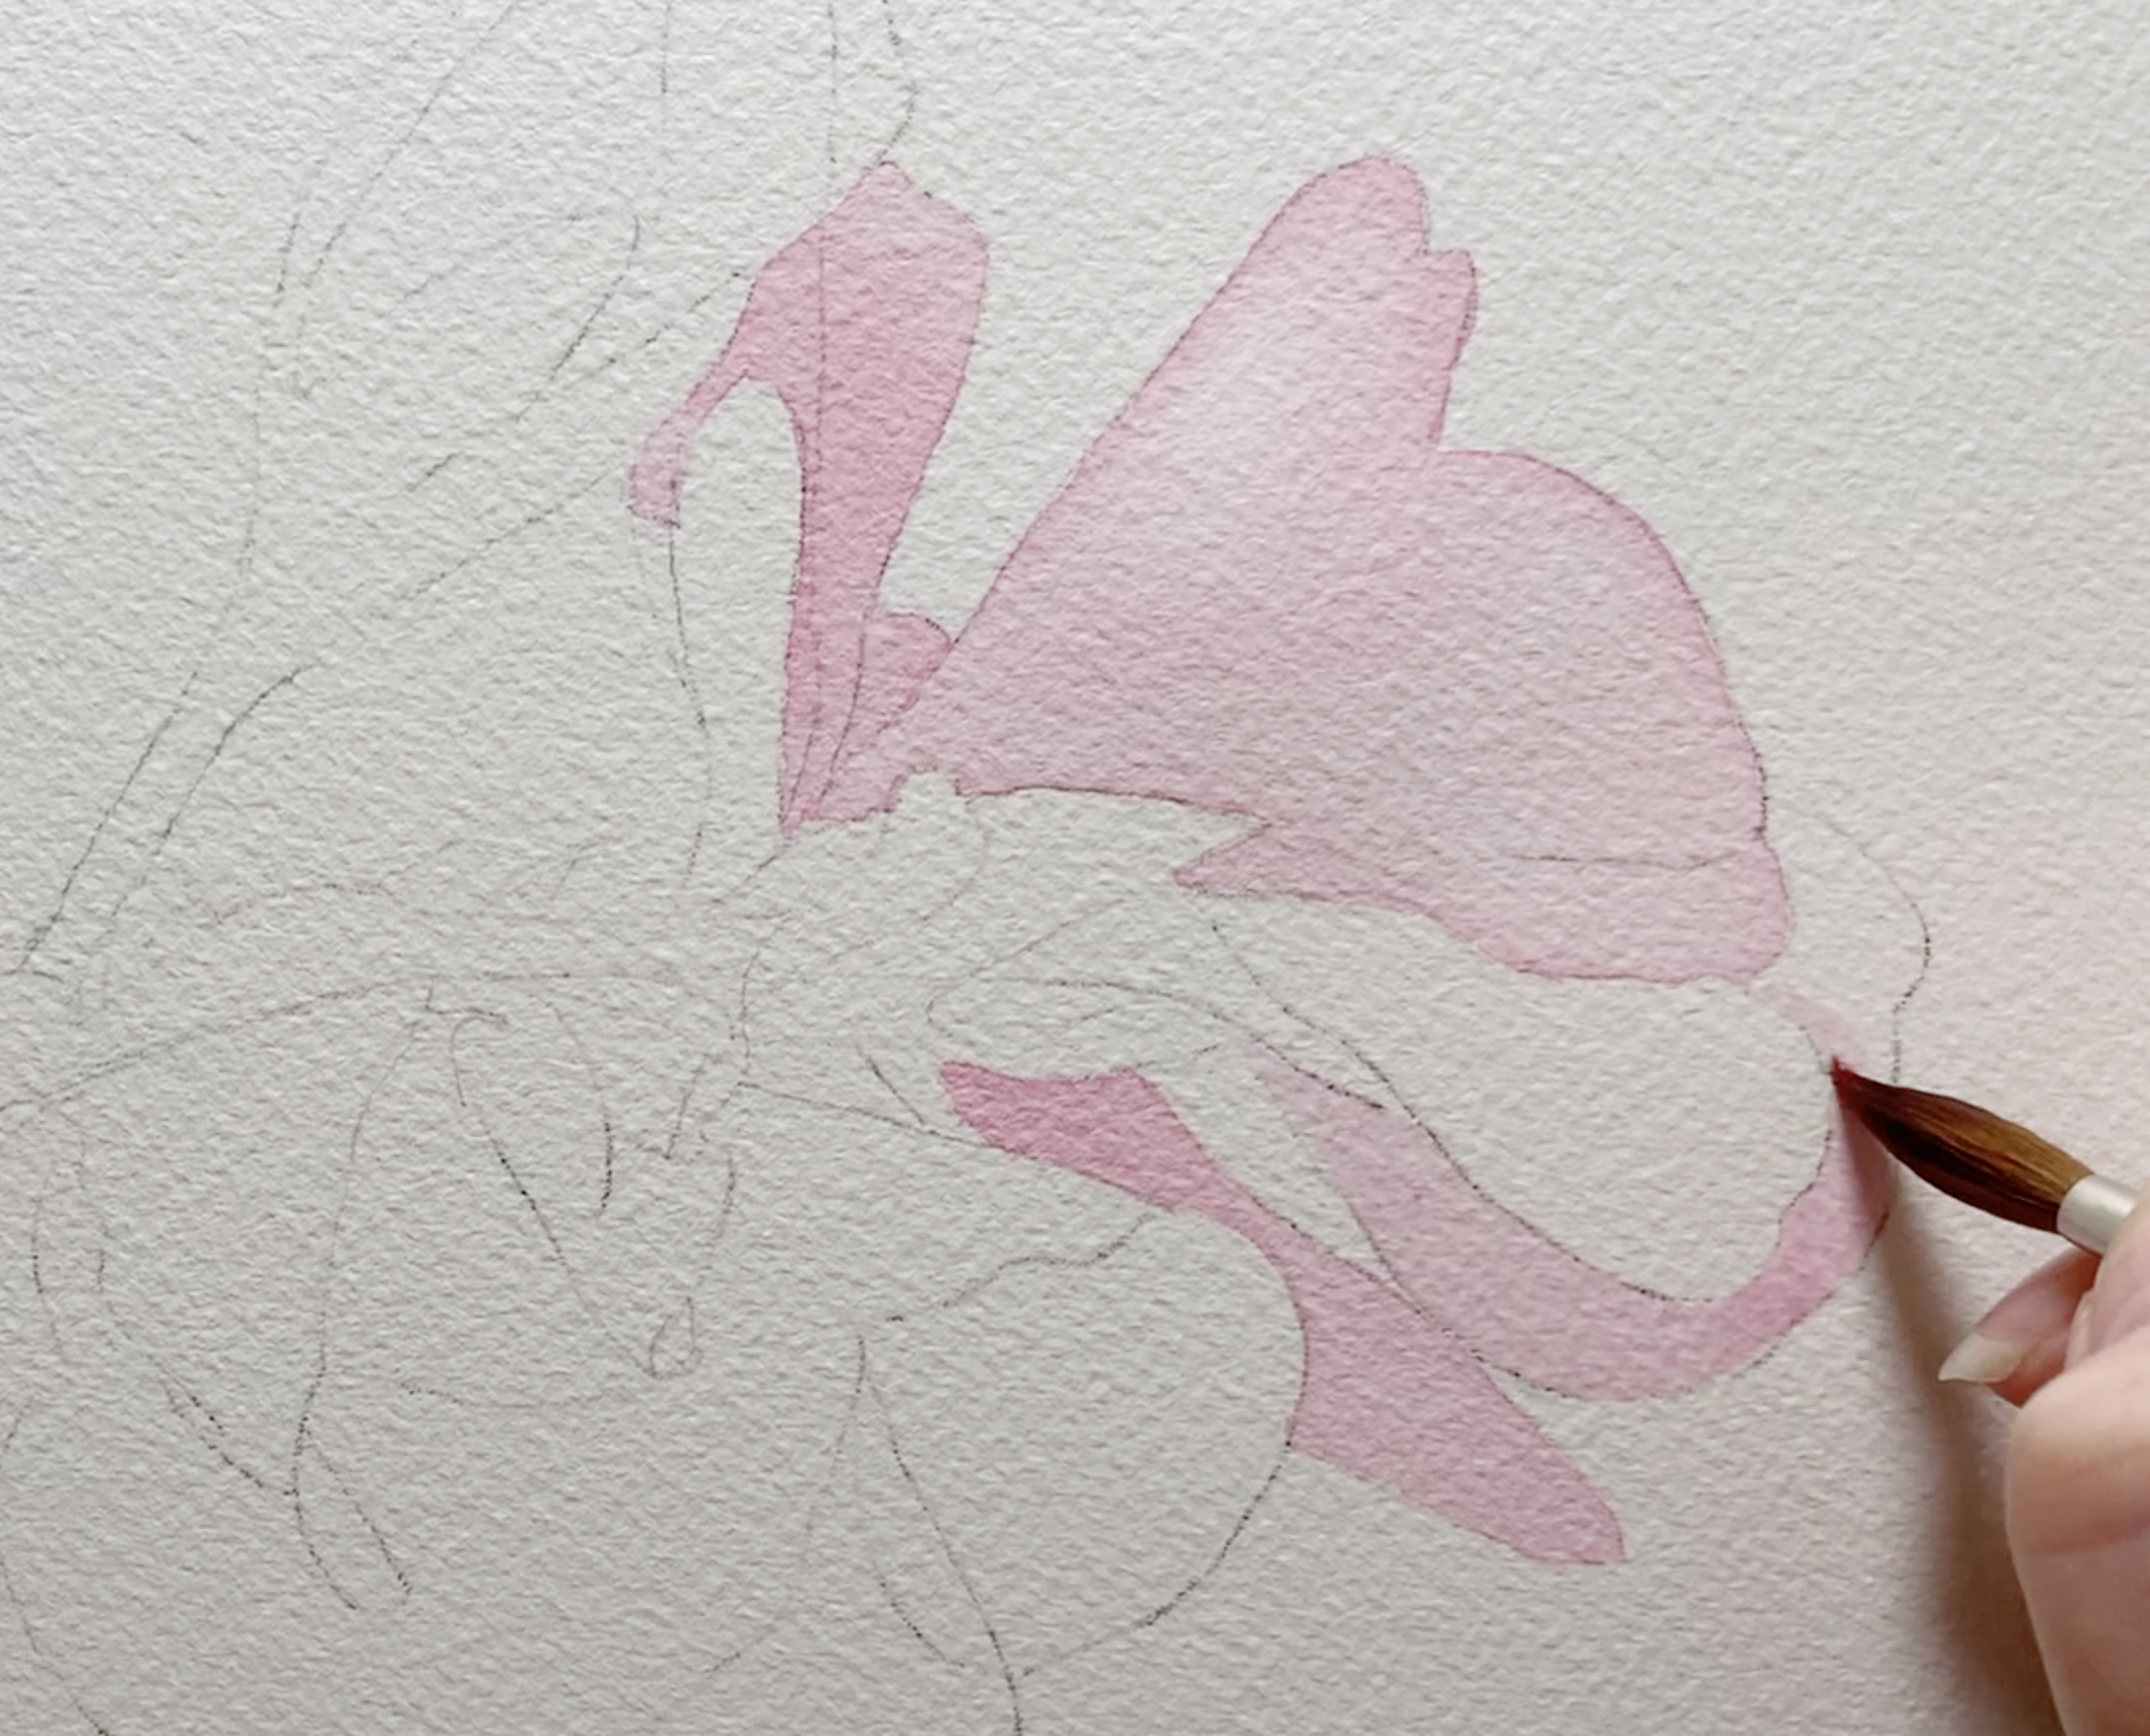
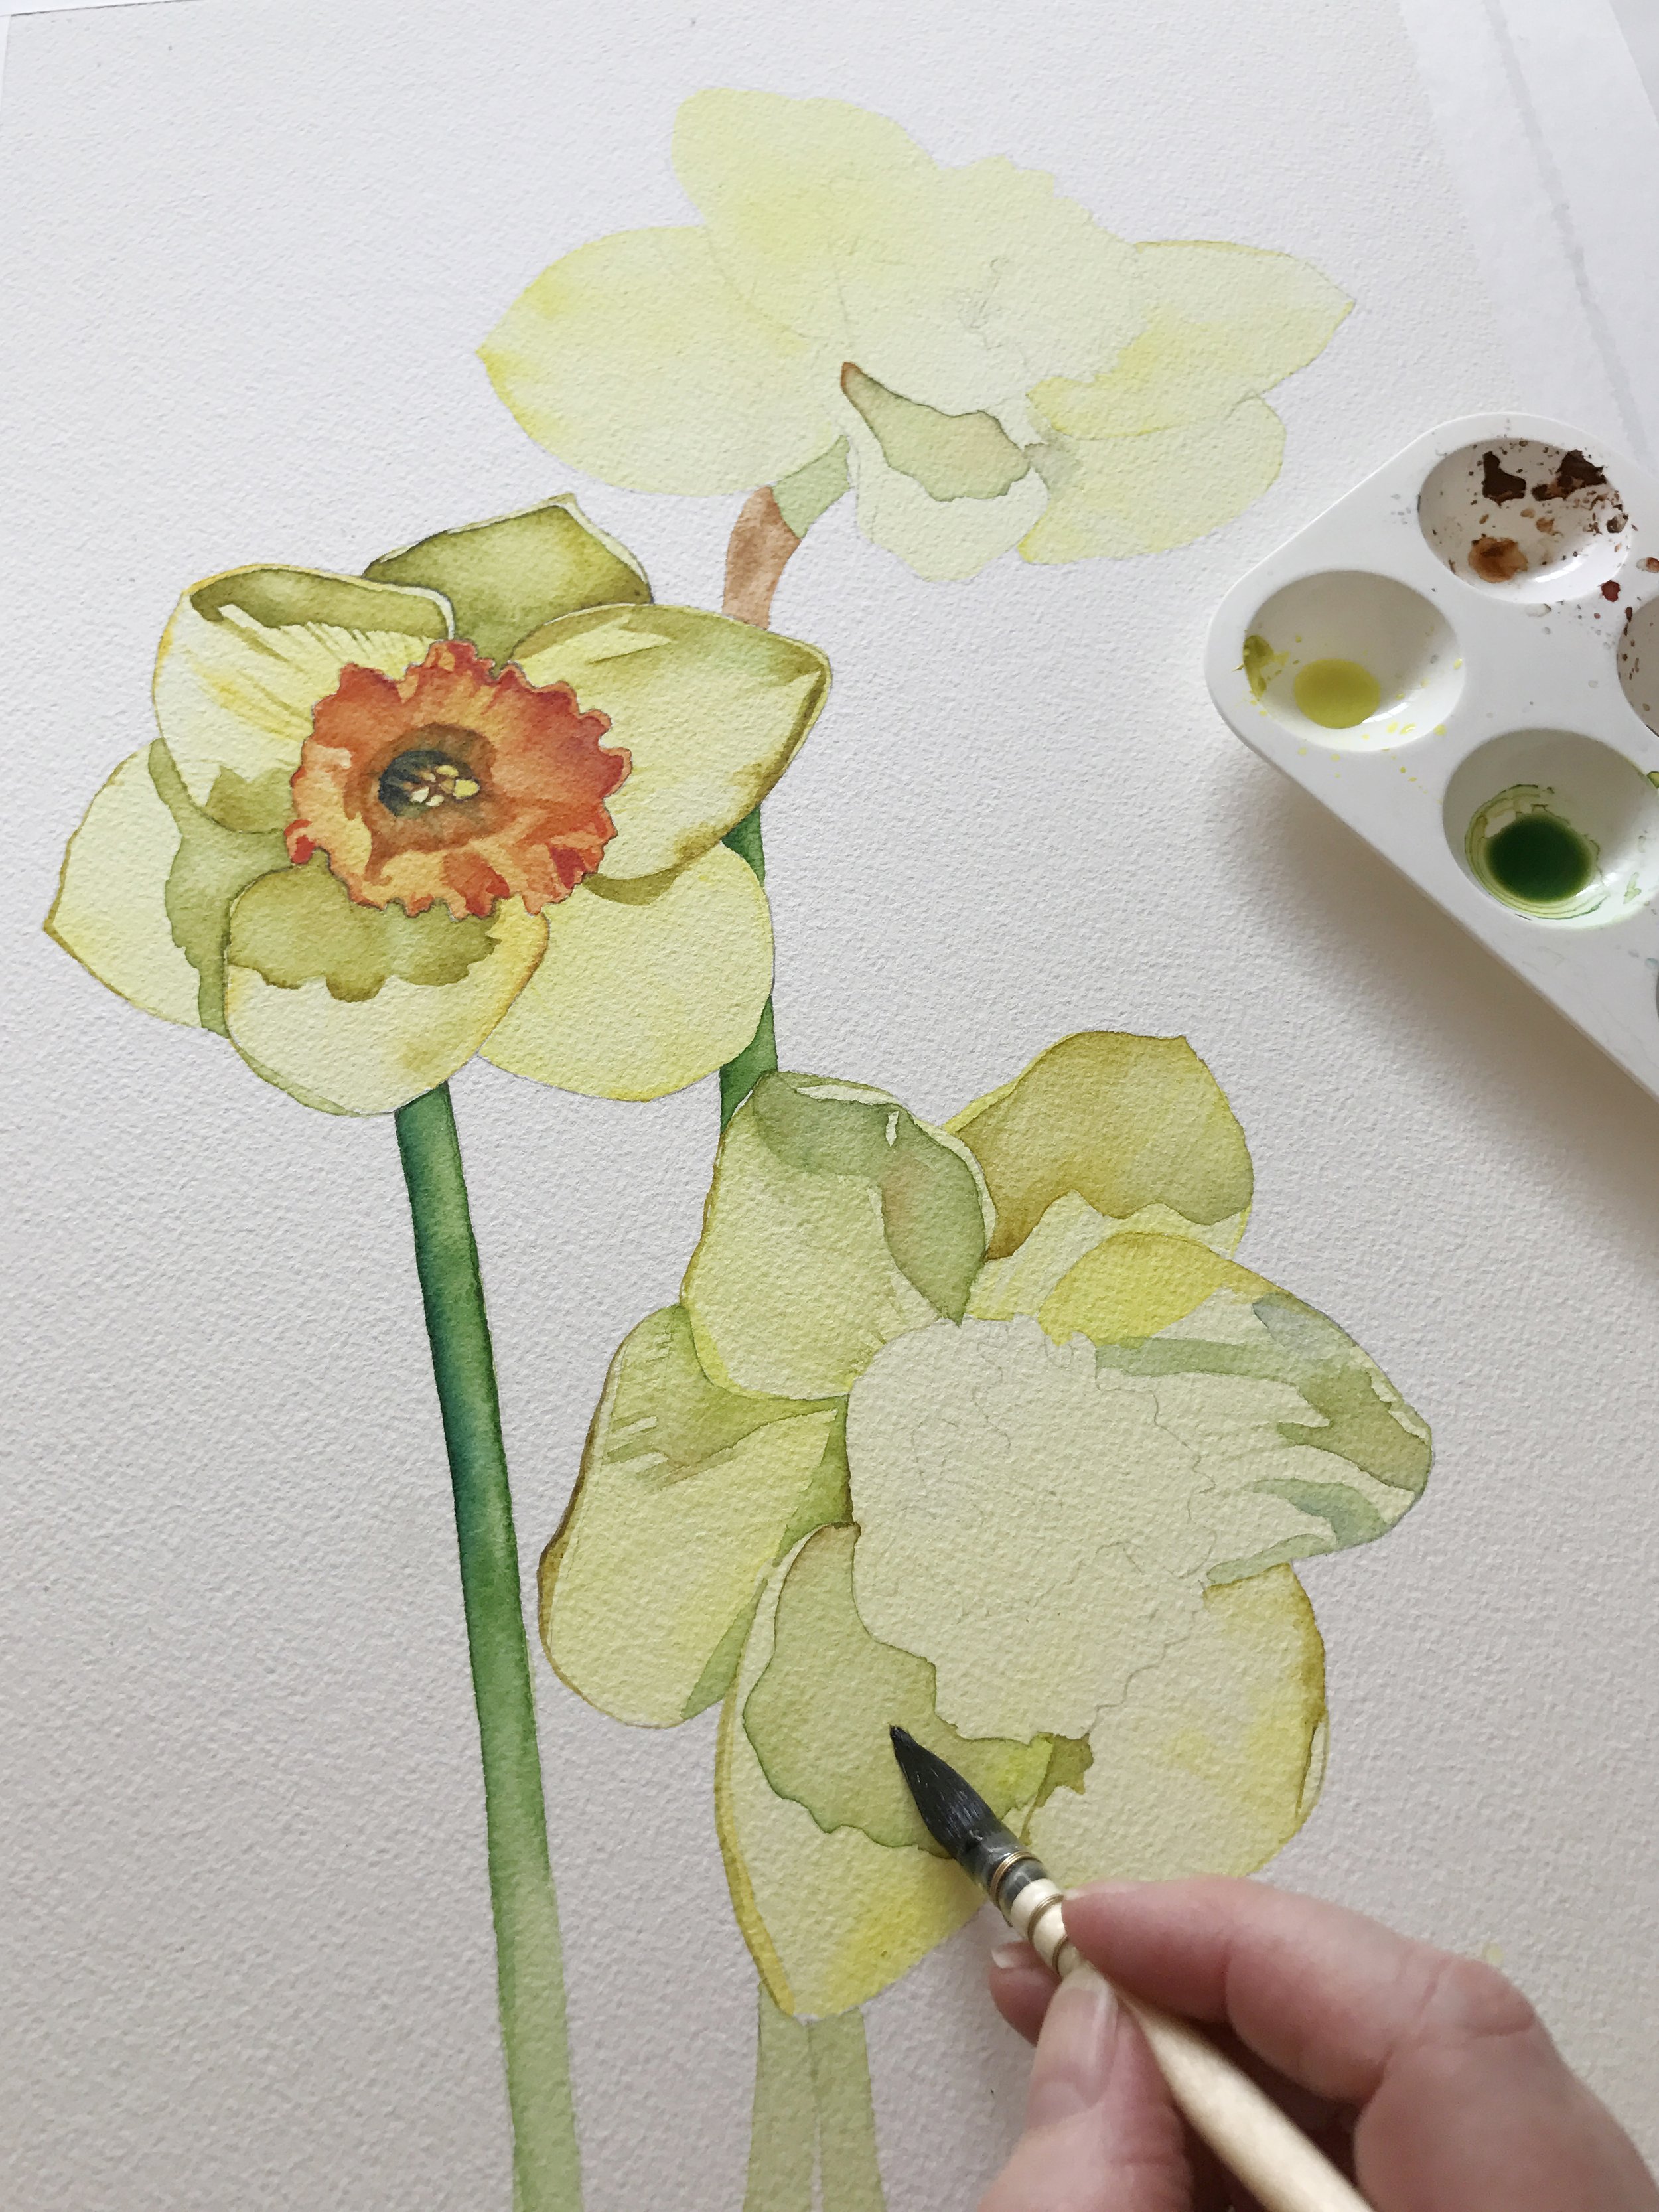
I always begin my floral paintings with a wet-on-wet technique for the initial wash, embracing the unpredictability and softness it brings. This stage is about capturing the ephemeral qualities of petals- their delicacy and the gentle interplay of light and shadow. I wet the paper first, allowing the paint to flow freely, blending seamlessly into the damp surface. Sometimes, I paint each petal individually, while other times I apply a wash over the entire flower at once. It depends on the flower and the level of colour or value variation within each petal.
First washes.
In the early stages I prioritise suggestion over detail, knowing that too much precision too soon can flatten the composition. The goal is to establish a harmonious base layer that supports subsequent details, with subtle variations in tone hinting at depth and form.
This foundational wash becomes the soul of the painting, setting the stage for later layers to enhance, refine, and enrich the subject’s character. I love how this step sets the tone for the entire painting, creating a luminous base to build upon.
Step 5: Building Layers
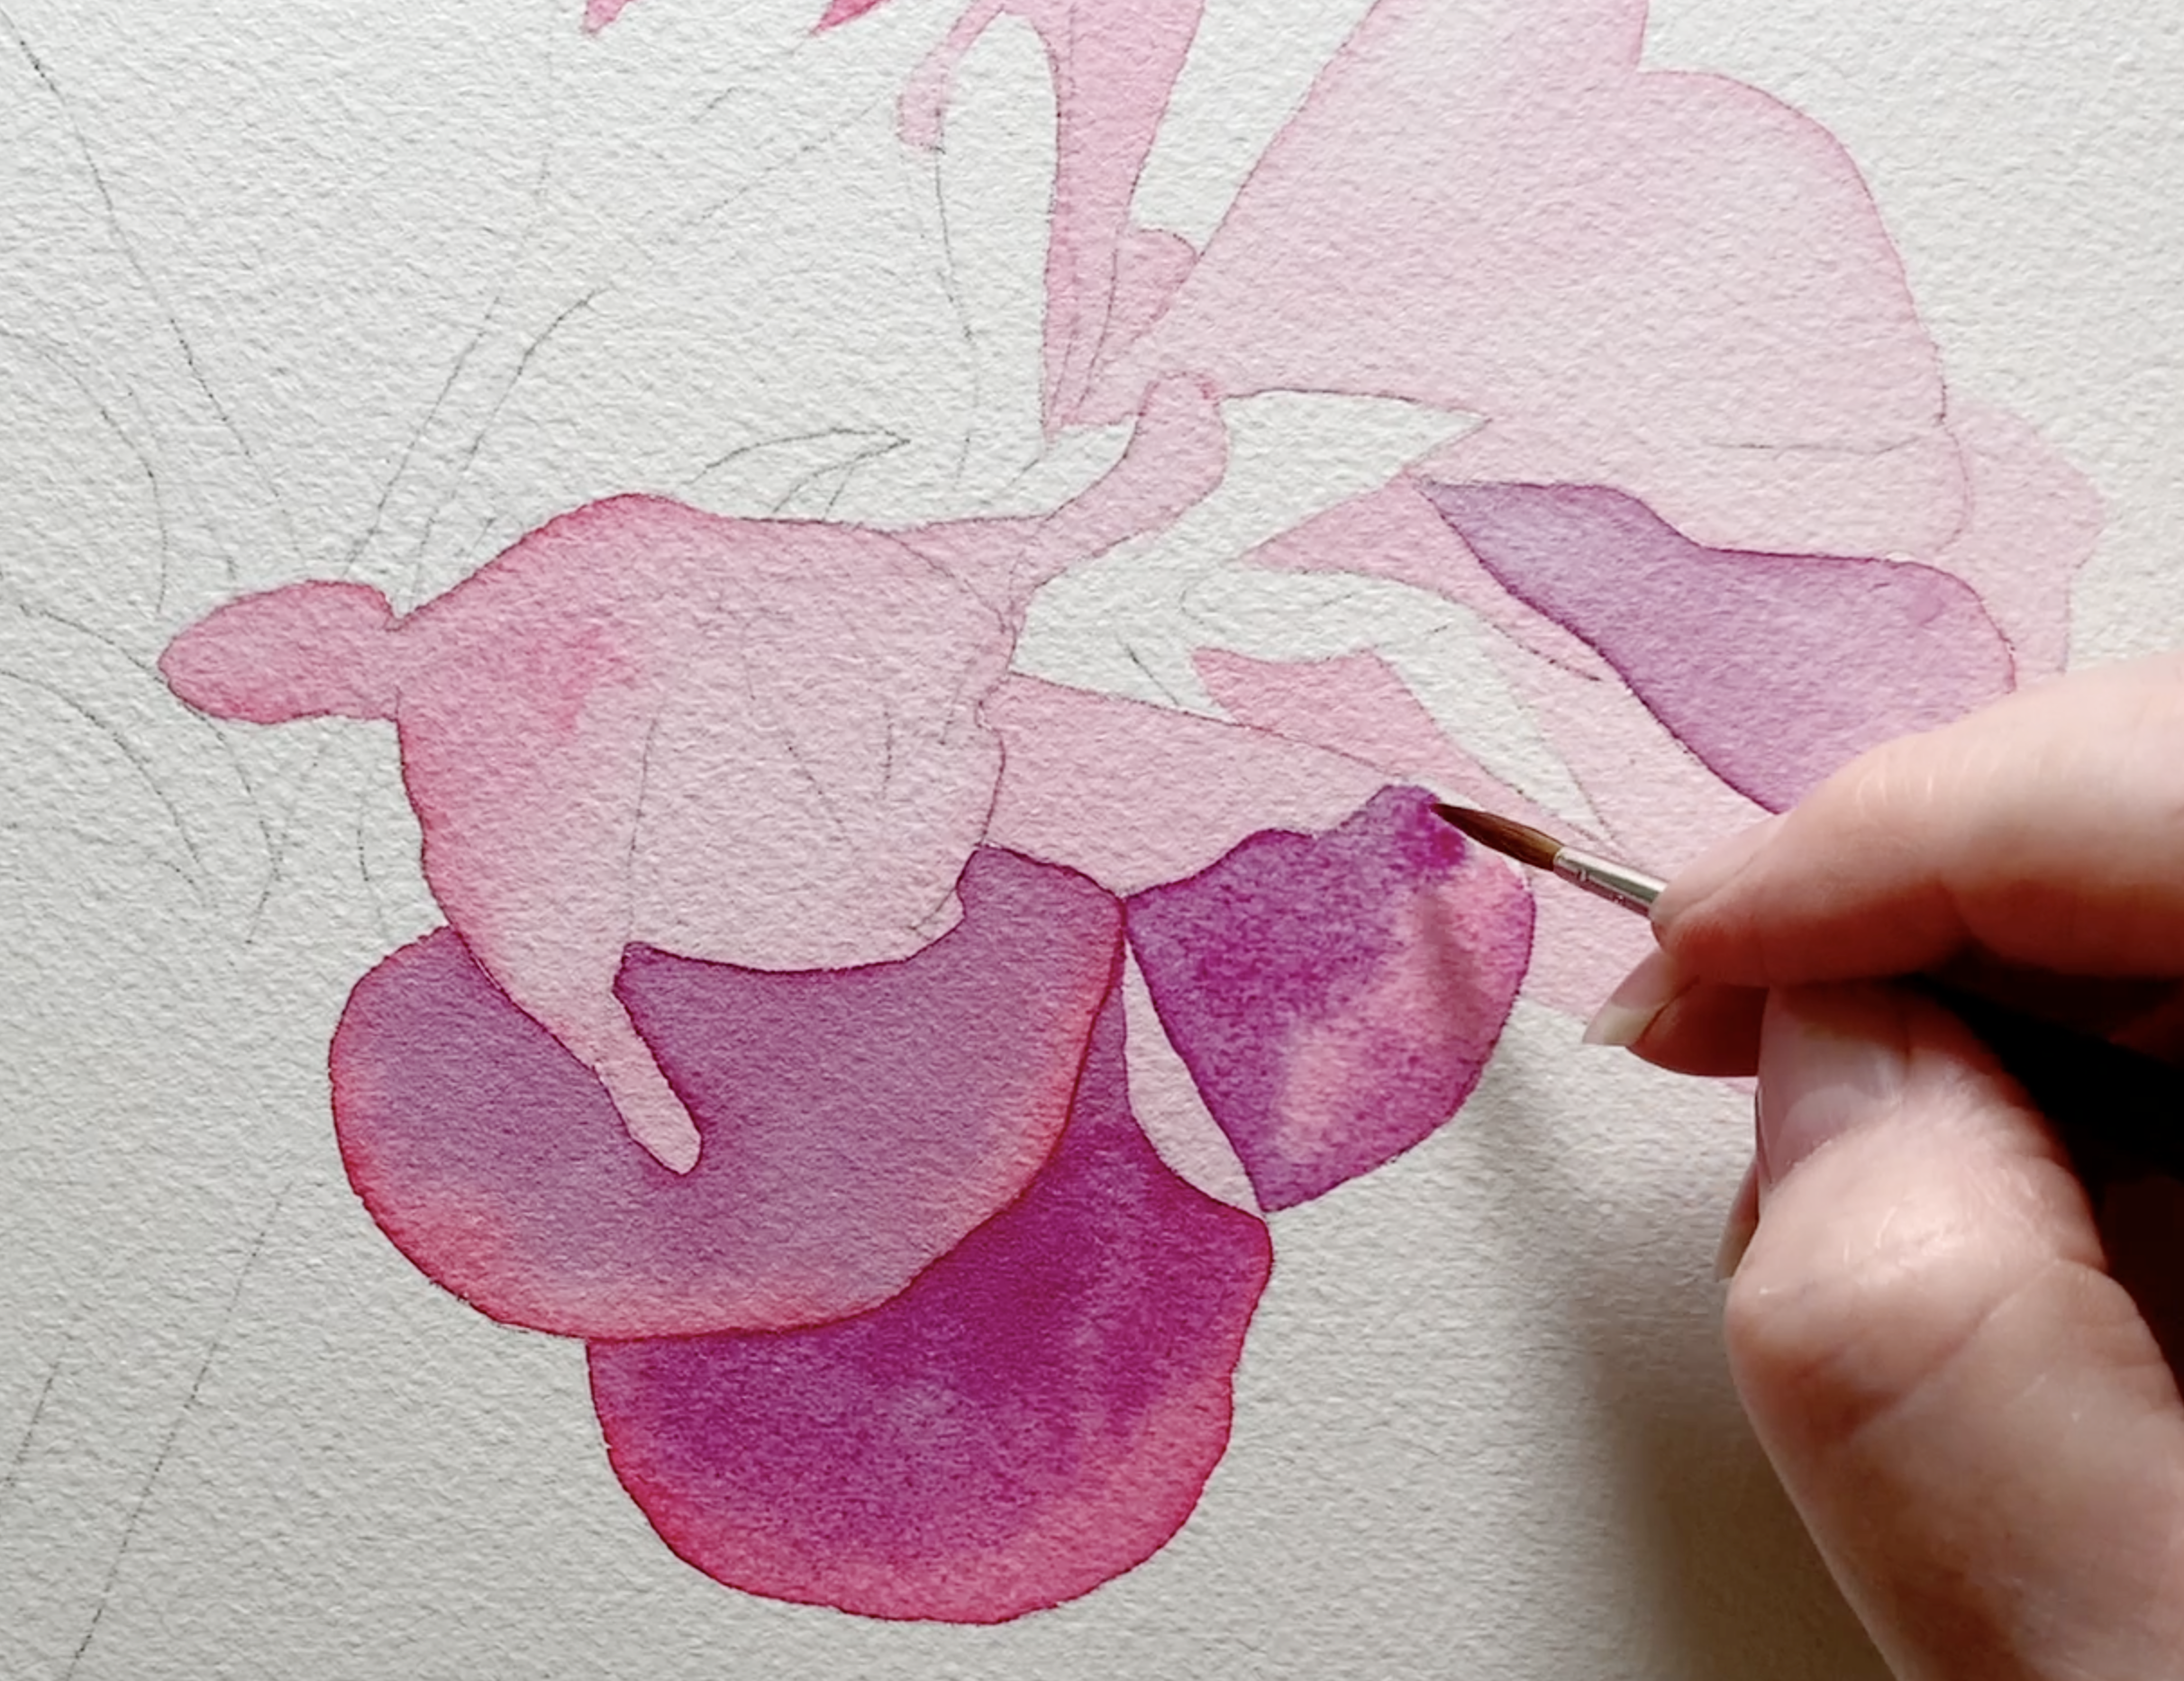
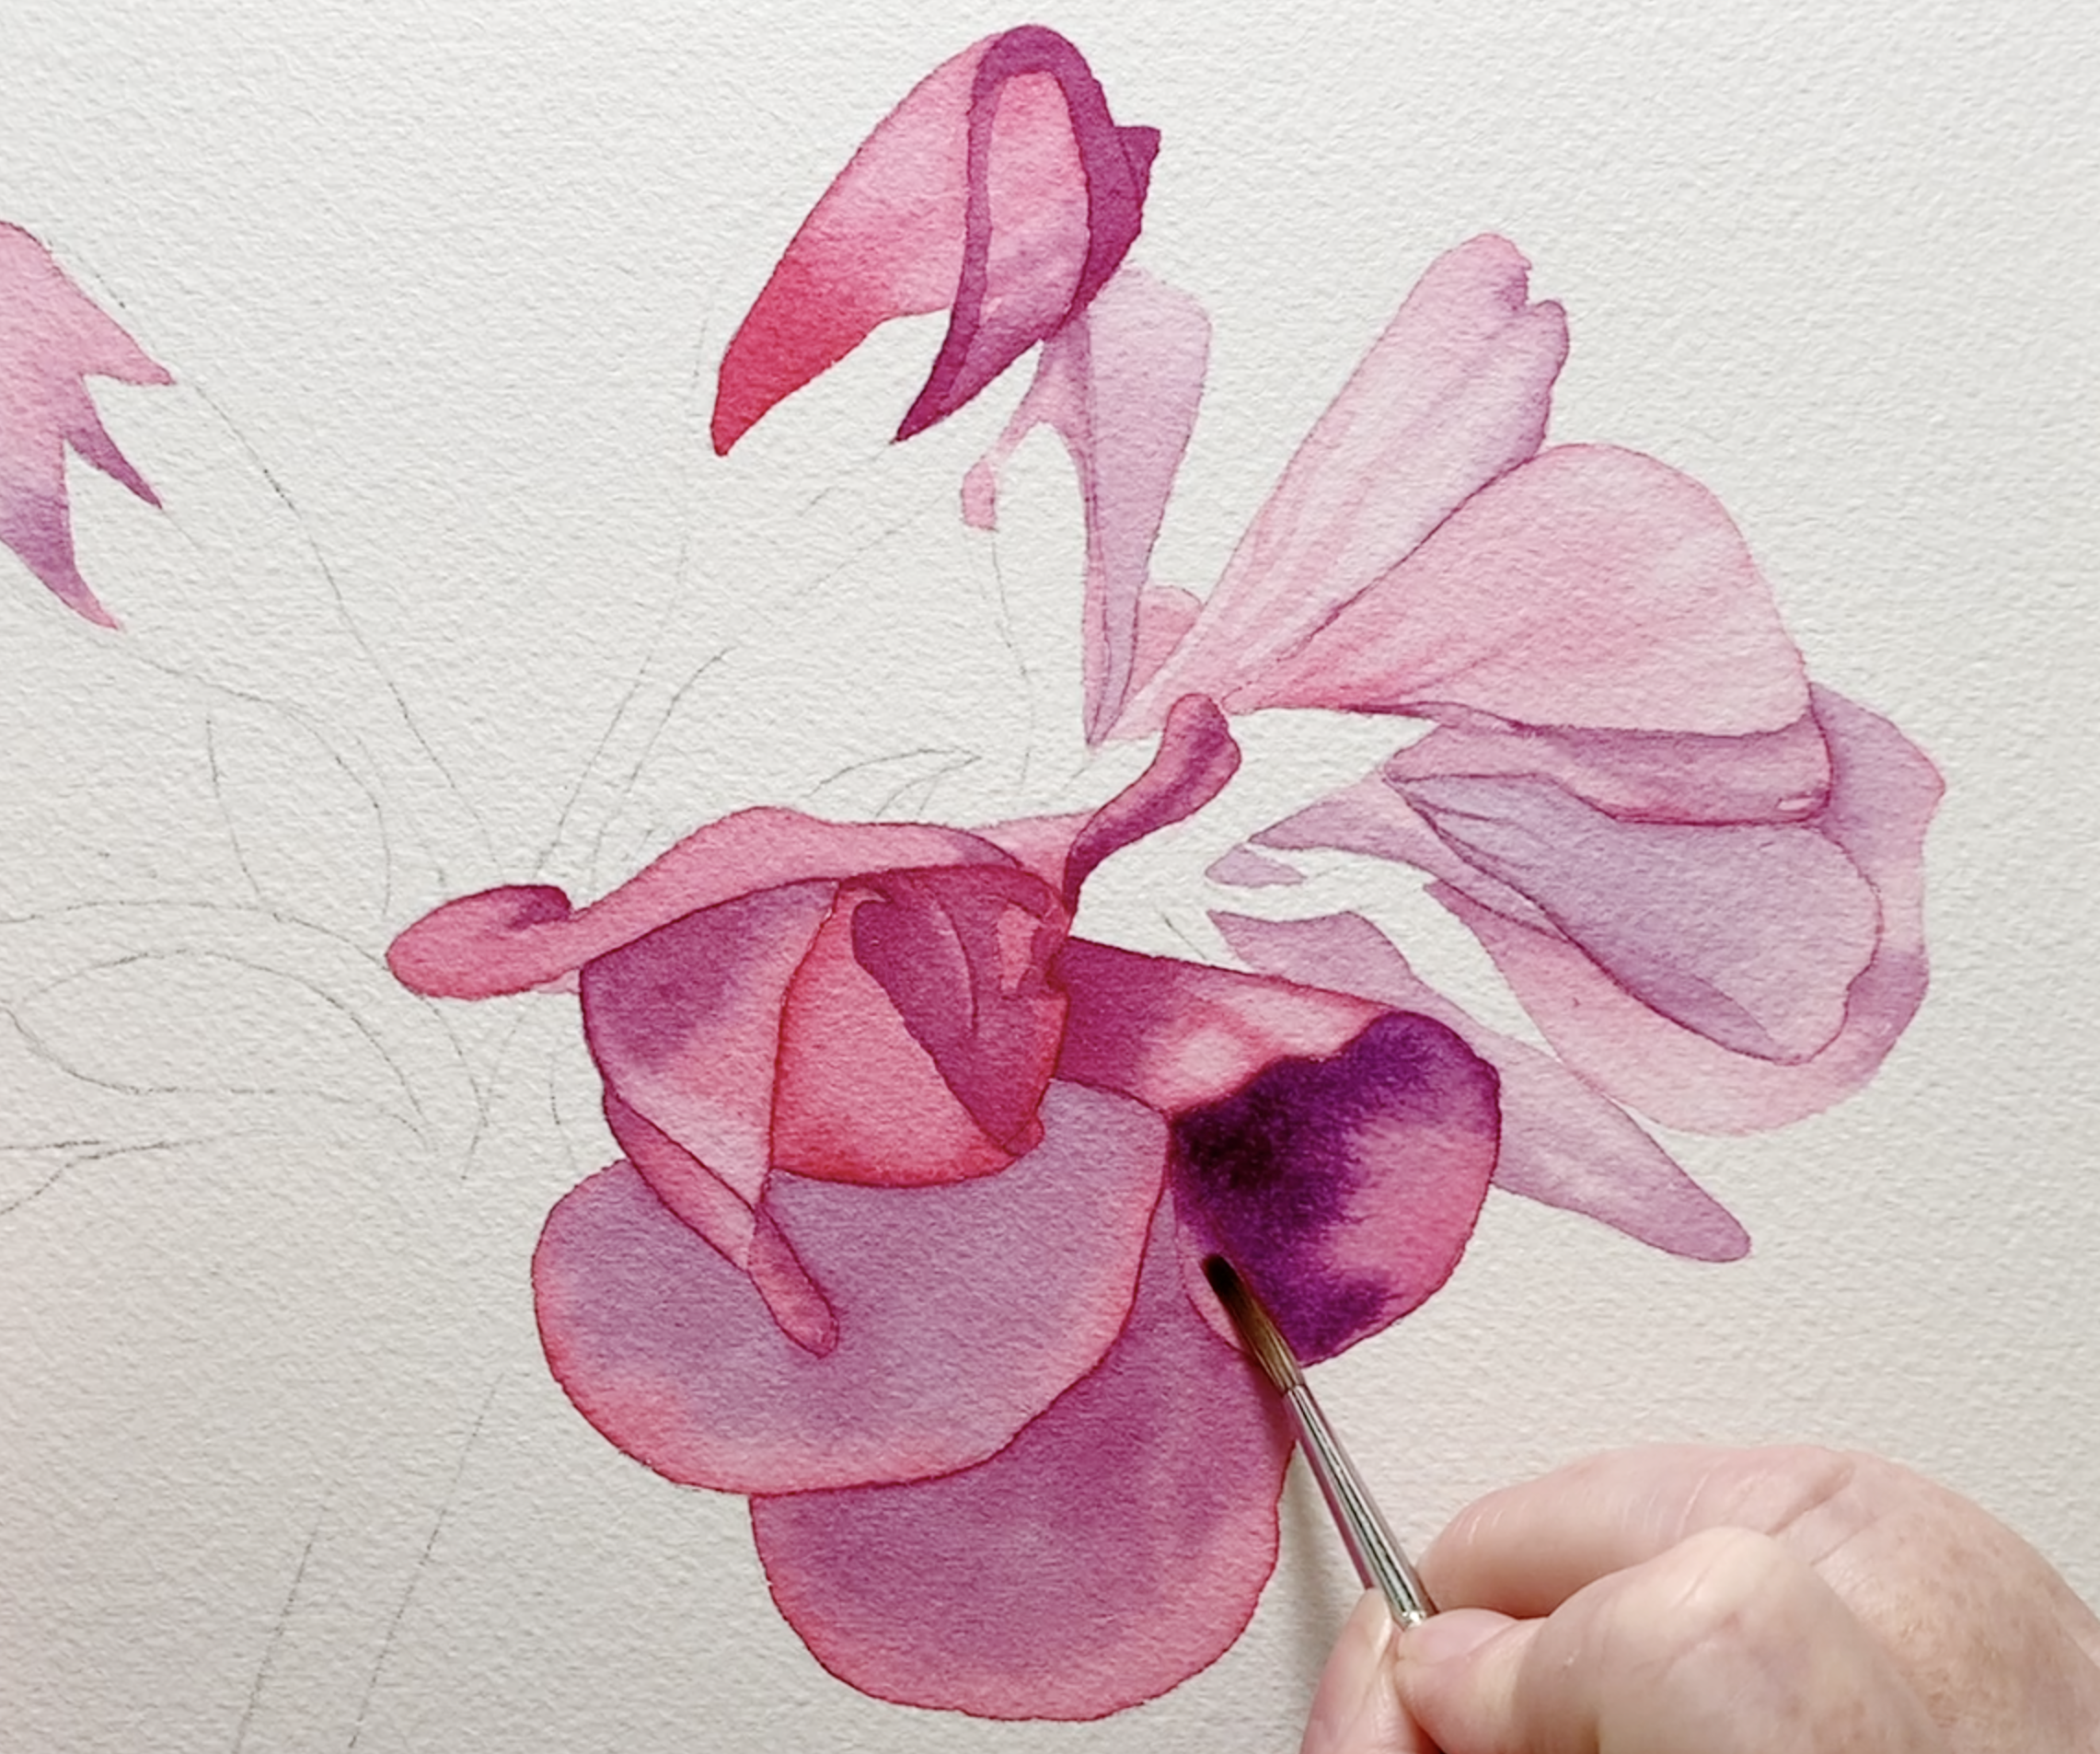
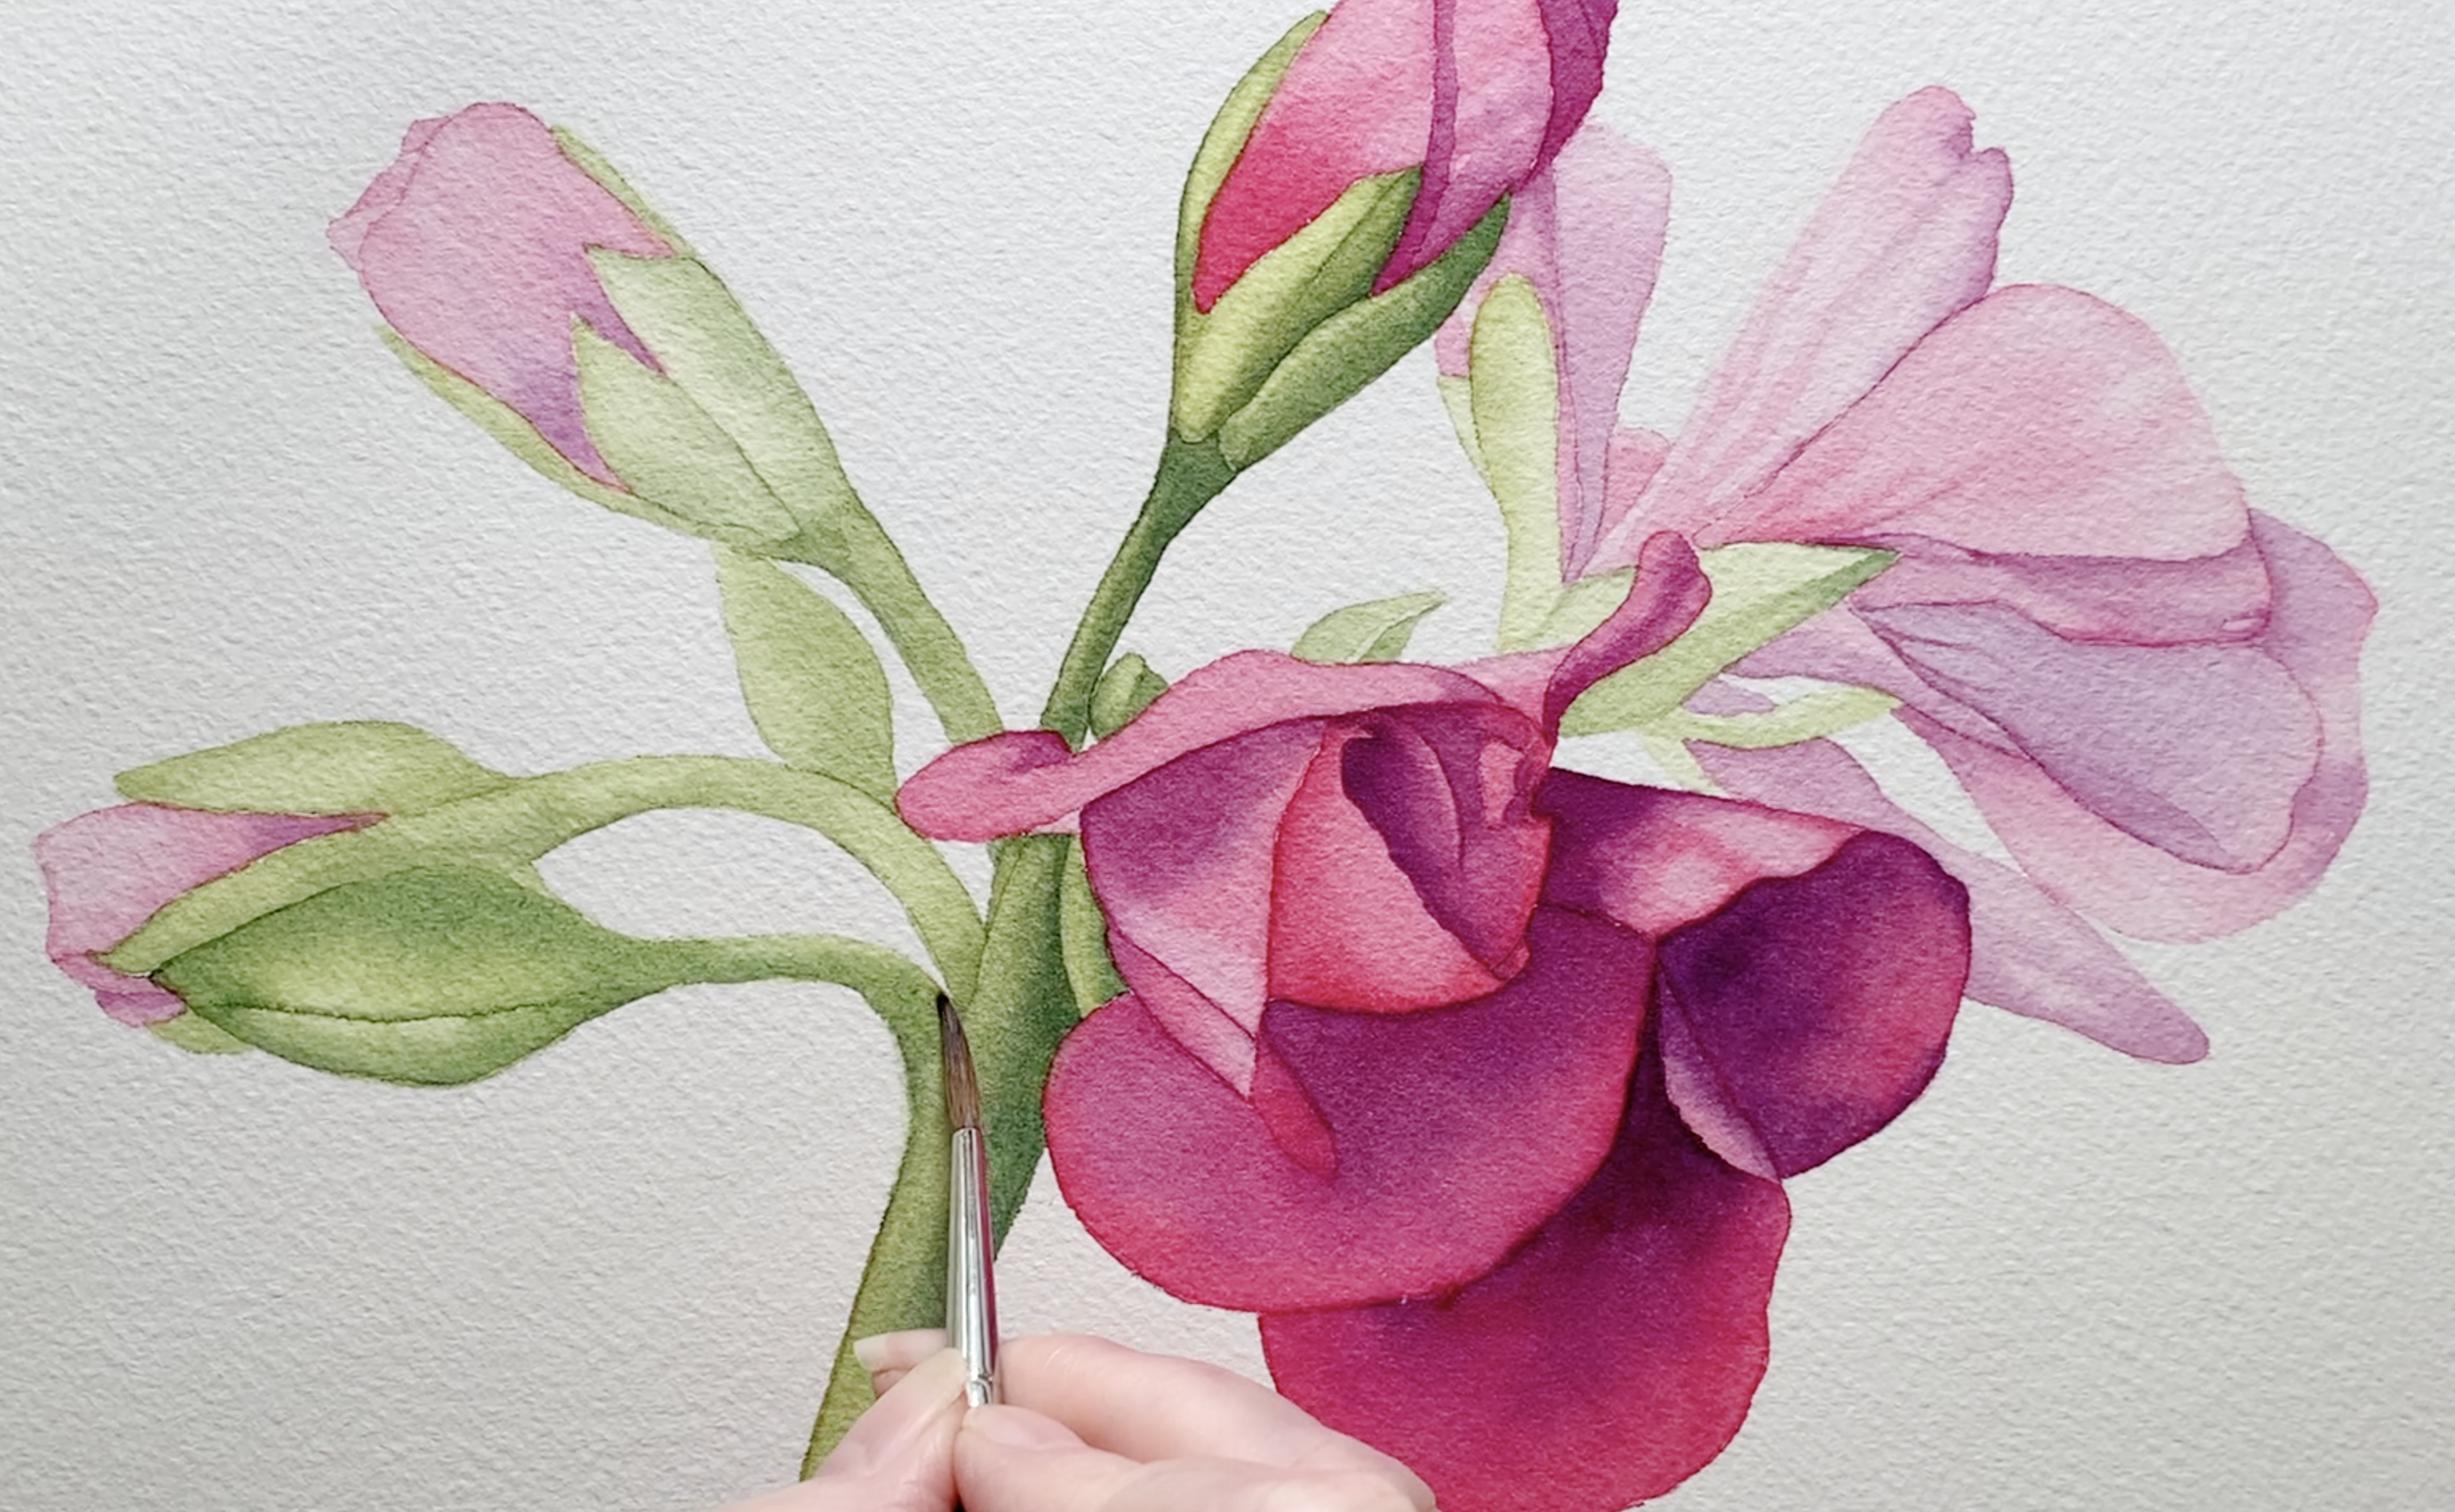
As each layer dries, I focus on building depth and form gradually, honoring the patient rhythm of watercolour. Each new layer adds dimension, allowing the flower to slowly come to life. I use slightly darker values to define areas where petals overlap or where shadows naturally fall, creating subtle contrasts that enhance realism.
Building layers.
Edges are key here - softening some to imply the gentle curve of a petal, while keeping others crisp to suggest sharpness or light catching on a surface. This interplay of edges introduces movement and prevents the painting from feeling static.
Creating soft edges on wet paper.
Watercolour rewards patience, so I ensure each layer is completely dry before continuing to avoid muddying the work. It’s during this stage that I remind myself to trust the process.
Progress can feel slow, but the gradual emergence of the flower’s form is always worth it. By layering thoughtfully, I ensure the final piece retains a sense of luminosity, transparency, and life.
Step 6: Adding Details
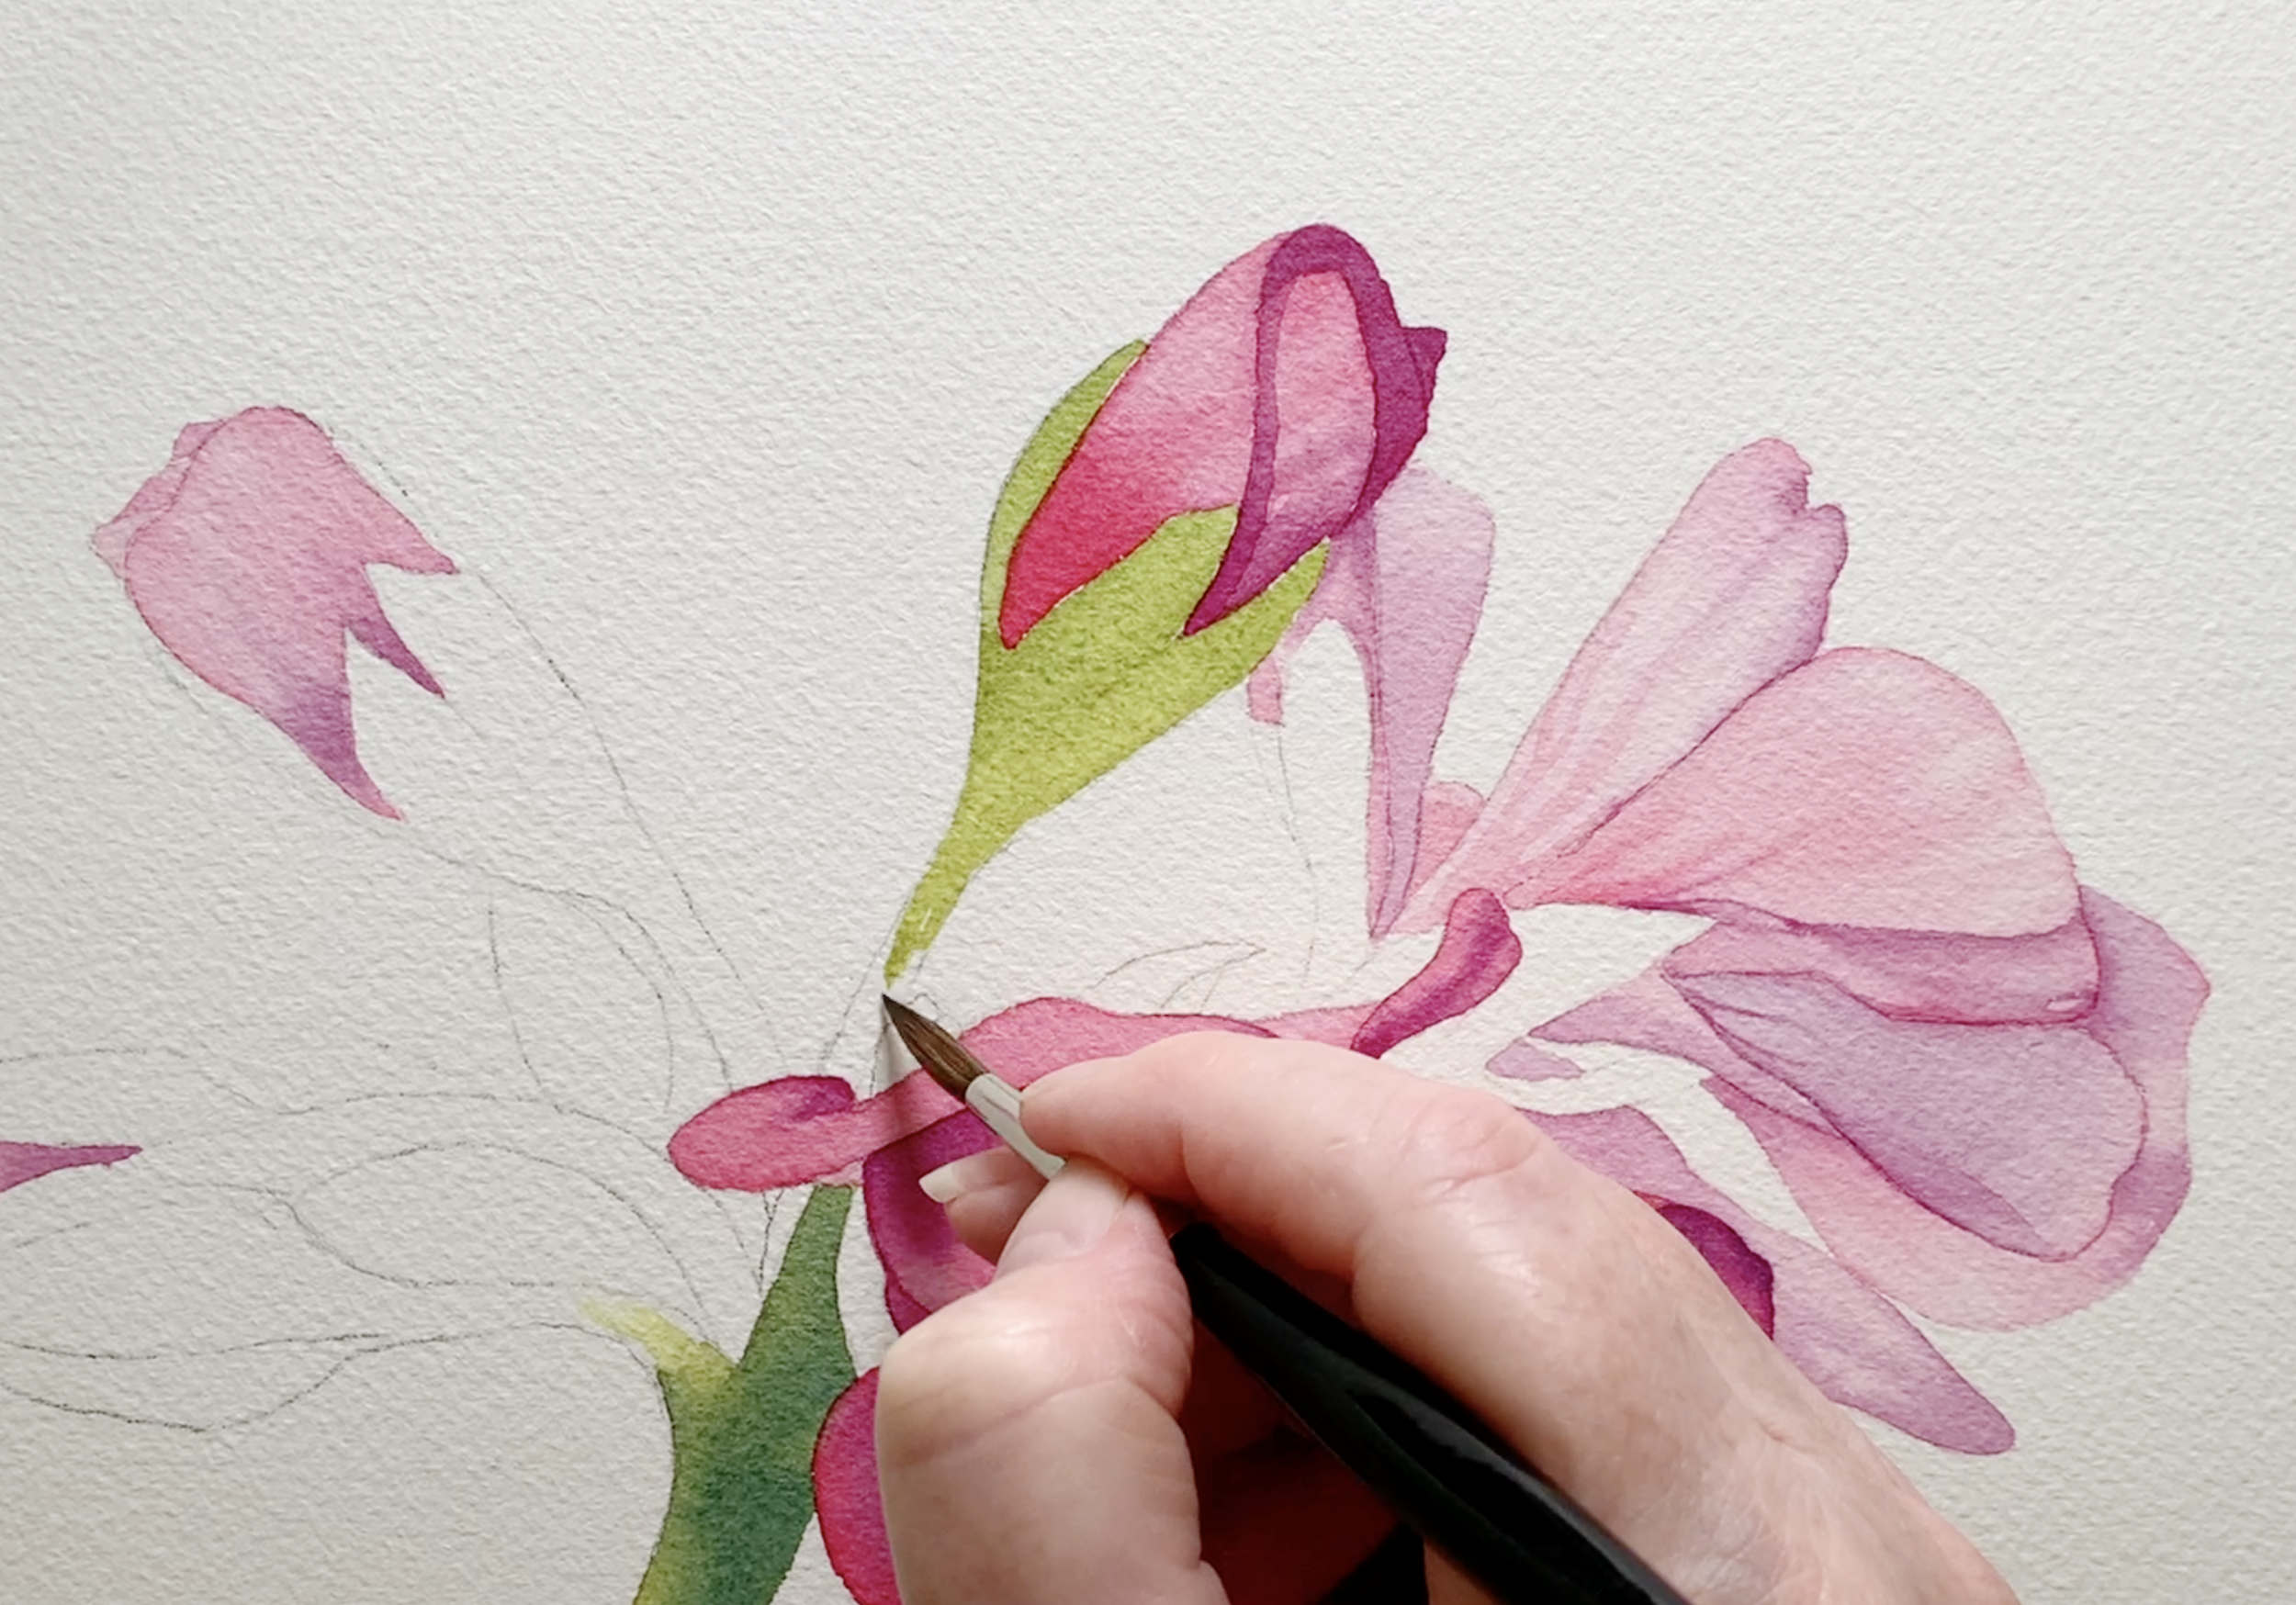
Details are where the painting truly comes alive. Using a fine brush, I delicately define the edges of petals, veins, and other unique characteristics of the bloom, ensuring that these features enhance rather than overpower the painting. I frequently employ a lifting technique to pull out highlights, adding a sense of contrast and dimension.
Adding details.
This stage requires precision and focus, but it’s equally important to step back frequently and view the work as a whole. Overloading with details risks losing the light, airy quality that gives watercolour its magic.
By balancing meticulous attention with an overarching view, I create a piece that feels cohesive and vibrant, capturing the flower’s spirit without sacrificing the fluidity that makes watercolour so enchanting.
Be careful not to add too many details. I have a tendency myself to fiddle and I am often tempted to overwork an area. To avoid this, I take a step back, put my brushes aside and evaluate the painting, before I go any further.
Step 7: Painting the Background
A thoughtfully painted background can transform a floral composition, adding depth, contrast, and a sense of atmosphere. If I plan a background, I often gravitate towards soft, blended washes in hues that complement the flower, ensuring the focal point remains the star of the piece. A background can be painted either at the start or the end of the painting; the choice is entirely up to your preference and the effect you want to achieve.
Beginning to paint the background on this rose watercolour painting
At times, I enjoy experimenting with more dramatic, textured effects for added visual interest. Balance is key - the background must enhance the flower rather than overwhelm it. This delicate interplay between subject and backdrop brings cohesion and elevates the entire painting.
Step 8: Final Touches
The final stage of a watercolour painting is all about refinement and balance. I step back to assess the work from a distance, ensuring that the composition feels harmonious, and the values are evenly distributed.
This stage is not about perfection but precision - small, thoughtful adjustments, such as deepening a shadow or enhancing a highlight, can elevate the piece without overworking it.
For me, the beauty of watercolour lies in its imperfections: the blooms, soft edges, and organic textures that arise unexpectedly, giving each painting a unique and lively character.
Embracing Imperfections
Painting flowers is as much about observation as it is about technique. Flowers aren’t perfect in nature, and your painting doesn’t have to be either. Each stroke is a reflection of your interpretation, your mood, and your connection to the subject.
Watercolour encourages us to embrace the unpredictable and find beauty in the unexpected. That’s what makes it so special.
Whether you’re just starting or have been painting for years, I encourage you to pick up your brush and explore the world of florals. The journey is as rewarding as the result.
I have many classes on how to paint individual flowers, such as tulips, sunflowers, or roses. I love to teach and in my YouTube and Patreon tutorials, I break down the challenging process in easy, manageable steps, that are great to follow, provide you with lots of tips and information and have you learn without feeling like a chore. My videos are a great treasure trove of resources that you need to create a variety of paintings.
Happy painting,
Louise
If you are interested in learning to paint in watercolour, I have over 200 online, voiced over watercolour tutorials for all skill levels.
