Transferring Your Sketch to Watercolour Paper
A Guide to Different Techniques
One of the most exciting parts of starting a new watercolour piece is getting your sketch ready on the paper. But transferring that sketch, aka tracing a drawing, can be a bit tricky, especially when you want to preserve the delicacy of your watercolour paper.
There are several methods to do this, and today, we’ll explore some popular techniques, discuss which pencils work best, and answer the age-old question: is it “cheating”?
Starting on Drawing Paper: A Strategic First Step
Many artists prefer to begin their sketches on drawing paper, which offers a smoother drawing surface that's easier to erase and refine. Once the sketch on the drawing paper is perfected, it can be transferred to watercolour paper using one of the techniques we've discussed below.
This approach not only allows you to make all the necessary adjustments without worrying about damaging your watercolour paper but also ensures that your final piece will be free of unwanted marks and corrections.
By starting on drawing paper, you can fully focus on the creative process, knowing that your watercolour paper will remain in pristine condition, ready to bring your final vision to life.
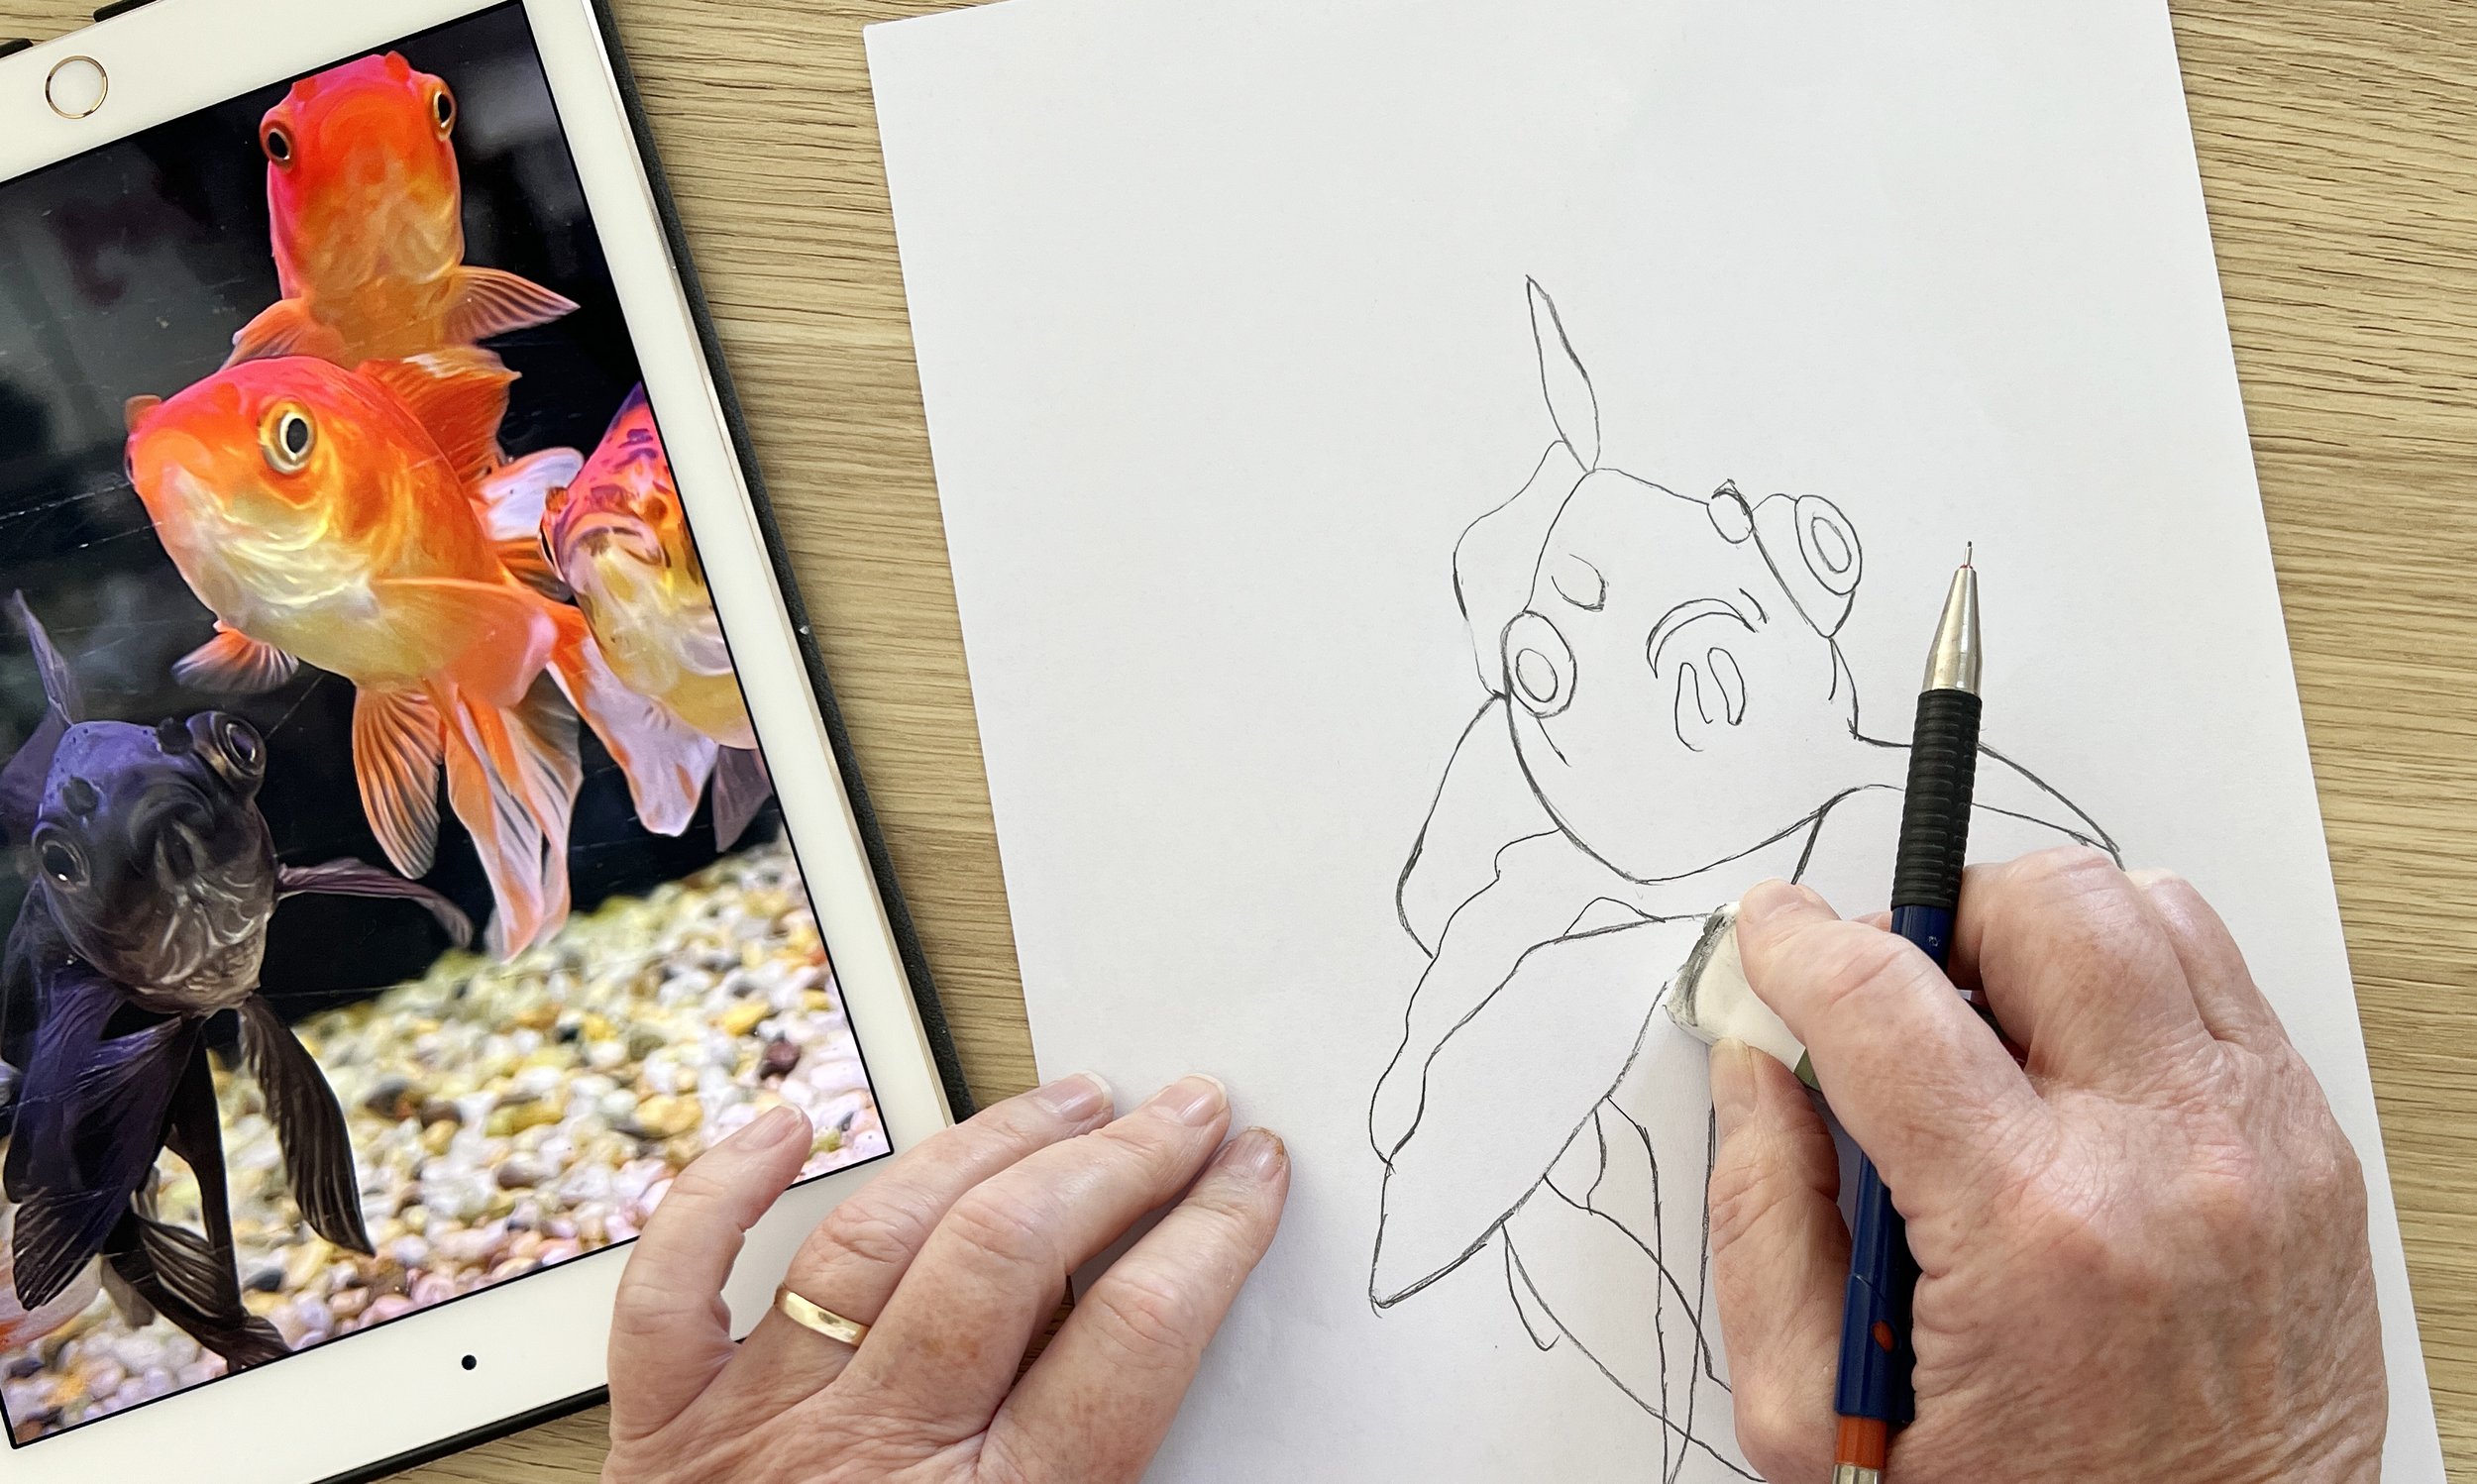
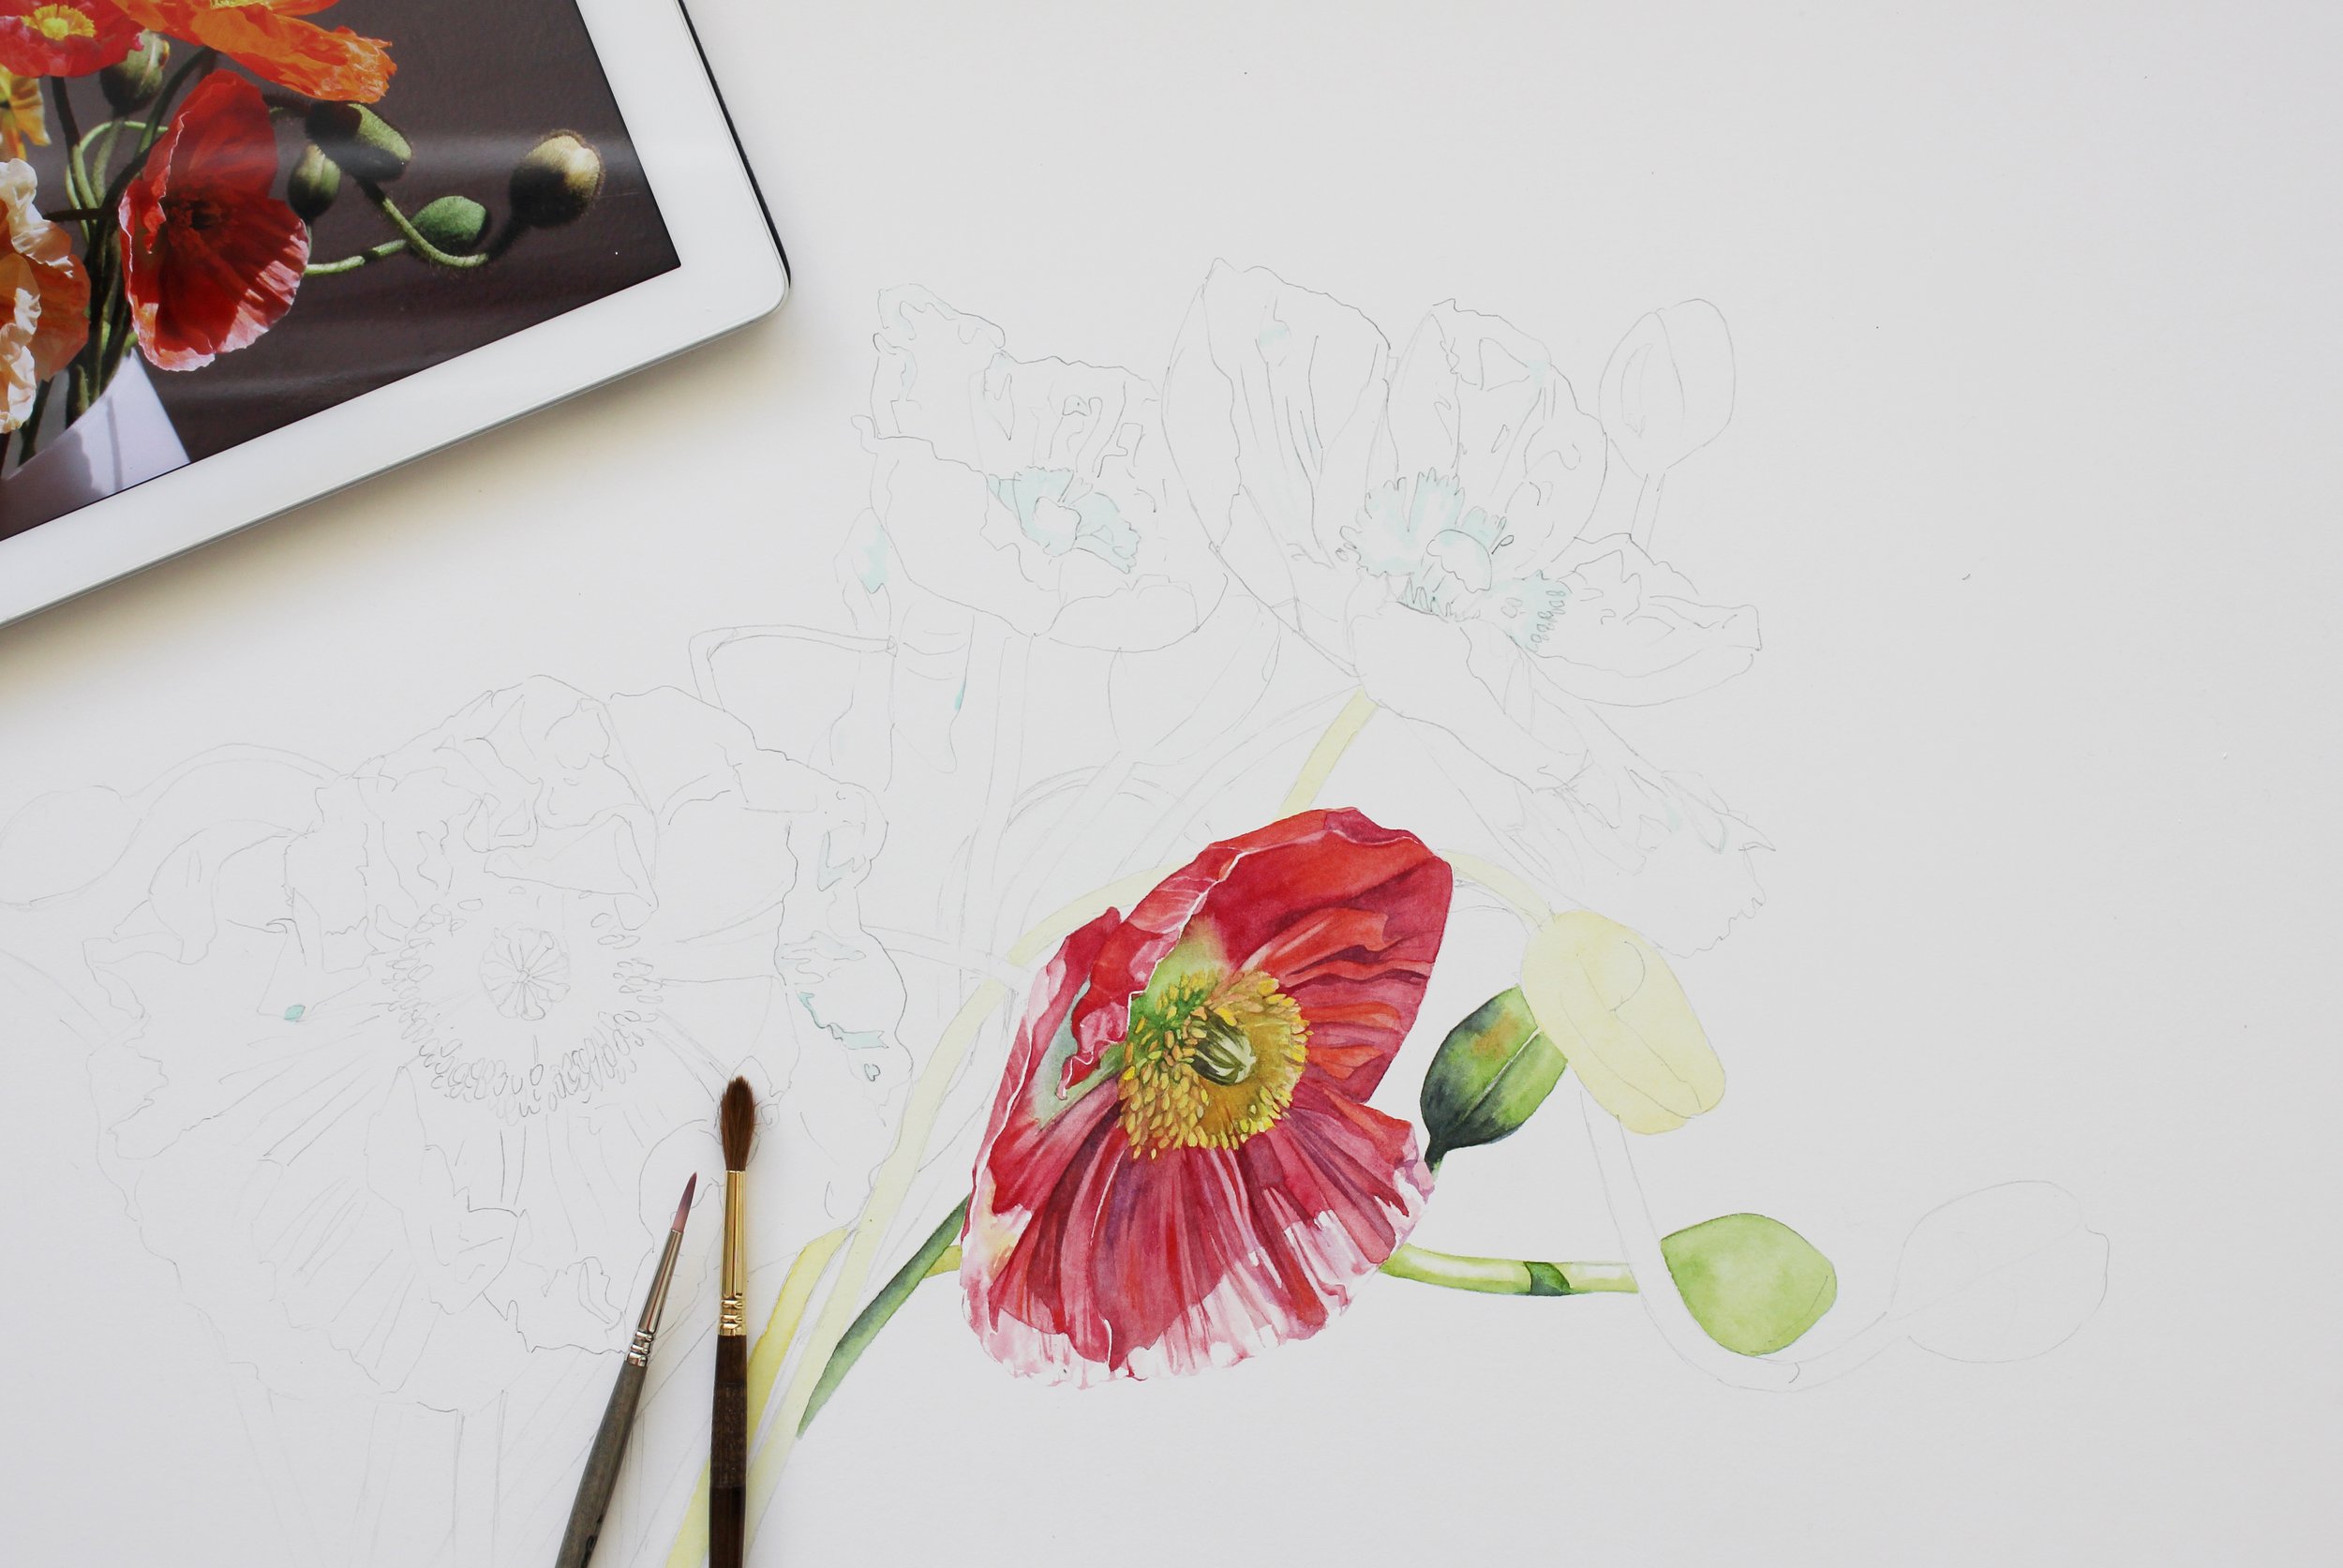
Working from a Source Image: Translating Inspiration to Paper
When you’re inspired by a source image - whether it’s a photograph or another visual reference - the first step is to create a sketch or outline on blank paper based on that image. This sketch can be done on drawing paper, and then transferred onto your watercolour paper using the methods we’ve explored.
Your source image serves as the foundation for your final piece, guiding your composition and details. Whether you’re using a lightbox, transfer paper, or even a grid system, the goal is to accurately capture the essence of your source image while allowing room for your creative interpretation.
Transferring your sketch ensures that the proportions and key elements of your reference image are preserved, giving you a solid starting point for your watercolour painting.
Tracing an Outline: The First Step Toward a Successful Watercolour Painting
Once you have your sketch ready - whether it’s on drawing paper, tracing paper, or even as a digital outline - the next step is to transfer that outline onto your watercolour paper. Tracing an outline ensures that the key elements of your composition are accurately placed, giving you a solid framework to work within as you begin your painting.
This step is crucial because it helps maintain the proportions and layout of your original sketch or source image, allowing you to focus on the creative aspects of watercolour painting without worrying about the basics. Whether you use a lightbox, transfer paper, or any other method, the traced outline is about translating your vision onto the watercolour paper with precision and care.
Using Transfer Paper: A Step-by-Step Guide to Accurate Sketch Transfer
Transfer paper, often referred to as graphite paper, is an invaluable tool for artists who want to transfer a detailed sketch onto watercolour paper without risking damage to the delicate surface. Here’s how you can use it effectively, along with some tips on pressure and common pitfalls to avoid.
Step 1: Prepare Your Materials
First, gather all the materials you’ll need:
Your original sketch, which can be on drawing paper or any other medium.
A sheet of transfer paper (graphite side down).
Your watercolour paper.
A pencil or stylus for tracing.

Saral transfer paper makes tracing pictures onto watercolour paper easy!
Make sure your transfer paper is large enough to cover the entire area of your sketch that you want to transfer. If your sketch is larger than the transfer paper, you can move the transfer paper as you work, but it’s important to keep everything aligned.
Pencil Recommendation: A regular HB pencil works well here, as it provides a good balance between firmness and visibility.
Step 2: Position the Papers
Lay your watercolour paper flat on a clean, smooth surface. Then, place the transfer paper on top of it with the graphite side facing down - this is the side that will come into contact with your watercolour paper. Finally, position your sketch on top of the transfer paper. If necessary, secure the corners of the papers with low-tack tape to prevent any movement during the tracing process.
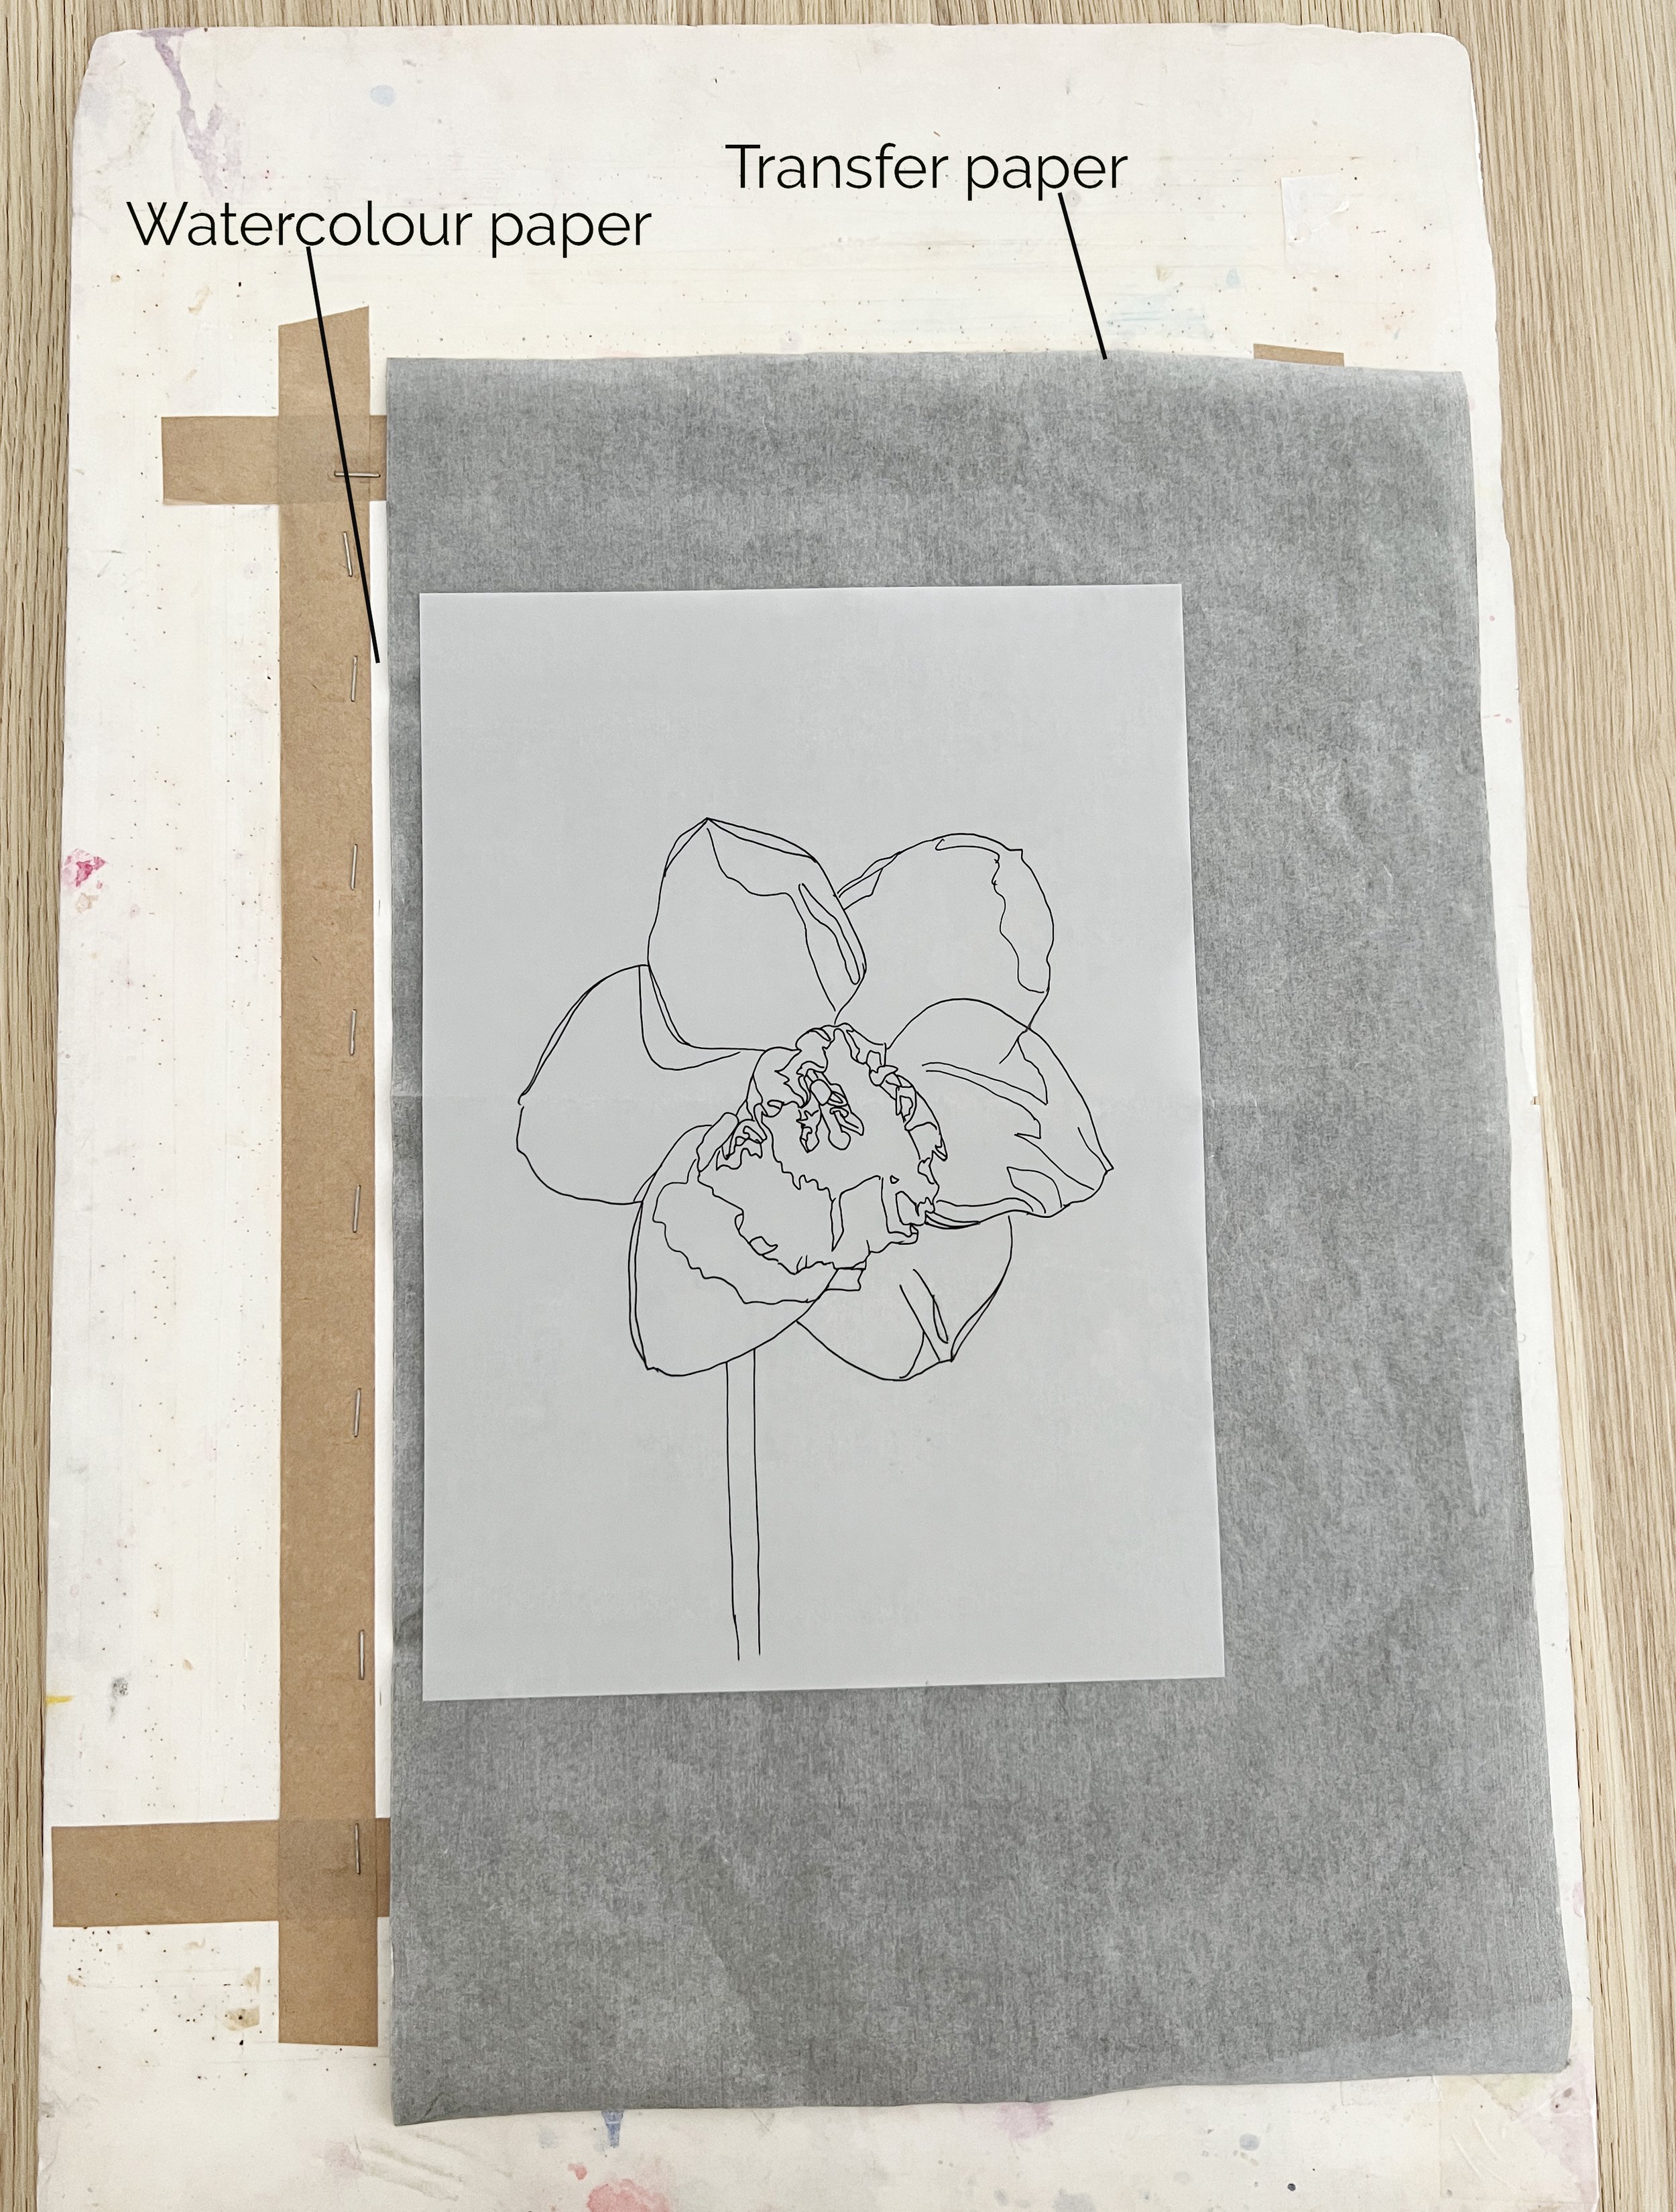
In this image, my watercolour paper is stretched and taped to a gatorboard. On top, I've placed Saral transfer paper with the line drawing positioned above, ready for transferring the design onto the watercolour paper.
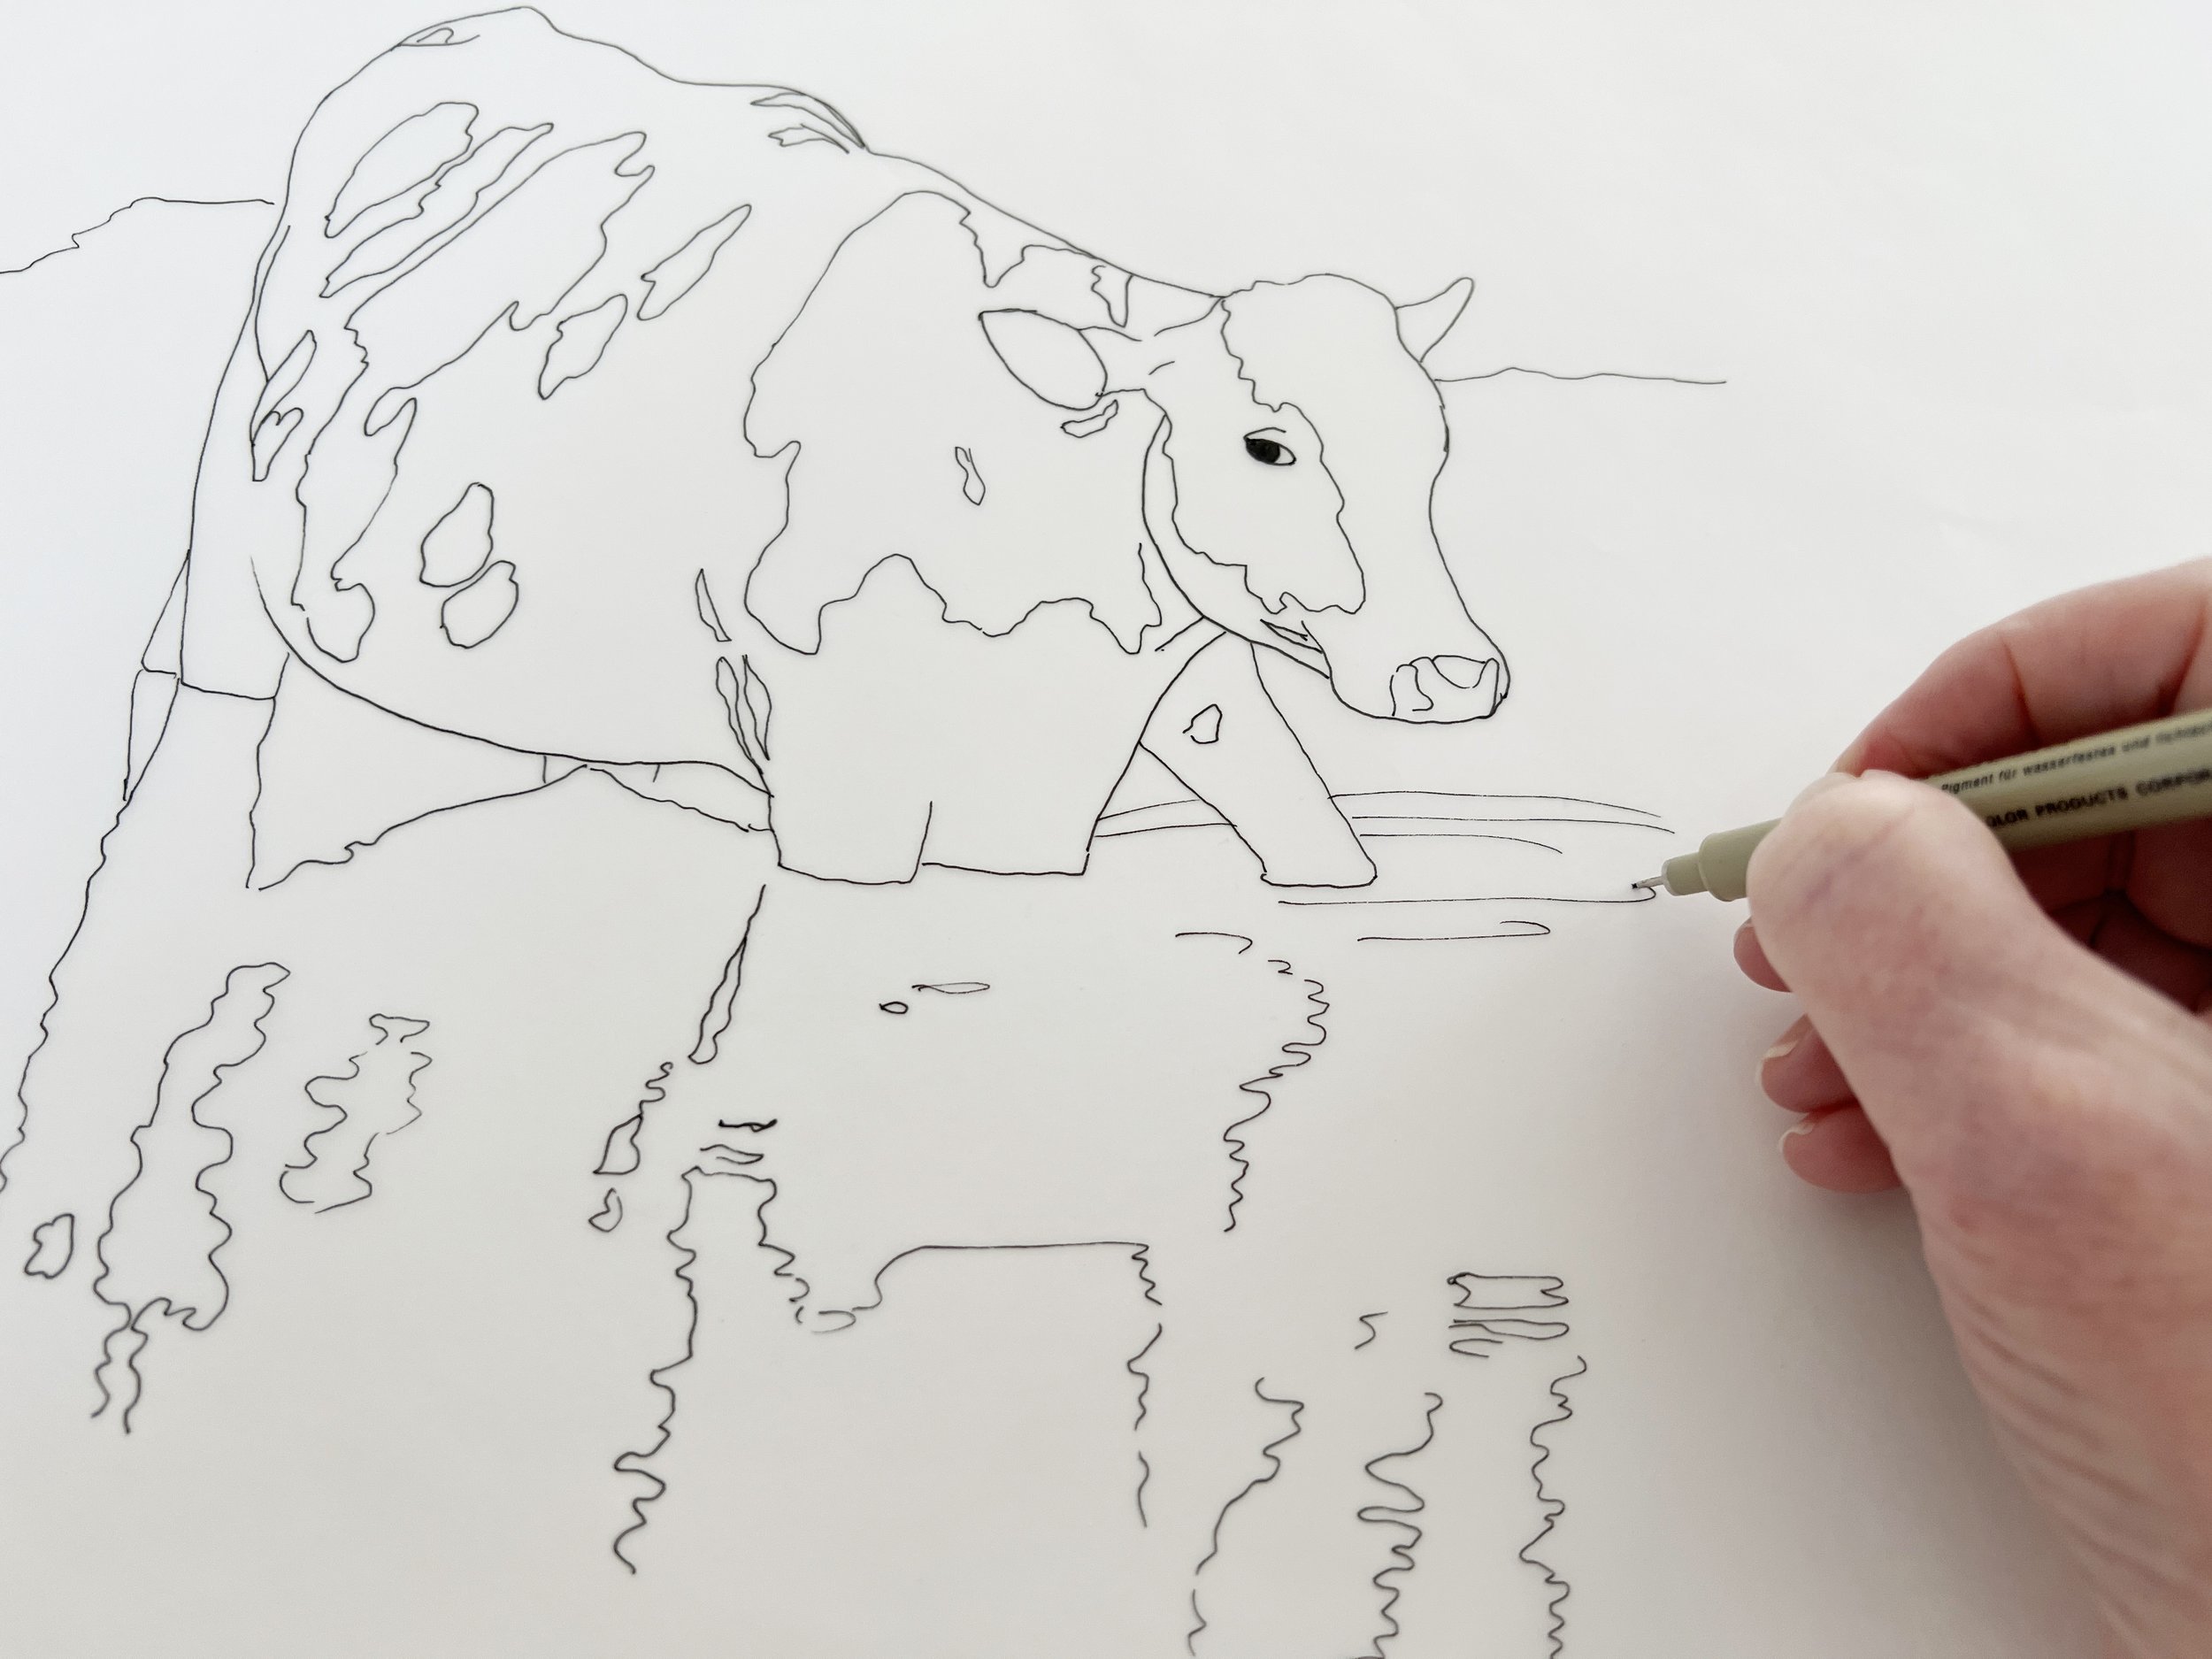
Step 3: Begin Tracing
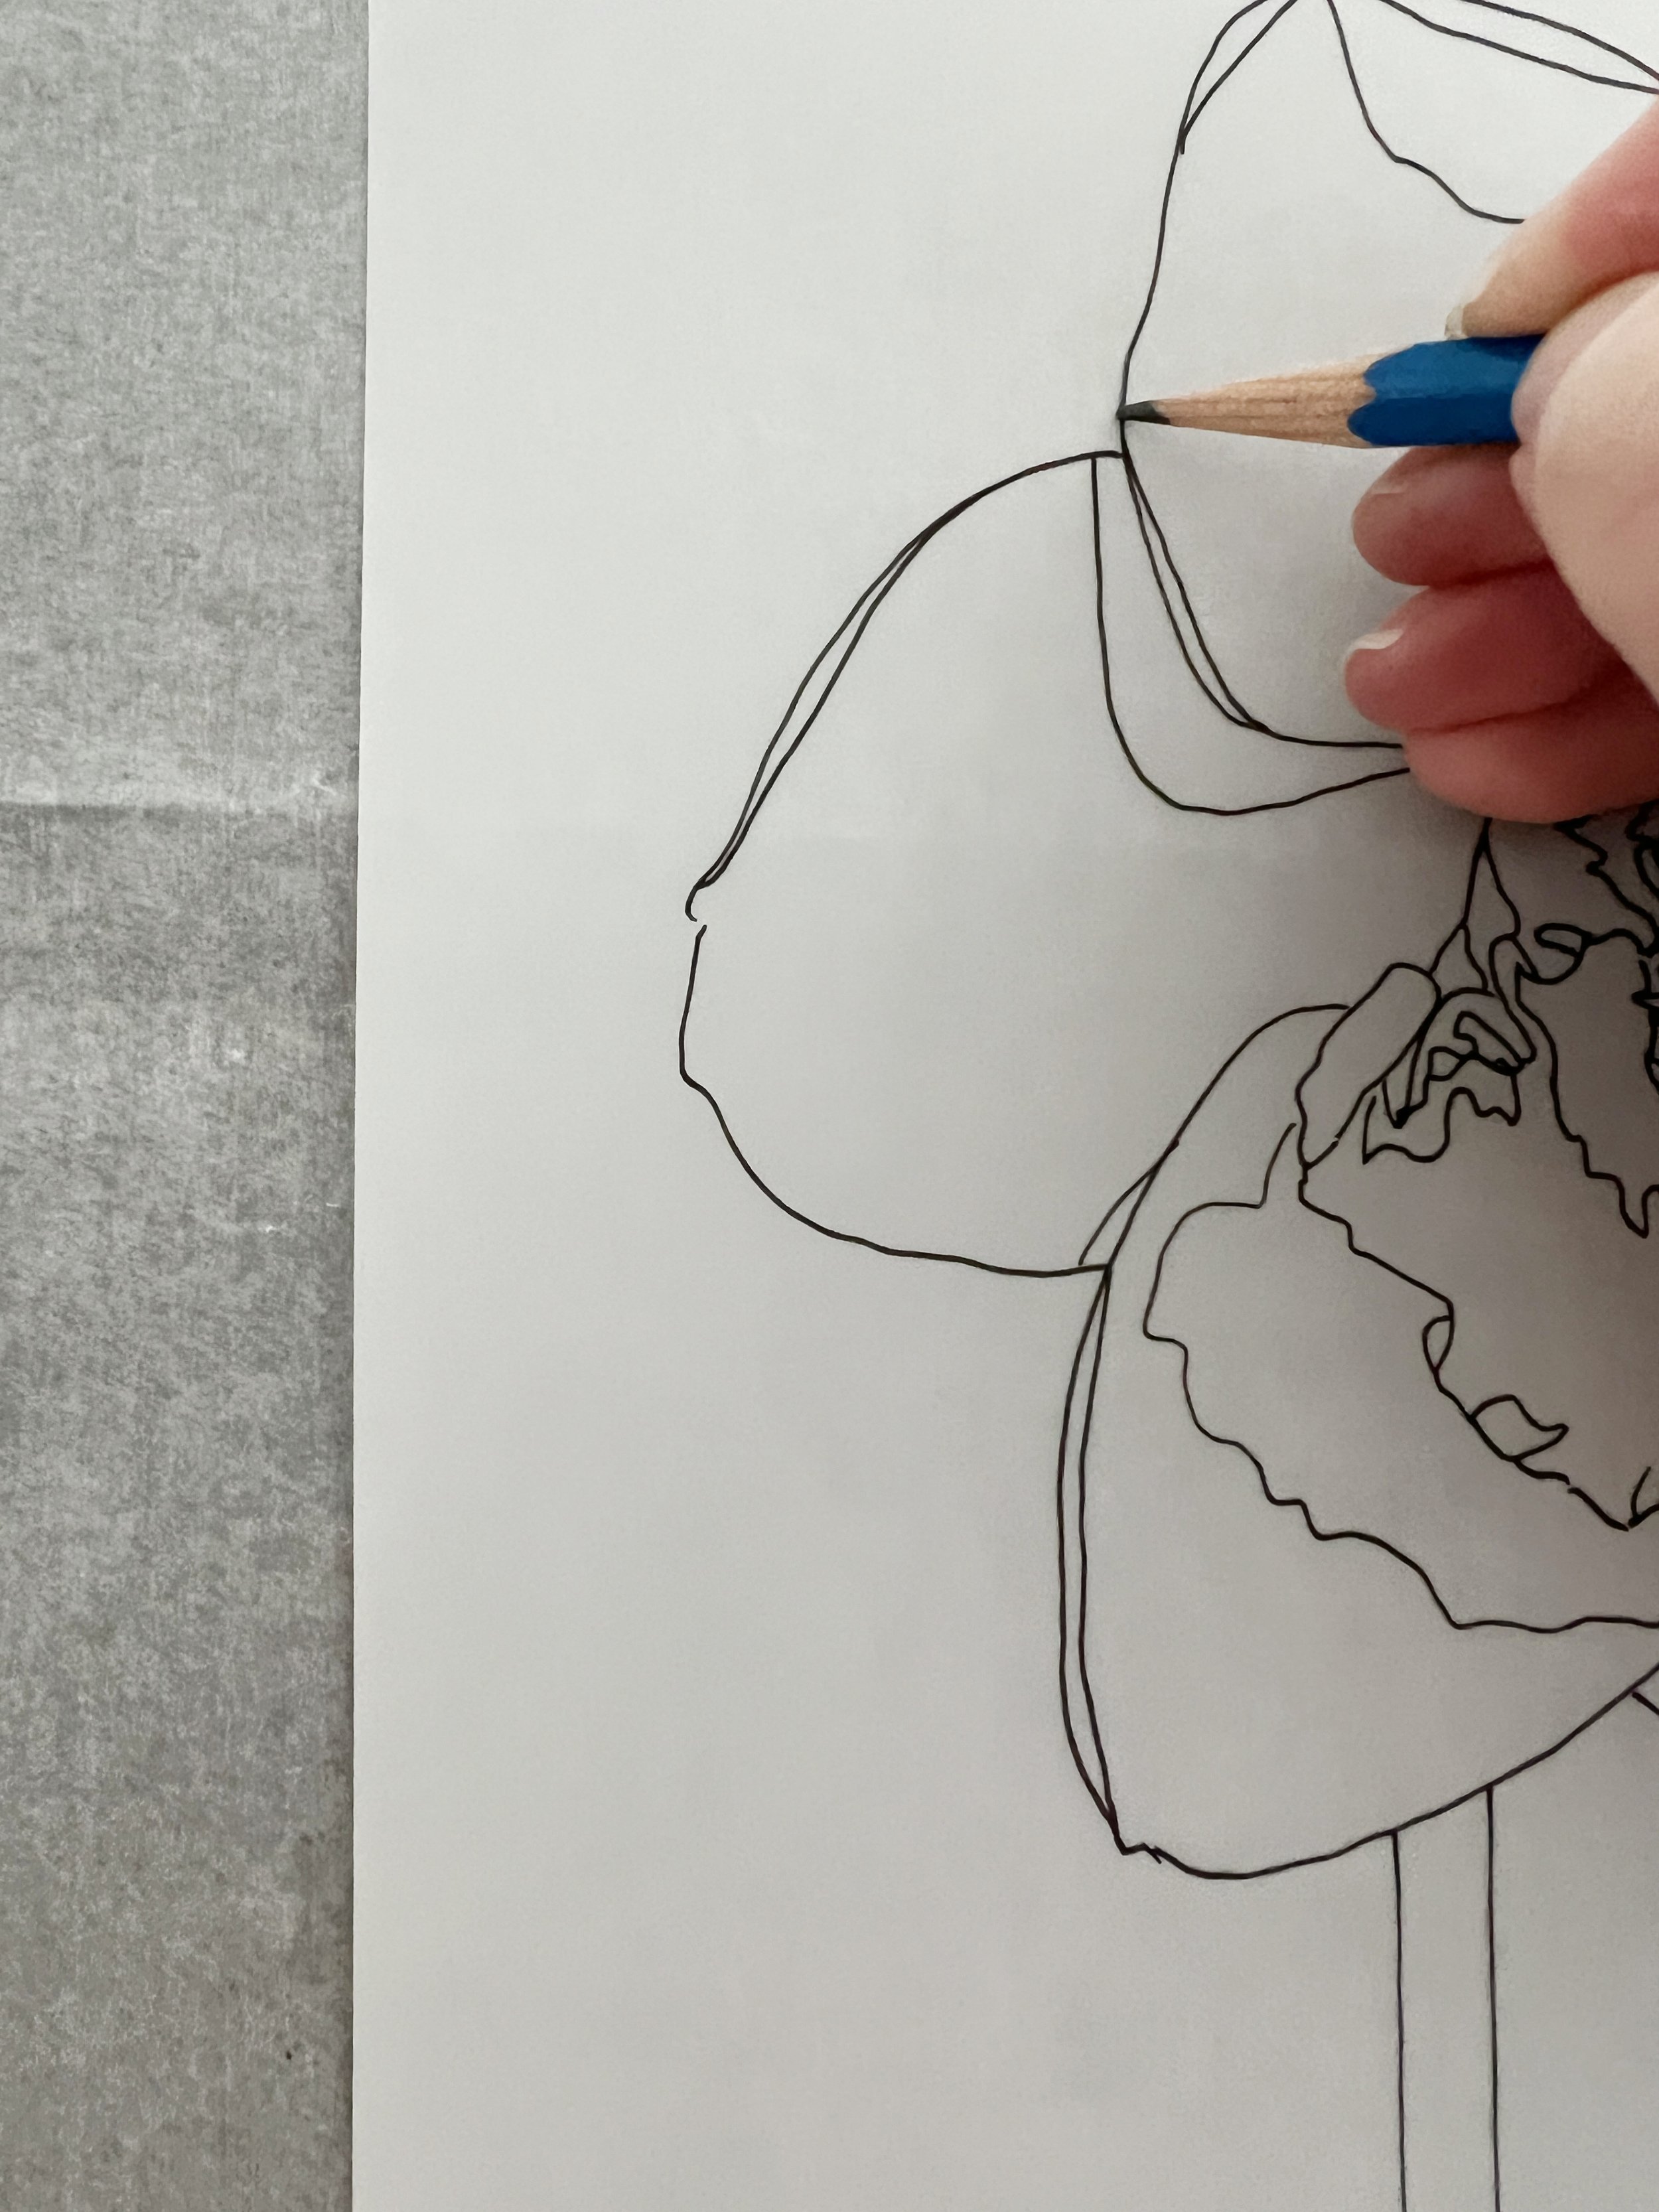
Tracing the daffodil onto the watercolour paper.
Now, using a pencil or stylus, carefully trace over the lines of your sketch. The pressure you apply will cause the graphite from the transfer paper to leave a mark on your watercolour paper. It’s important to find the right balance in the amount of pressure you use:
Too much pressure can lead to dark, heavy lines that might be difficult to erase or could show through your watercolour layers.
Too little pressure might result in faint lines that are hard to see, making it difficult to follow your outline when you start painting.
A good rule of thumb is to use moderate, even pressure - enough to transfer the image clearly, but not so much that it leaves indents or dark marks on the watercolour paper. You can always test on a scrap piece of watercolour paper to gauge the right pressure before you start on your actual piece.
Step 4: Check as You Go
As you trace, it’s a good idea to periodically lift a corner of your sketch and transfer paper to check how the lines are transferring onto the watercolour paper. This helps you ensure that you’re applying the right amount of pressure and that the entire image is transferring accurately. Make sure your sketch is taped to the paper because you don’t want to move it out of aligment.
If you notice that some lines are too faint, you can go over them again with slightly more pressure. If they’re too dark, you can lighten your touch as you continue.
Step 5: Final Adjustments

The line drawing of the daffodil has been transferred to the watercolour paper.
Once you’ve finished tracing, carefully remove the sketch and transfer paper. You should now see a light, clean outline of your original sketch on the watercolour paper. If there are any areas where the lines are too dark, you can gently use a kneaded eraser to lighten them. Avoid rubbing too hard, as this can damage the surface of the watercolour paper.
Using transfer paper is an excellent way to ensure that your sketch is accurately and cleanly transferred to your watercolour paper, providing a strong foundation for your painting. By paying attention to the pressure you apply and checking your progress as you go, you can achieve a precise outline that will guide you as you bring your watercolour masterpiece to life.
Lightbox Tracing: Precision with Ease
Lightbox or light table tracing is a favorite among many artists for its simplicity and precision. Just place your sketch on the lightbox or light table, position your watercolour paper on top, and trace away! The light shines through, allowing you to see your sketch clearly without pressing hard on the paper. This method is perfect if you want a clean, accurate transfer without the risk of damaging the surface of your watercolour paper.
If you use a light box and decide to stretch your watercolour paper, you'll need to transfer the line drawing onto the paper before you stretch it.
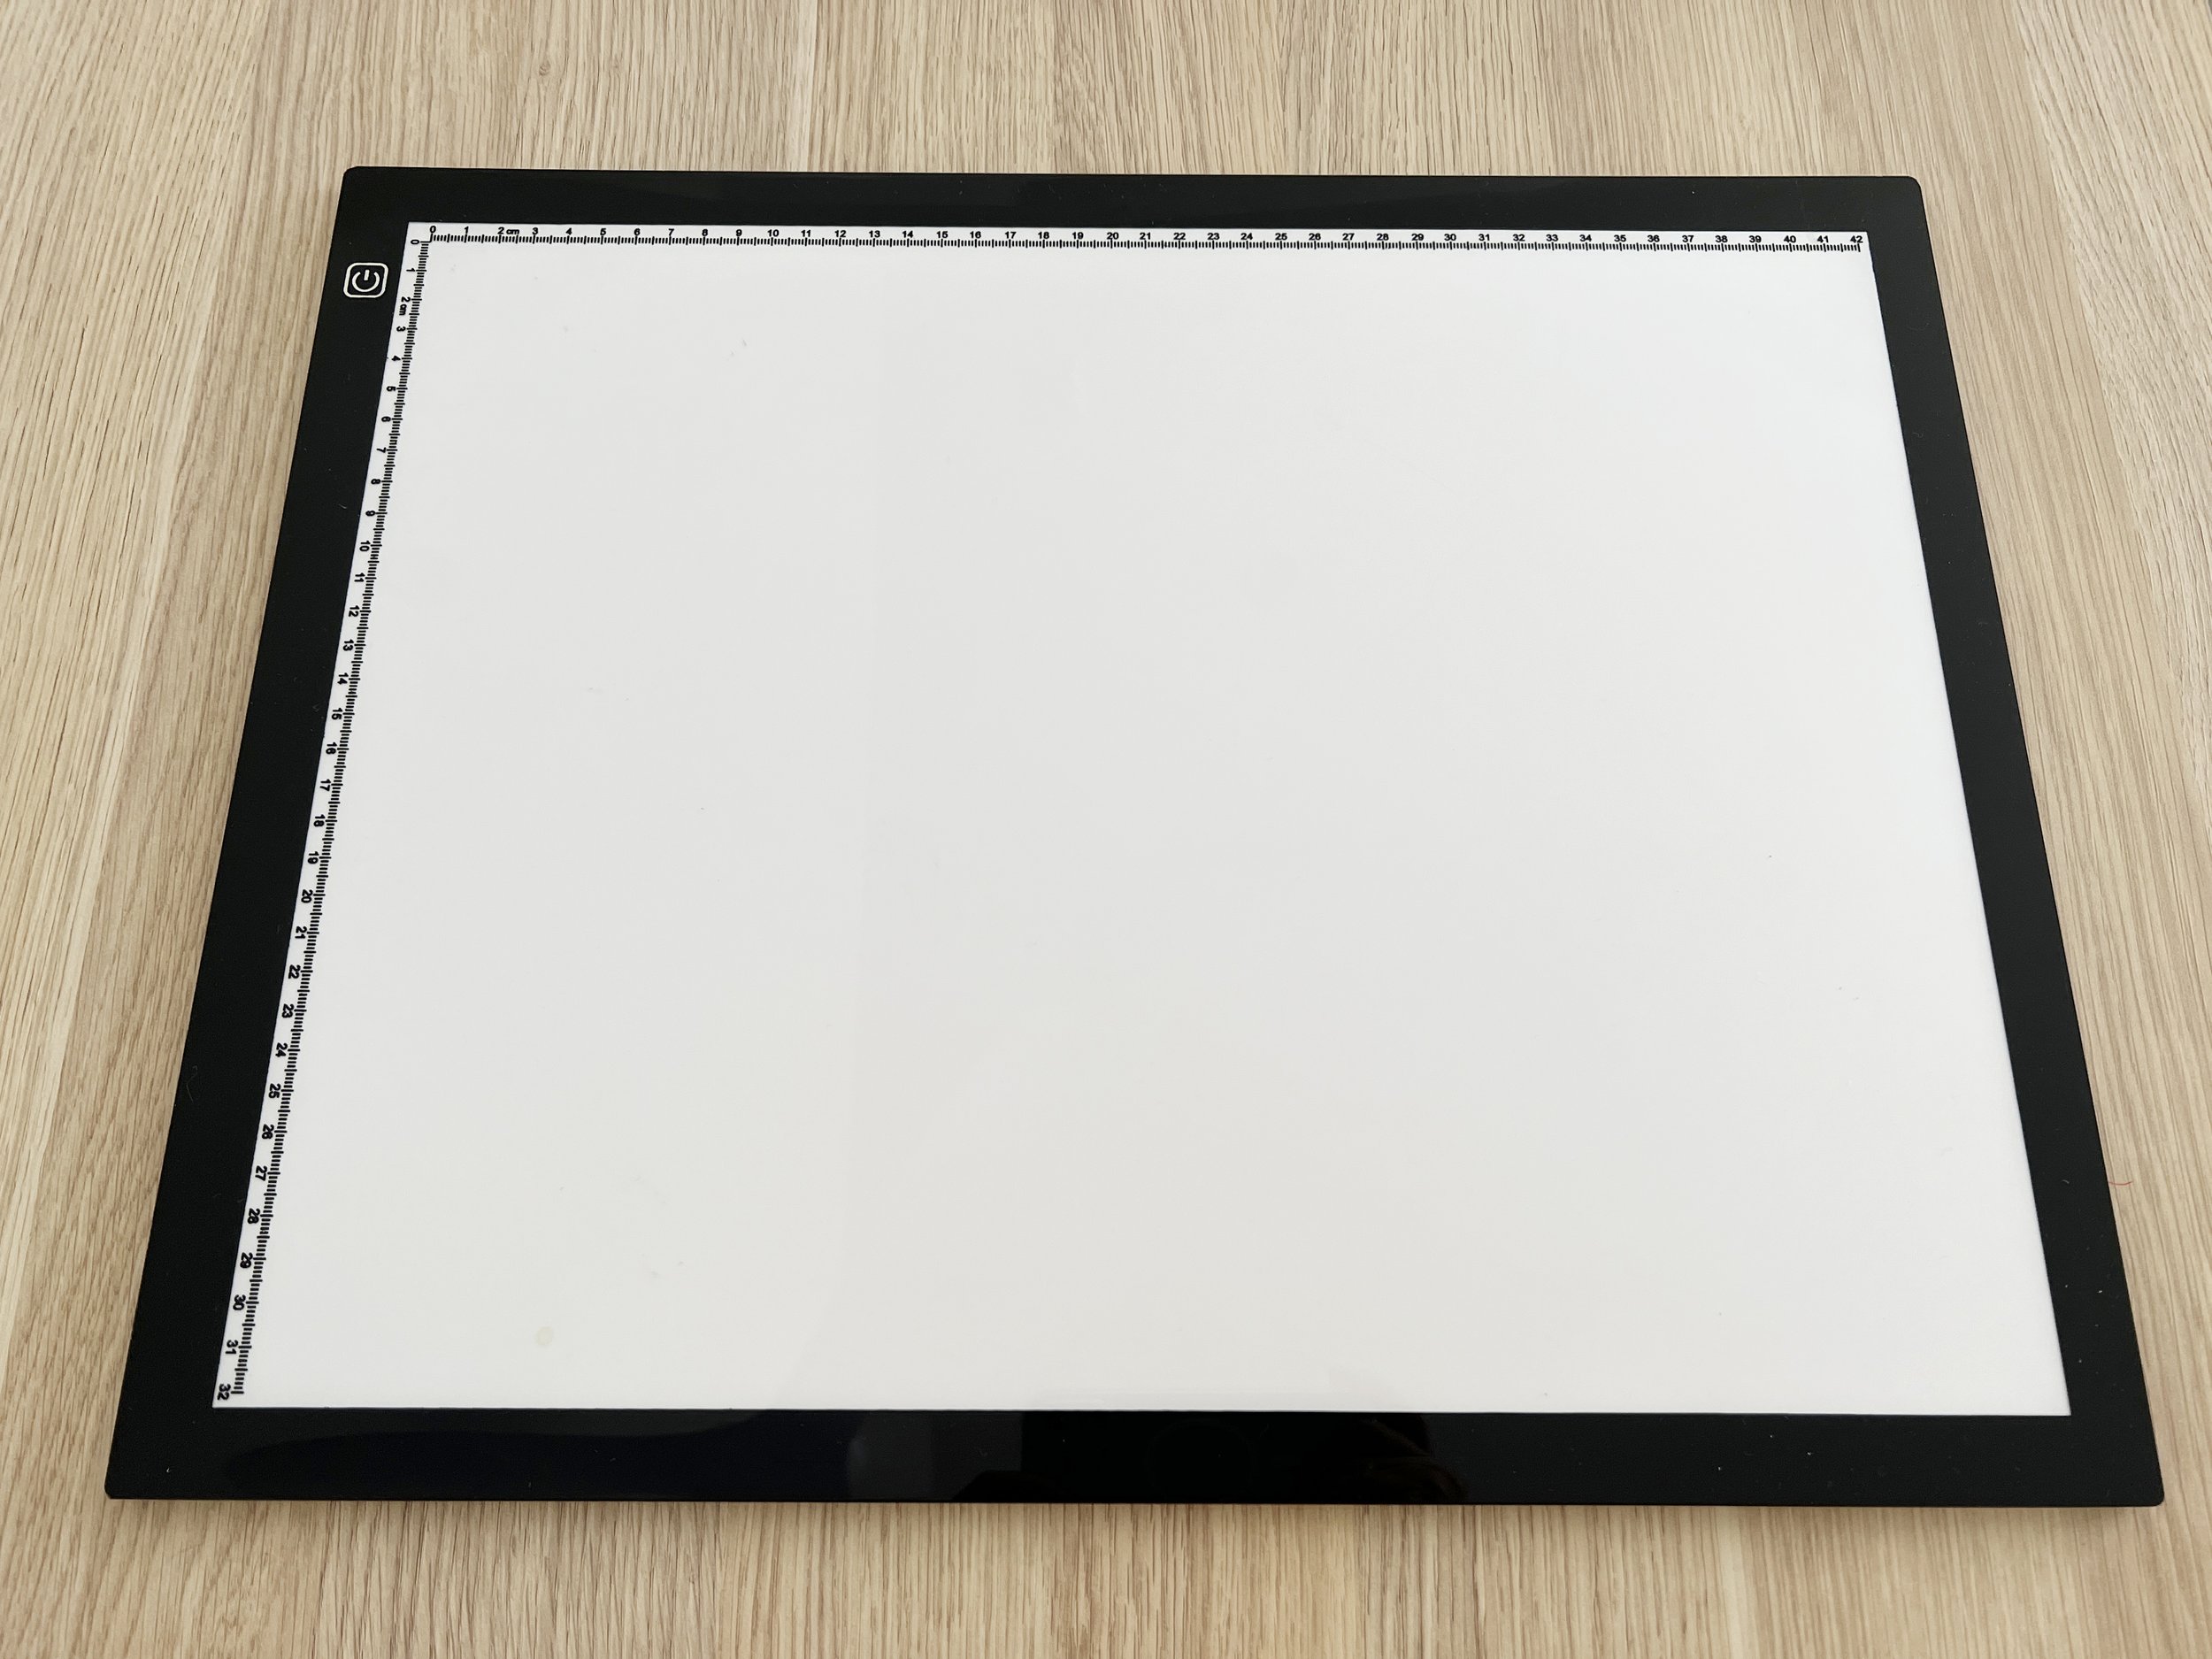
A Lightbox - used for tracing your line drawing into tracing paper.
A little tip from myself: If you don’t have a traditional lightbox, don’t worry - you might already have a substitute right at your fingertips. A tablet with the display settings turned up to full brightness can work beautifully as a lightbox. Simply open a blank white image or use a lightbox app, place your sketch on the screen, and then your watercolour paper on top. The bright display will shine through, allowing you to trace your sketch onto the paper with ease.
Pencil Recommendation: Use an HB or 2H pencil for light, fine lines. These grades are firm enough to avoid smudging and won’t leave heavy marks that could show through your watercolours.
Tracing Paper: A Flexible Tool for Delicate Transfers
Tracing paper offers a versatile option for artists who want to transfer a sketch onto watercolour paper with a bit more flexibility. Unlike transfer paper, tracing paper allows you to first create a refined version of your sketch by tracing over the original.
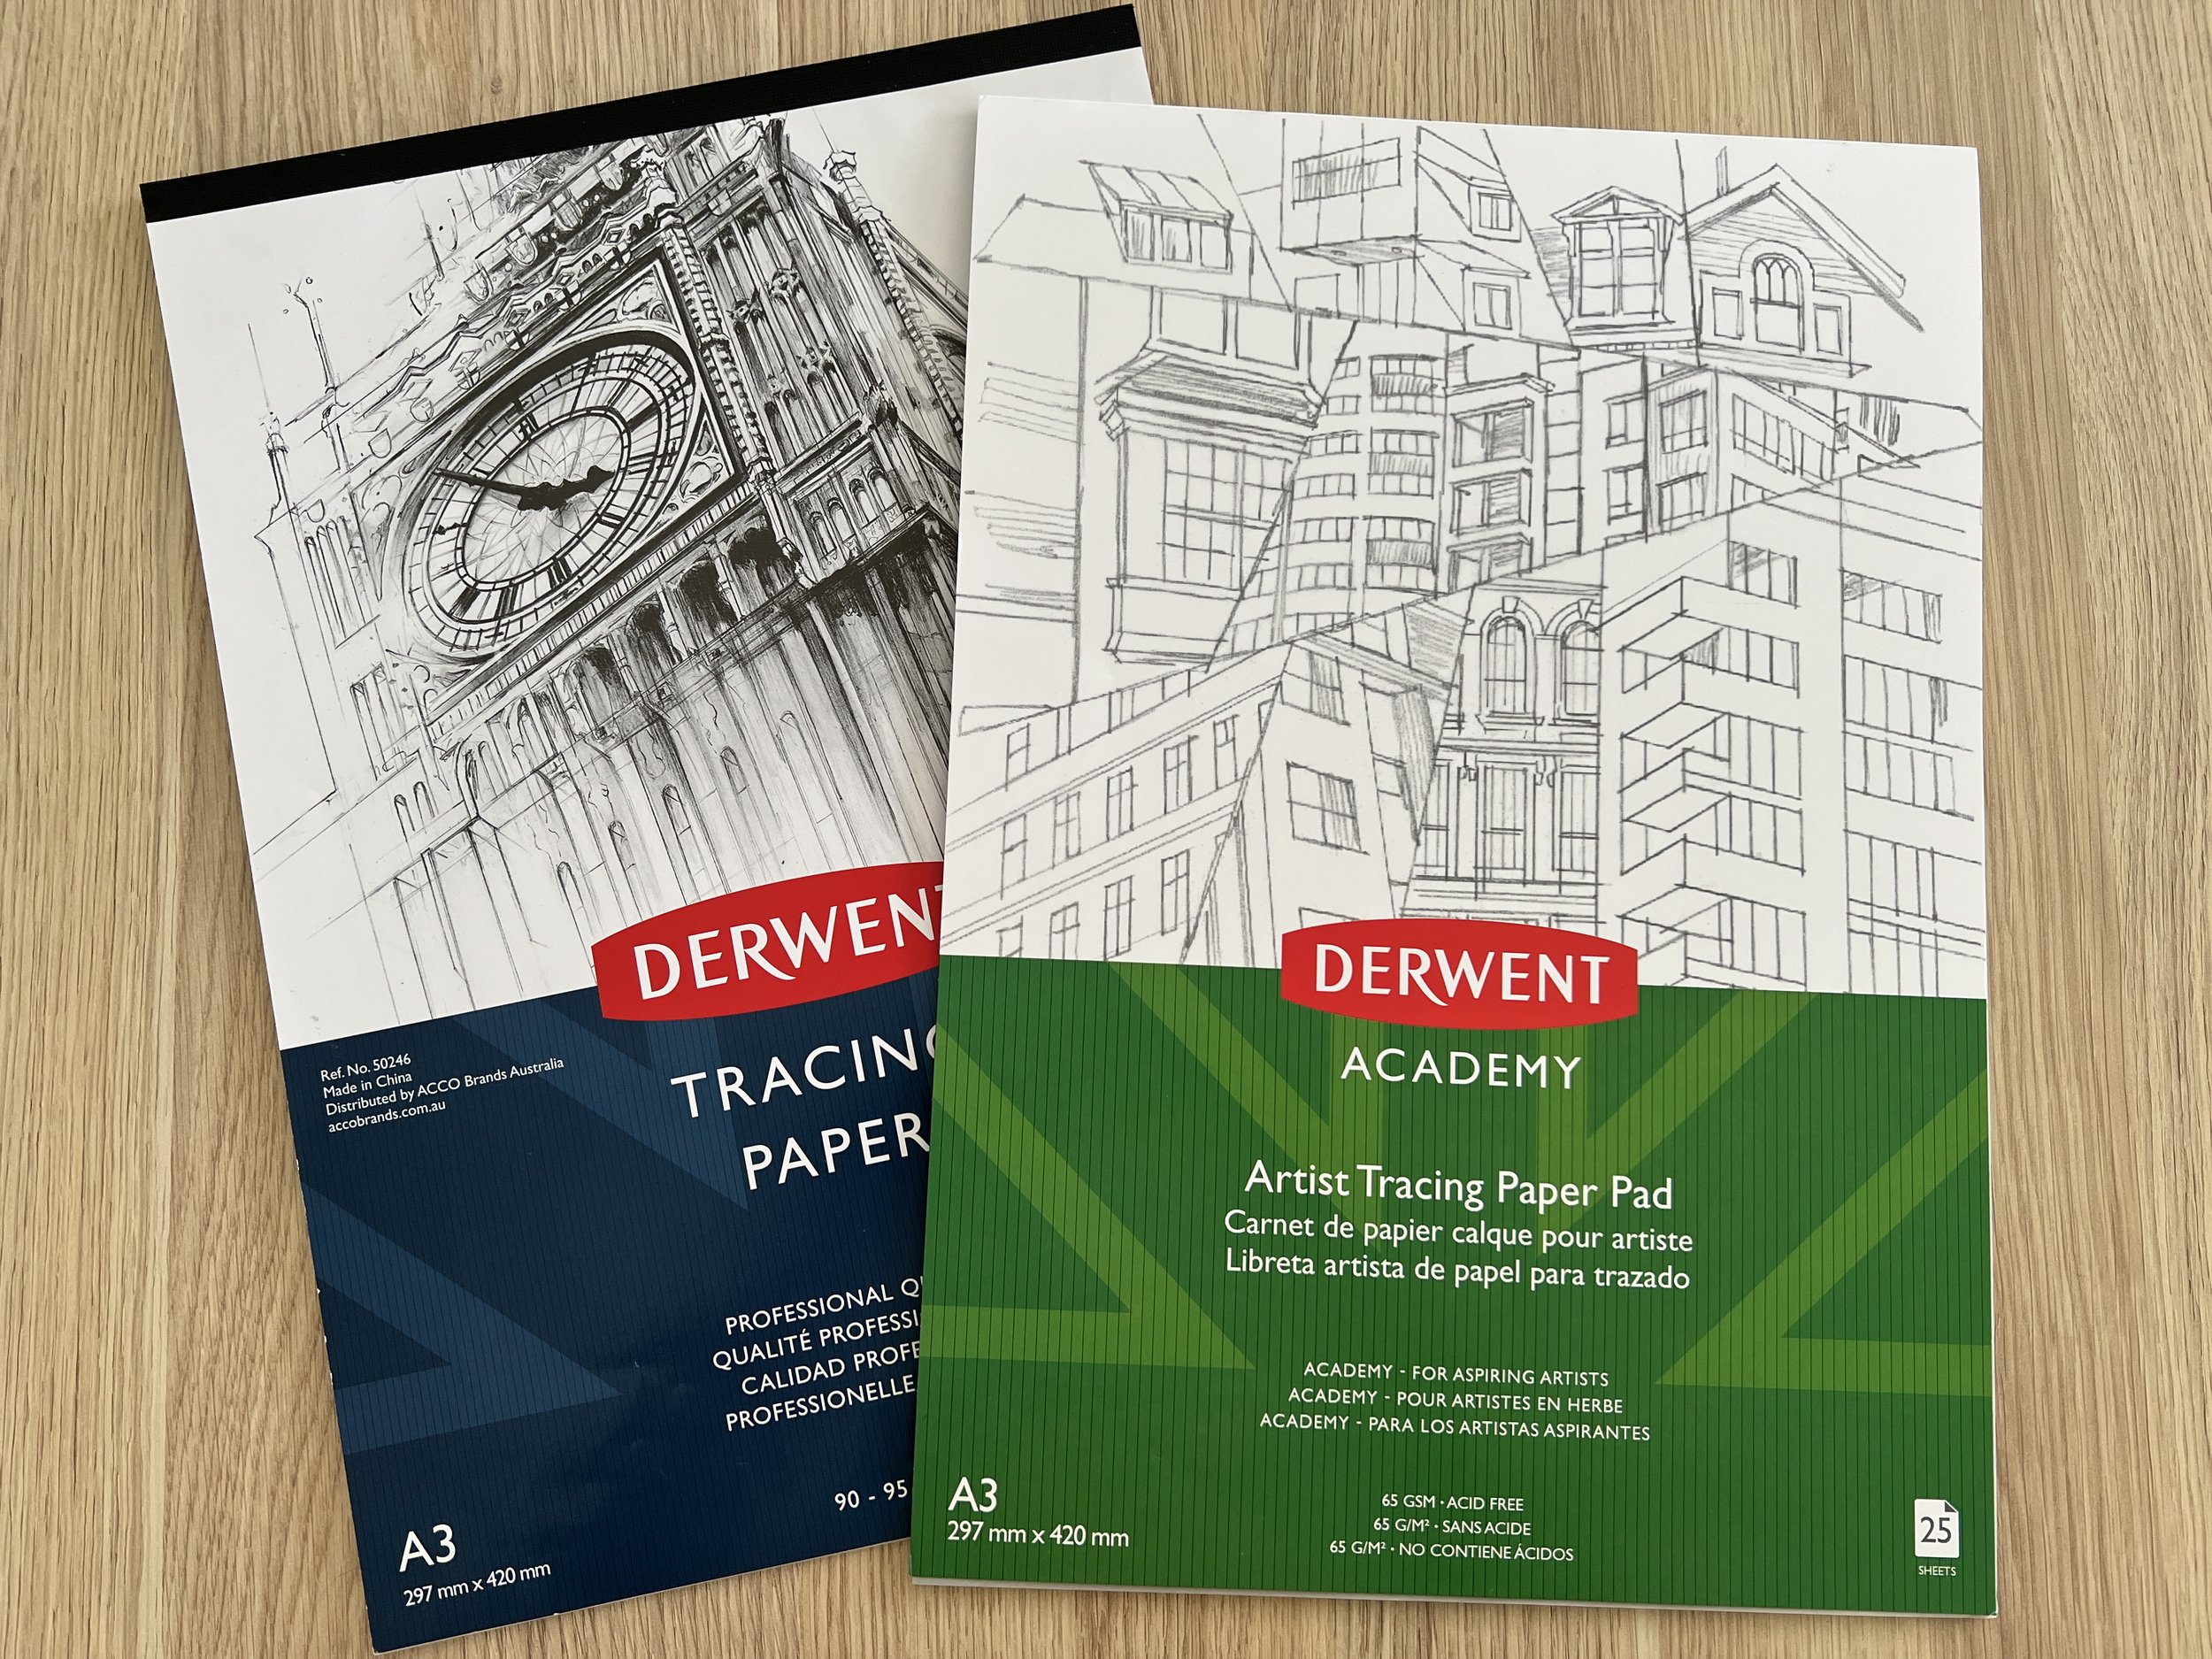
Tracing paper is a staple art supply in my art studio.
This is particularly useful if you need to make adjustments or corrections to your sketch before committing it to watercolour paper. Once you’ve perfected the sketch on tracing paper, you can position it over your watercolour paper and either retrace the lines using graphite or place it on a lightbox to shine through the lines, transferring the image without directly marking the watercolour paper. This method is ideal for preserving the delicate surface of your watercolour paper, giving you more control over the final outcome.
Pencil Recommendation: Use an HB or 2H pencil for tracing, as these grades won’t smudge too easily and will still give you a clear transfer.
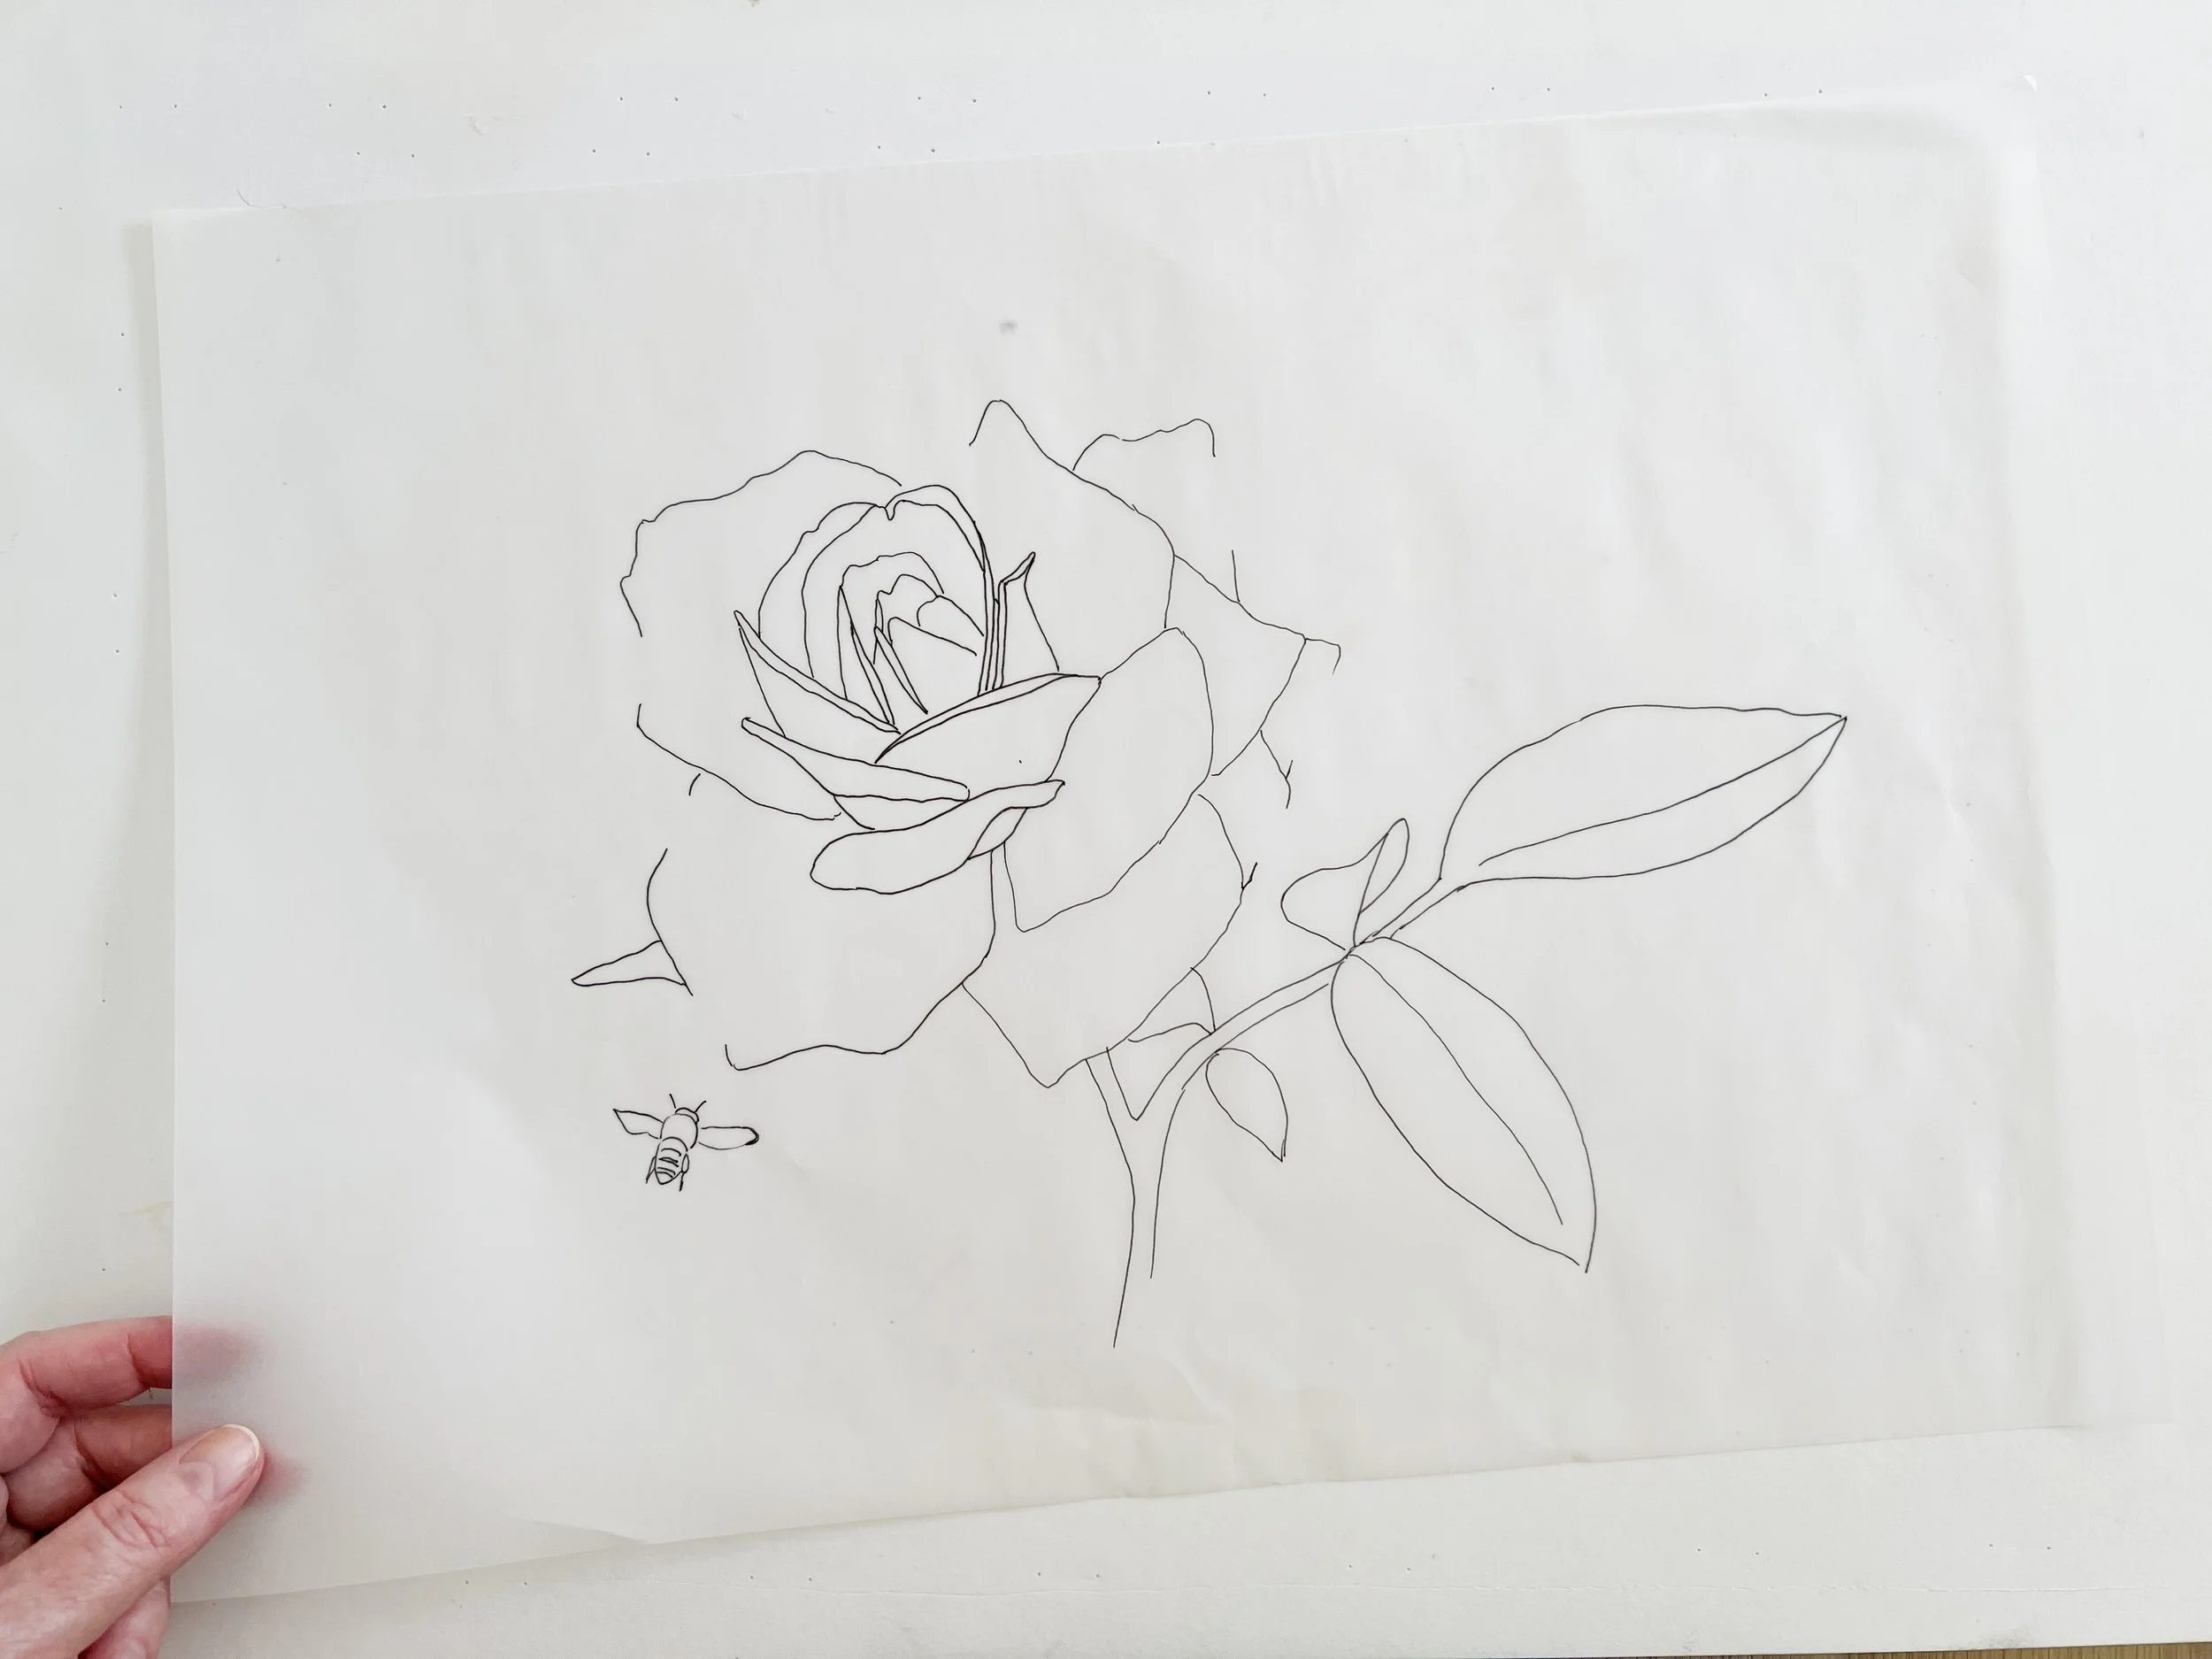
I find it helpful to trace my original image onto a sheet of tracing paper before I transfer it to my watercolour paper. It helps me to perfect the sketch and leave out any unwanted lines.
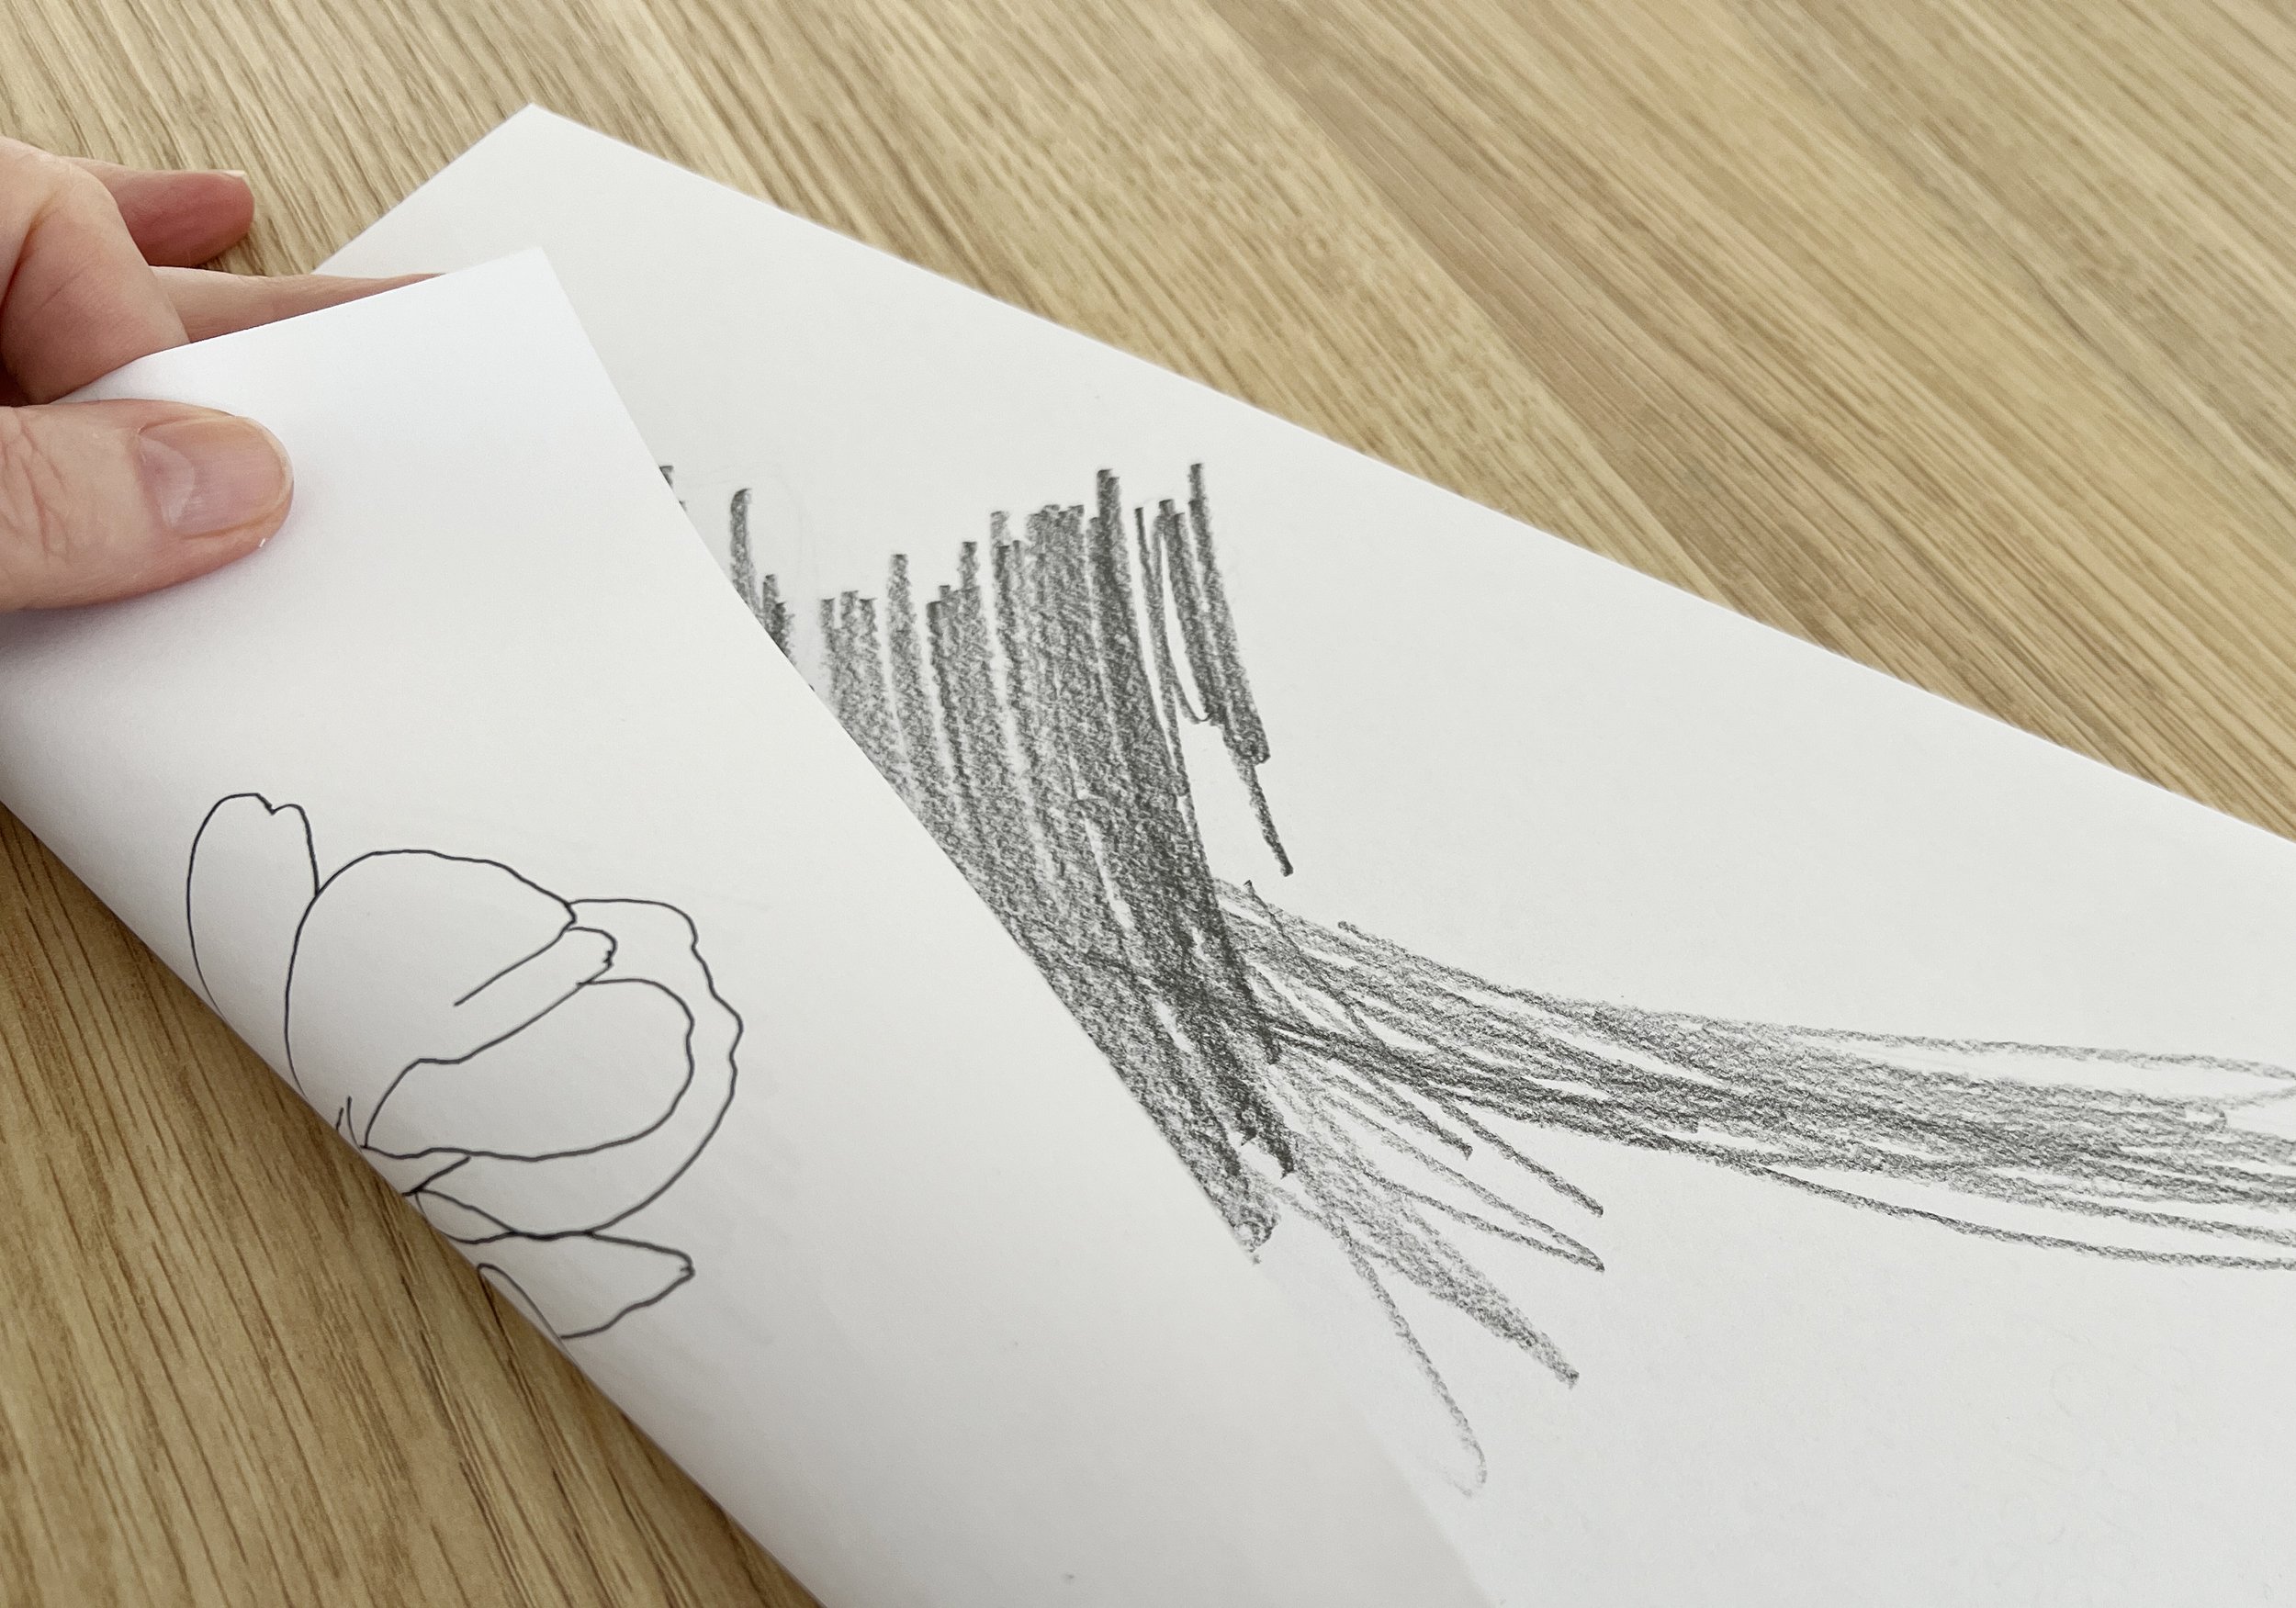
Scribbling on the Back: The DIY Approach
If you don’t have tracing paper or a lightbox, don’t worry! You can always use the good old-fashioned method of scribbling on the back of your sketch or on the back of your printed outline! I offer a traceable line drawing in all my tutorials. Simply print it out and proceed from here. Cover the back of your sketch with graphite, then place it on your watercolour paper and trace over the lines. This transfers the graphite onto the paper.
Pencil Recommendation: A soft pencil like a 4B or 6B is ideal for scribbling on the back because it deposits enough graphite to transfer clearly.

One of my line drawings printed onto paper.
Scribbling with a graphite pencil onto the back of the line drawing.
Projectors: Going Big
For larger pieces or when you need to scale up your sketch, a projector can be a game-changer. Project your image onto the watercolour paper and trace it directly. This method is particularly useful for murals or large compositions where accuracy at scale is crucial.
Pencil Recommendation: Again, an HB or 2H pencil is your best bet to keep the lines of the projected image light and manageable.
The Grid System: Precision with Patience
The grid system is a time-tested technique that involves drawing a grid over your reference image and a corresponding grid on your watercolour paper. Then, you carefully draw what’s in each square, ensuring accuracy in proportions and placement.
Pencil Recommendation: Use a 2H pencil for drawing the grid and sketching, as it’s less likely to smudge and can be erased easily once your sketch is complete.
Drawing Directly on the Paper: Confidence is Key
Of course, you can always add a hand drawn sketch directly on your watercolour paper, especially if you’re feeling confident about your sketching skills. The only downside is that too much erasing can damage the delicate surface of your paper, leaving it rough and difficult to paint on.
Pencil Recommendation: A 2H or even a non-photo blue pencil can be great here. The non-photo blue is particularly interesting as it doesn’t show up in scans or photos, making it a good option if you plan to digitize your work later.
Choosing the Right Eraser
When it comes to erasing on watercolour paper, you’ll want to be gentle. A kneaded eraser is your best friend here. It’s soft and pliable, allowing you to lift graphite off the paper without rubbing too hard. For stubborn marks, a soft vinyl eraser can also work, but use it sparingly to avoid damaging the paper.

Kneadable erasers.
Preventing Smudging: A Quick Tip
Smudging can be a pesky issue, especially when working with softer pencils like a 4B or 6B. To prevent this, place a clean sheet of paper under your hand while you work. This simple trick can help keep your sketch clean and your watercolour paper pristine. You can also use a single finger drawing or touch glove.
Paper Quality Considerations
Not all watercolour papers are created equal, and the texture of your paper can impact how well your sketch transfers. Cold-pressed paper, with its rougher texture, might require a bit more pressure to transfer a sketch clearly, while hot-pressed paper, which is smoother and offers a flat surface, will transfer more easily but may show more graphite marks. It’s always a good idea to test your method on a scrap piece of the same paper before committing to your final piece.

Assorted watercolour pads.
Digitizing Considerations
If you plan to digitise your artwork, keep in mind how your sketch transfer process might affect the final digital image. For instance, if any pencil marks remain visible, they might show up in your scan or photograph. Non-photo blue pencils can be a great solution here, as they typically don’t appear in digital scans, allowing you to retain clean, sharp lines in your final artwork.
Is it “Cheating”?
Let’s address the elephant in the room - some artists worry that using transfer techniques is “cheating.” But the truth is, these methods are just tools to help you achieve the best possible outcome in your work. Transferring a sketch is about efficiency and ensuring accuracy, not cutting corners.
After all, the magic happens in the painting process, where your creativity truly shines. So, if using a lightbox or tracing paper helps you get there, embrace it!
Wrapping Up: Embrace the Process
Transferring a sketch to watercolour paper is just one of the many steps in your creative journey, and it’s important to remember that each artist’s process is unique. Whether you prefer the precision of a lightbox, the simplicity of tracing paper, or the hands-on approach of drawing directly on the paper, the goal is to make the process work for you.
Experiment with these techniques, find what feels most natural, and most importantly, enjoy the art of creation.
Remember, the way you transfer your sketch doesn’t define your talent or your creativity - it’s just a tool to help bring your vision to life. So, take a deep breath, trust your instincts, and let your watercolour journey unfold.
Happy painting, and may your colours always be vibrant! 🎨
Warm regards,
Louise
If you are interested in learning to paint in watercolour, I have over 200 online, voiced over watercolour tutorials for all skill levels.


