Posts in Watercolour Techniques
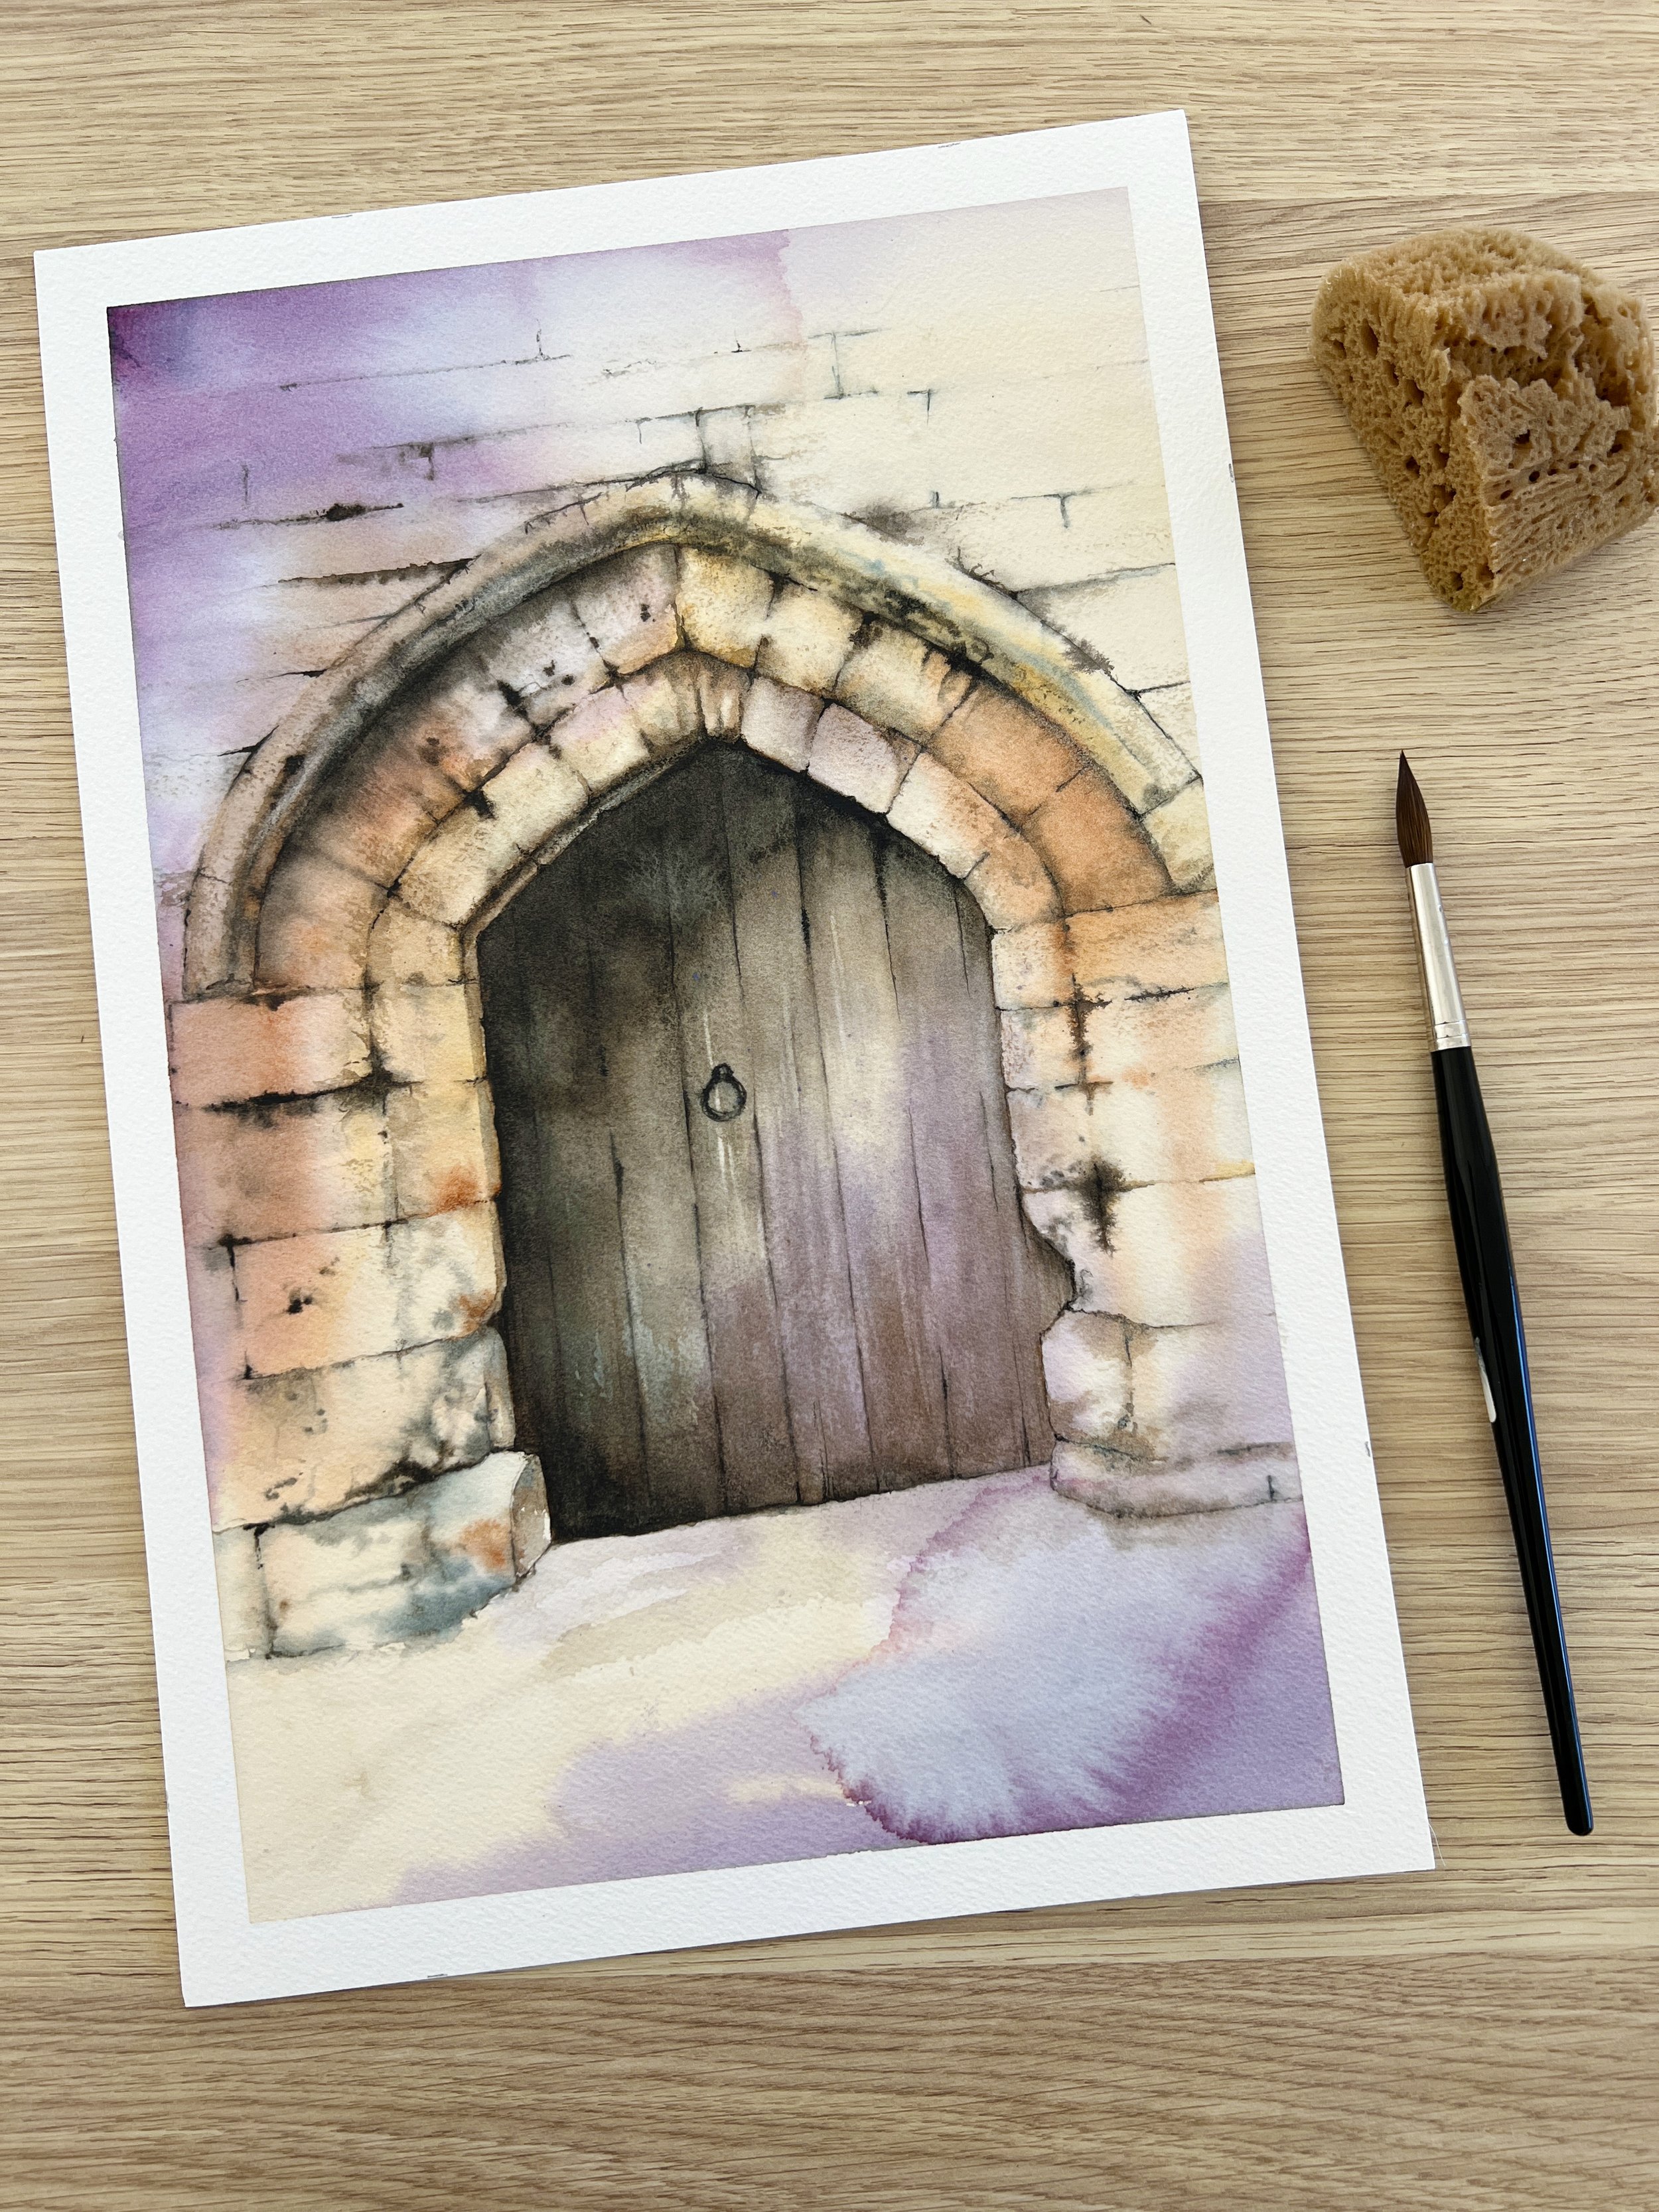
Wet on Wet, Wet on Dry, and Glazing. How do you know when to use each technique?

Unlike the wet-on-dry method, glazing is a technique that allows you to adjust the colour and tone of an existing area without altering its underlying details.

Glazing adds richness and complexity to your watercolour painting by modifying the colour and creating subtle variations, making it a valuable technique for achieving depth and complexity in your artwork.

Read More
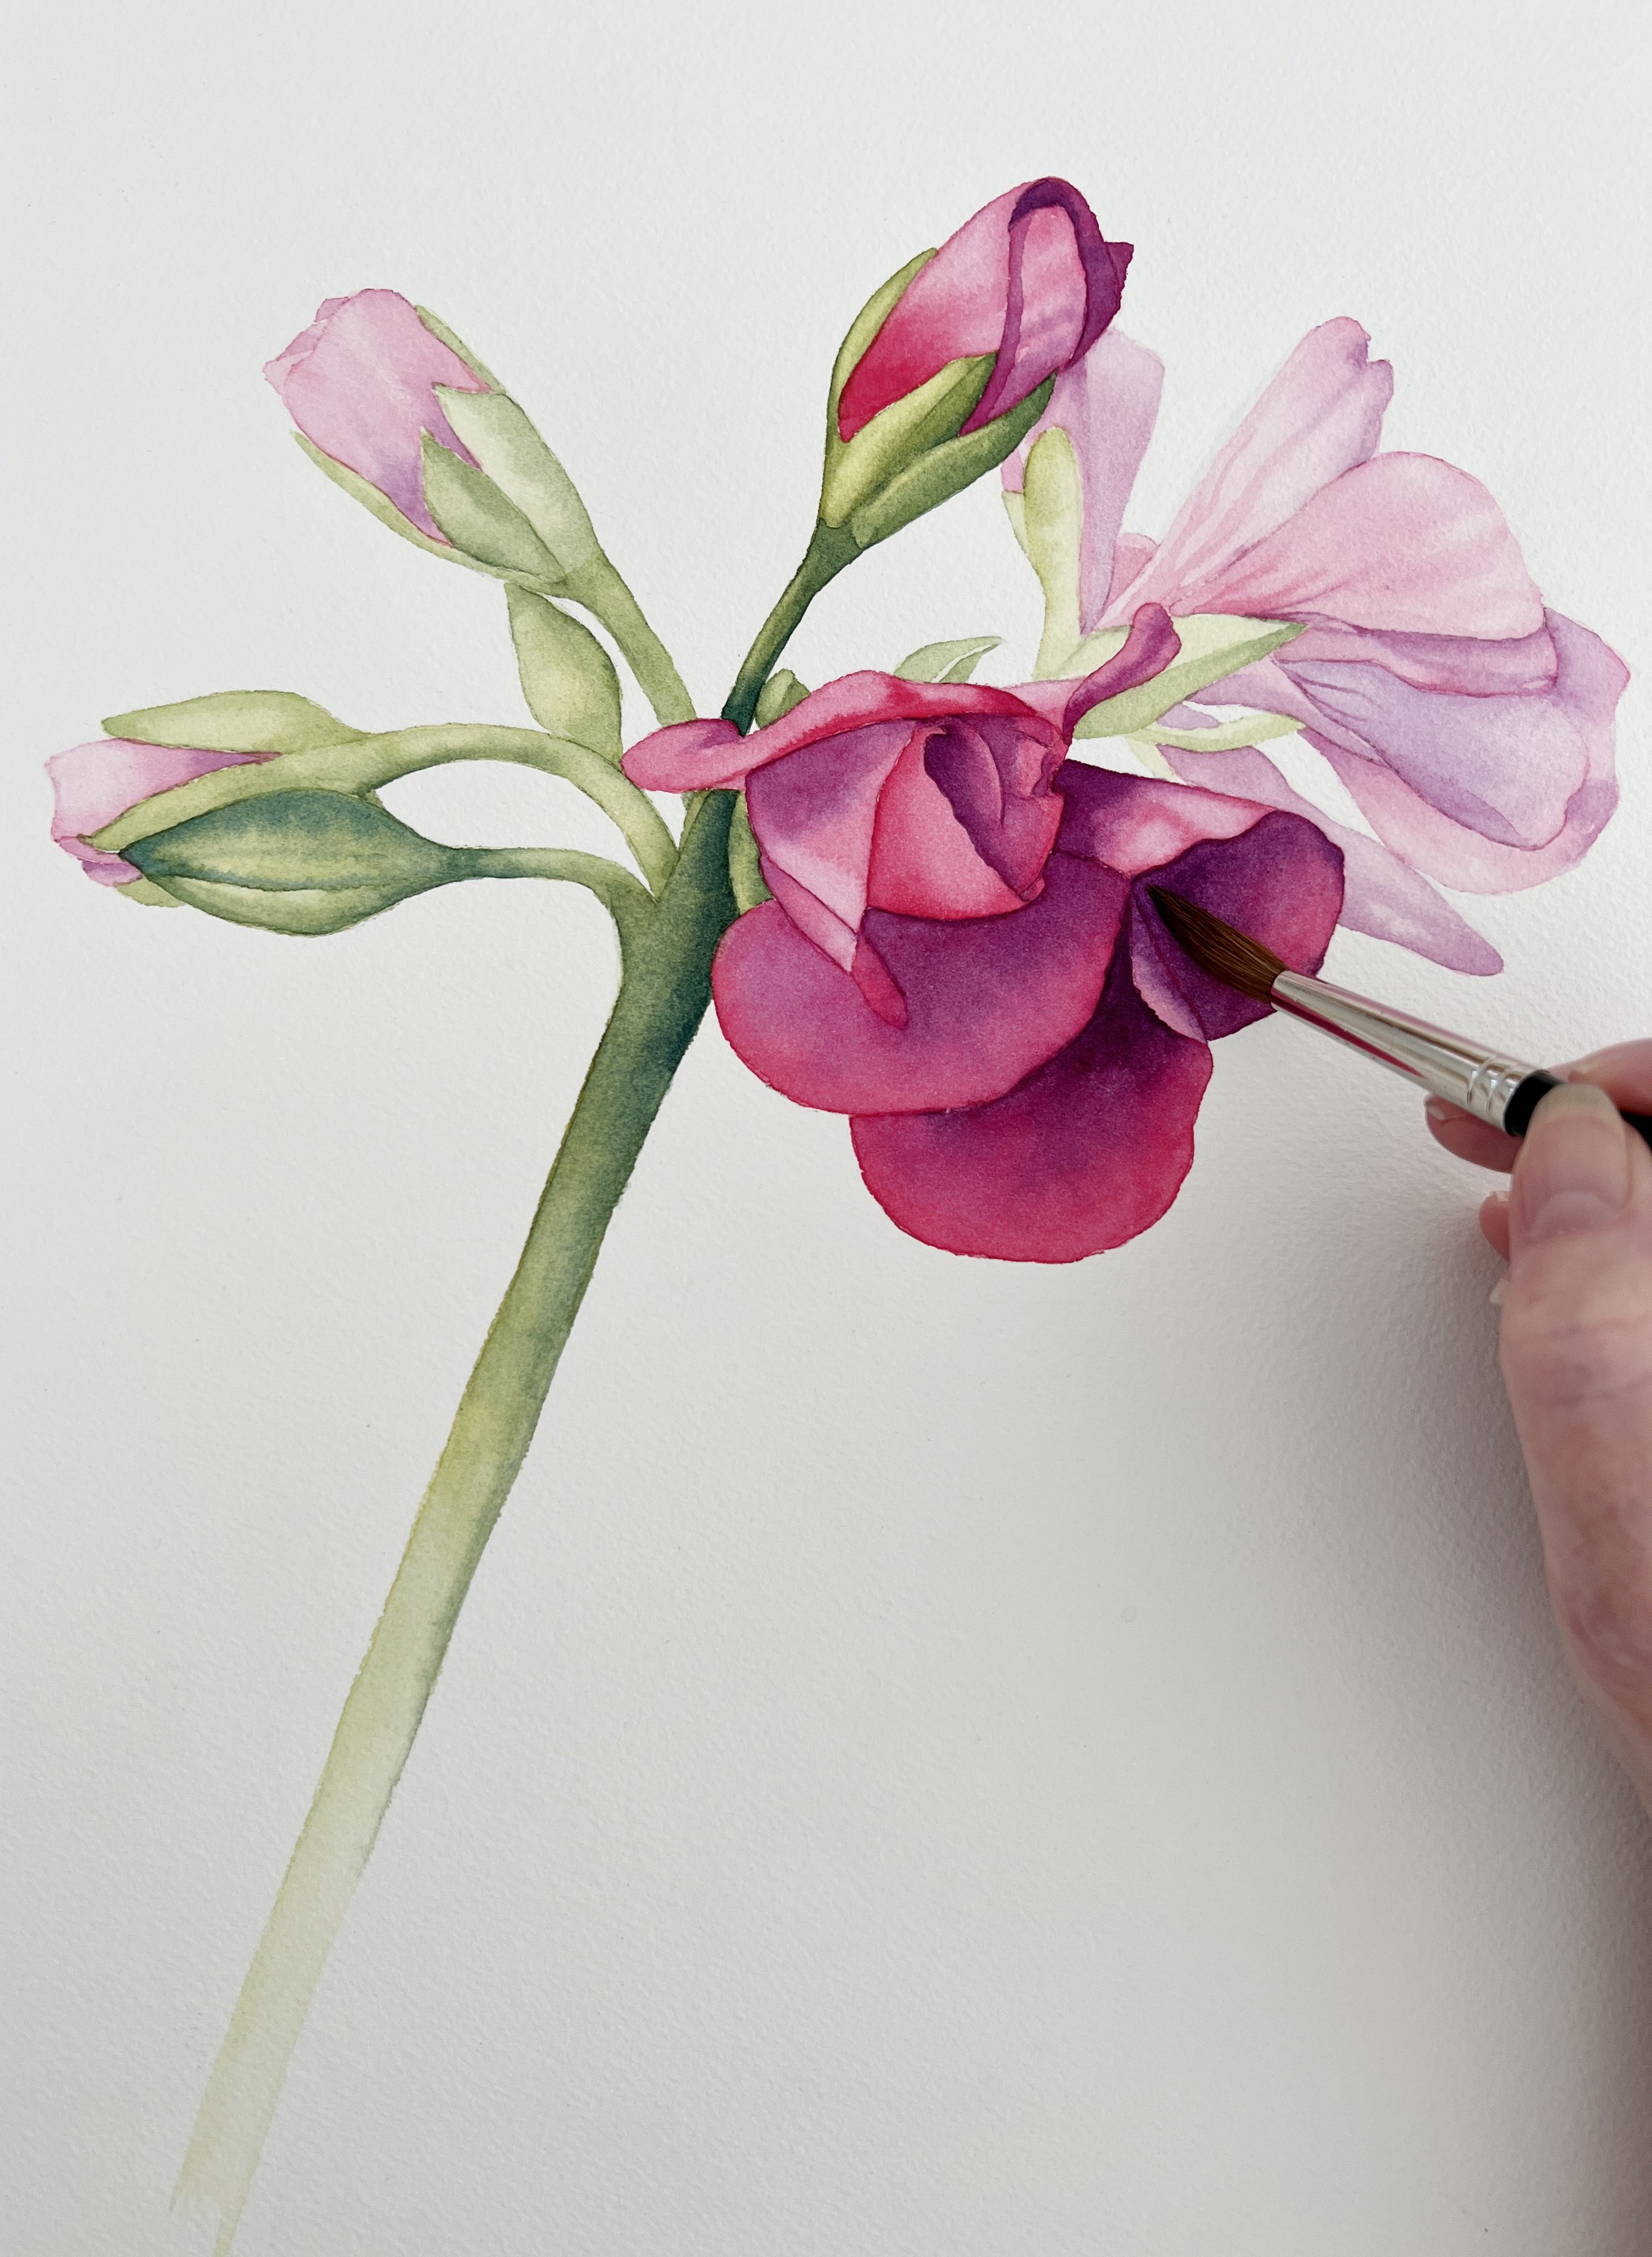
12 things you can do with a wet watercolour wash

Sometimes blooms can be a problem on a painting. For example, if you were painting a clear sky you don't want a bloom to appear on the drying wash. As the drying process advances, you'll notice the paper reaches a certain point where it is no longer entirely wet but not entirely dry either. This 'drying point' is crucial in avoiding blooms. When you reach this stage, resist the urge to continue working in the same area. Instead, shift your focus to other parts of the painting that require attention. Working elsewhere during this stage helps prevent accidental blooms.

Read More
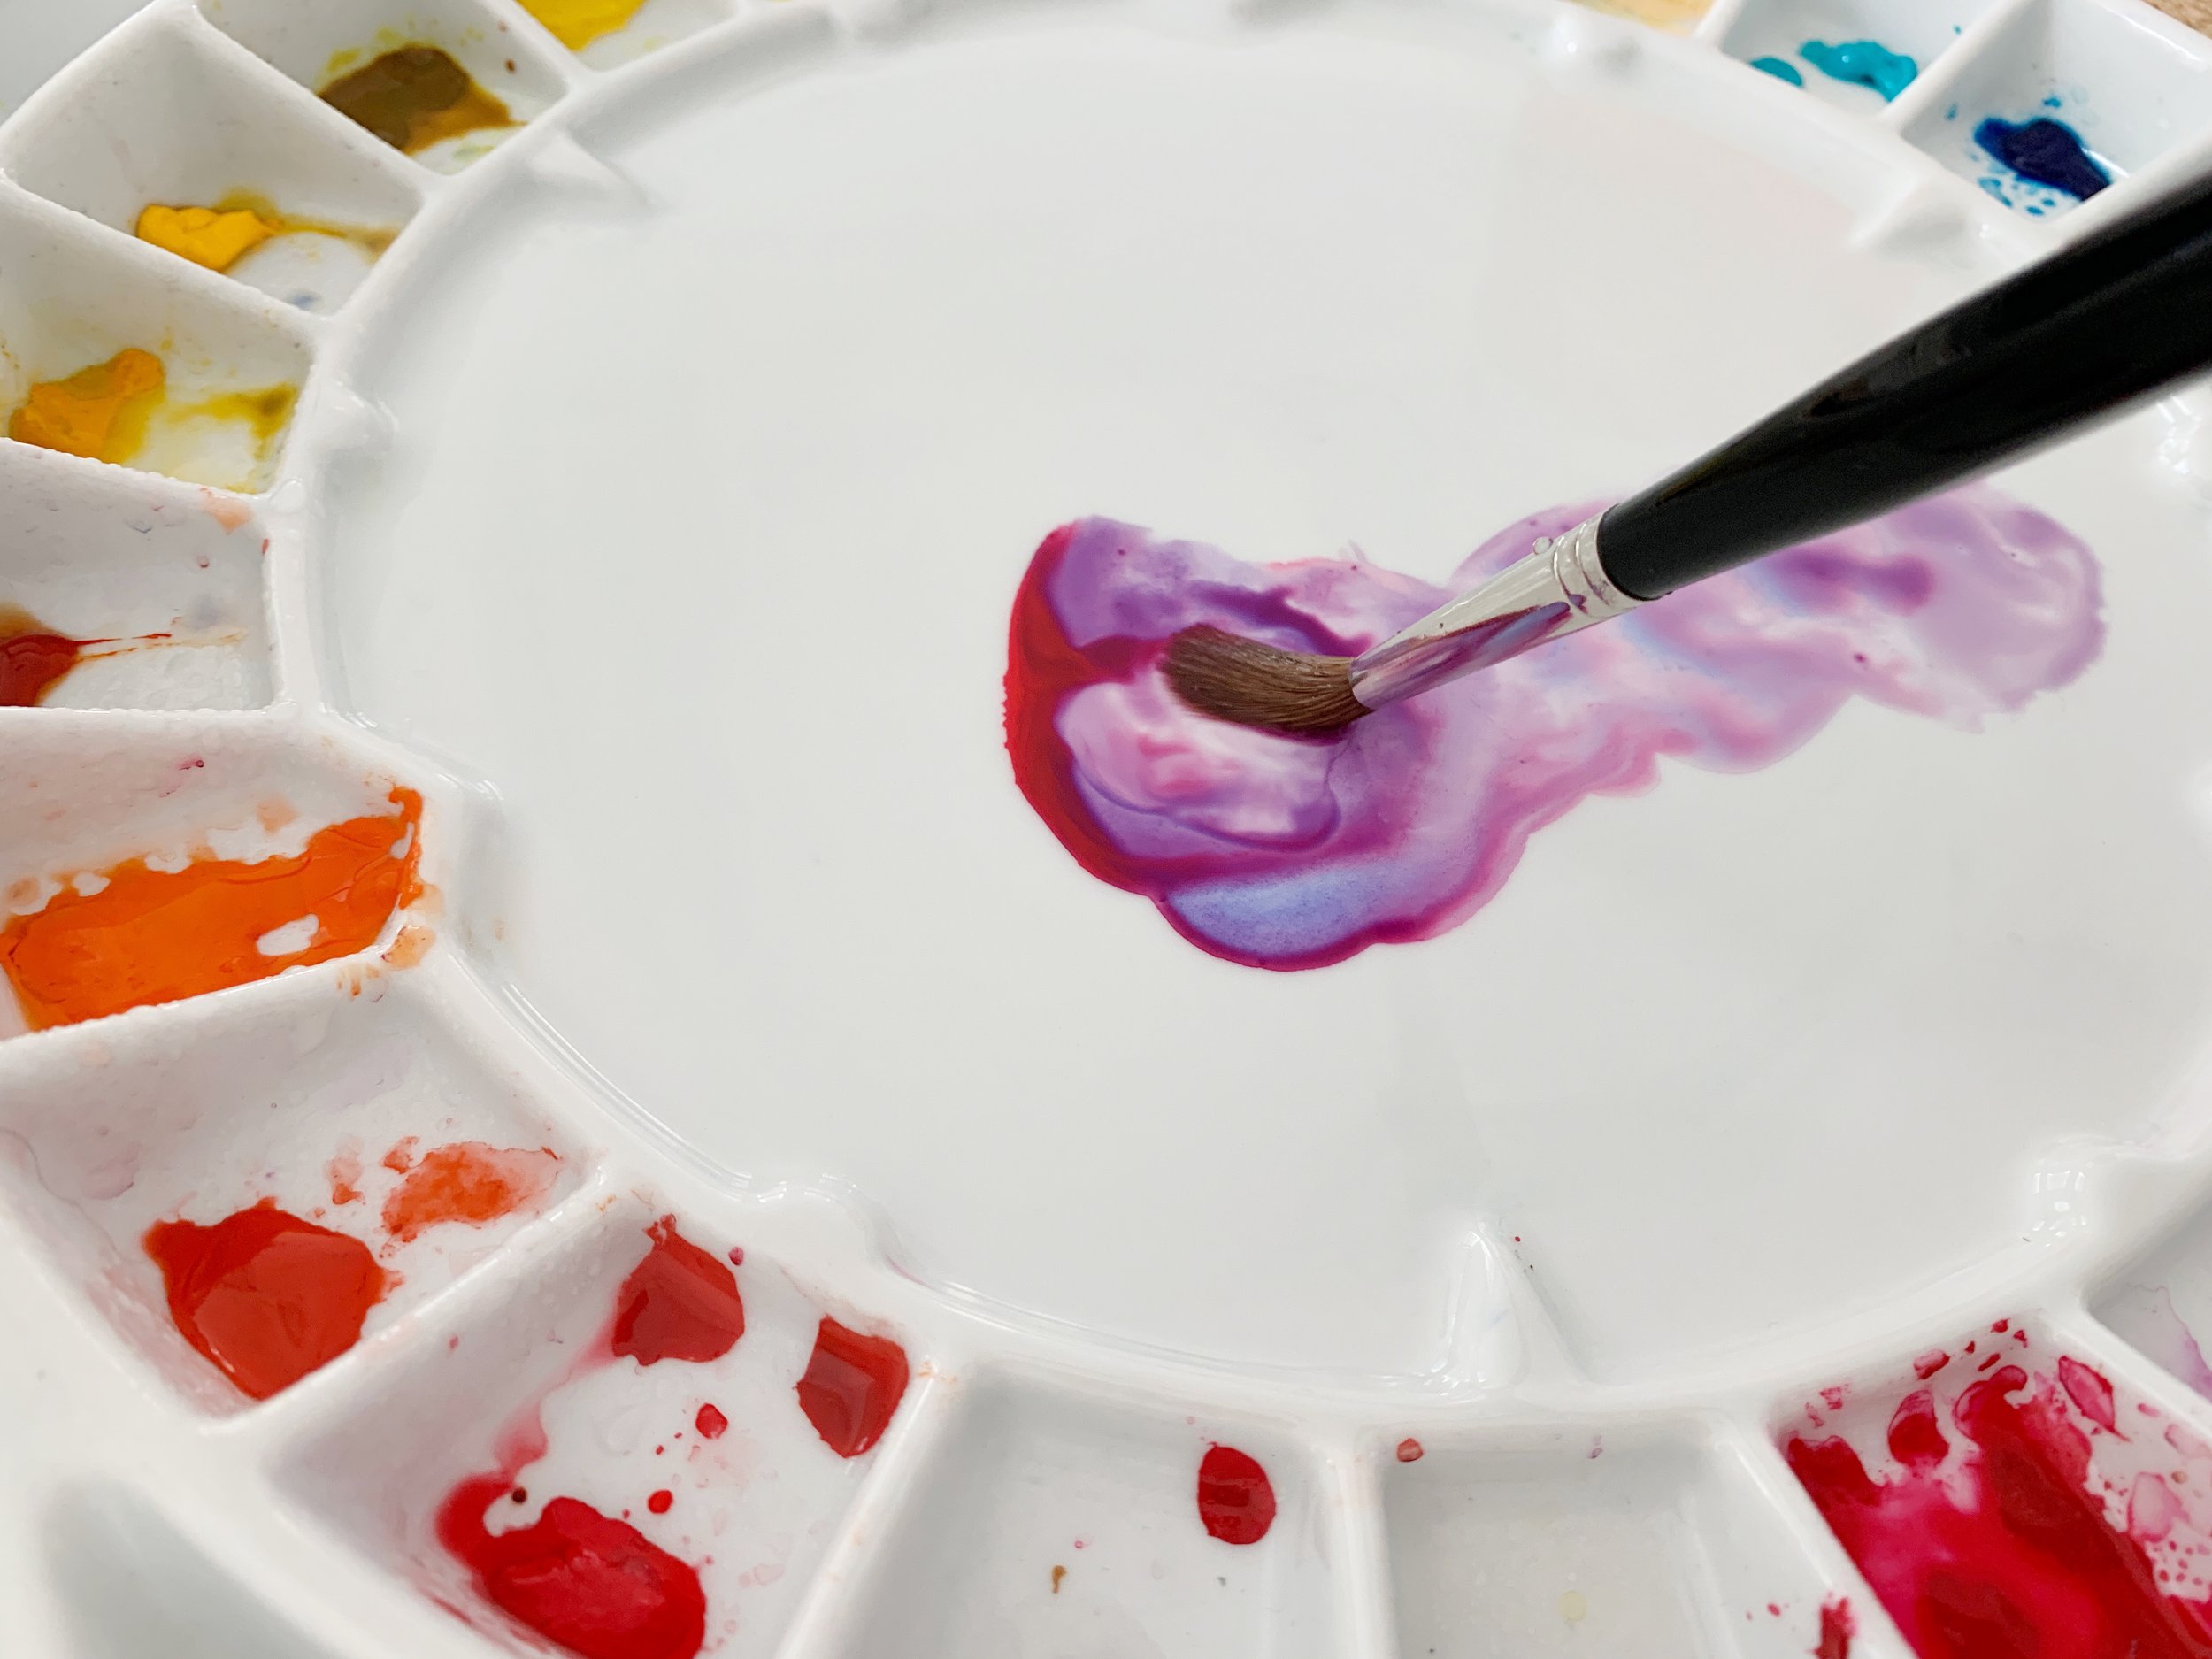
How to Mix Watercolour Paints: My Top 13 Tips

When you mix colours it’s a good idea to start with the lighter colour or the colour that has the lighter value.

For example, if you want to mix green, it’s best to start with yellow and mix blue into it gradually until you reach your desired colour, rather than the other way around where you start with blue and mix yellow into it. Blue has a darker value than yellow- it is more dominant than yellow.

Doing it this way will reduce paint wastage.

Read More
Watercolour Negative Painting Tutorial

It's called negative painting because it refers to the technique of painting or utilising the area of negative space around a subject. You are effectively, painting the negative spaces in order to leave the positive shapes.

Negative spaces on a painting are those empty areas that surround your subject. The positive spaces or positive shapes, are the subject itself.

Read More
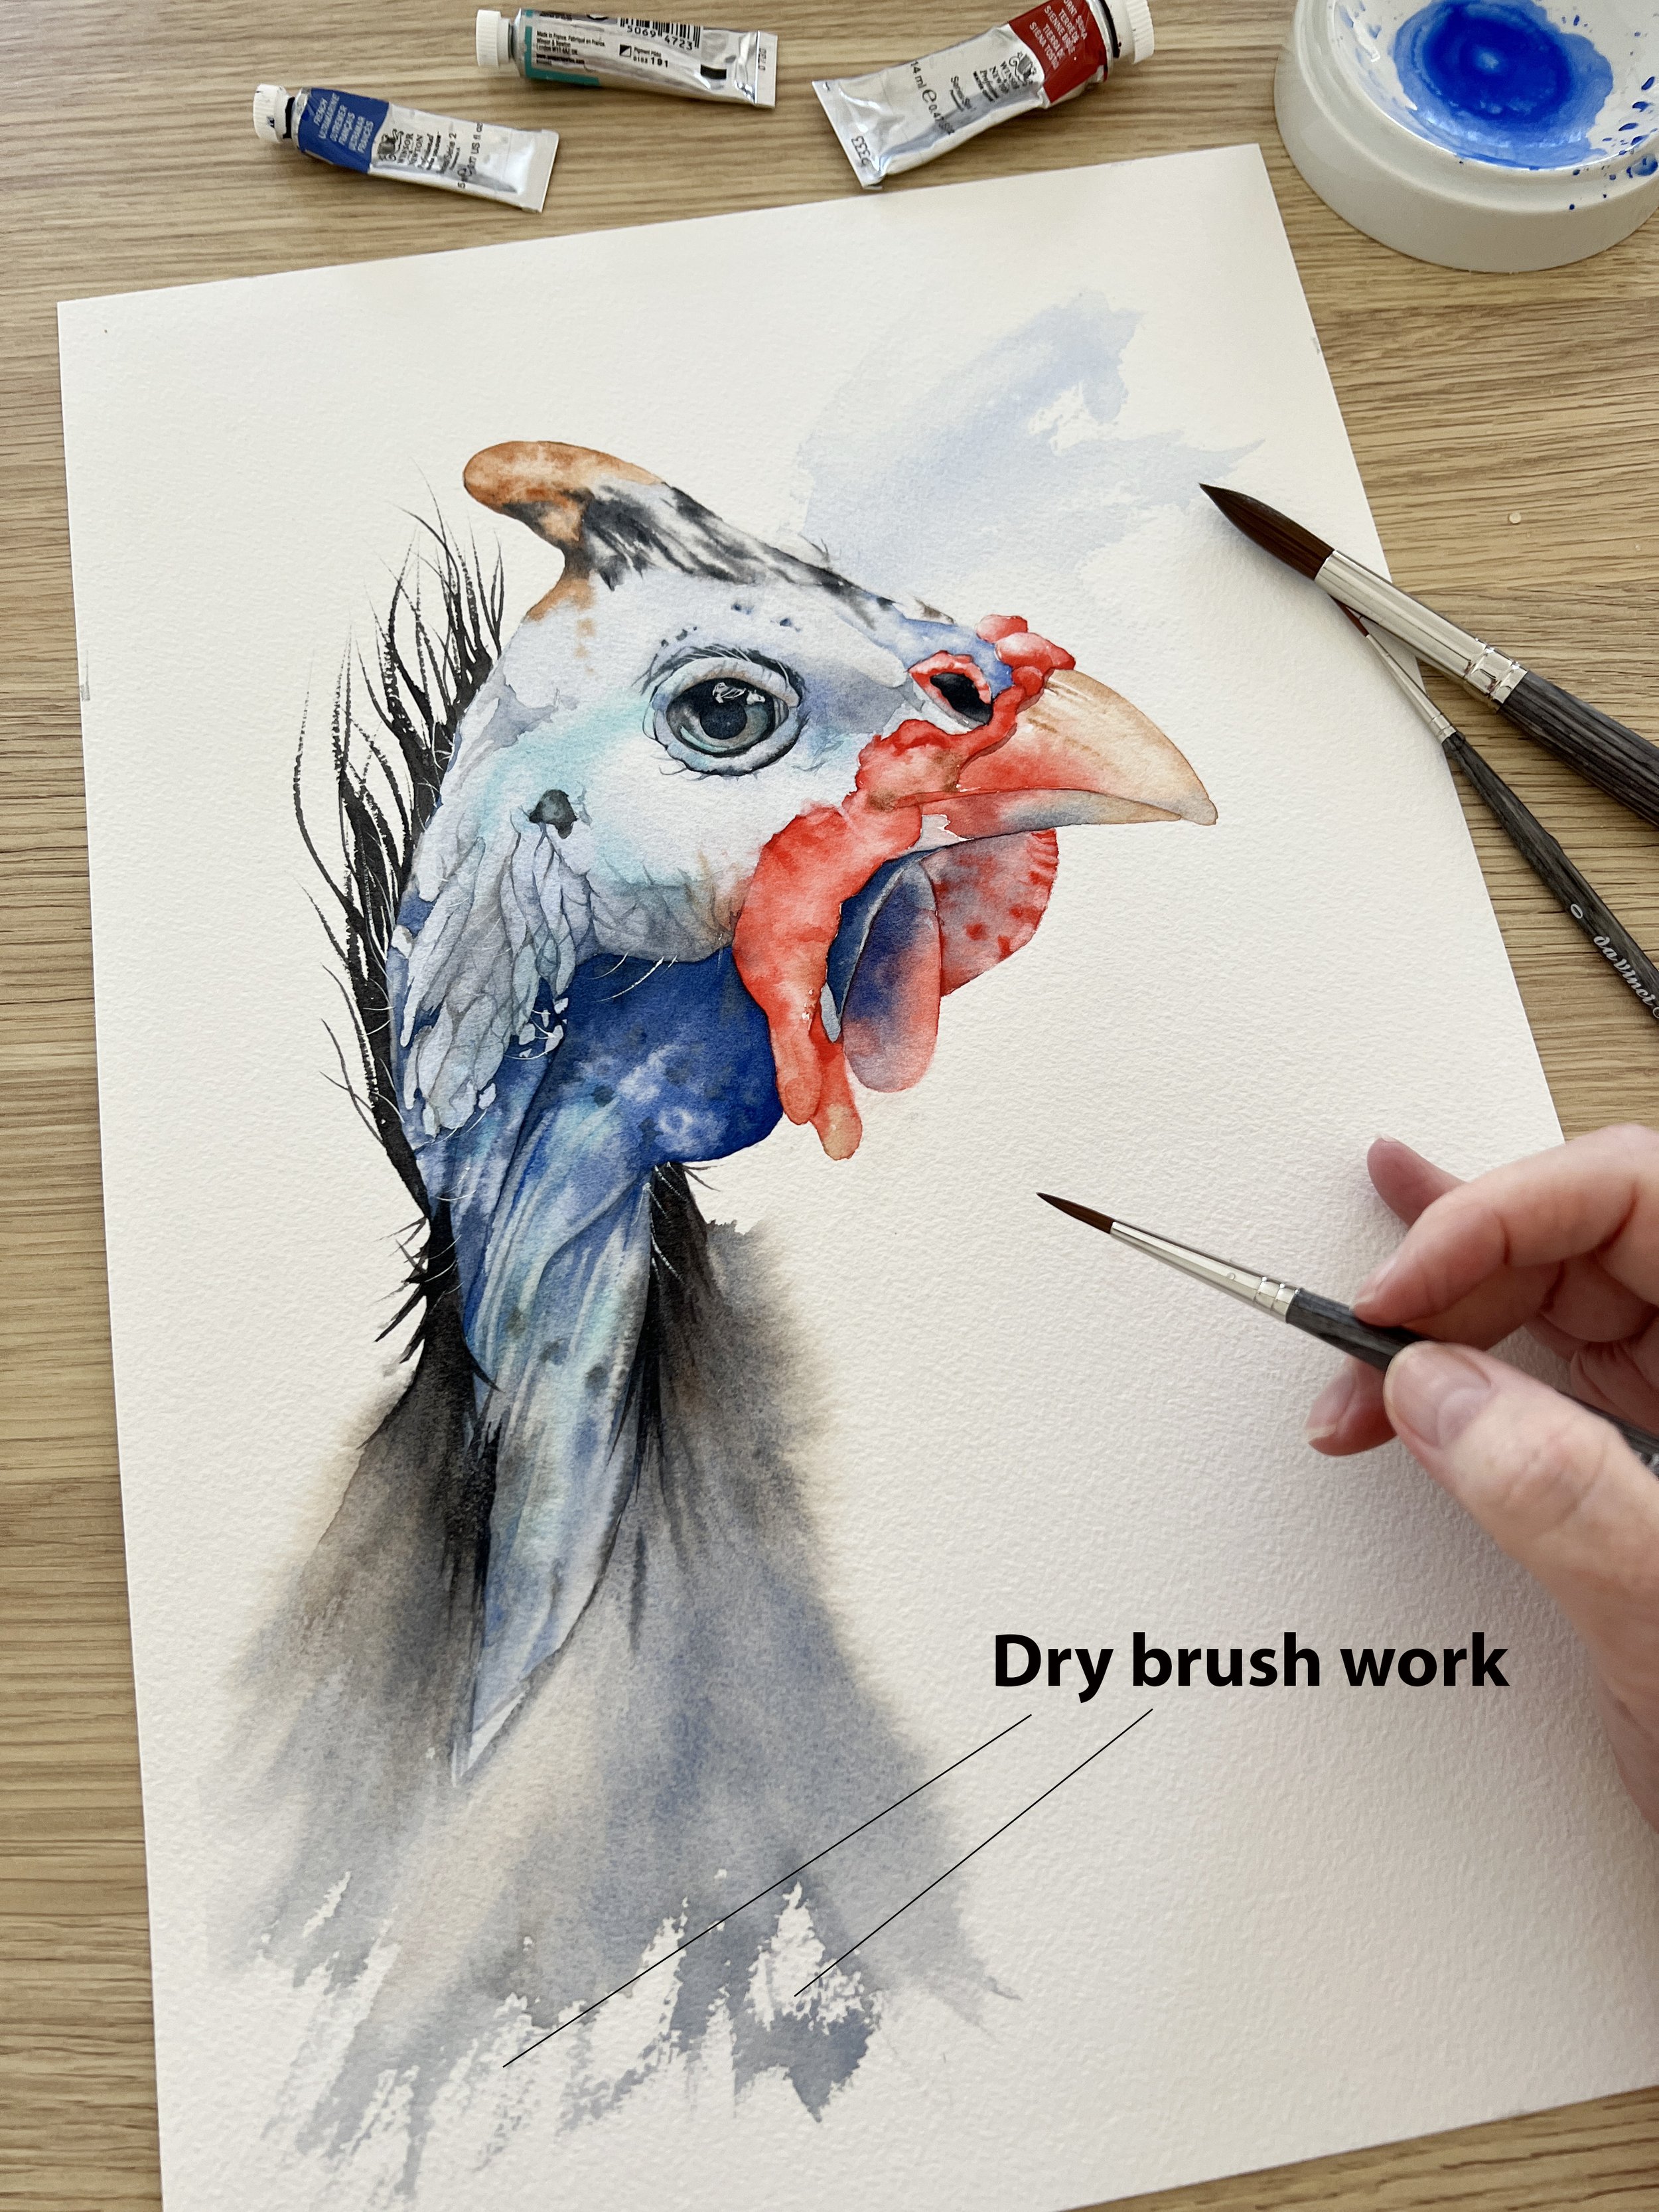
9 Watercolour Texture Techniques

Visual texture in a watercolour painting refers to the illusion of different surface qualities that are created through the use of various brushstrokes, colours, and techniques. It adds depth, dimension, and interest to the artwork. Artists can use textured areas to create focal points and draw the eye to specific areas of the painting. Texture can be used to convey emotions and enhance the expressive qualities of a watercolour painting.

Read More
A Watercolour Technique for Beginners Called ‘Charging’

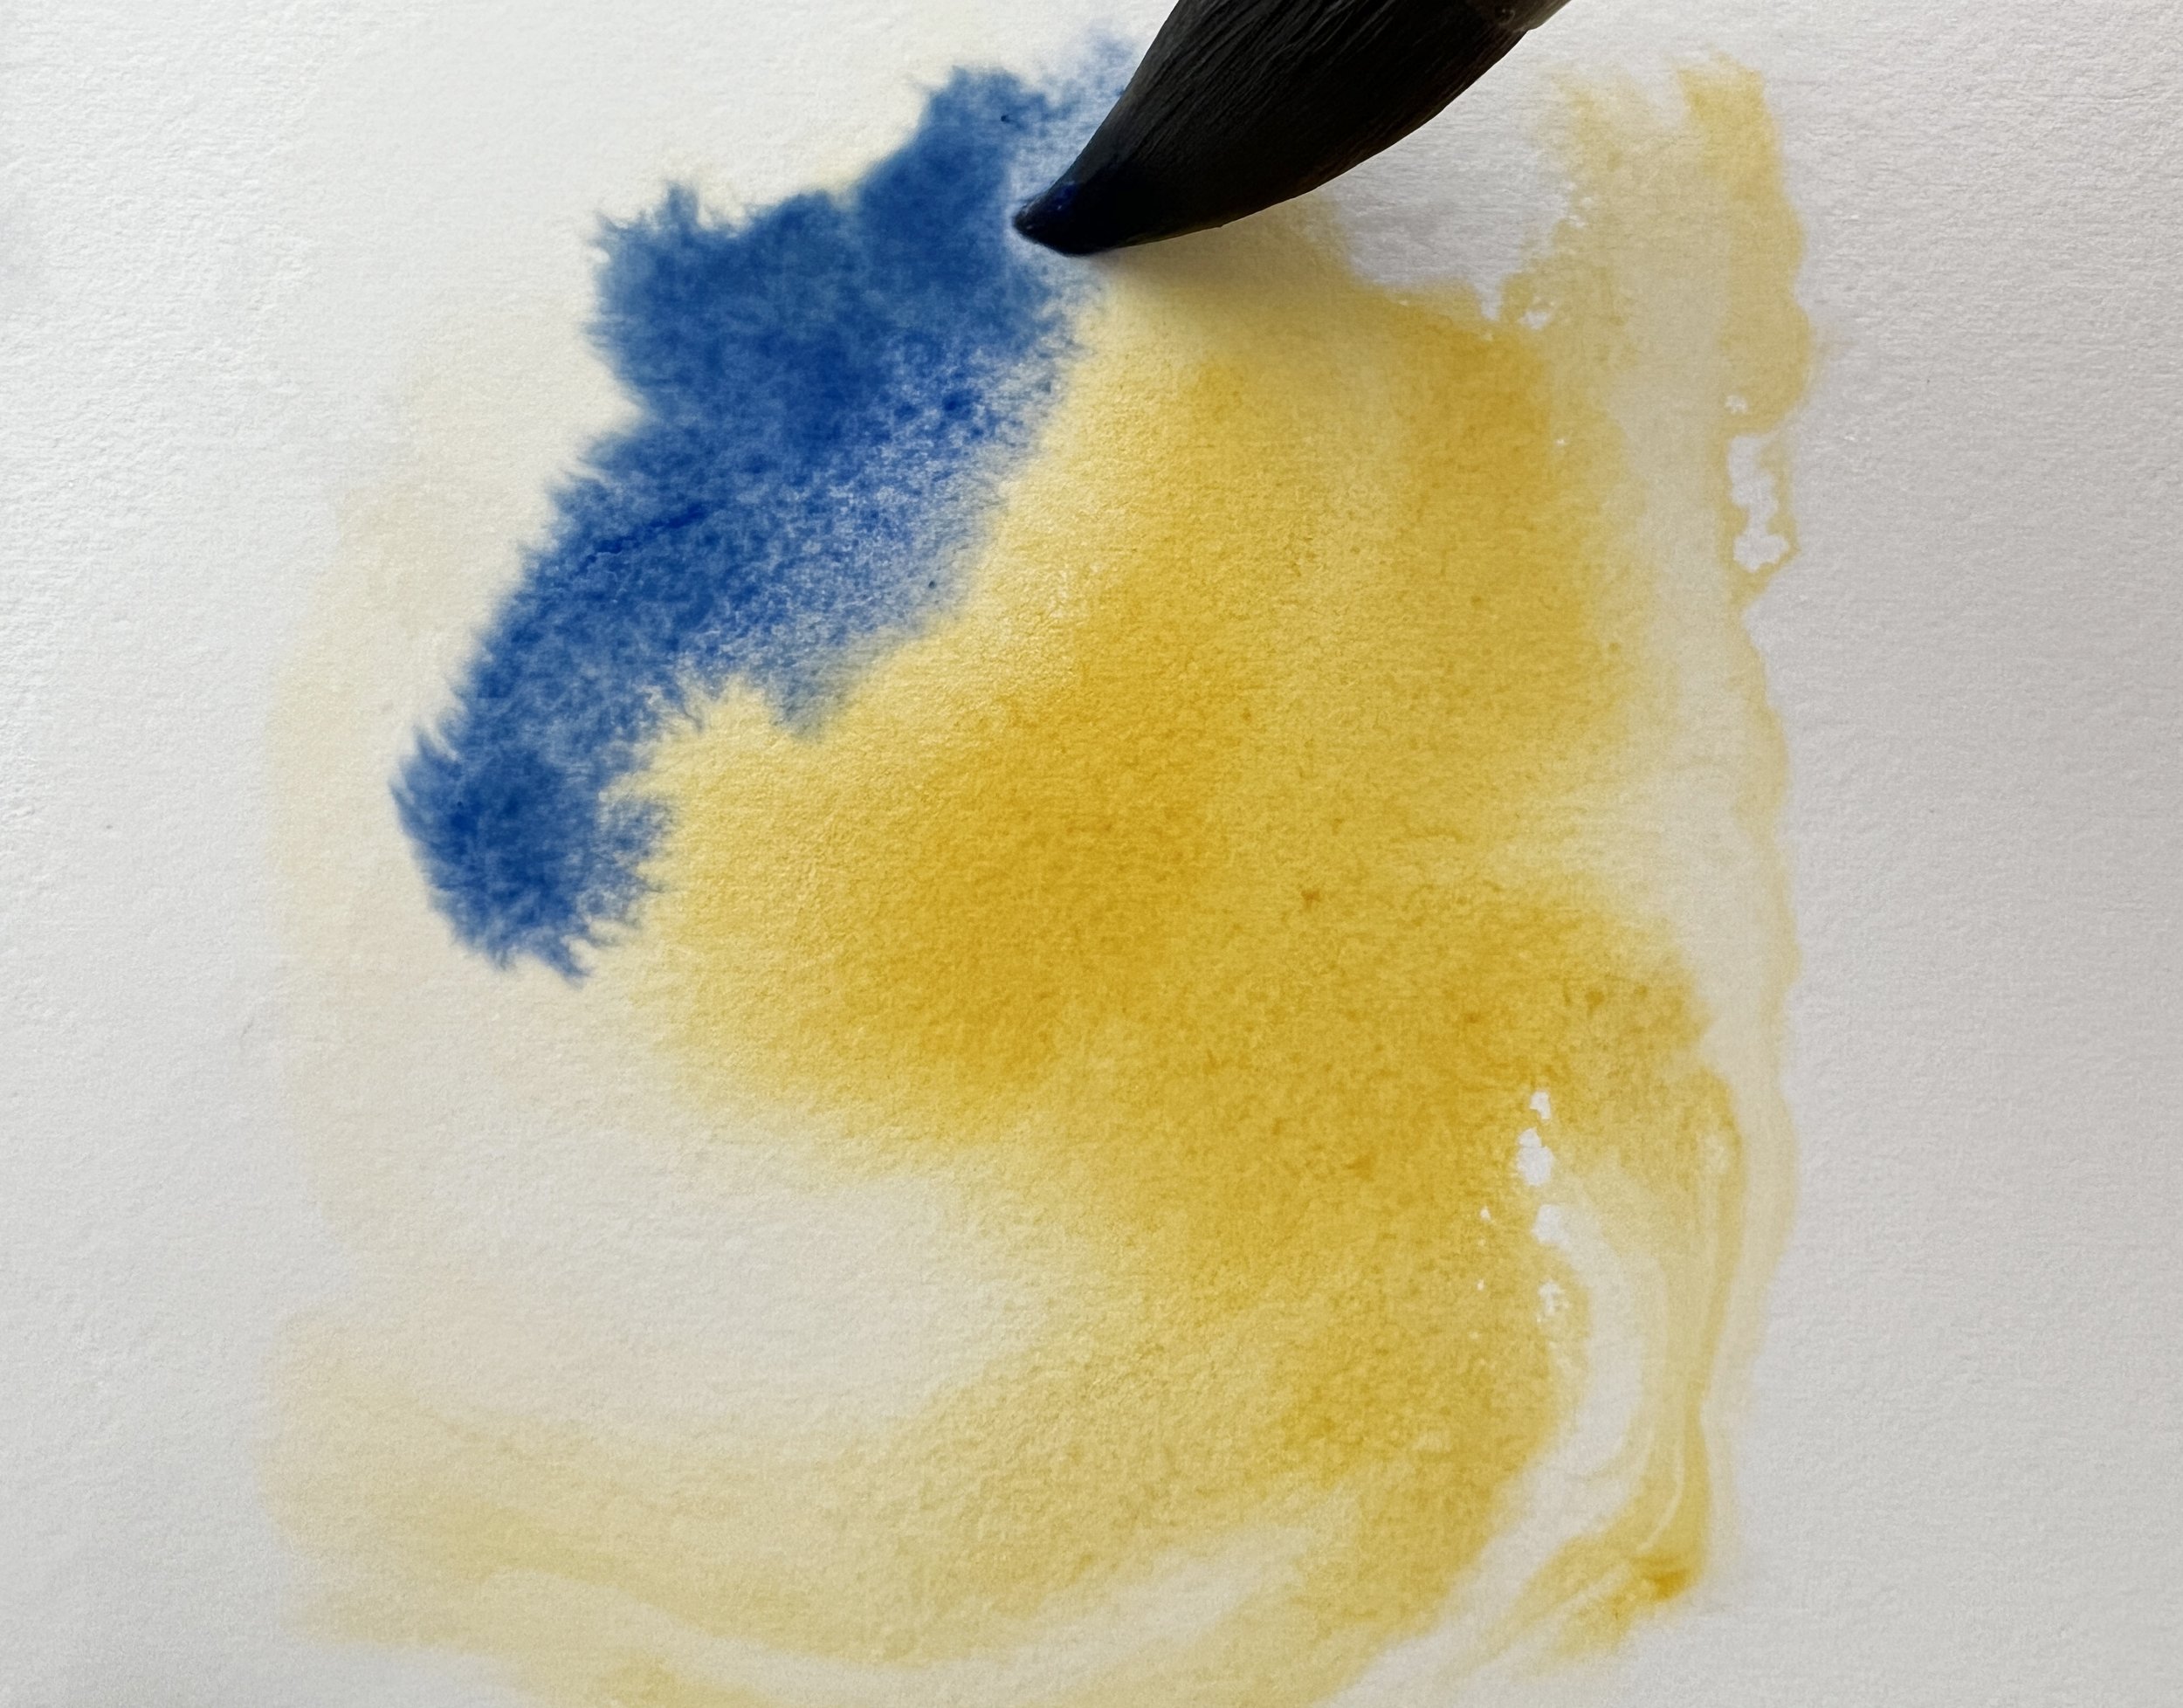
Charging can be used to create interesting textures and visual effects in watercolour paintings. By manipulating the wet paint or water, you can create patterns, ripples, and organic shapes, adding depth and visual interest to your artwork.

When I paint initial washes on a subject I like to add interest by dropping in another unexpected colour as I did here on this Rooster painting.

Read More
Working Wet on Wet

Working wet on wet in watercolour seems to trouble a lot of beginners. Below are some common questions I am often asked:

-How do you determine how much water to have on your brush or paper?

-How much water is too much?

-When working wet on wet how can I control how far and how uniformly pigment flows away from my brush?

-I find wet on wet to be a challenge. I almost always end up with ugly blooms. How do you avoid them?

-My paper is drying too quickly - please help?

Alrighty, let’s see if I can help.

Read More
How to Paint Cockatoos in Watercolour

I thought it would make painting the background splash easier if I used masking fluid on the edge of the birds before I started, but after my background splash had dried and I started to remove the masking fluid, I discovered that it had left a yellow stain on my paper all the way around the age of the cockatoos.

It looked awful, and I came really close to ripping the painting off my board and starting again. I should have known better and I always tell all my students to test the masking fluid on the edge of the paper before using it to make sure it doesn't discolour or tear the paper when removing it.

Read More