How to make a Digital Artwork
A Guide to Scanning and Editing Your Paintings
Watercolour painting is a wonderfully fluid and expressive medium, but once you've completed your masterpiece, the next step is to share it with the world. Whether you're set on selling art or digital prints, showcasing your work on social media, or creating a digital portfolio, getting your artwork from paper to pixel can be a bit daunting. But don’t worry! With a few simple steps, you can digitise your physical art or watercolour paintings and maintain the beauty and integrity of the original piece.
If you want to sell prints of your paintings you need to learn how to make a digital artwork.
Turning Your Watercolour Paintings into Digital Files: Step-by-Step Guide
Step 1: Scan Your Artwork
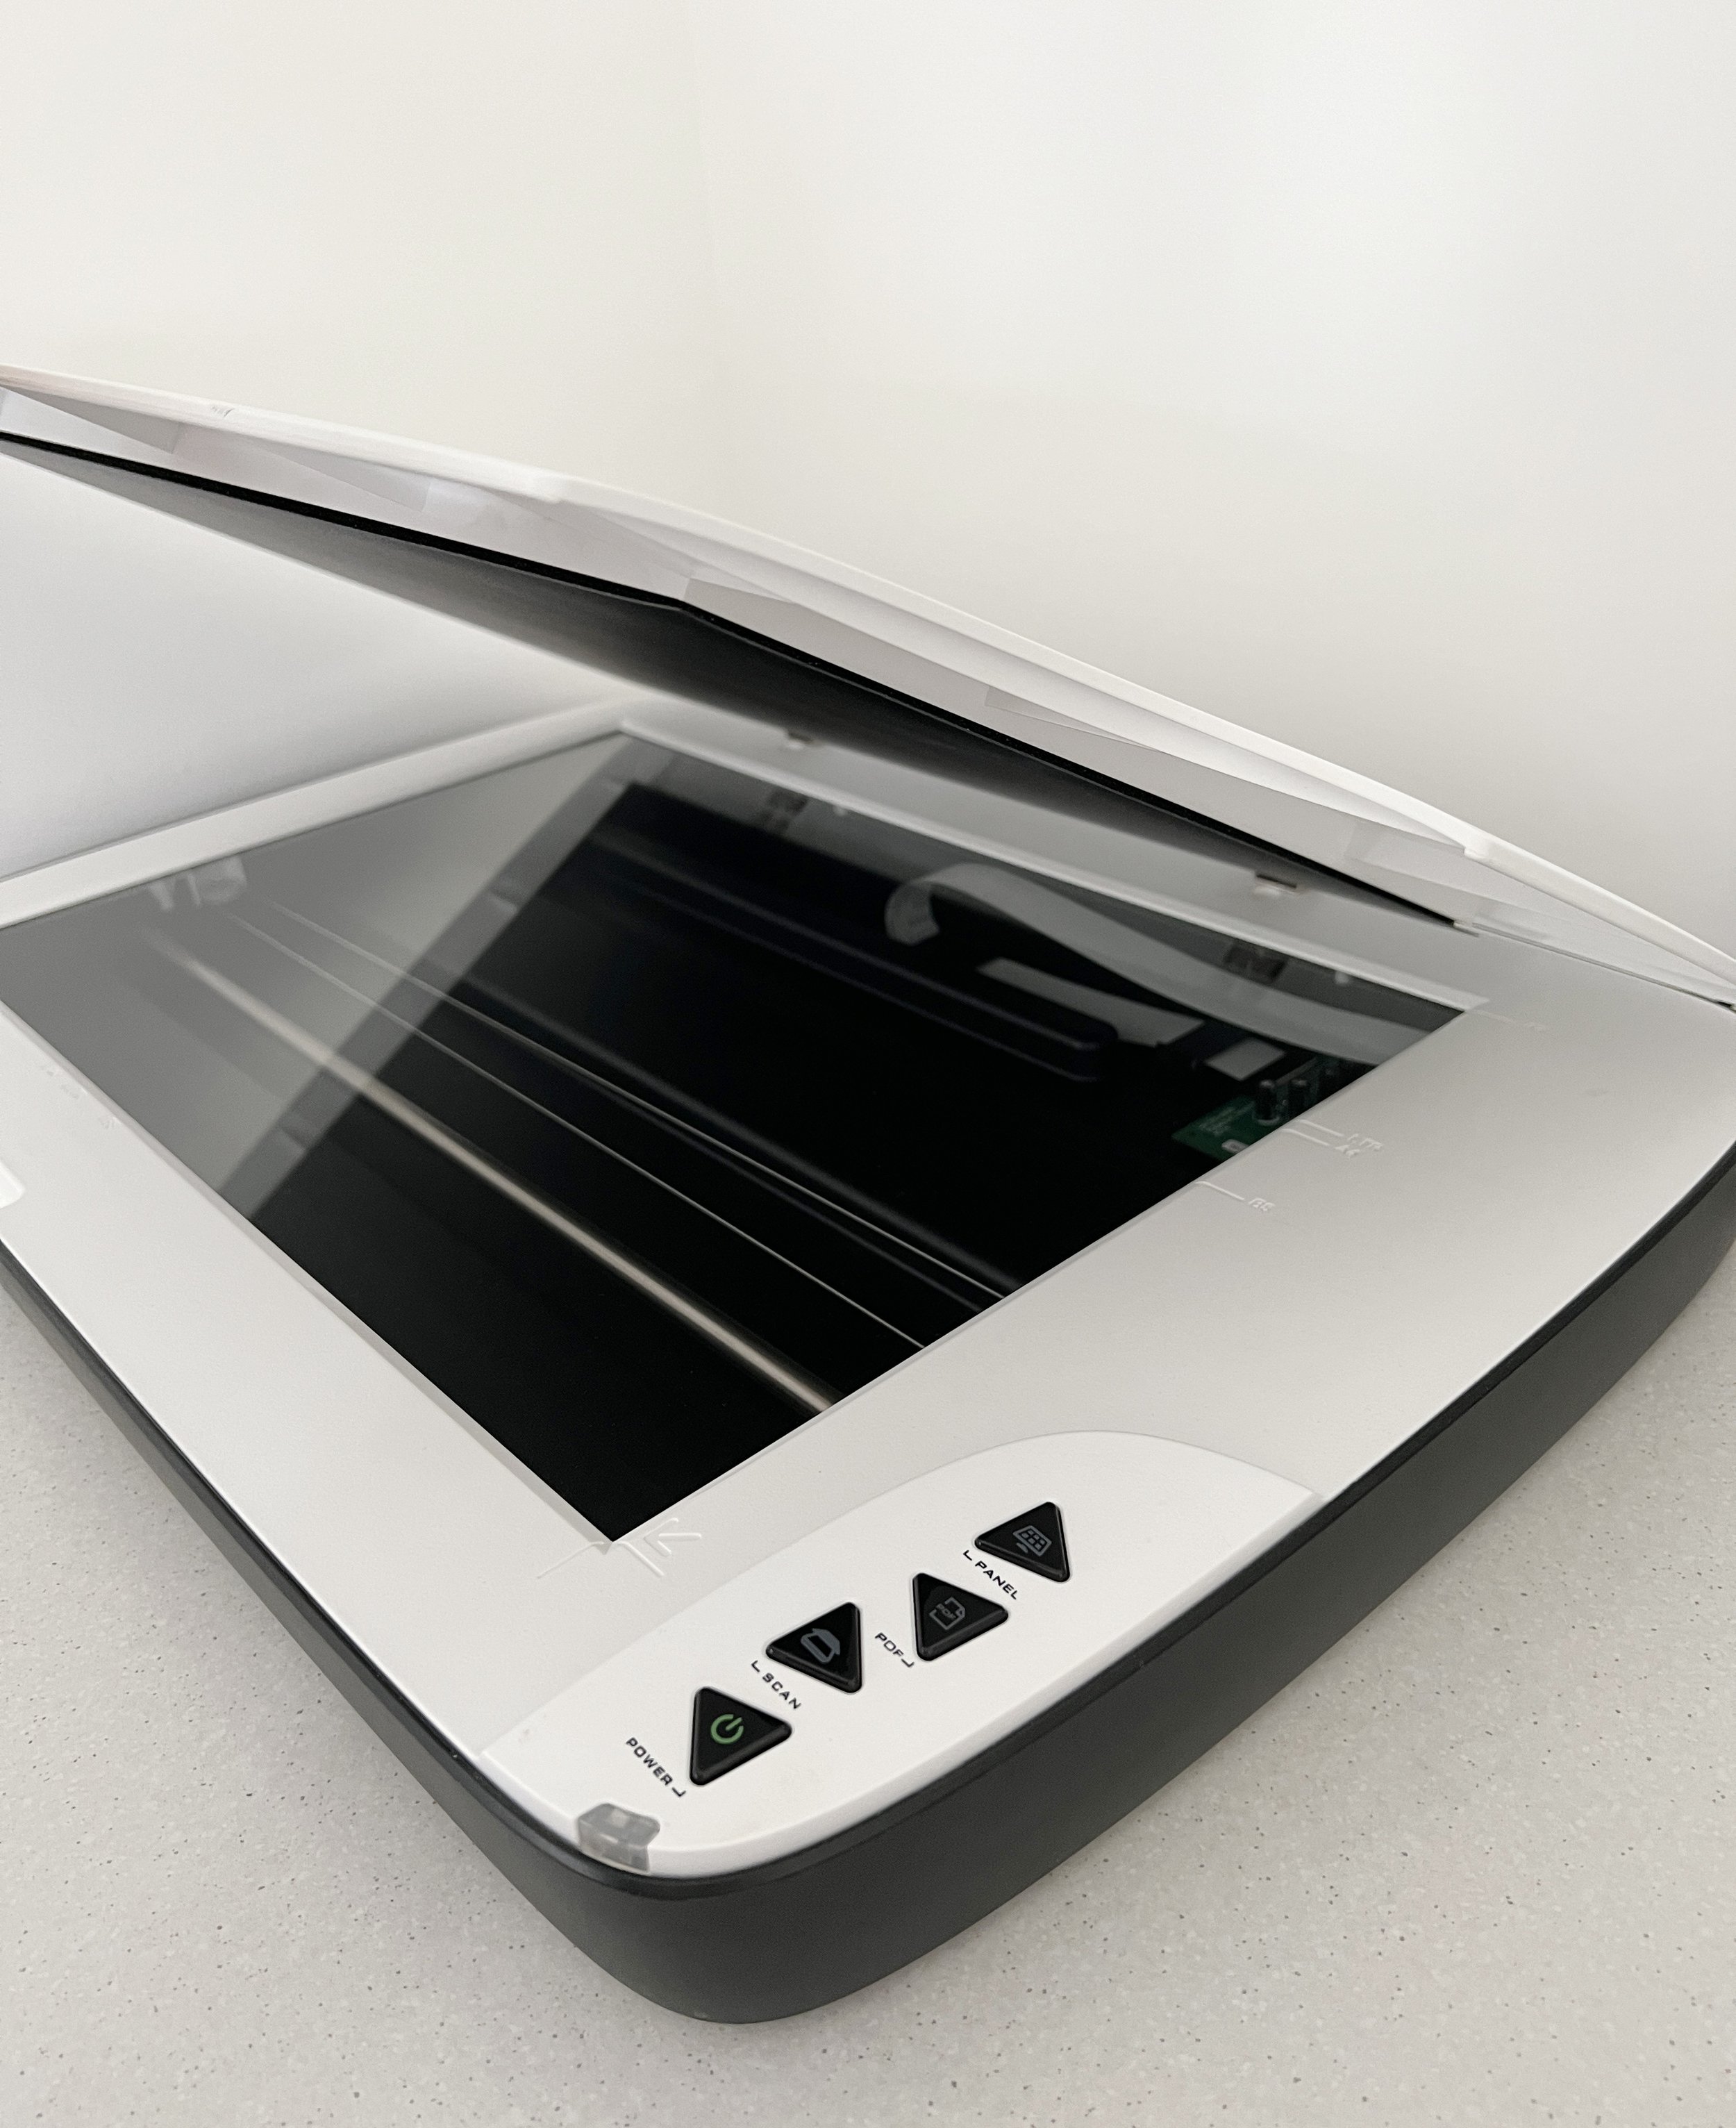
I scan my paintings on a Mustek scanner.
The first step in digitising your watercolour painting is to scan it. A good quality scanner is key here— you want something that can capture the subtle nuances of your work, from delicate washes to bold brushstrokes. A high quality scan with a good scanner will let your work shine online in the best way possible.
Resolution Matters: Always scan at a high resolution. 300 DPI (dots per inch) is the minimum you should use, but for larger prints, aim for 600 DPI or even higher. This will ensure that during the scanning process, all the details and textures of your watercolour are captured.
Colour Accuracy: Make sure your scanner is set to capture colour accurately. Many scanners have a setting specifically for artwork or photographs, which can help maintain the vibrancy of your colours. If your scanner allows, use a colour calibration tool to ensure that the colours are as true to life as possible.
Avoid Shadows and Glare: Watercolour paper can have a bit of texture that might cause shadows or glare during scanning. Ensure the artwork is perfectly flat and scan in a well-lit room with no direct light hitting the scanner bed.
Step 2: Edit Your Scanned Image
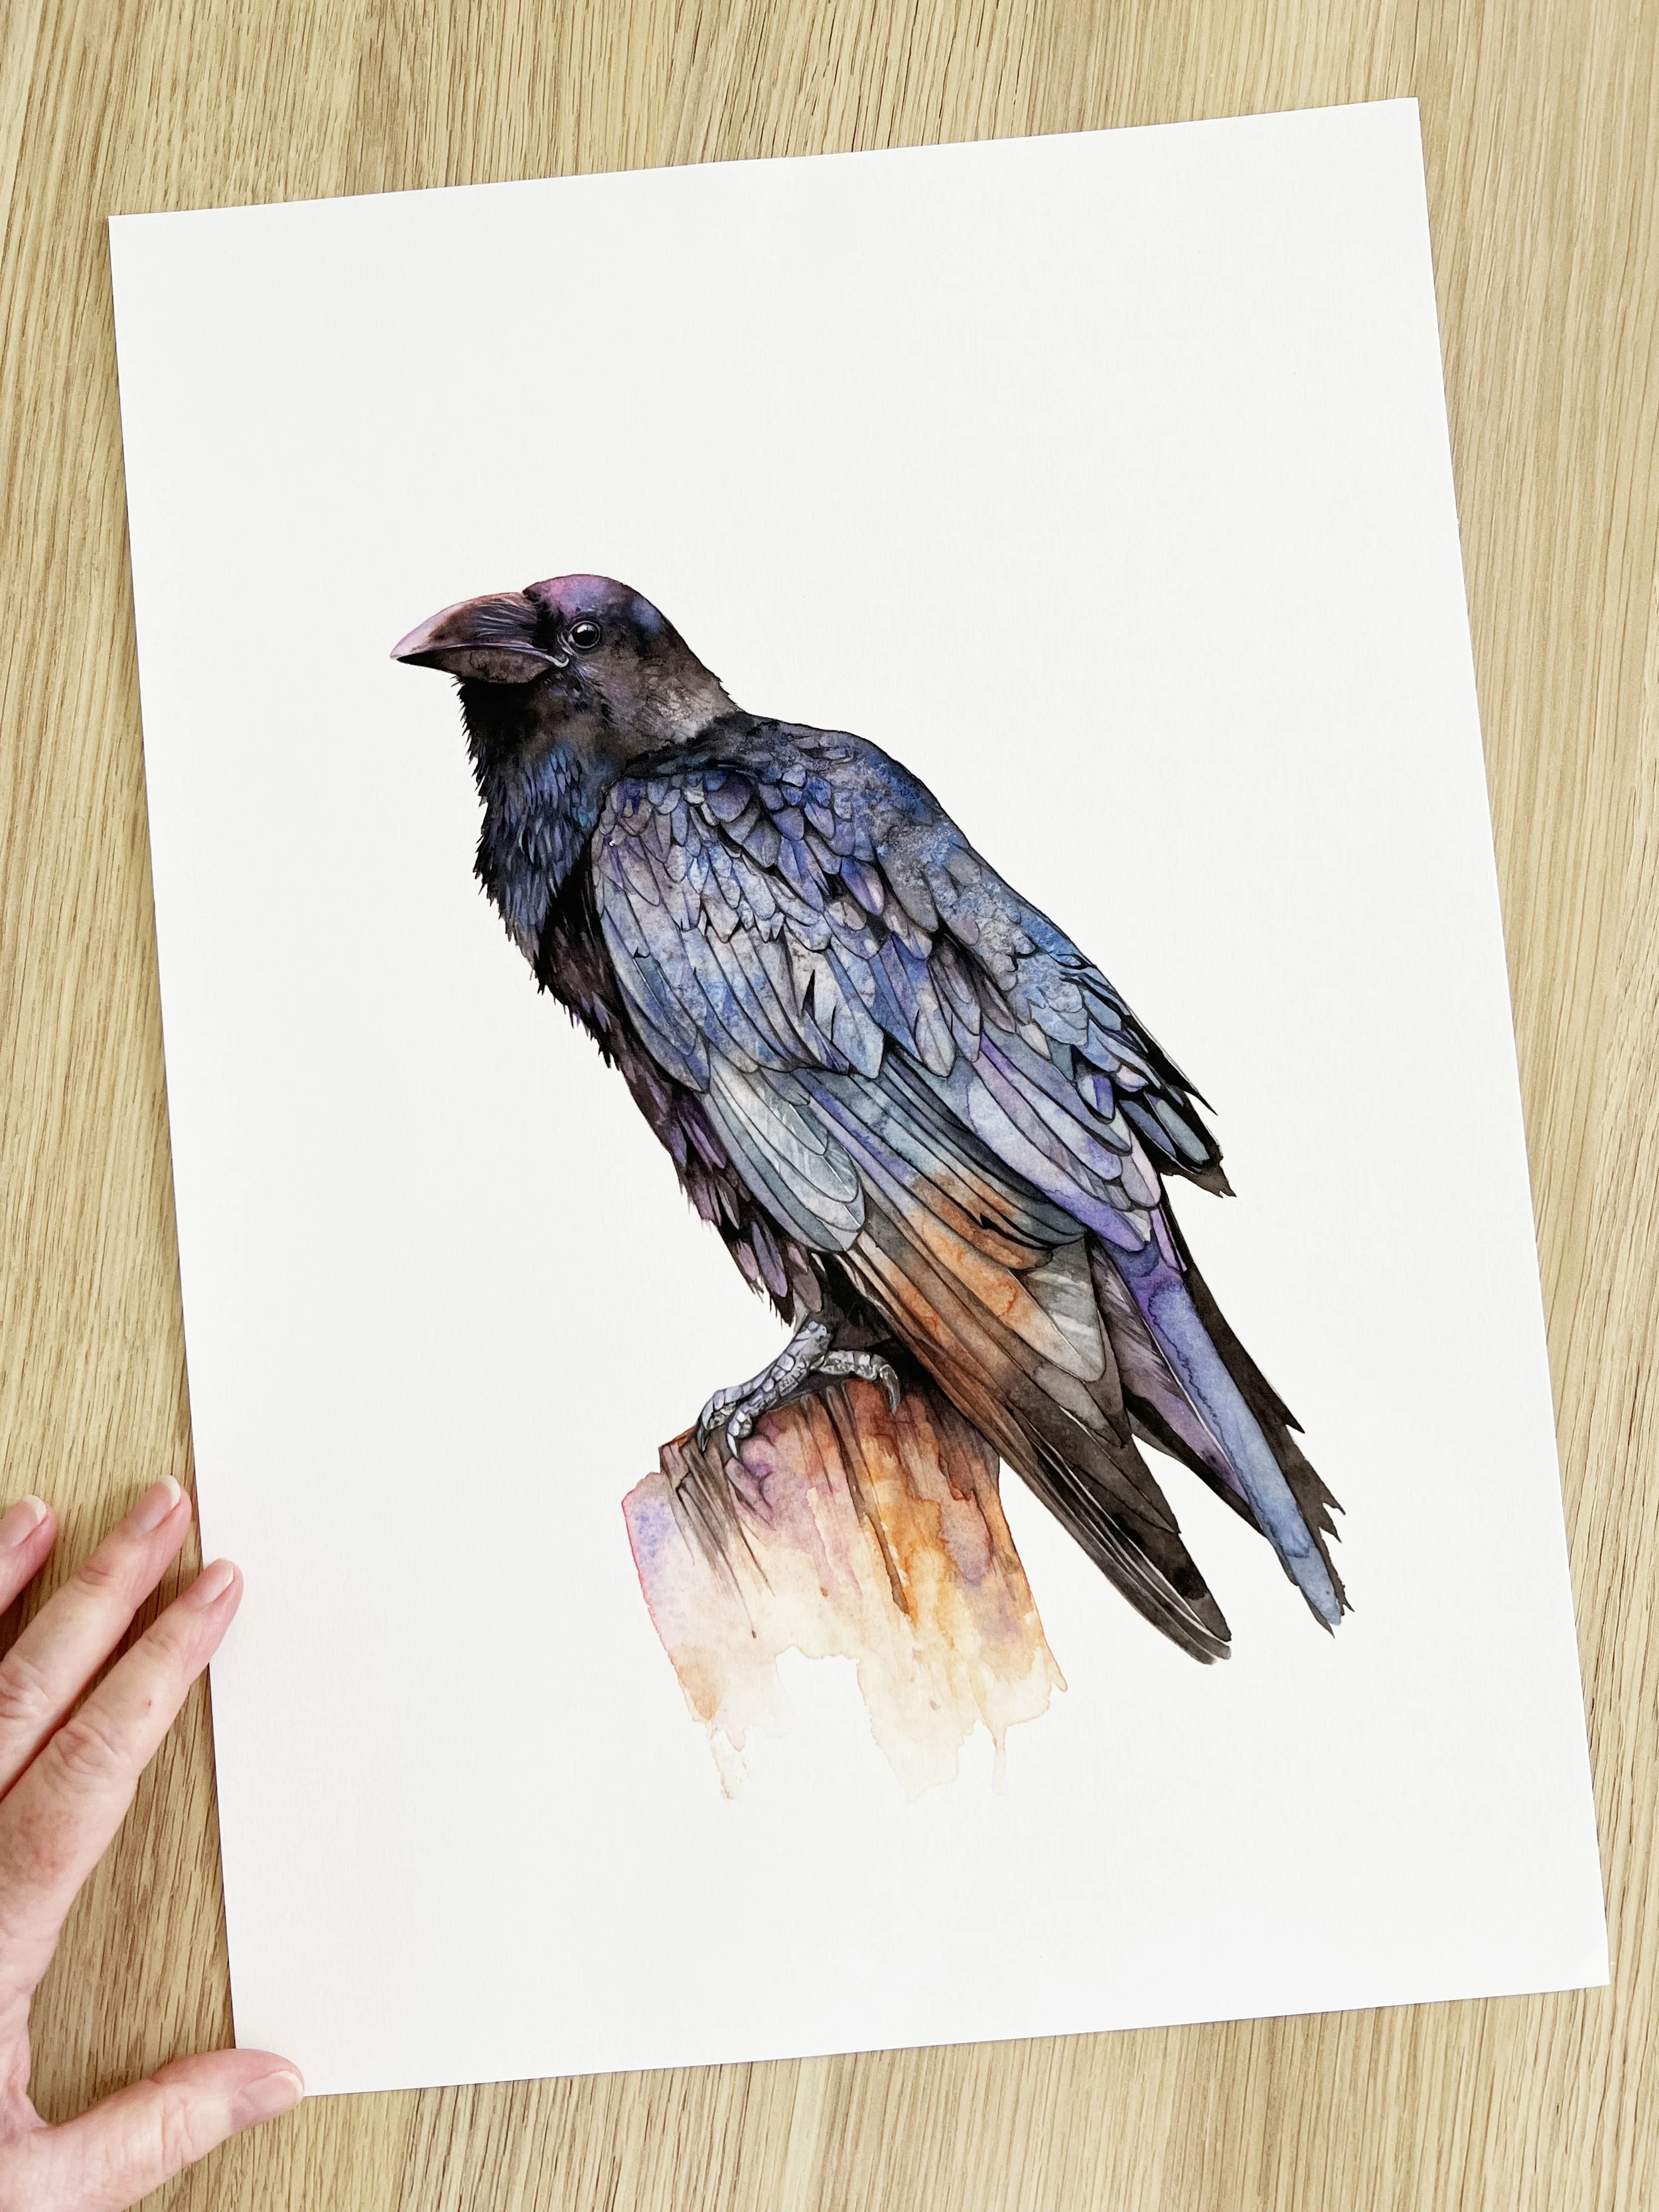
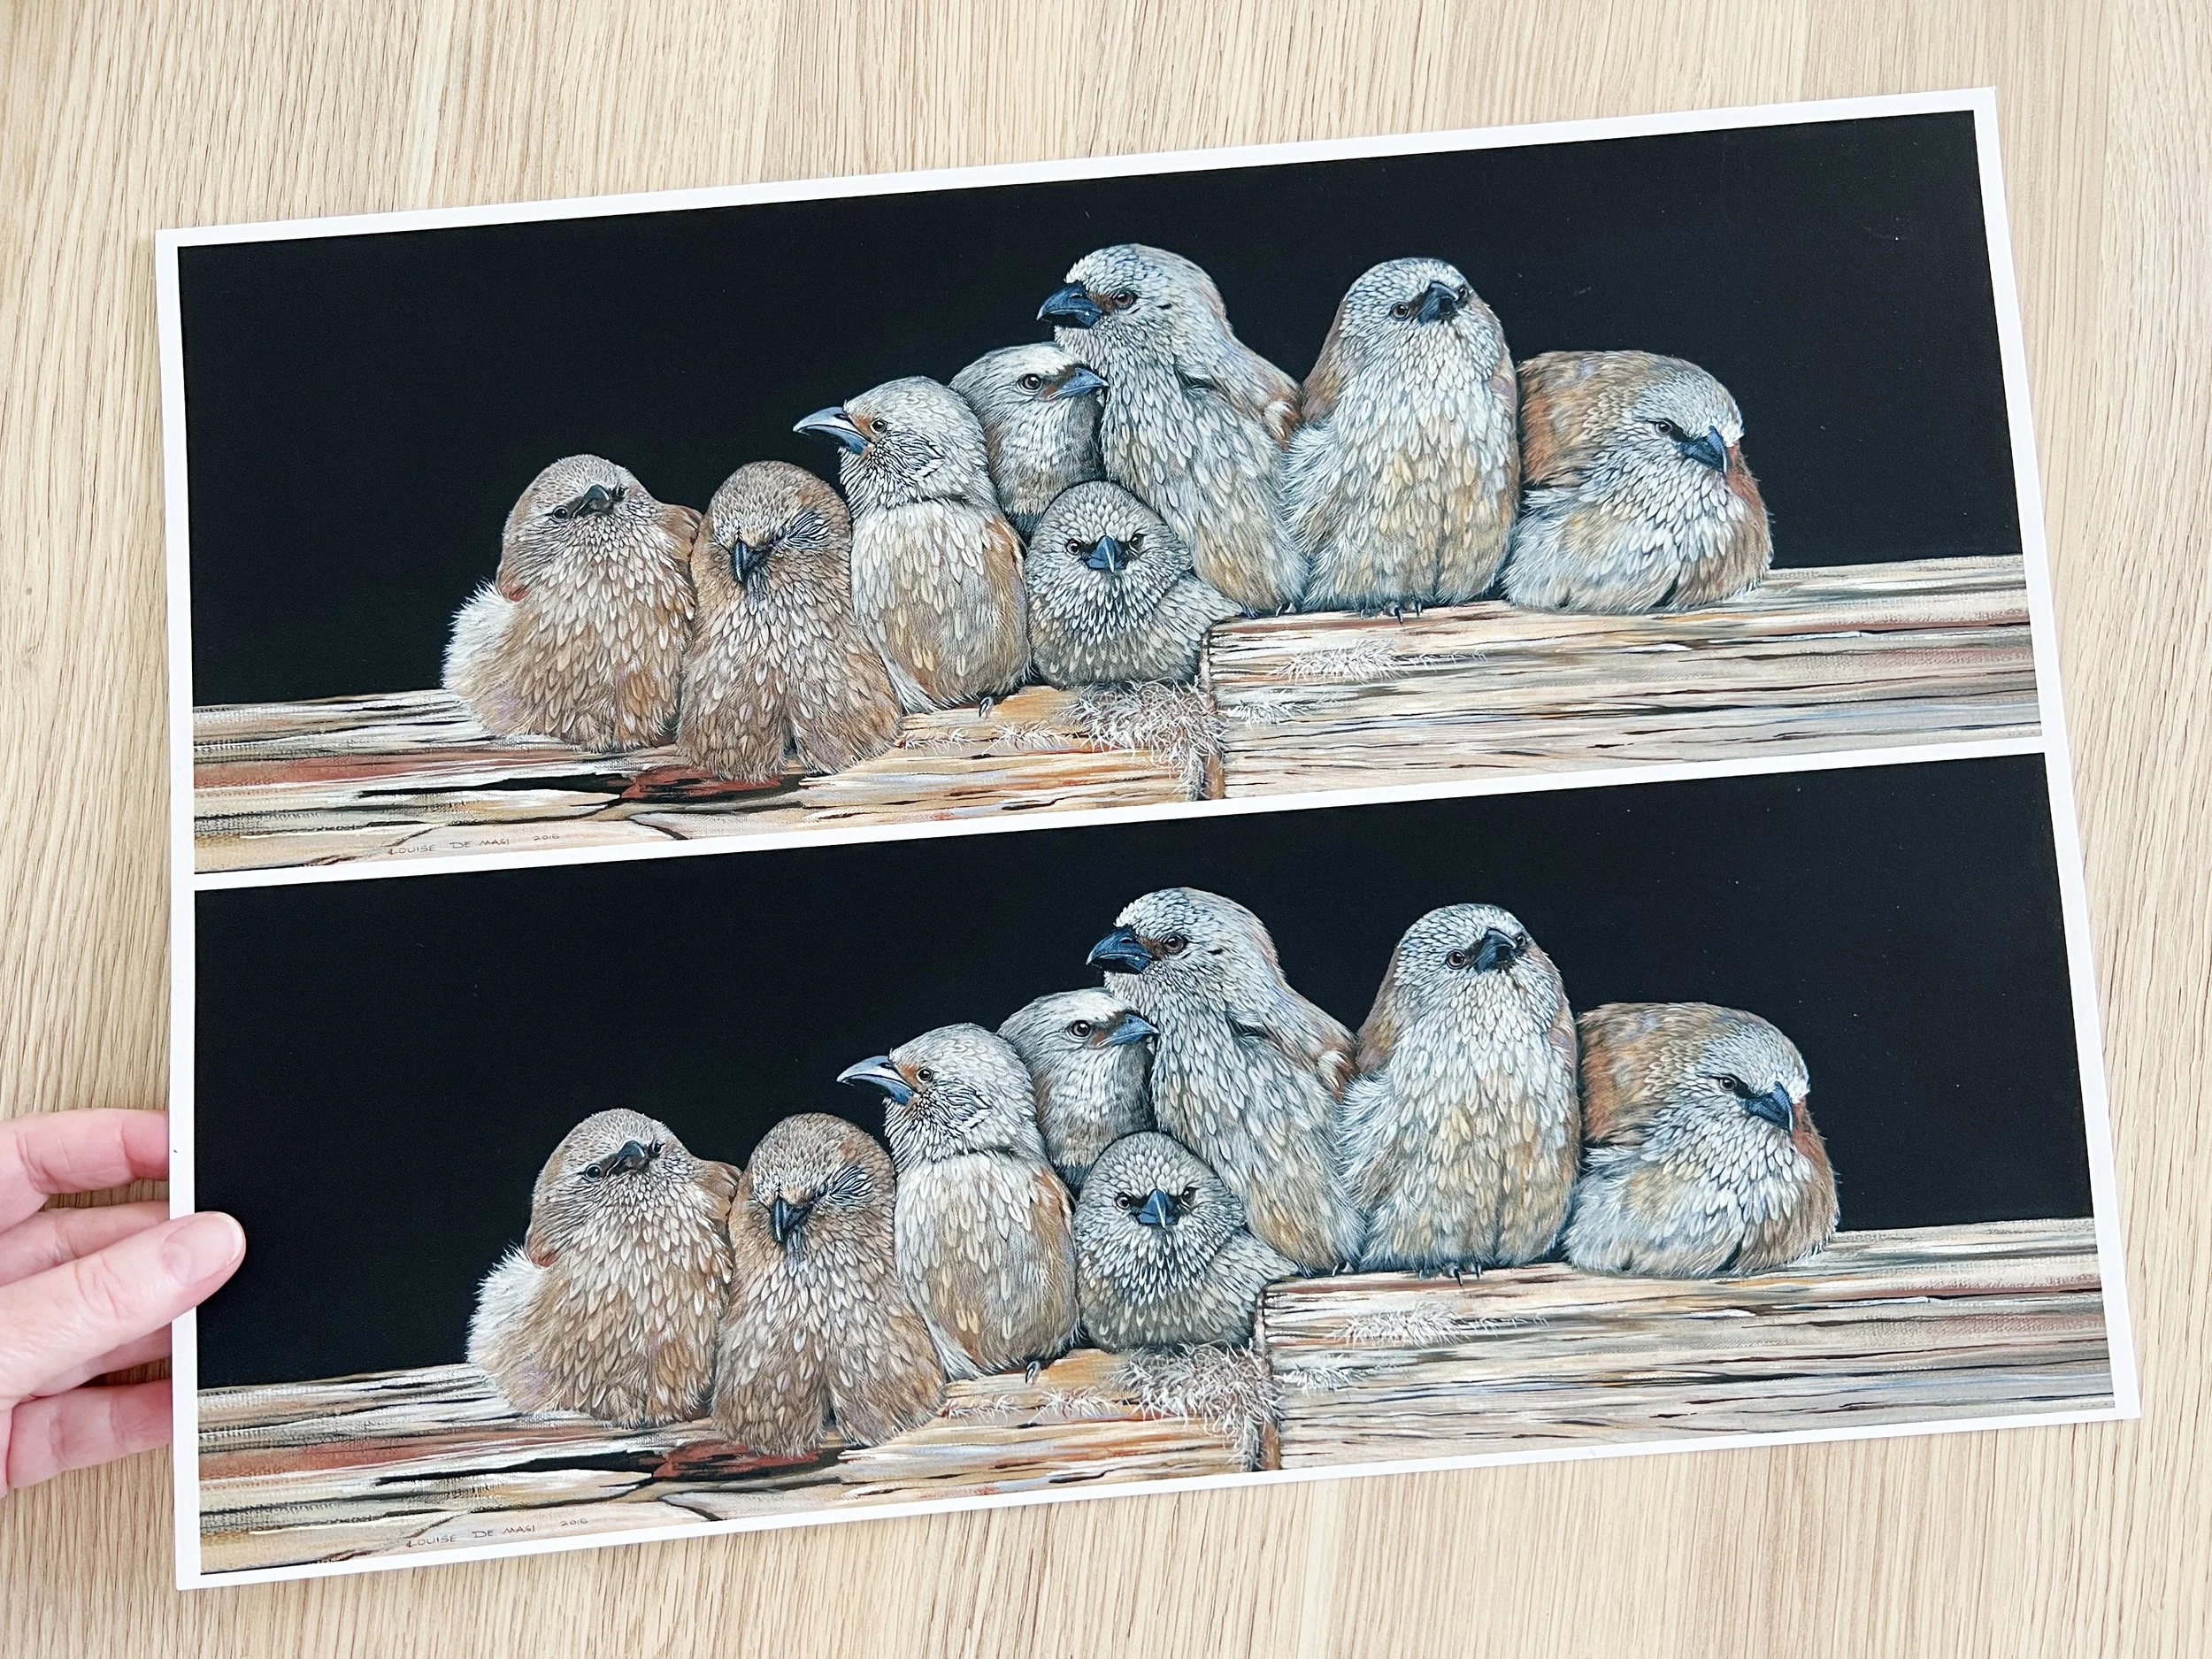
A print of one of my paintings that has a plain white background.
Once your artwork has been converted into a digital format, it’s time to fine-tune the digital image. Even the best scans often need a little tweaking with digital tools to look their best on screen.
Use Professional Editing Software: Image editing software tools like Adobe Photoshop or GIMP (a free alternative) are great for editing your artwork. Start by cropping out any unnecessary borders.
Colour Correction: Depending on your scanner, the colours in the digital image might look slightly different from the original. Use the colour balance, brightness, and contrast tools to adjust the image and to get rid of colour variations. Be careful not to overdo it, specially when you painted with vibrant colours—subtlety is key.
Clean Up Imperfections: Even with the best scanning, dust, and specks might appear in your image. Use the clone stamp or healing brush tool to remove these without altering the texture of your painting.
Step 3: Adjust the Size and Format
Now that your artwork is edited and looking its best, it’s time to prepare it for its final destination.
Resizing: Depending on where you plan to showcase your work, you might need to resize the image resolution. For social media, smaller file sizes work best, but for prints, you’ll want to maintain a larger size. Always keep a high resolution image file in case you need to make different sizes later.
File Format: Save your file in the appropriate format. JPEG format is great for web use because it compresses the file size, but this can sometimes result in a loss of quality. For prints or archival purposes, save as TIFF files or PNG files, which maintain higher quality.
File Naming: Be consistent with your file naming. Include the name of the artwork and the version (e.g., "Sunset_Original", "Sunset_Web", "Sunset_Print"). This will help you keep track of your files and ensure you always upload the correct version.
Step 4: Check Your Work
Before you hit upload, take a moment to review your digital file and final image. Compare it side by side with your original painting to ensure the colours, details, and overall feel of the artwork have been preserved.
Test on Different Devices: Colours can look different on various screens. If possible, view your file on different devices (a smartphone, a tablet, and a computer) to see how it looks. Make any final adjustments as needed.

Laptop Image by Lalmch from Pixabay
Get Feedback: Sometimes a fresh pair of eyes can spot things you’ve missed. Show the digital file to a friend or fellow artist to see if they notice anything that requires tweaking.
Additional Considerations
Backing Up Your Files
Once you have your digitised artwork, it's crucial to back up your files. Consider using cloud storage services like Google Drive, Dropbox, or an external hard drive to ensure your files are safe. This is especially important if you're selling prints or need to access your files in the future.
Calibrating Your Monitor
Before making any colour corrections, it's helpful to calibrate your computer screen. This ensures that the colours you see on your screen are accurate, which is crucial when adjusting the colours of your digital artwork.
Using Vectorisation for Specific Purposes
If your artwork is more graphic or has elements that would benefit from being scalable without loss of quality, you might consider vectorising parts of your artwork. This isn't necessary for traditional watercolour pieces, but if you combine watercolour with line art or typography, vectorisation can be useful.
Optimising for Different Platforms
Different online platforms might require different file specifications. For instance, Instagram prefers square images, while Etsy might need higher-resolution files. Tailoring your digital files to meet these requirements can help your artwork look its best wherever it's displayed.
Batch Processing for Efficiency
If you have multiple artworks to digitise, you might want to look into batch processing in your editing software. This can save you time by applying the same adjustments (like resizing or colour correction) to multiple files at once.
Background Considerations
When you digitise your watercolour artwork, the texture of the paper itself can become an integral part of the digital image. This texture adds a tactile, authentic quality that reflects the handmade nature of your work. However, there are times when you might want to minimise or even remove the paper background, especially if you're preparing your artwork for prints, web use, or overlaying on different backgrounds.
Enhancing the Paper Texture: If you want to maintain the paper texture, ensure that the scan captures it well. High-quality scans will reflect the subtle nuances of the paper, adding depth to your digital image. This approach is often preferred for fine art prints or digital displays where you want the digital file to closely resemble the original painting.
Small test prints before printing on large paper.
Removing the Paper Texture: In some cases, you might want a cleaner, more polished look without the paper texture. For example, if you're creating digital products like stickers or digital downloads, the paper texture can interfere with the clarity of the artwork. Using editing software like Photoshop, you can carefully remove or minimise the paper texture by adjusting the contrast or using tools like the magic wand or background eraser. This can give your artwork a more uniform appearance, suitable for various applications.
Transparent Backgrounds: If you're planning to use your digitised artwork on different backgrounds or incorporate it into other designs, consider removing the background entirely to create a transparent background. This allows for greater flexibility in how the artwork is used and ensures it looks professional across various platforms.
Printing Your Artwork
When digitising your watercolour artwork, one important aspect to consider is how the digital file will translate into art prints. The quality of the art print is heavily influenced by the resolution of your digital file. To ensure your prints come out sharp and true to your original work, it's essential to understand DPI (dots per inch). For most fine art prints, a resolution of 300 DPI is recommended. This provides a good balance between file size and print quality, ensuring that your work looks professional when reproduced. If you're planning to create large prints or work with detailed pieces, you might even opt for a higher DPI to capture every nuance.
The type of paper you choose for printing is another critical factor. Watercolour paintings have a unique texture and depth that can be lost if printed on the wrong type of paper. When selecting paper, consider one that mimics the texture of watercolour paper, such as fine art or archival paper. These options not only enhance the visual appeal of your prints but also ensure they are durable and long-lasting.
Additionally, if you're aiming for precise colour matching between your original painting and the print, it's worth exploring soft proofing. Soft proofing allows you to see how your digital file will look when printed, helping you make necessary adjustments to colours and tones before sending the file to a printer. This step can save you time and money, as it reduces the likelihood of needing to reprint due to unexpected colour shifts.

We often have to make several small prints on our printing paper to tweak the colour so that it matches the original painting as much as possible.
Ethical Considerations and Copyright Protection
As you embark on digitising your artwork and sharing it online, it's crucial to consider the ethical implications and how to protect your creative rights. Your artwork is a reflection of your time, effort, and talent, so ensuring it is safeguarded against unauthorised use is vital. One of the first steps is to understand copyright protection. The moment you create your artwork, it is automatically protected under copyright law, giving you exclusive rights to reproduce, distribute, and display your work. However, when you digitise and upload your artwork online, it becomes more vulnerable to misuse.
To mitigate this risk, consider adding a digital watermark to your images. A subtle watermark with your name or logo can deter others from using your artwork without permission, while still allowing you to showcase your work online. In addition to watermarking, you can register your work with a copyright office, which provides a stronger legal standing if you ever need to enforce your rights.
For artists who wish to share their work while allowing others to use it under certain conditions, Creative Commons licenses offer a flexible solution. These licenses let you specify how others can use your work, whether for personal, non-commercial, or even commercial purposes, while still maintaining your rights as the creator. By clearly communicating the terms of use, you can share your artwork with a broader audience while ensuring that your creative intentions are respected.
Share with the World!
Your artwork is now ready to be shared! Whether you’re posting it on Instagram, selling prints on Etsy, or building a personal website, you can now do so with confidence knowing that with your perfected digitising process your digital file reflects the beauty of your original watercolour.
Digitising your artwork might seem intimidating at first, but with a little practice, it becomes second nature and a part of your artistic journey. And remember, every piece of art you create deserves to be seen in its best light—both in the physical and digital world.
If you are interested in purchasing original art or prints see my shop.


