Painting a Portrait on an Aquabord Panel
Exploring new surfaces for watercolour can be exciting and challenging, and recently, I have been painting on Aquabord- an acid free textured, absorbent panel designed to work beautifully with watercolours.
I'm happy to share my experiences, though I’m still learning the ins and outs of this unique surface. My latest piece, a small 6 by 6 flat panel featuring a portrait of my grandson, has been a rewarding project, and I'd love to walk you through the process with some progress photos and a few tips I’ve picked up along the way.

My grandson painted in watercolour on Ampersand Aquabord
With a tight schedule and a desire to finish the piece without feeling overwhelmed, I opted for a 6” by 6” panel. Painting on Aquabord can be a time-consuming process as it requires a different approach compared to traditional watercolour paper. This smaller size allowed me to focus on mastering the technique without the pressure of filling a larger surface, making it a perfect choice for my busy days.
My Aquabord Painting Process
After applying a layer of water on the surface to release trapped air I left it to dry and then I transferred a simple line drawing onto the board.
See image below left.
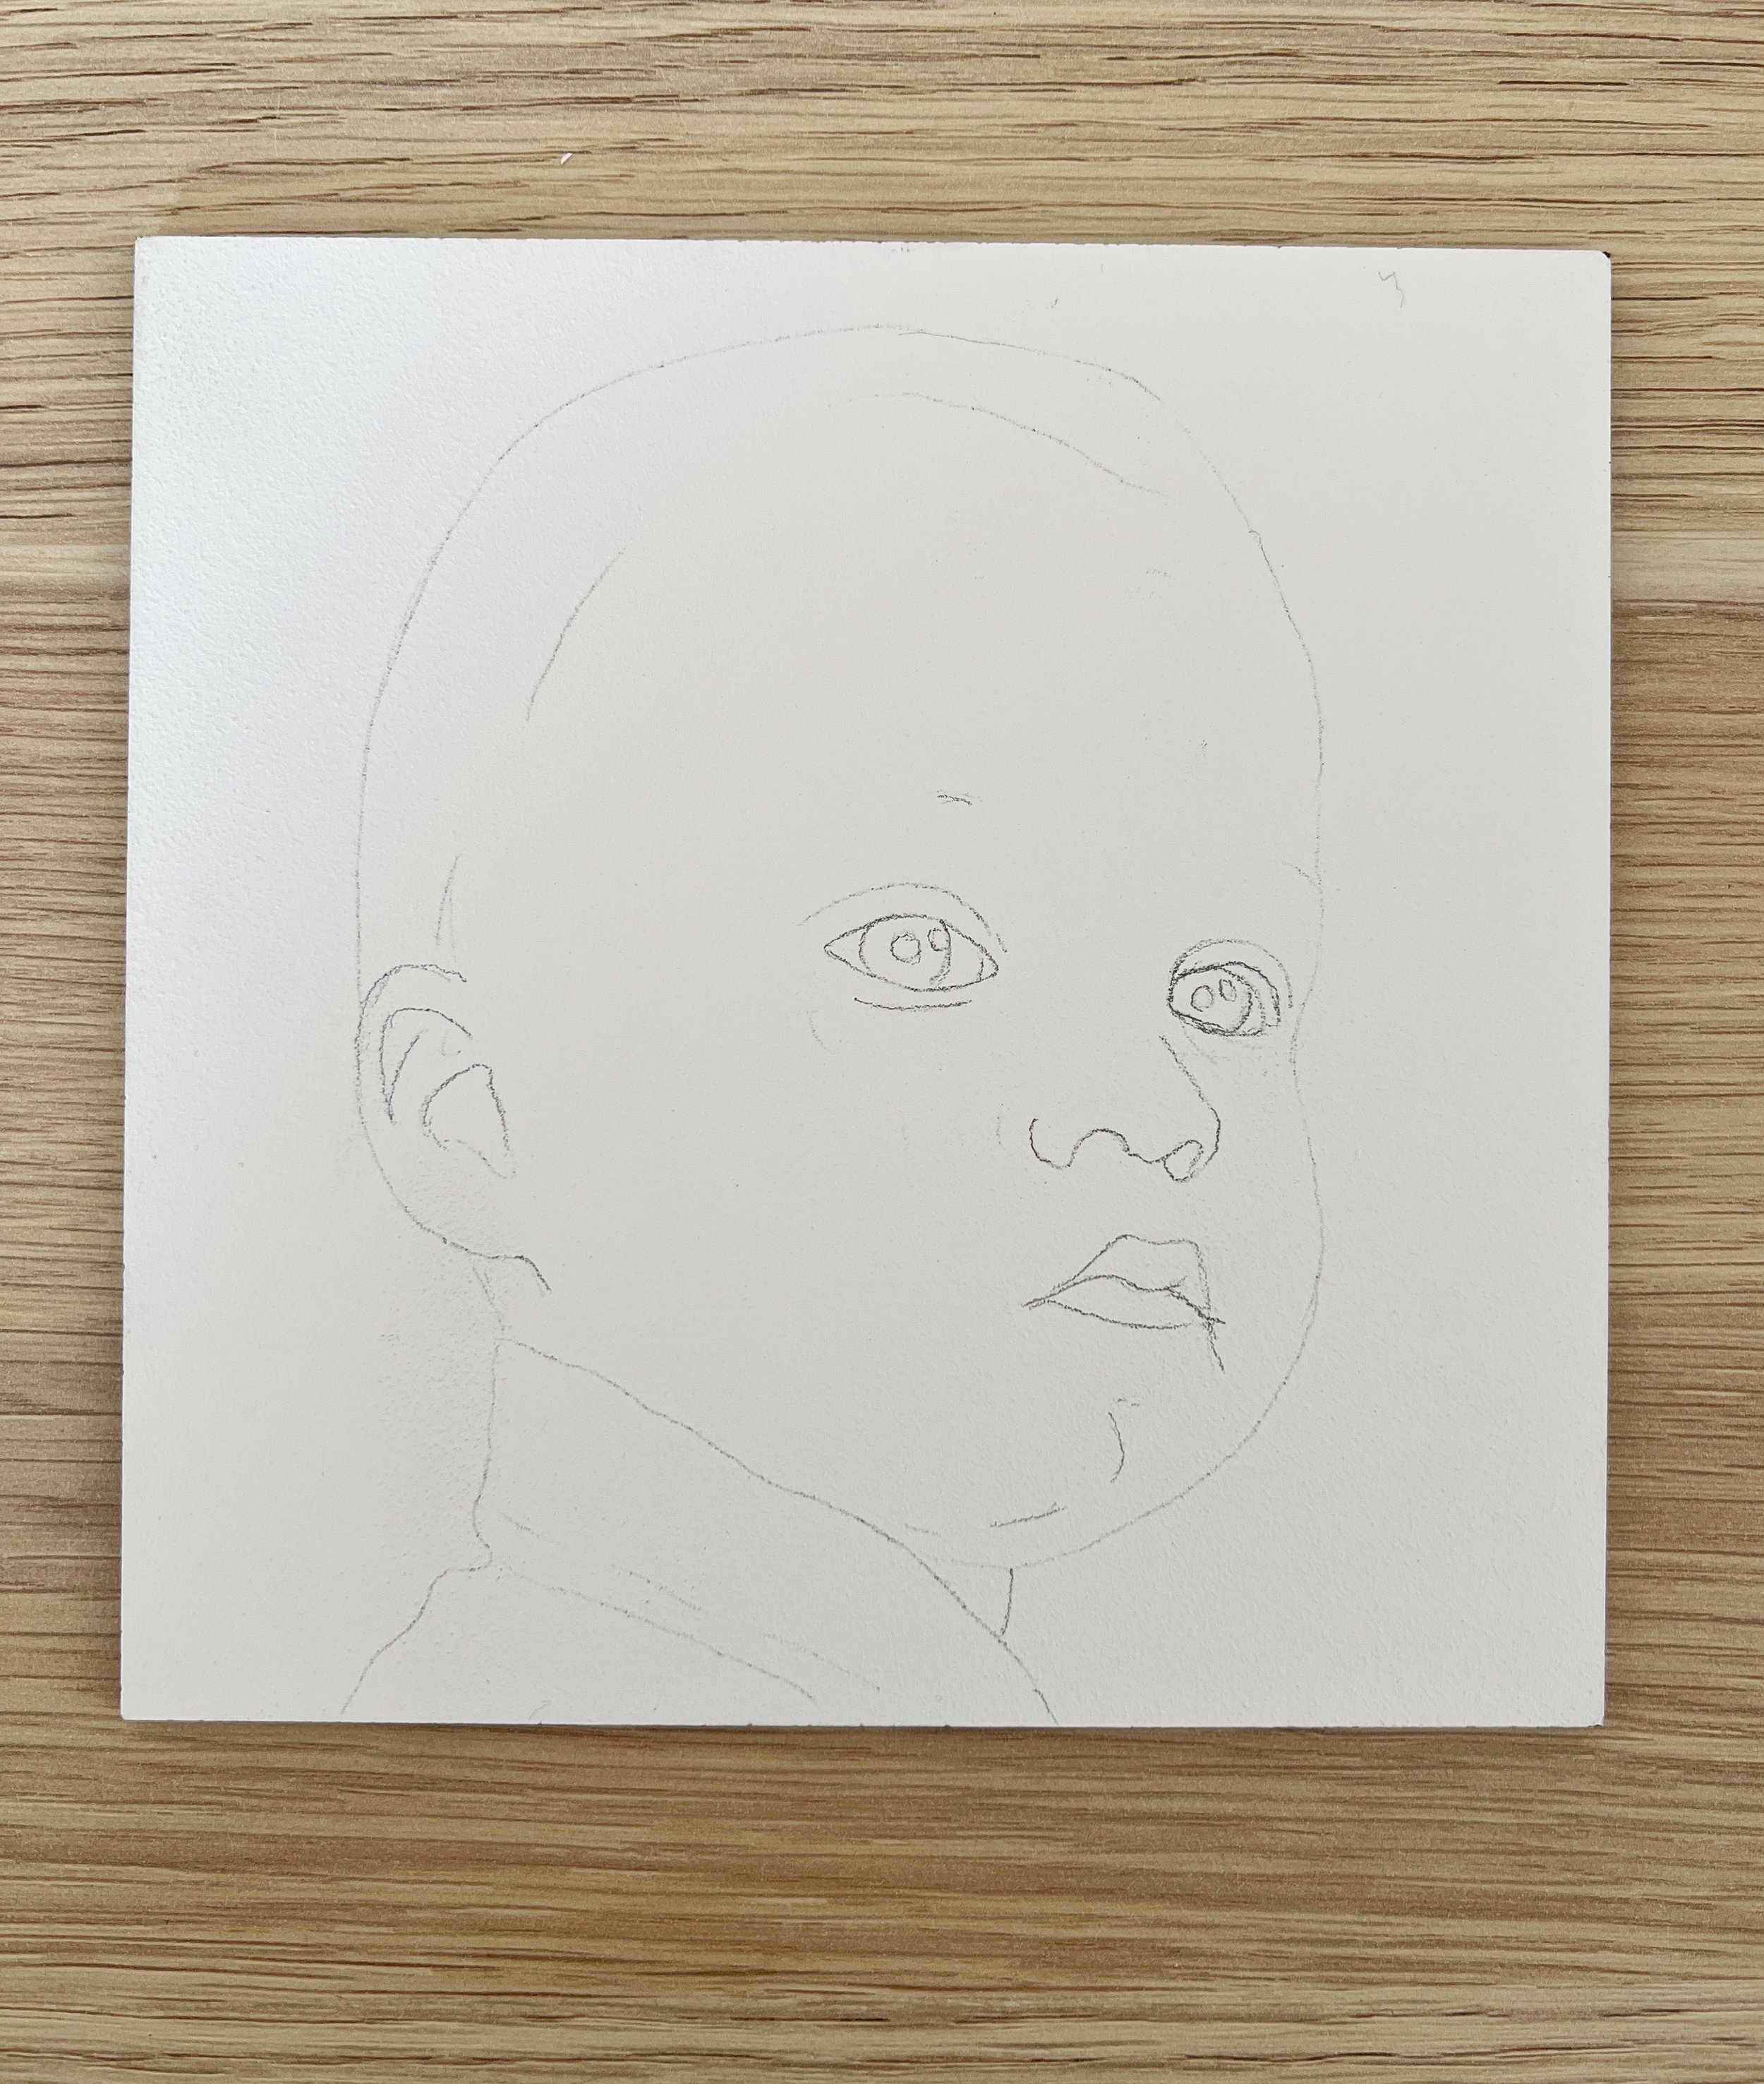
A simple pencil line drawing on the Aquabord.
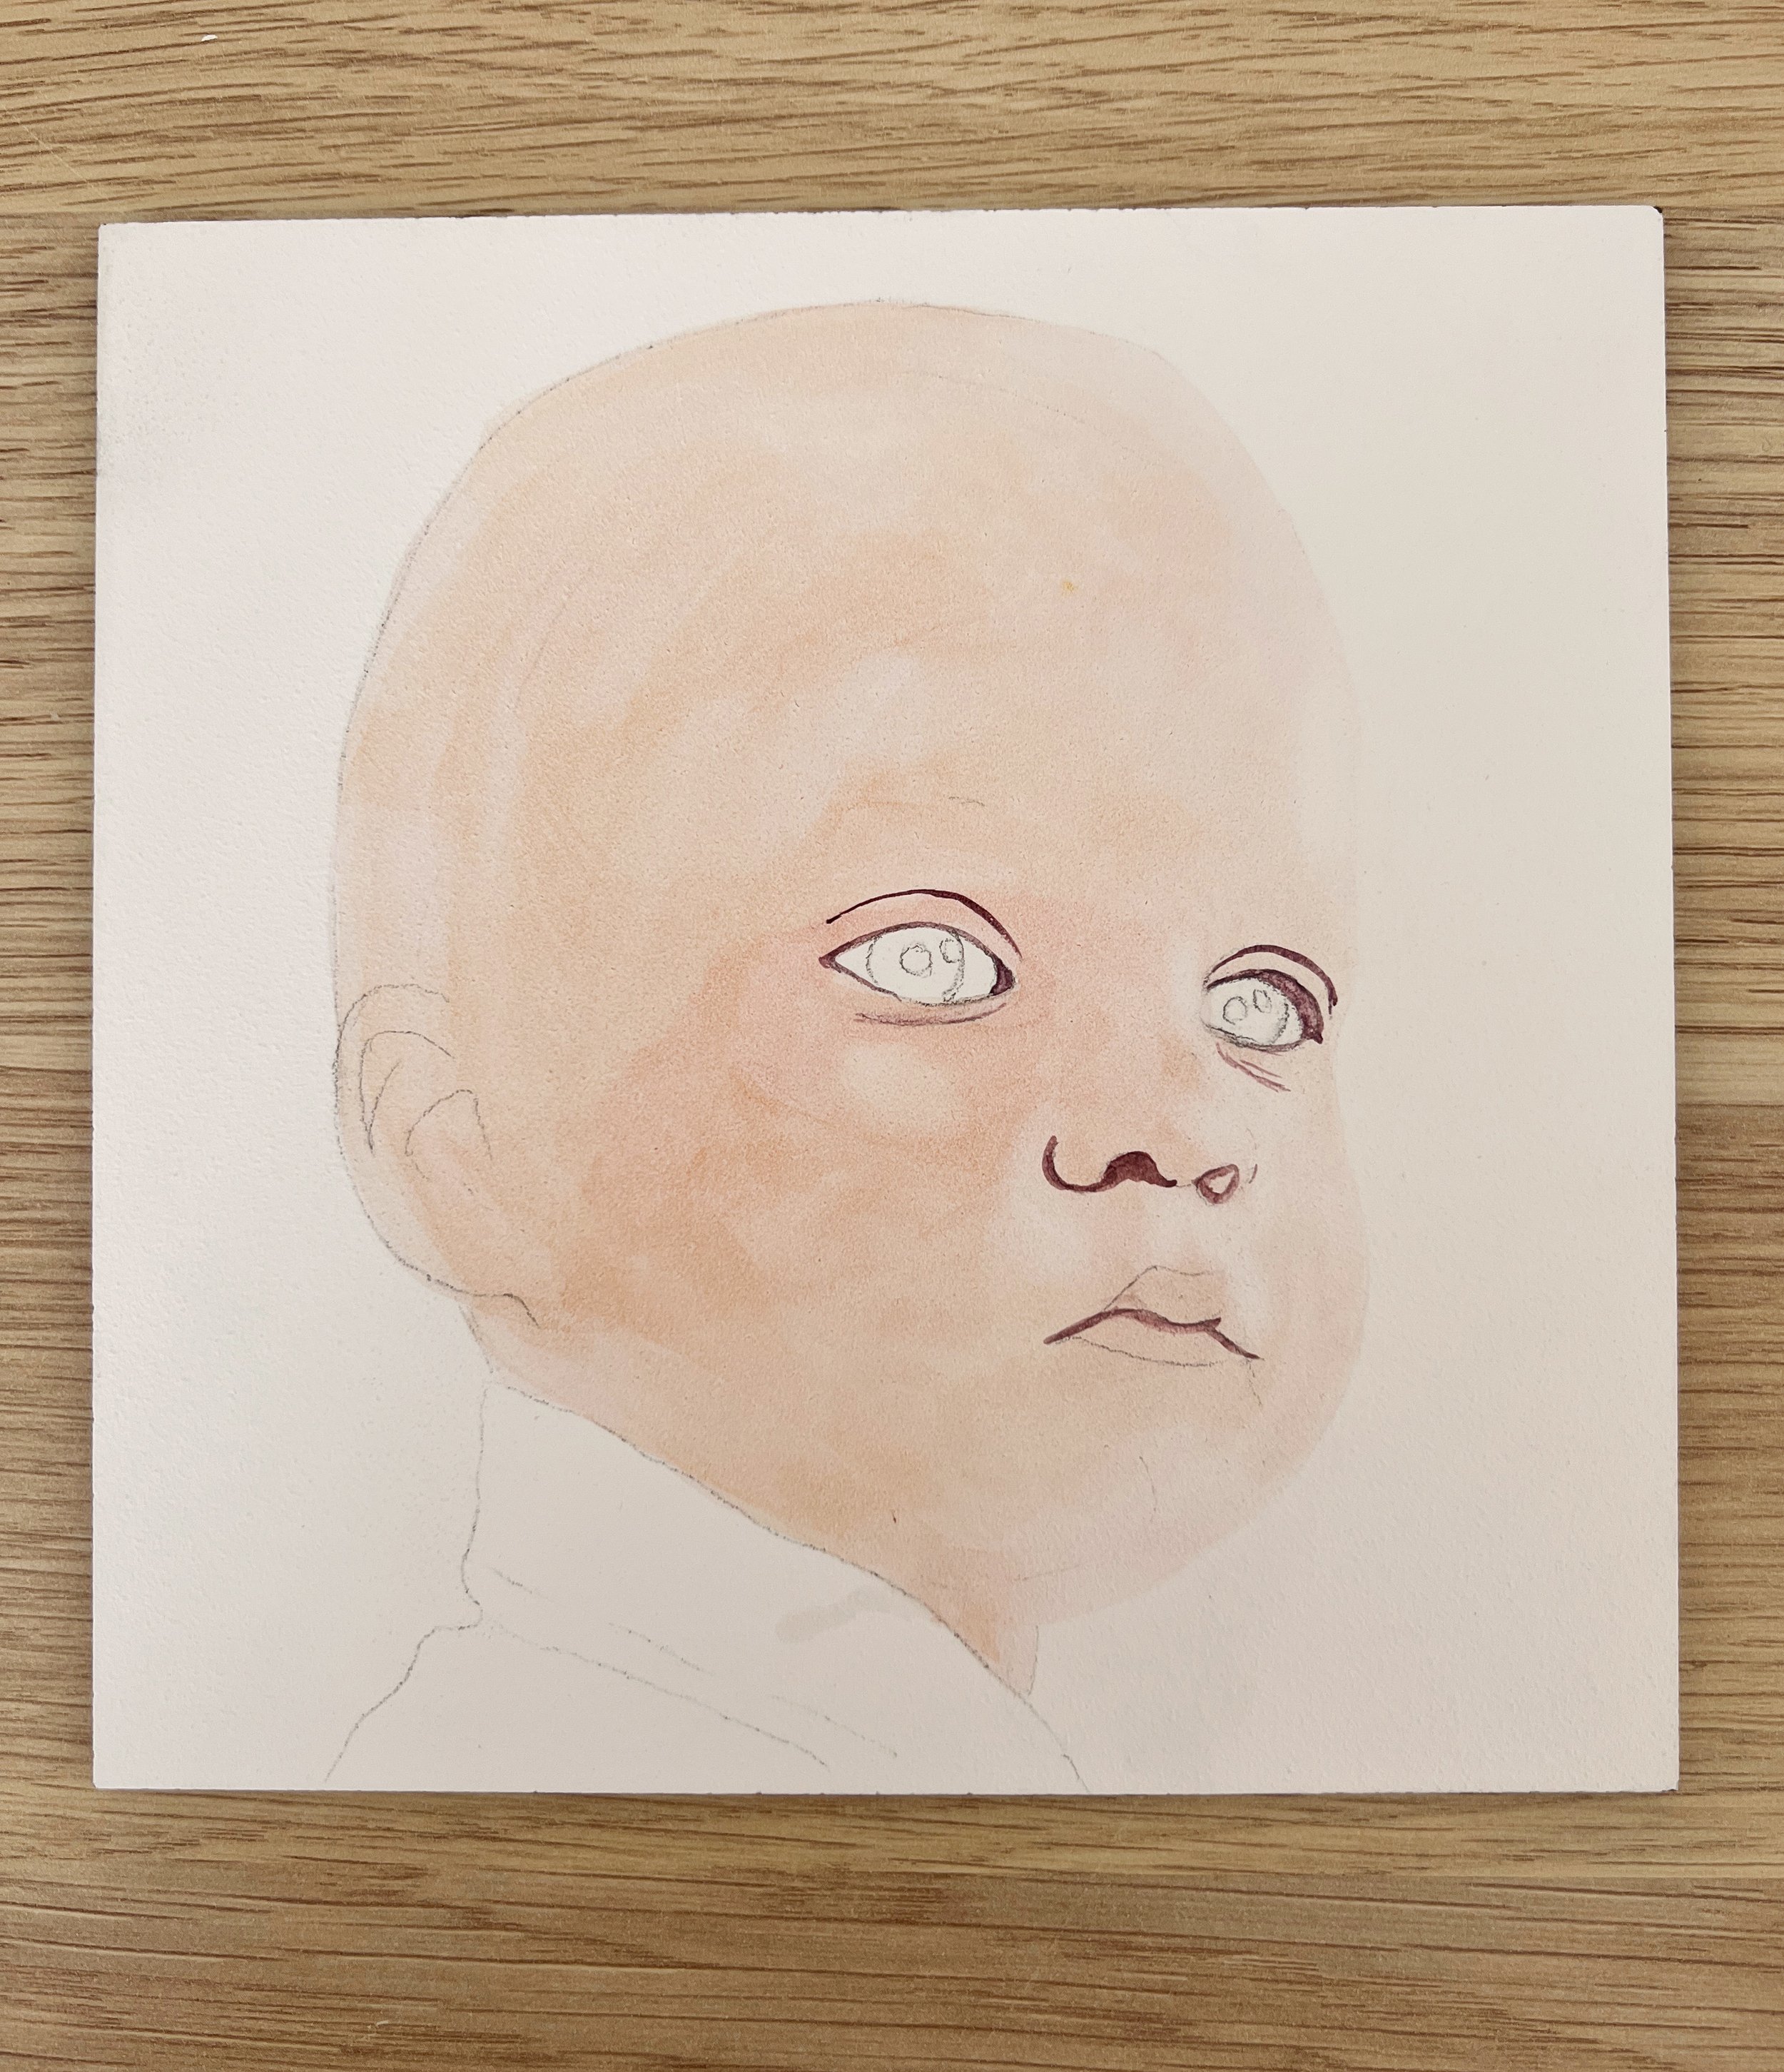
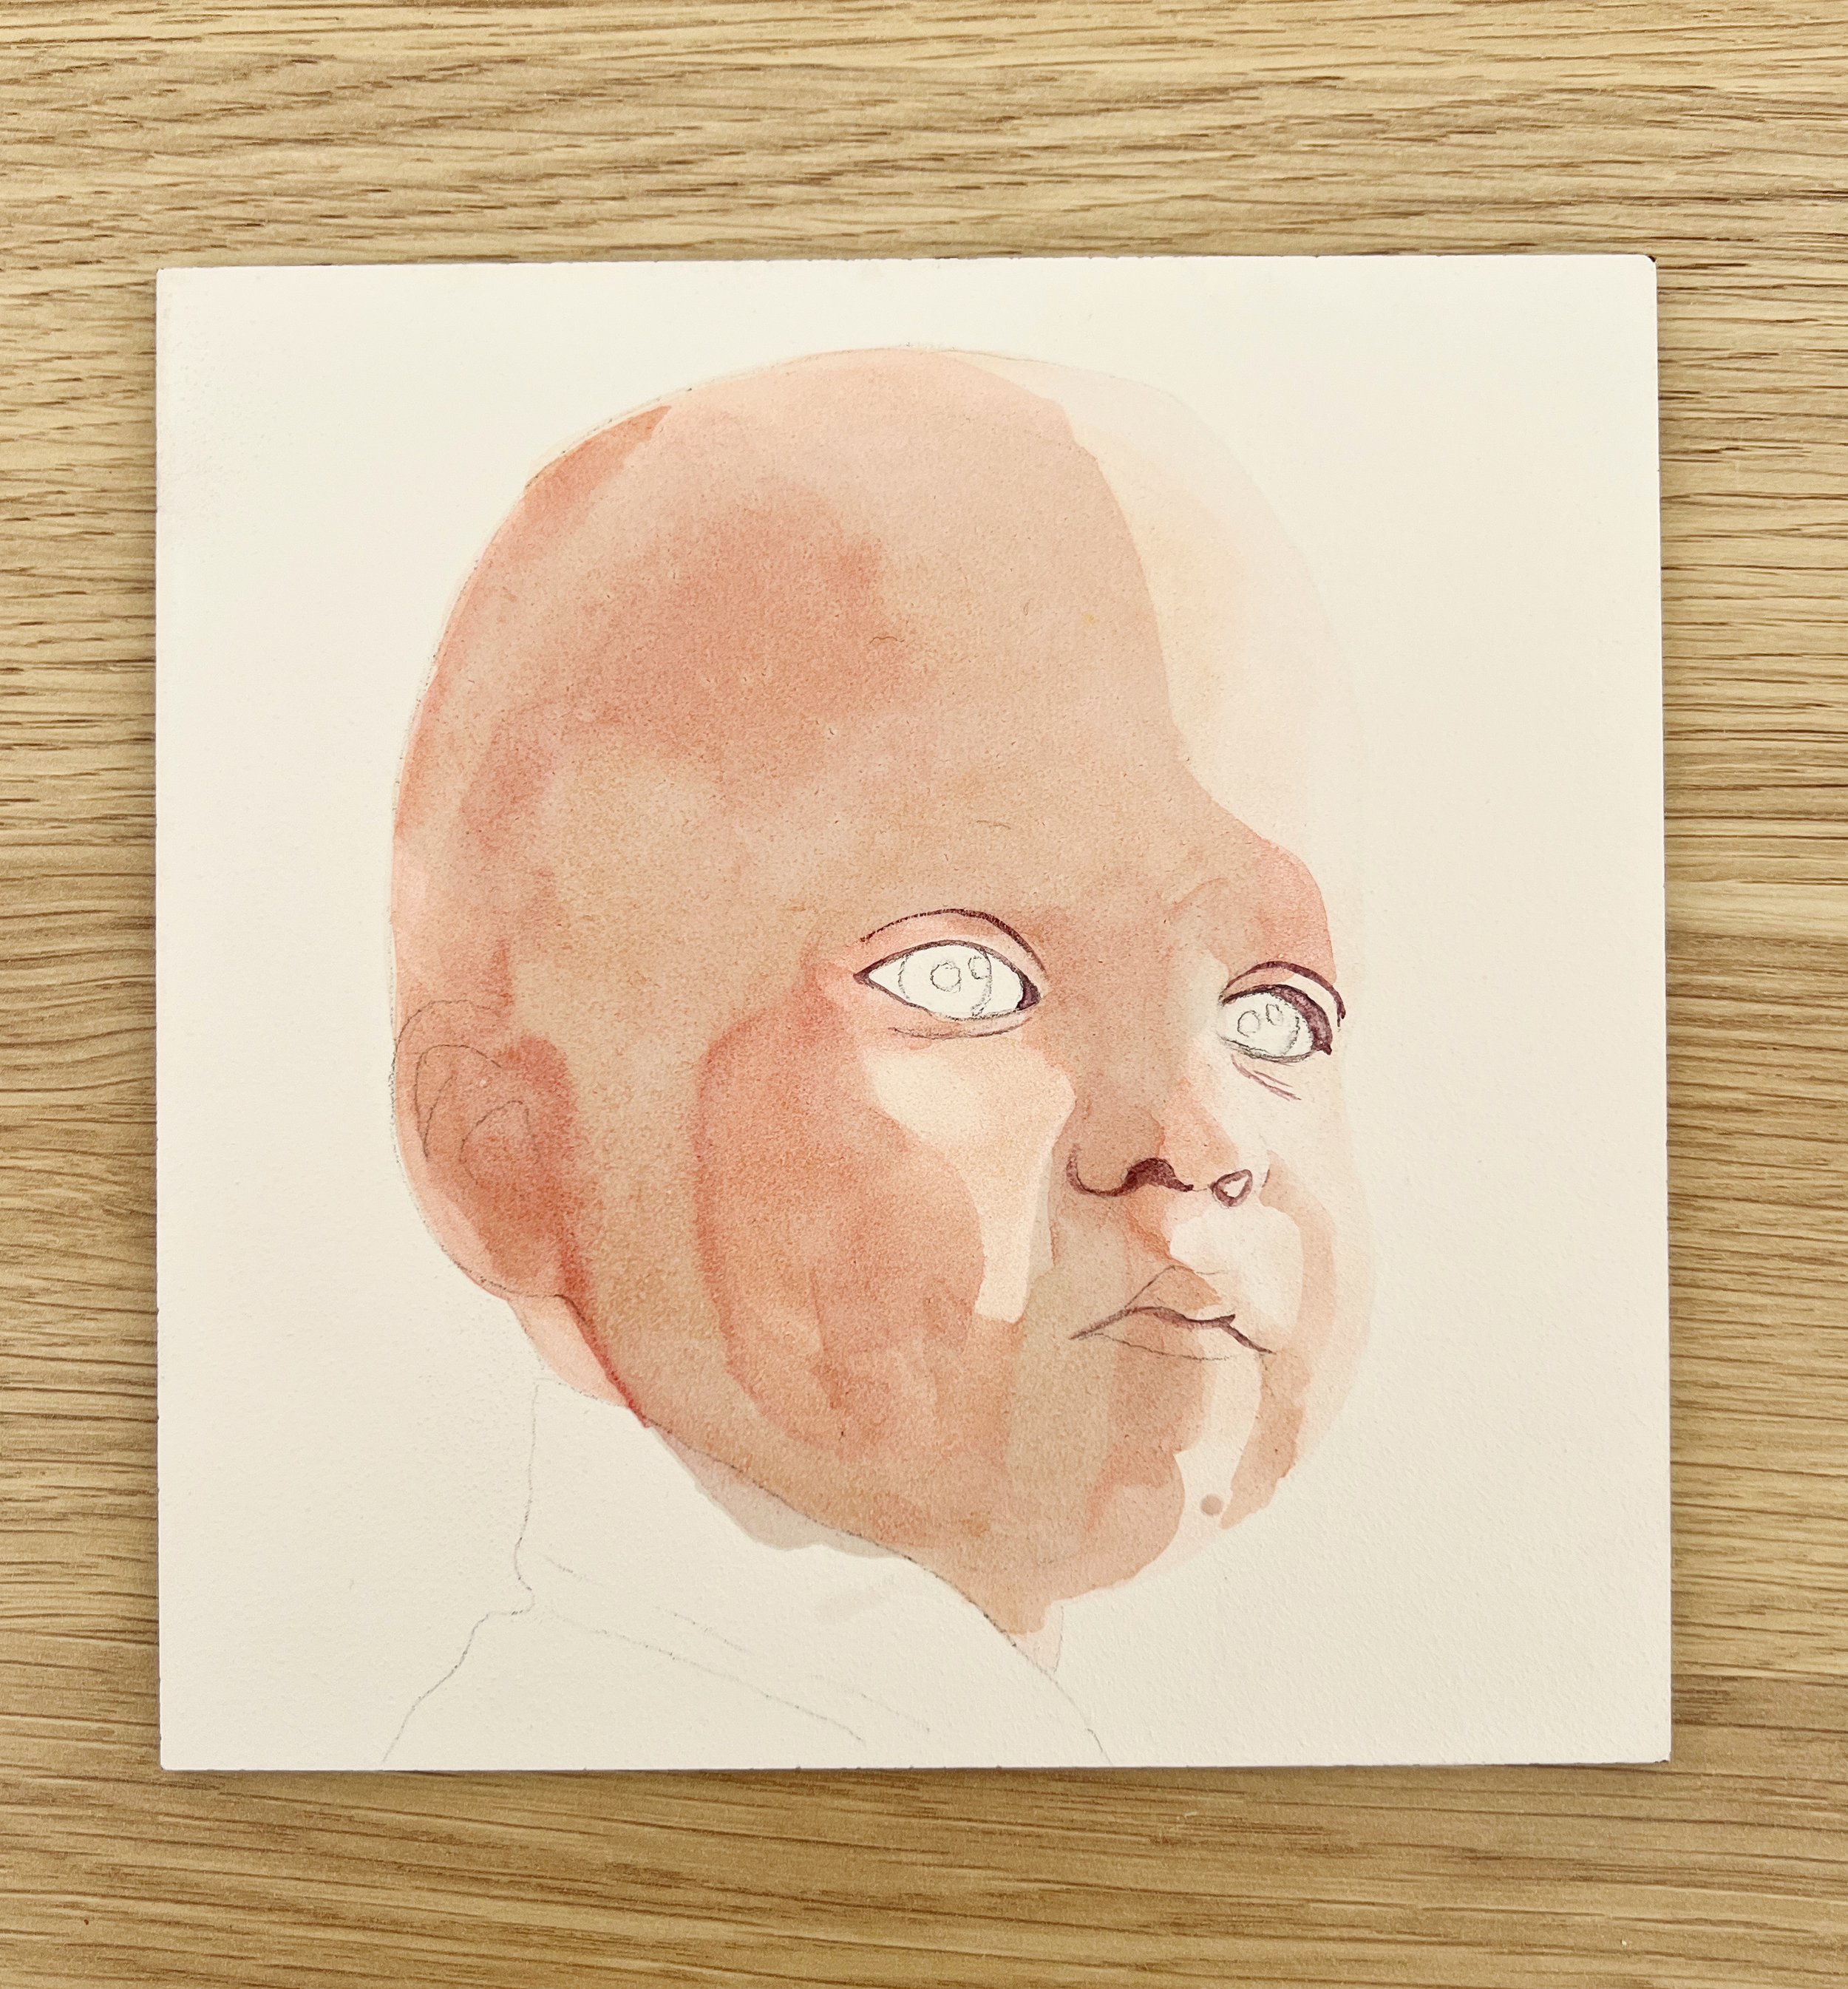
A pale wash of Raw Sienna, Permanent Rose and French Ultramarine over the entire face.
I started by washing a pale mixture of Raw Sienna, Permanent Rose, and French Ultramarine over his entire face. Once it dried, I mixed a darker version of the same three colours and carefully painted over the pencil lines in the darkest areas—around the eyes, nose, and mouth. I’ve learned that using an eraser on Aquabord can damage the surface, so for this painting, I avoided using an eraser altogether. Instead, I used the darker mix to define the lines, ensuring I could still follow them without losing important details.
See image above right.
I deepened the base wash by adding more pigment and used a large round brush to paint it onto all the major shadow areas of the face. Before applying paint to such a large area, I found it helpful to wet the surface of the Aquabord with water, similar to how I would wet watercolour paper before a large wash. However, the clay surface of Aquabord absorbs water much faster than paper, so I had to work quickly.
See image below left.
I painted the major shadow shape on the face with a darker mixture of the first wash.

Beginning to paint the eyes.
When working on Aquabord panels, just like with watercolour paper, it's important to wait until the paint is completely dry before adding more layers, or things can get messy. Washes on Aquabord often dry patchy, but I’ve learned not to worry too much about that since they can be smoothed out with a damp brush once fully dry. After letting the base layers dry, I painted the eyes using a mix of Payne’s Grey and French Ultramarine, and then began adding a few extra shadows to the nose.
See image above right.
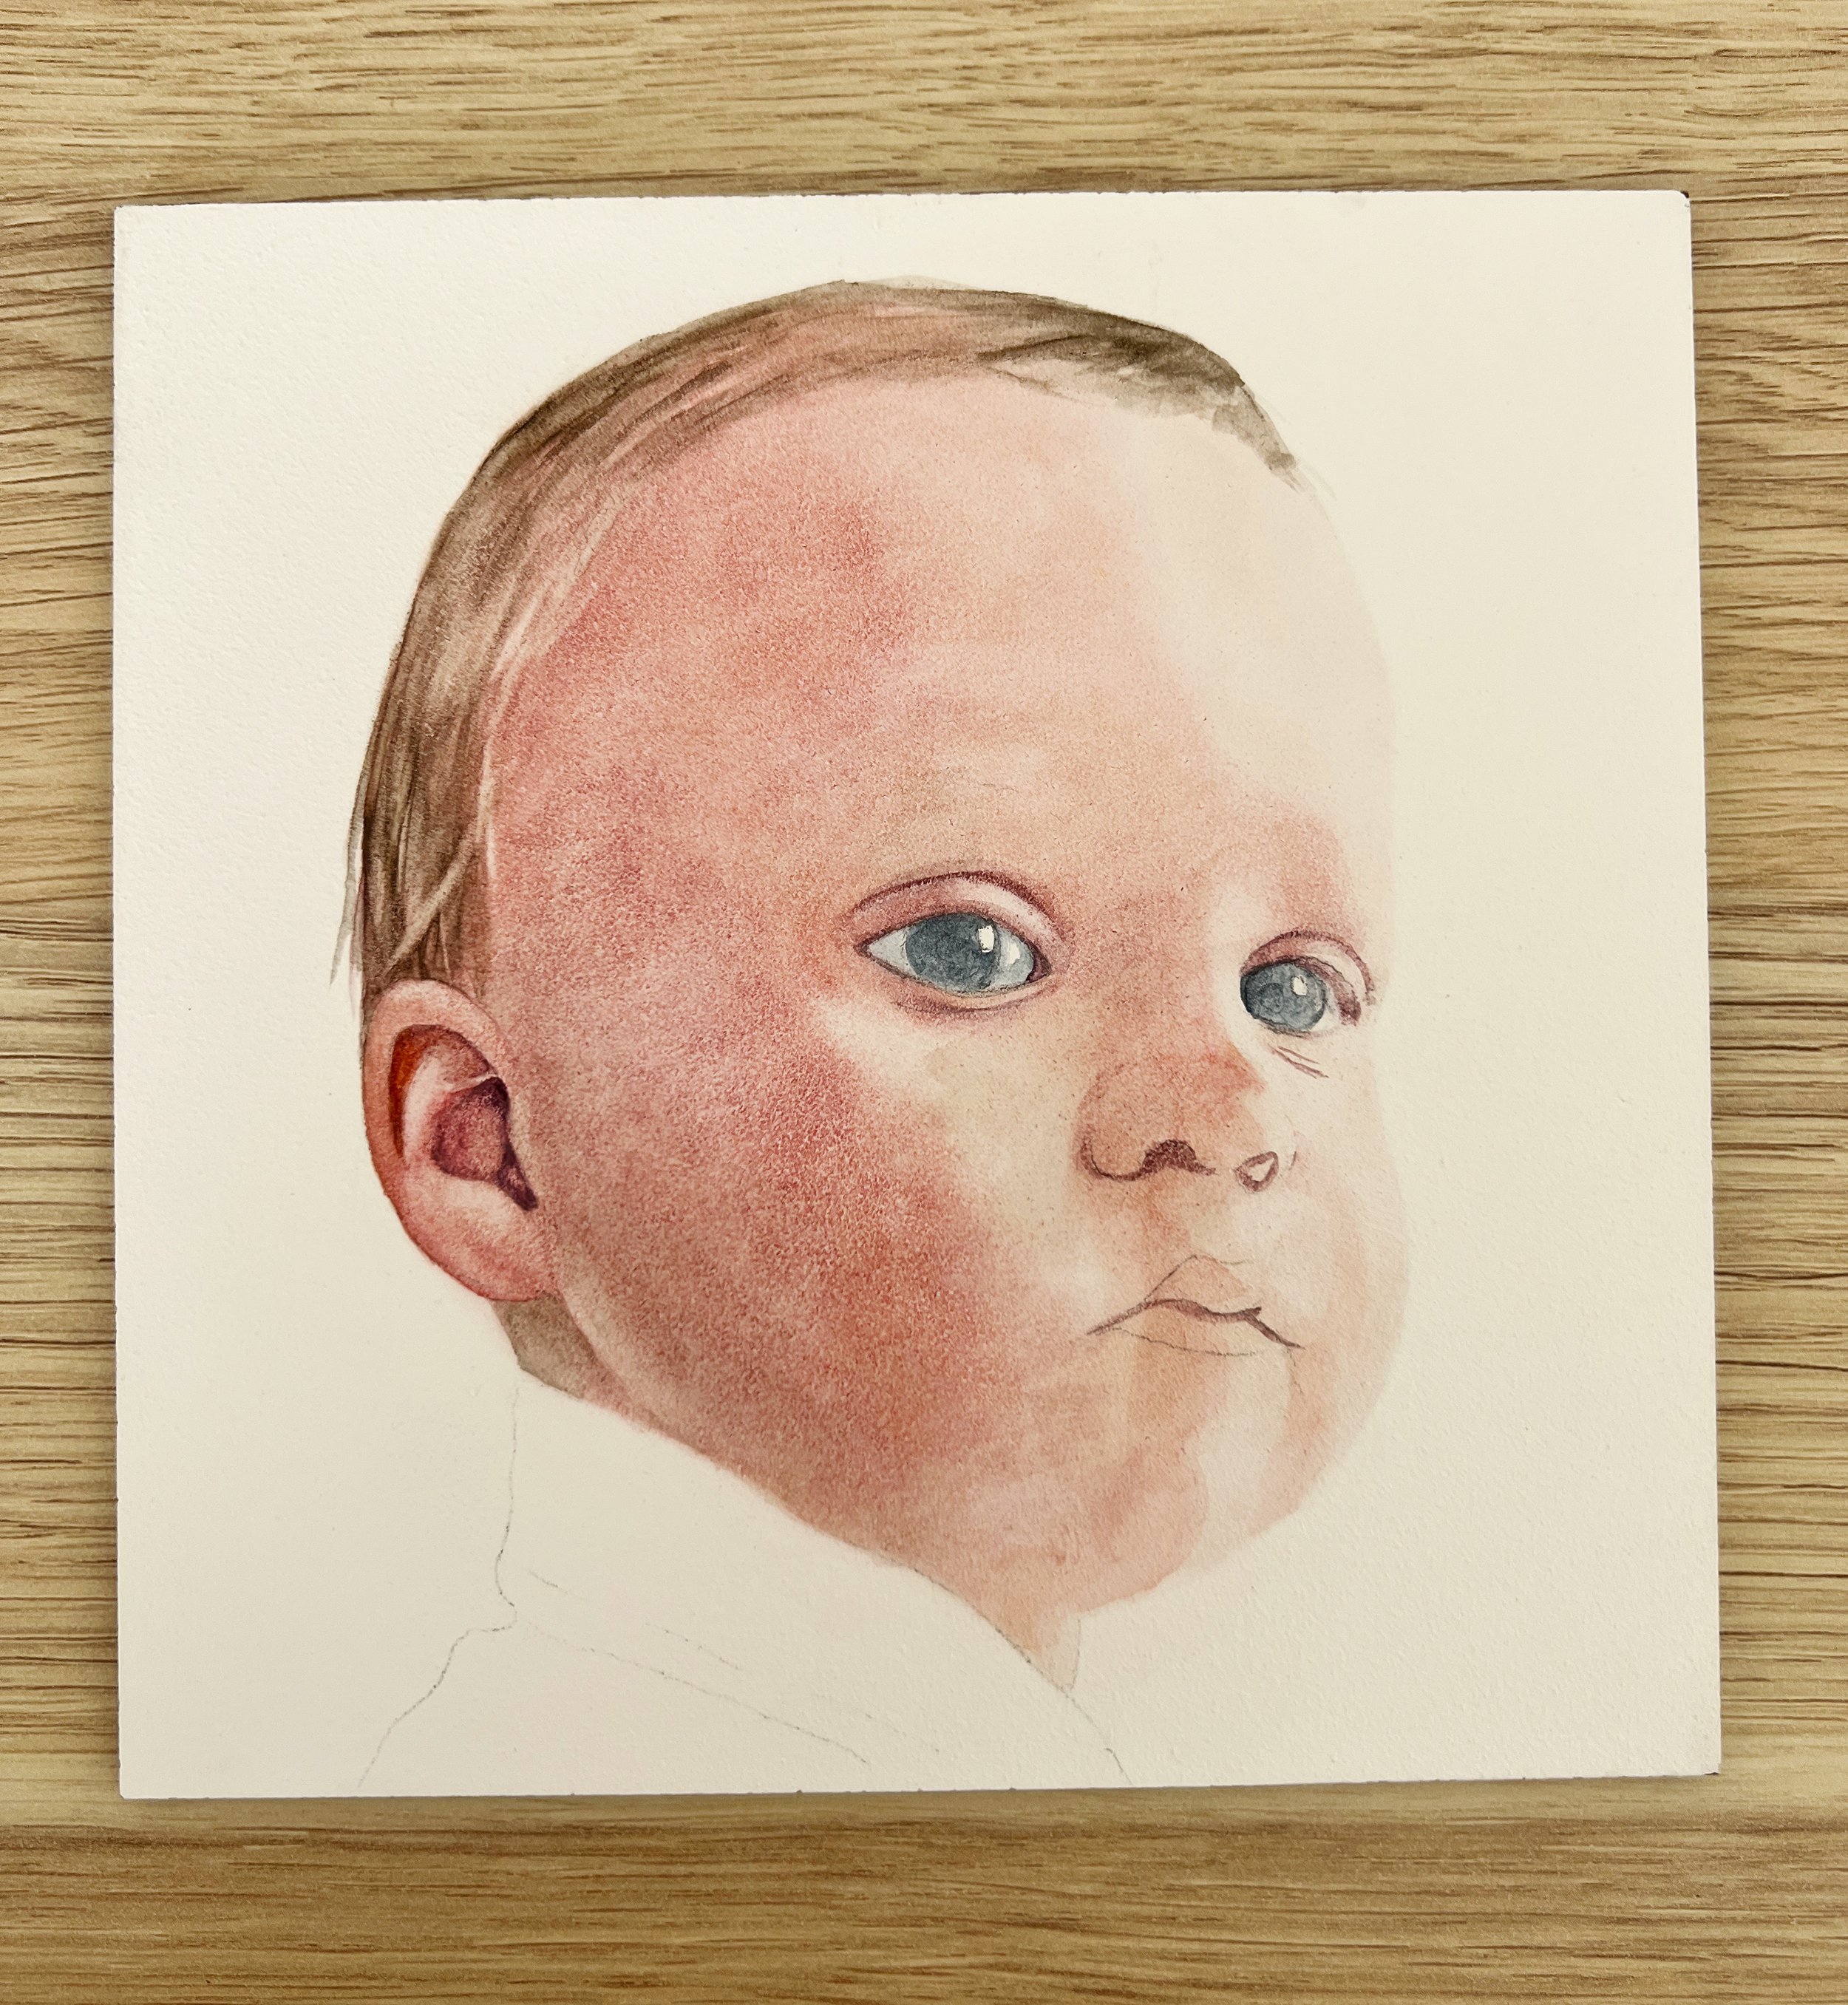
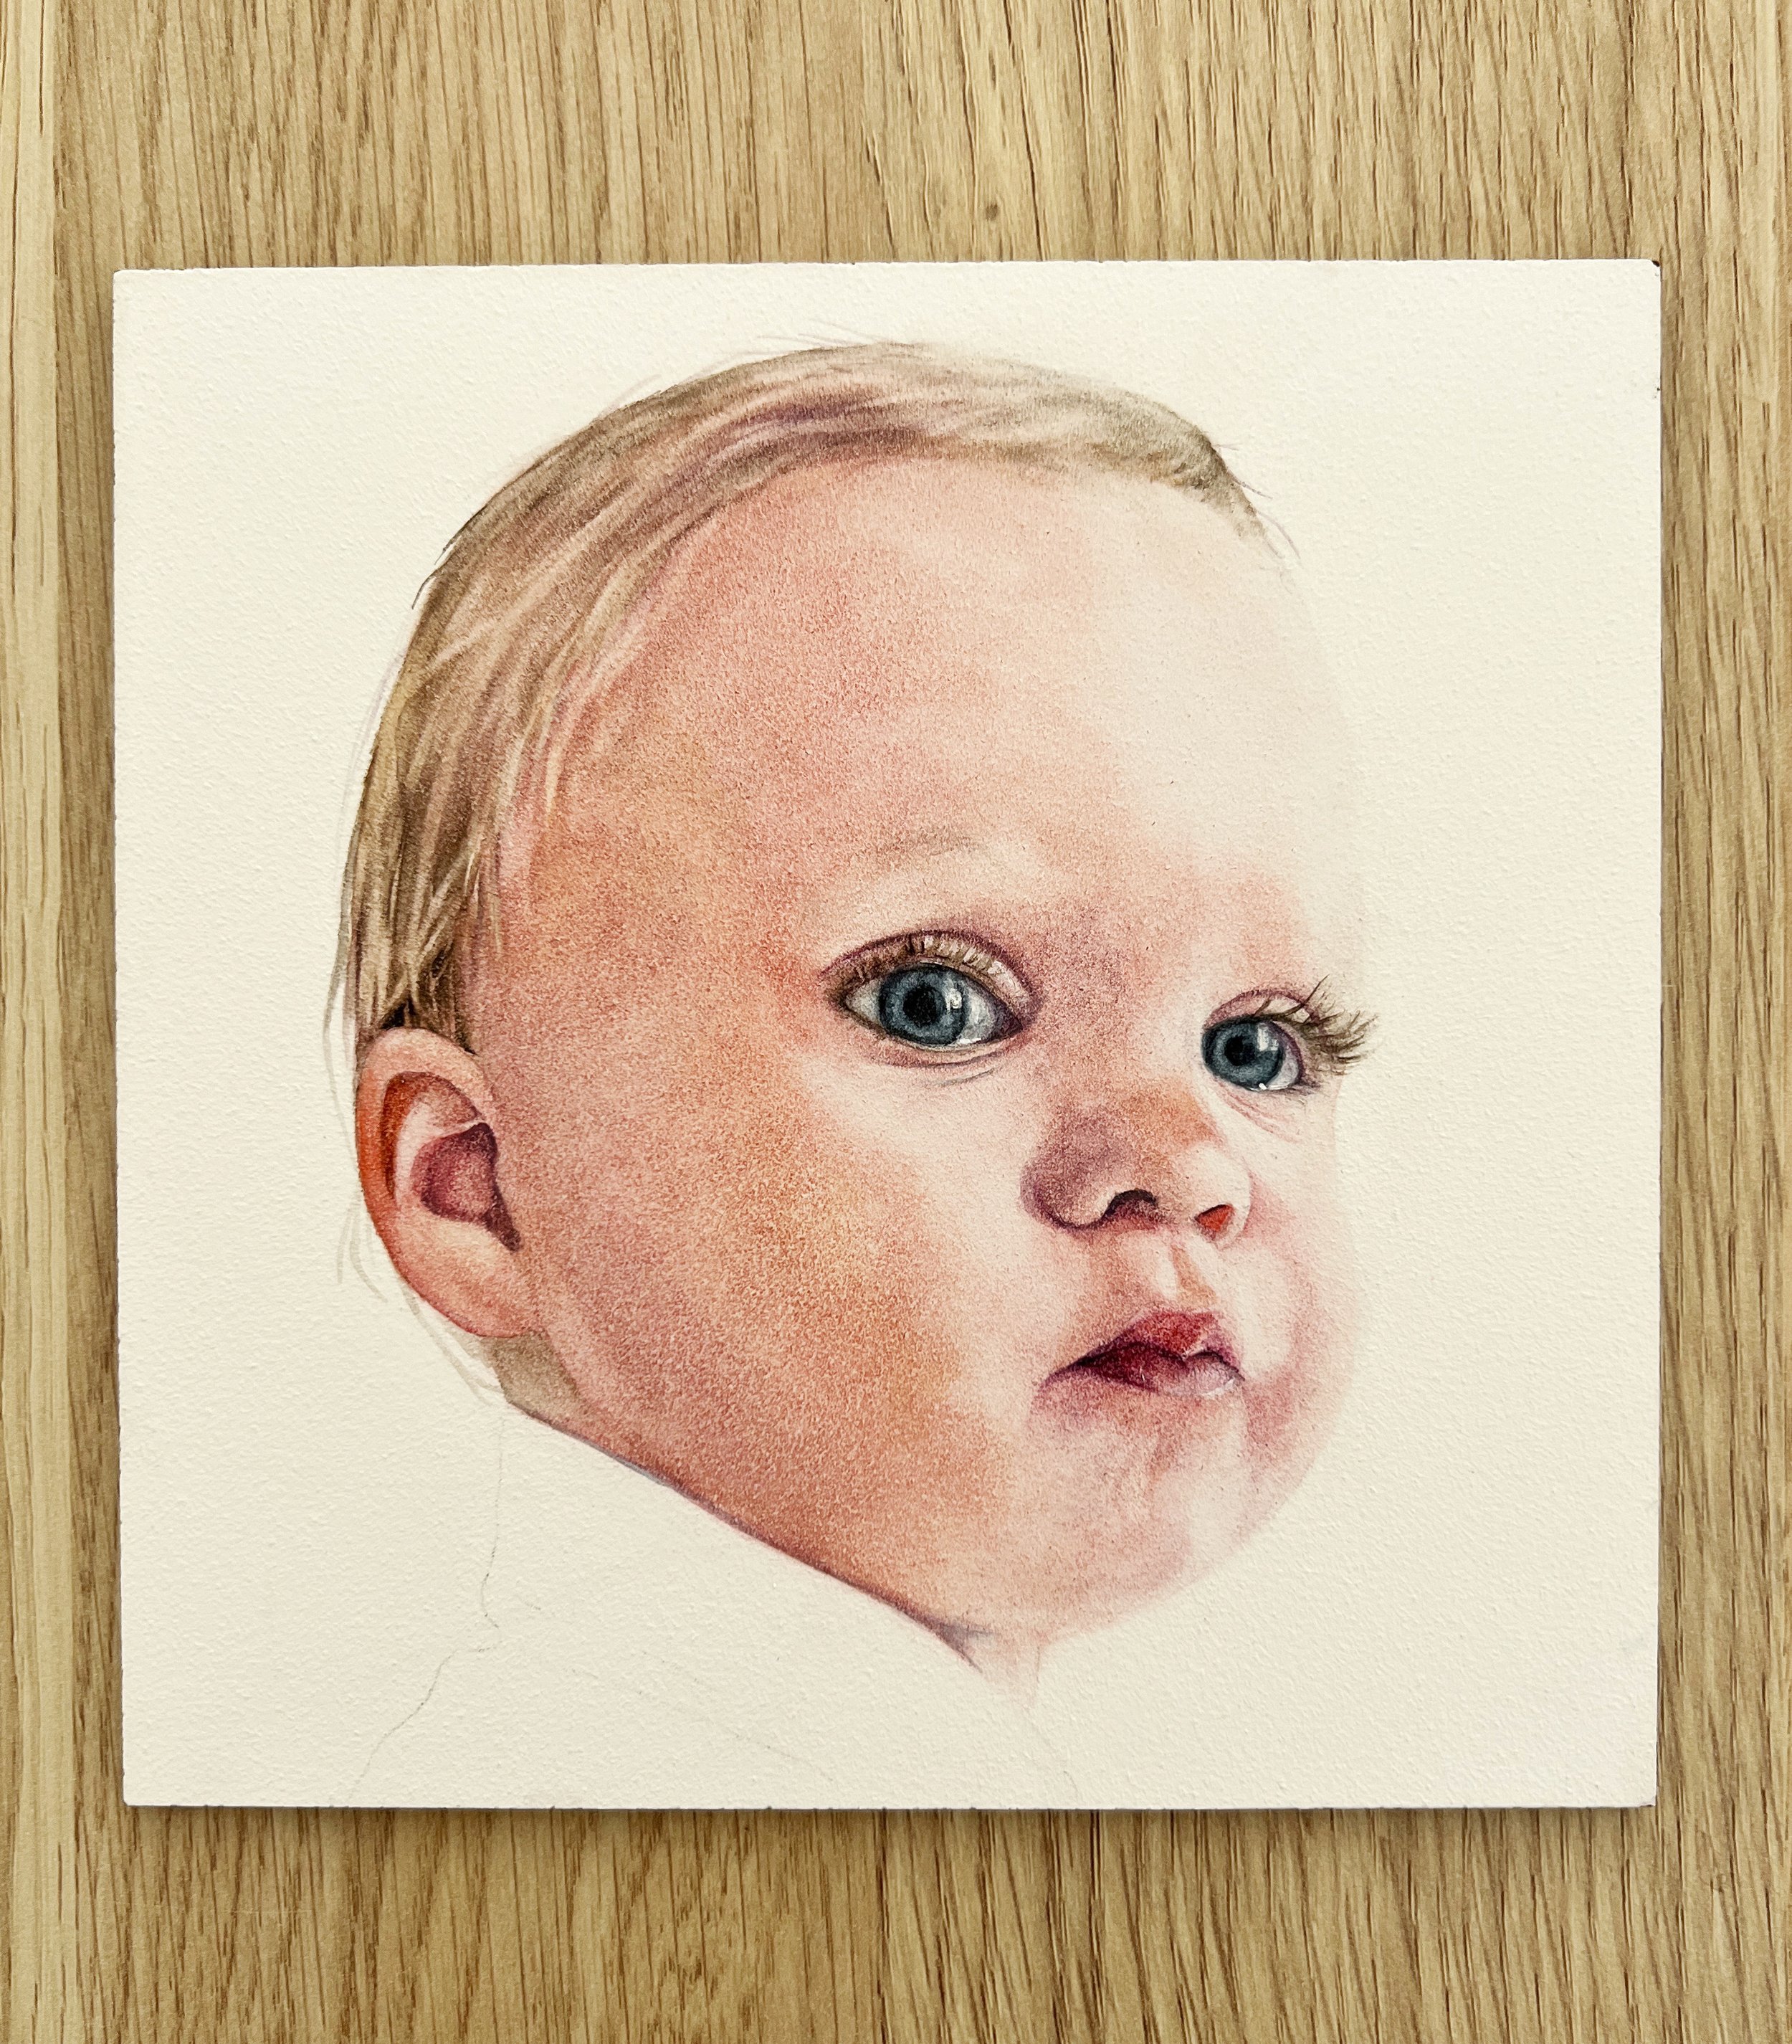
Beginning to paint the hair
I painted the ear and then began working on the hair. Painting hair on watercolour paper has always been challenging for me, but it’s much easier on Aquabord because the paint lifts so easily, making it simple to create highlights.
I find it’s best to paint hair on Aquabord from dark to light. For this painting, I started by painting the hair as one large shape. Once it was dry, I used an eradicator brush to lift out highlights. I repeated this process - layering the paint and lifting highlights - until I was satisfied with the result.
See image left.
I had a breakthrough at this stage. In the past, I approached Aquabord the same way I would watercolour paper, but this surface behaves quite differently. I realised that certain techniques can make painting on Aquabord easier.
For instance, working wet-on-wet doesn’t give me the same results as it does on paper. Normally, I would paint many of the shadows and facial features on wet paper to achieve soft edges, but Aquabord doesn’t respond like paper.
I discovered that painting the shadows on a dry surface, letting them dry completely, and then using a synthetic filbert brush to soften the edges worked like a charm. This method made it easy to create all the soft edges around the nose and mouth. The process is simple: paint the shadow, let it dry, then gently rub the edges with a synthetic brush to soften them.
With softened edges
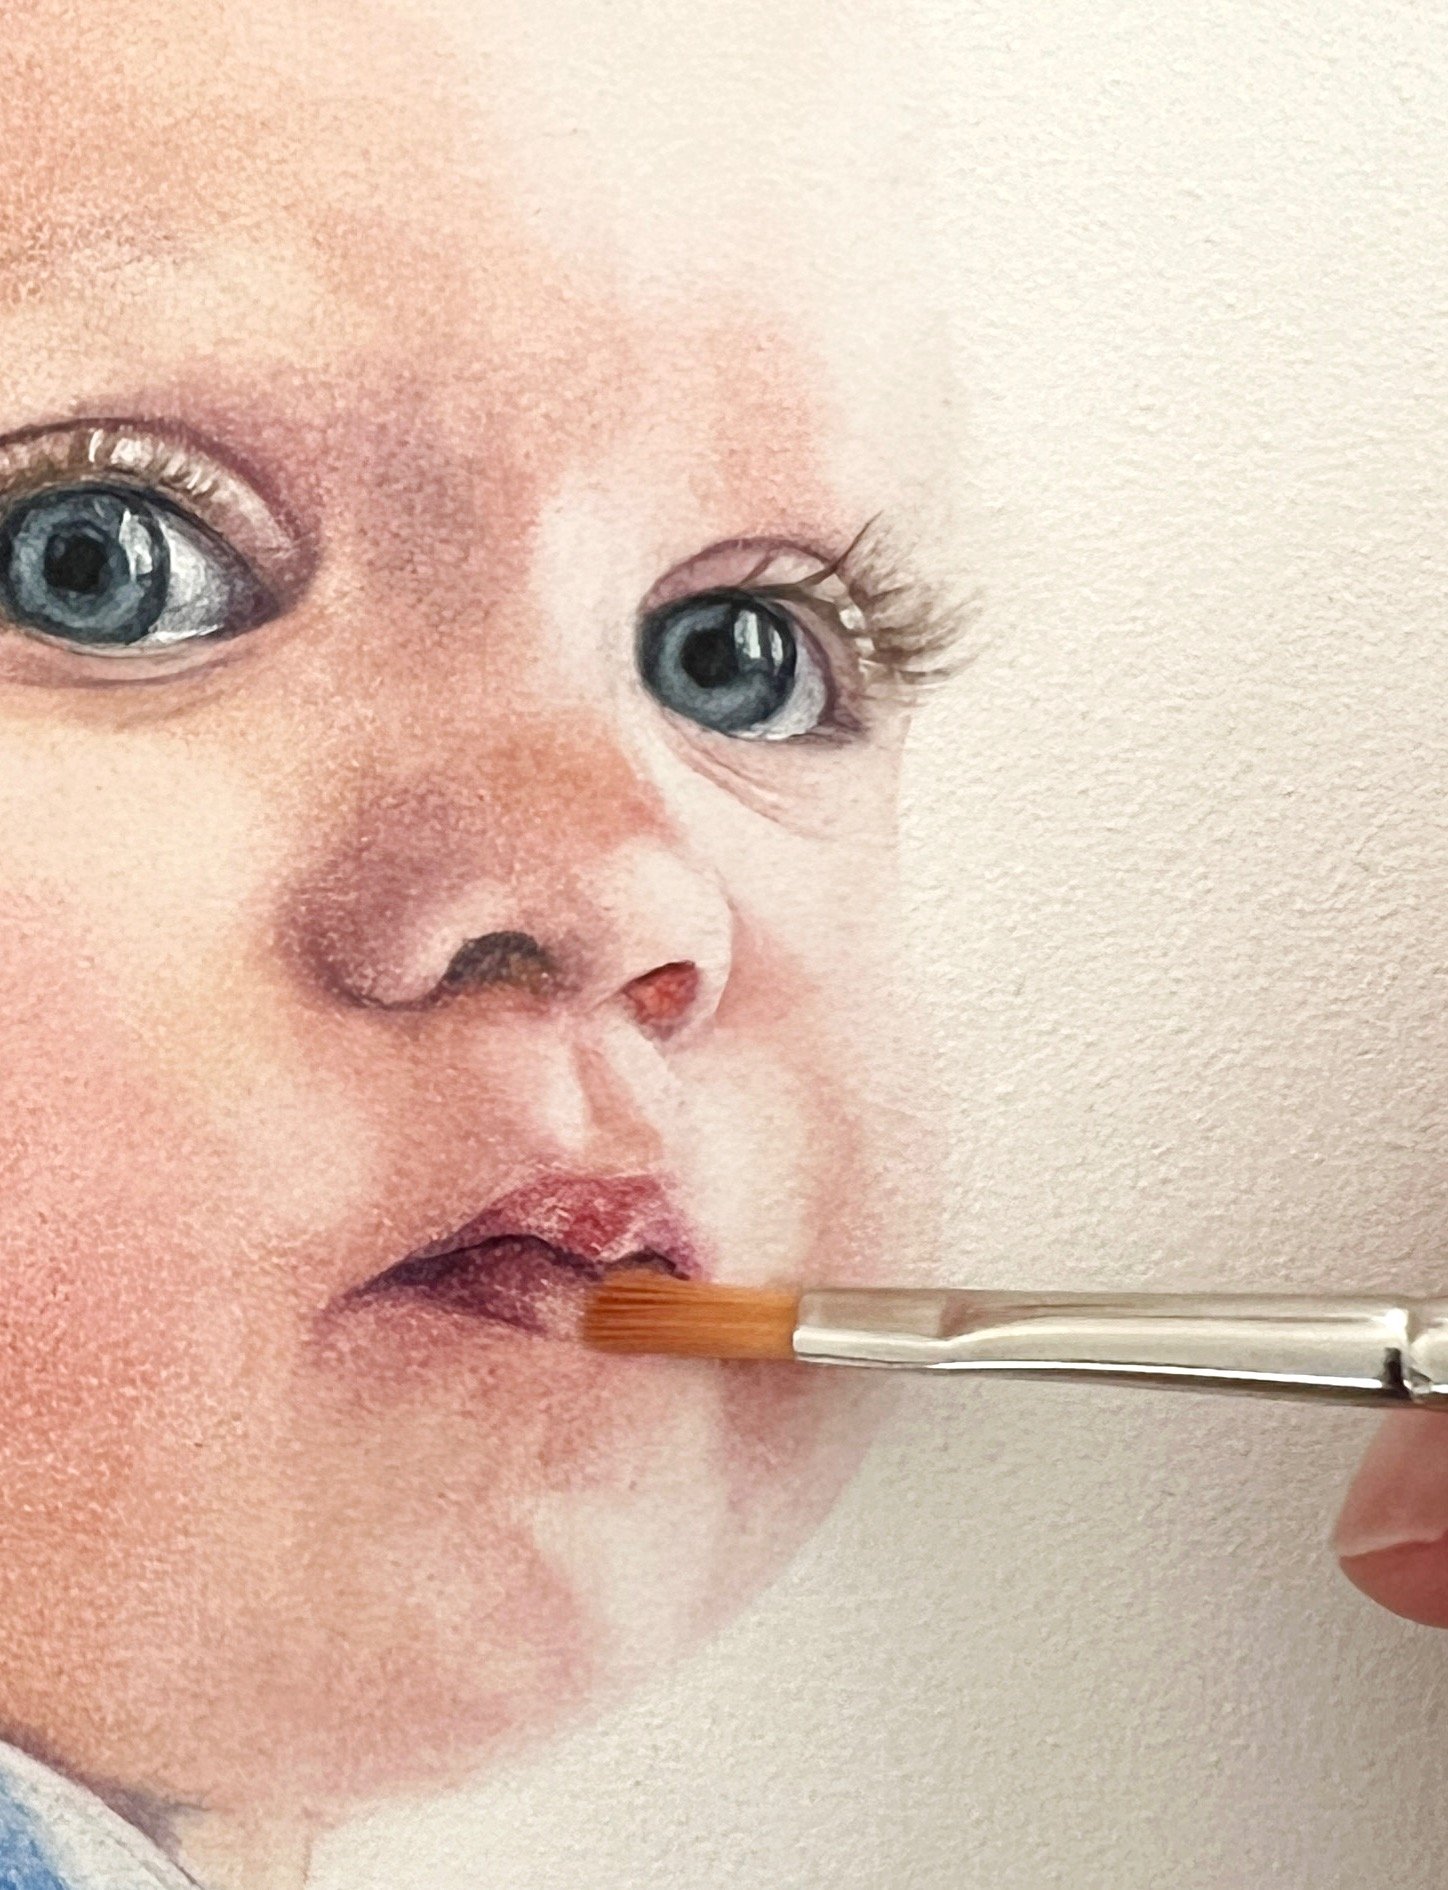
Softening edges with a synthetic filbert brush
Mouths have always been challenging for me, but I’ve learned that it's crucial to see the mouth as a natural extension of the surrounding skin, where the colours blend smoothly without sharp edges. I used a synthetic brush to soften many of the edges around the mouth.
Just before I finished I noticed the skin tone was too pink, so I applied a wash of Raw Sienna over the shaded side to add a hint of yellow and tone it down slightly.
When I completed the face, I painted the shirt in French Ultramarine. When it was dry, I deepened the shadow under the collar with more French Ultramarine and I lifted some highlights with my filbert brush.

Aquabord is a textured coated hardboard panel
I gave it a few coats of spray varnish and it was ready to be framed in an Ampersand Duoframe.
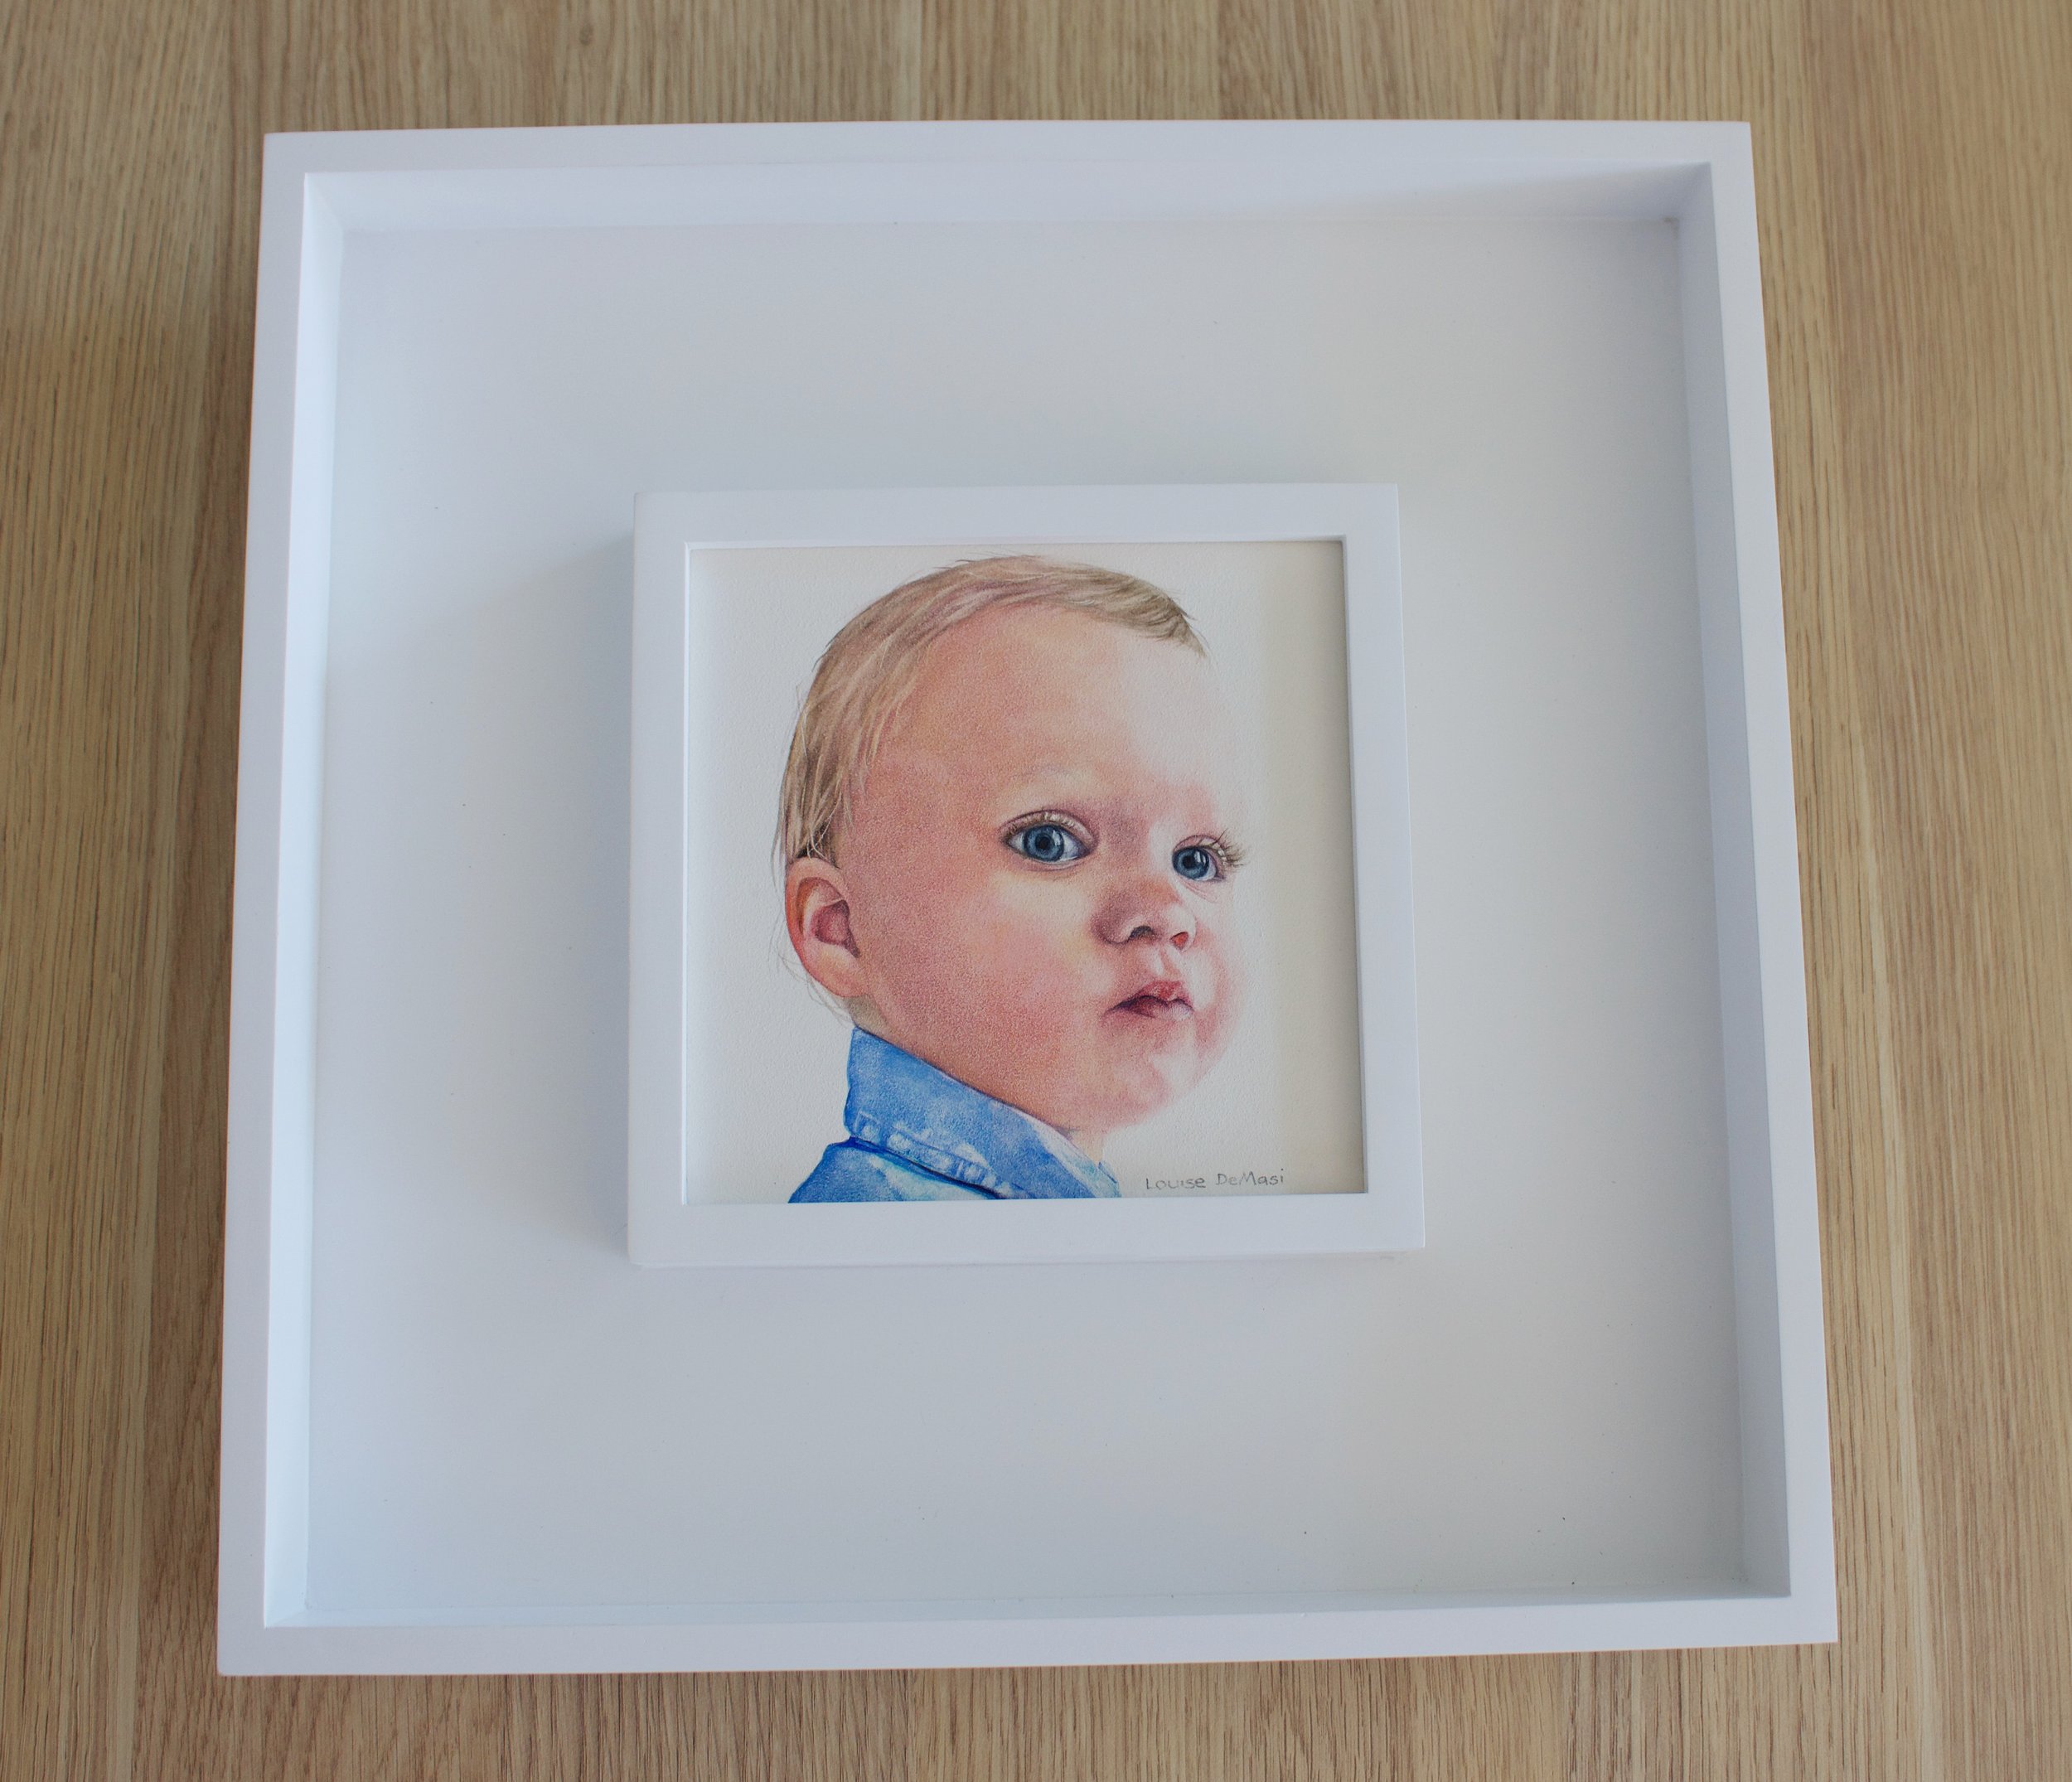
After several light coats of Krylon varnish it was ready for framing. I like using Krylon varnish because it gives the painting a very durable archival finish.
Painting on Aquabord is a fascinating journey, and I hope sharing my process helps you navigate this unique surface.
Despite the learning curve, the ability to lift and manipulate paint with ease has opened up new creative possibilities for me. The small 6 by 6 panel was a perfect choice for exploring these techniques, and I’m thrilled with the results. If you’re considering working with Aquabord, remember to embrace the differences from traditional watercolour paper and give yourself time to experiment.
Thank you for joining me on this artistic adventure, and I look forward to hearing about your own experiences with Aquabord.
If you are interested in learning to paint in watercolour, I have over 200 online, voiced over watercolour tutorials for all skill levels.