Watercolour Painting Steps
How to Start Your Own Watercolour Paintings from Photos

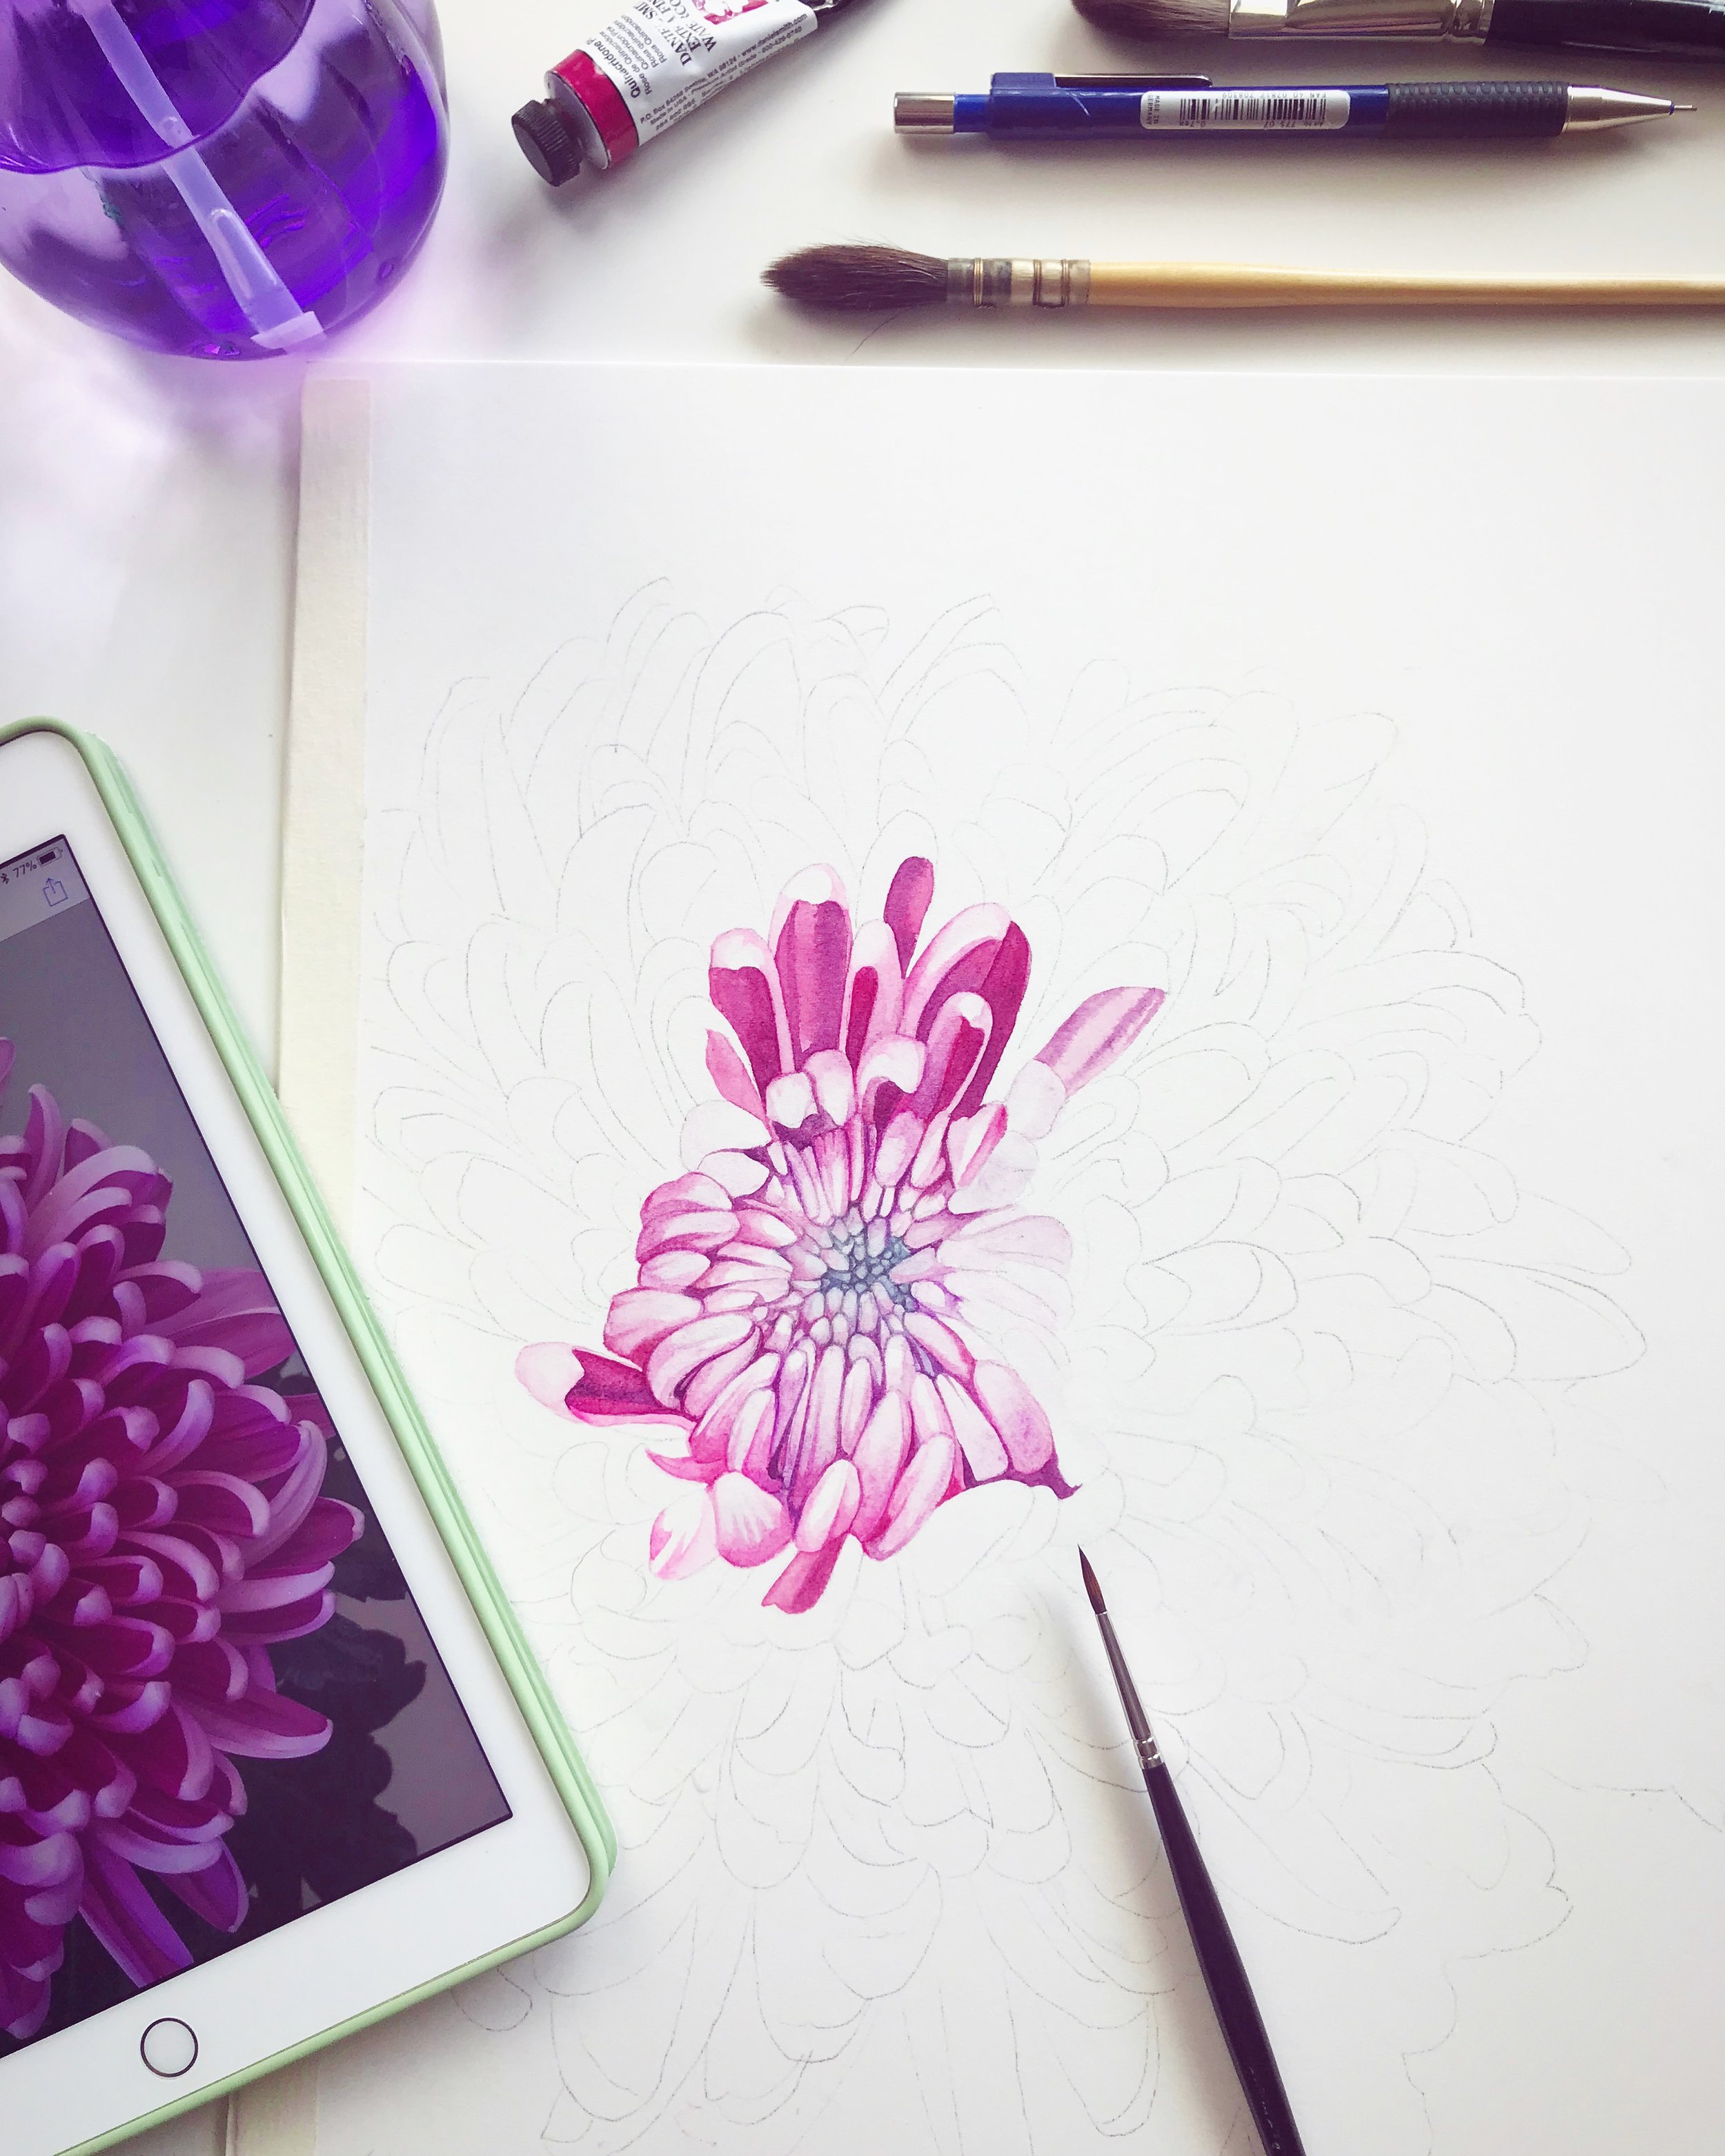
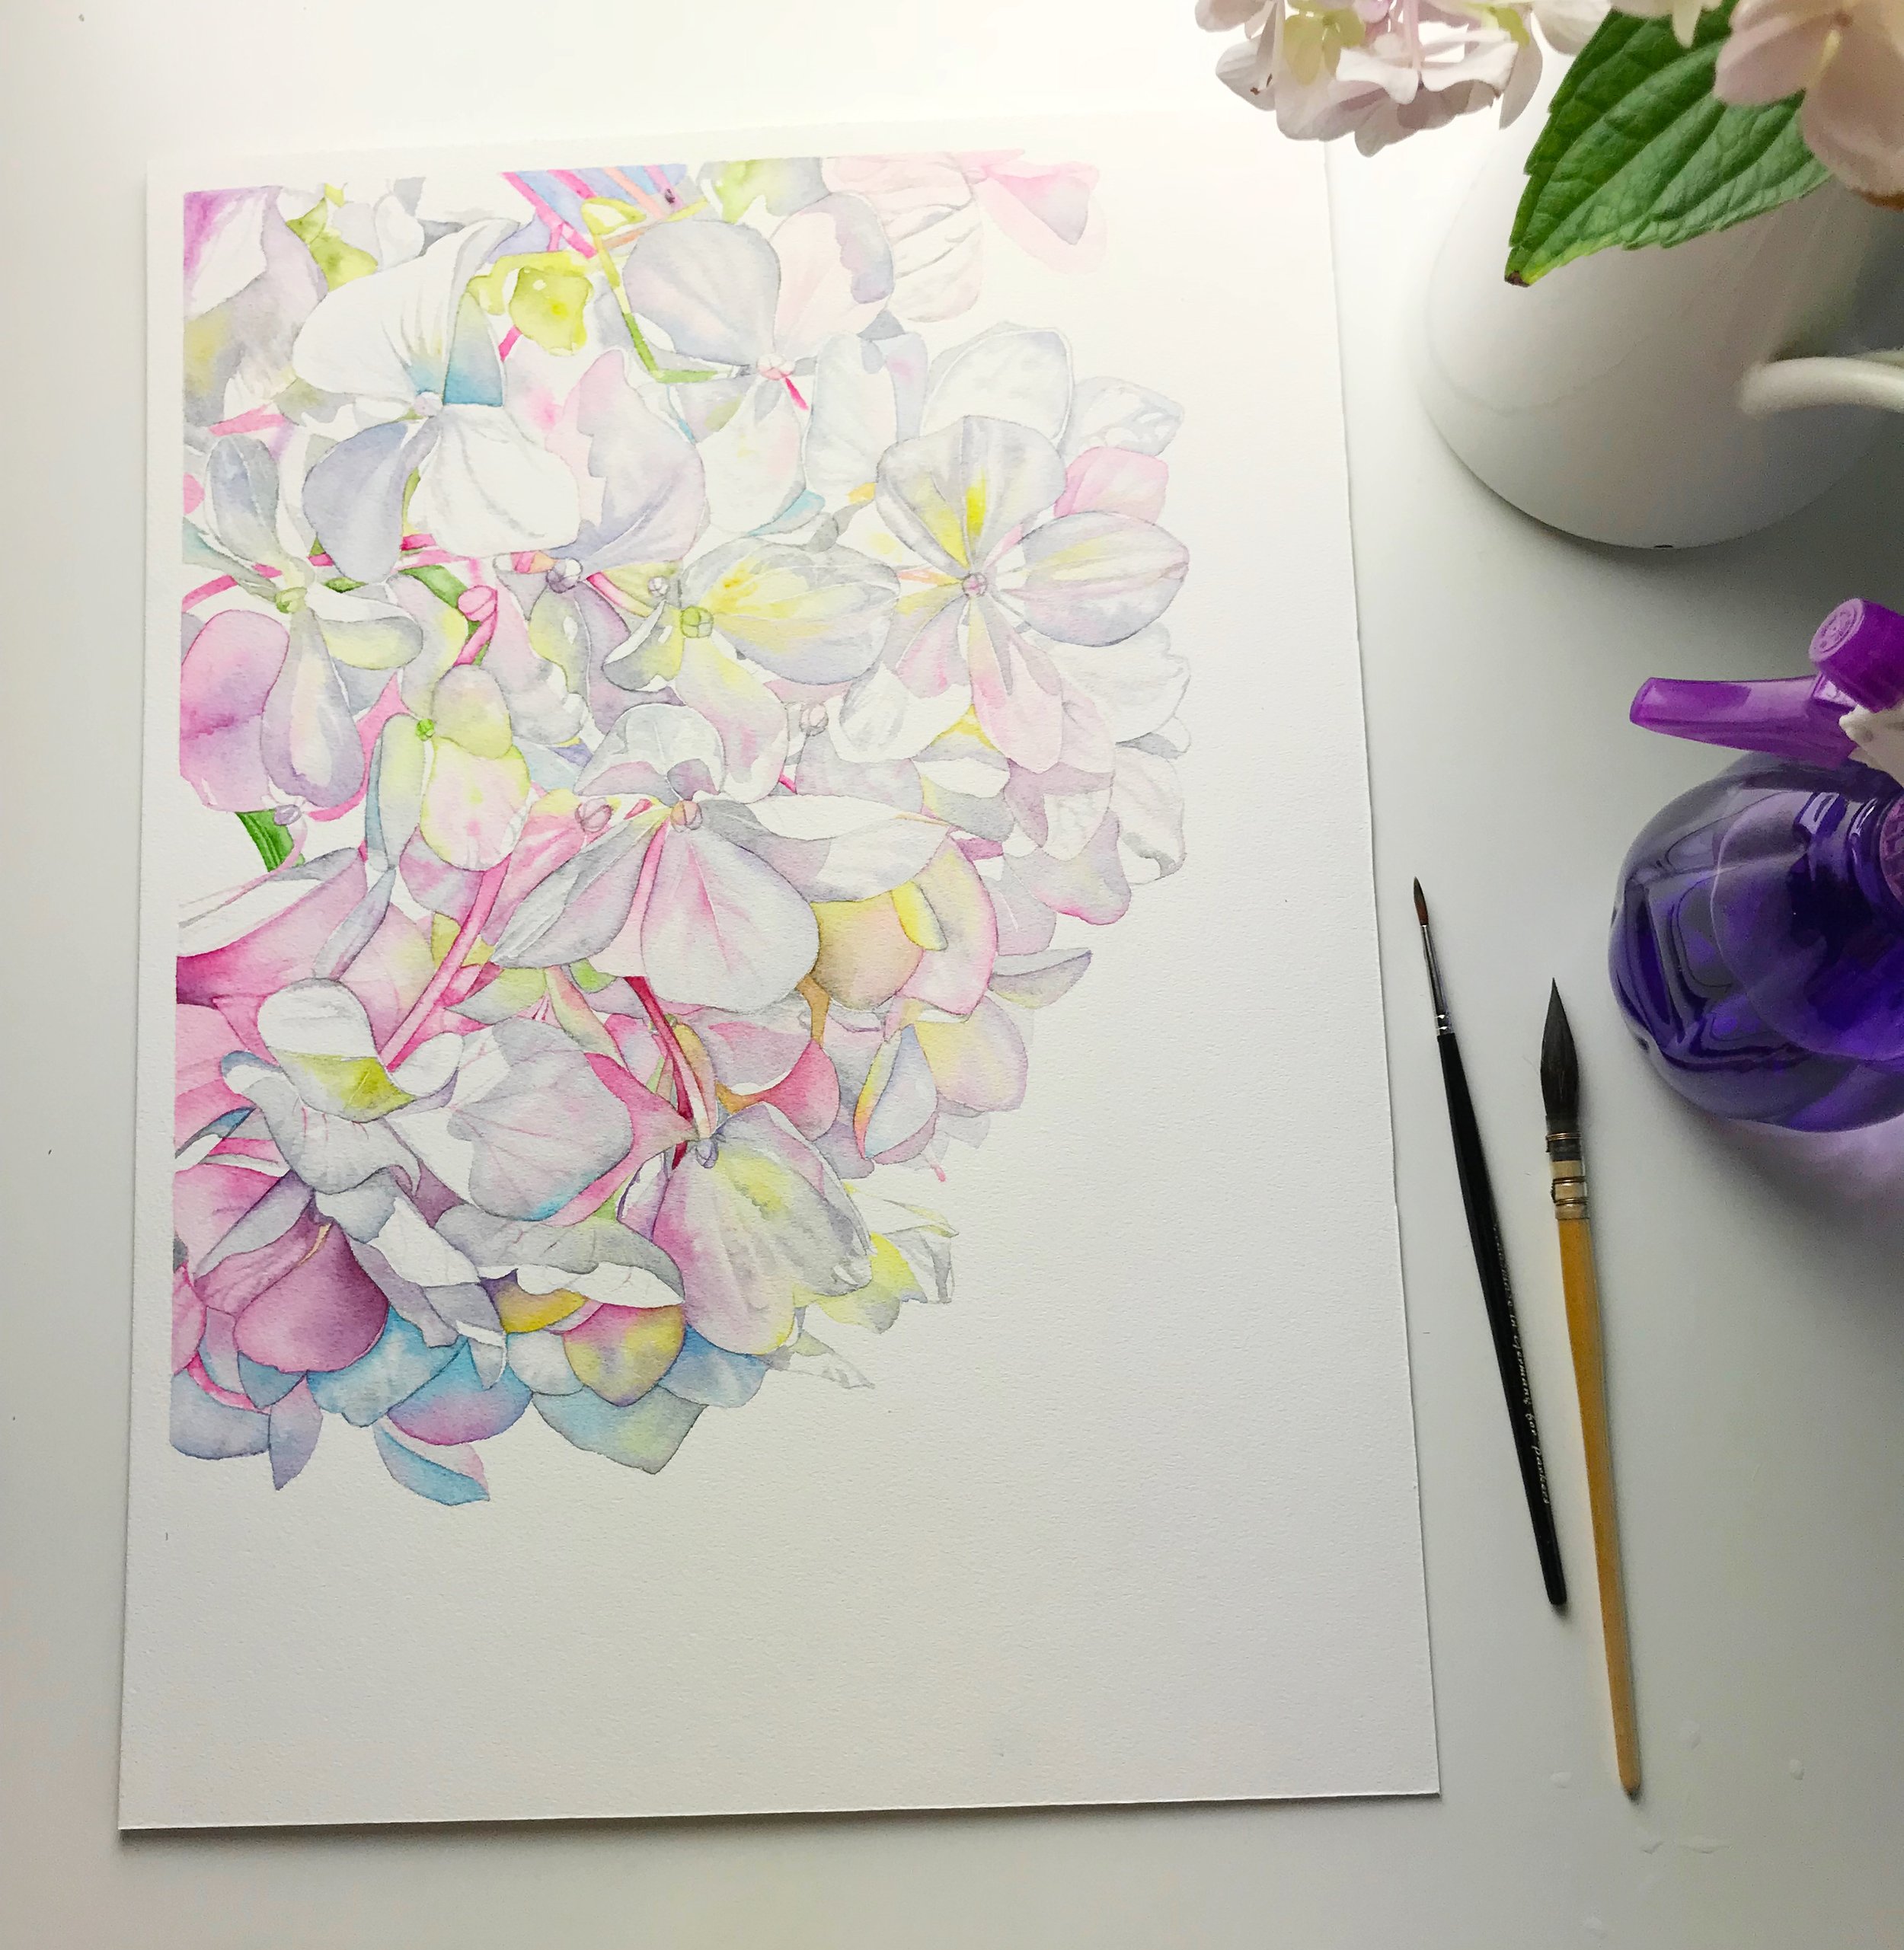
Painting a rose on Arches watercolour paper.
Starting your own watercolour painting from a photo or reference artwork can feel daunting, especially if you’re used to following step-by-step tutorials. Some beginner watercolourists struggle to transition from guided lessons to creating original work. Practicing watercolours regularly is essential to improve your skills and boost creativity.
In this blog post, we’ll provide valuable watercolour painting tips for beginners, helping you understand the workflow, techniques, and strategies to confidently start your own watercolour painting from any photo or reference. Whether you’re looking to master the basics or refine your process, these insights will guide you in developing a personalised approach to watercolour art.
Common Challenges in Transitioning from Tutorials to Original Watercolour Work
When transitioning from following watercolour tutorials to creating your own original watercolour paintings, you may encounter several common challenges.
Without the structured guidance of a watercolour tutorial, you might feel lost or uncertain about where to begin. Making decisions on composition, colour schemes, and techniques can be overwhelming, and creating a balanced, visually appealing composition without the guidance of a teacher can feel like trying to assemble IKEA furniture without the instructions 😕.
Building up layers of watercolour requires strategic planning, which can be challenging to navigate independently. You may also struggle with watercolour basics like mixing colours, as accurately achieving the desired hues without detailed instructions can be difficult.
The fear of making mistakes and the pressure to develop a personal style can hinder your creativity and experimentation.
Managing time effectively and knowing when to move on to the next stage of the painting process is another common issue. Ultimately, building confidence in your abilities is a major hurdle, as you might often doubt your skills and second-guess your decisions without the reassurance provided by a watercolour tutorial.

With more practice you can experience the joy of painting from your own reference photos.
Overthinking and Creative Freedom
Many beginners fall into the trap of overthinking their paintings. Instead of letting go of the outcome and allowing themselves to be creative and have fun, they become tense and try to analyse every detail. This overuse of the left analytical brain can stifle creativity, overshadowing the intuitive and spontaneous process that is essential in watercolour painting. Finding a balance between analytical thinking and creative expression is key to enjoying the artistic journey and achieving satisfying results.
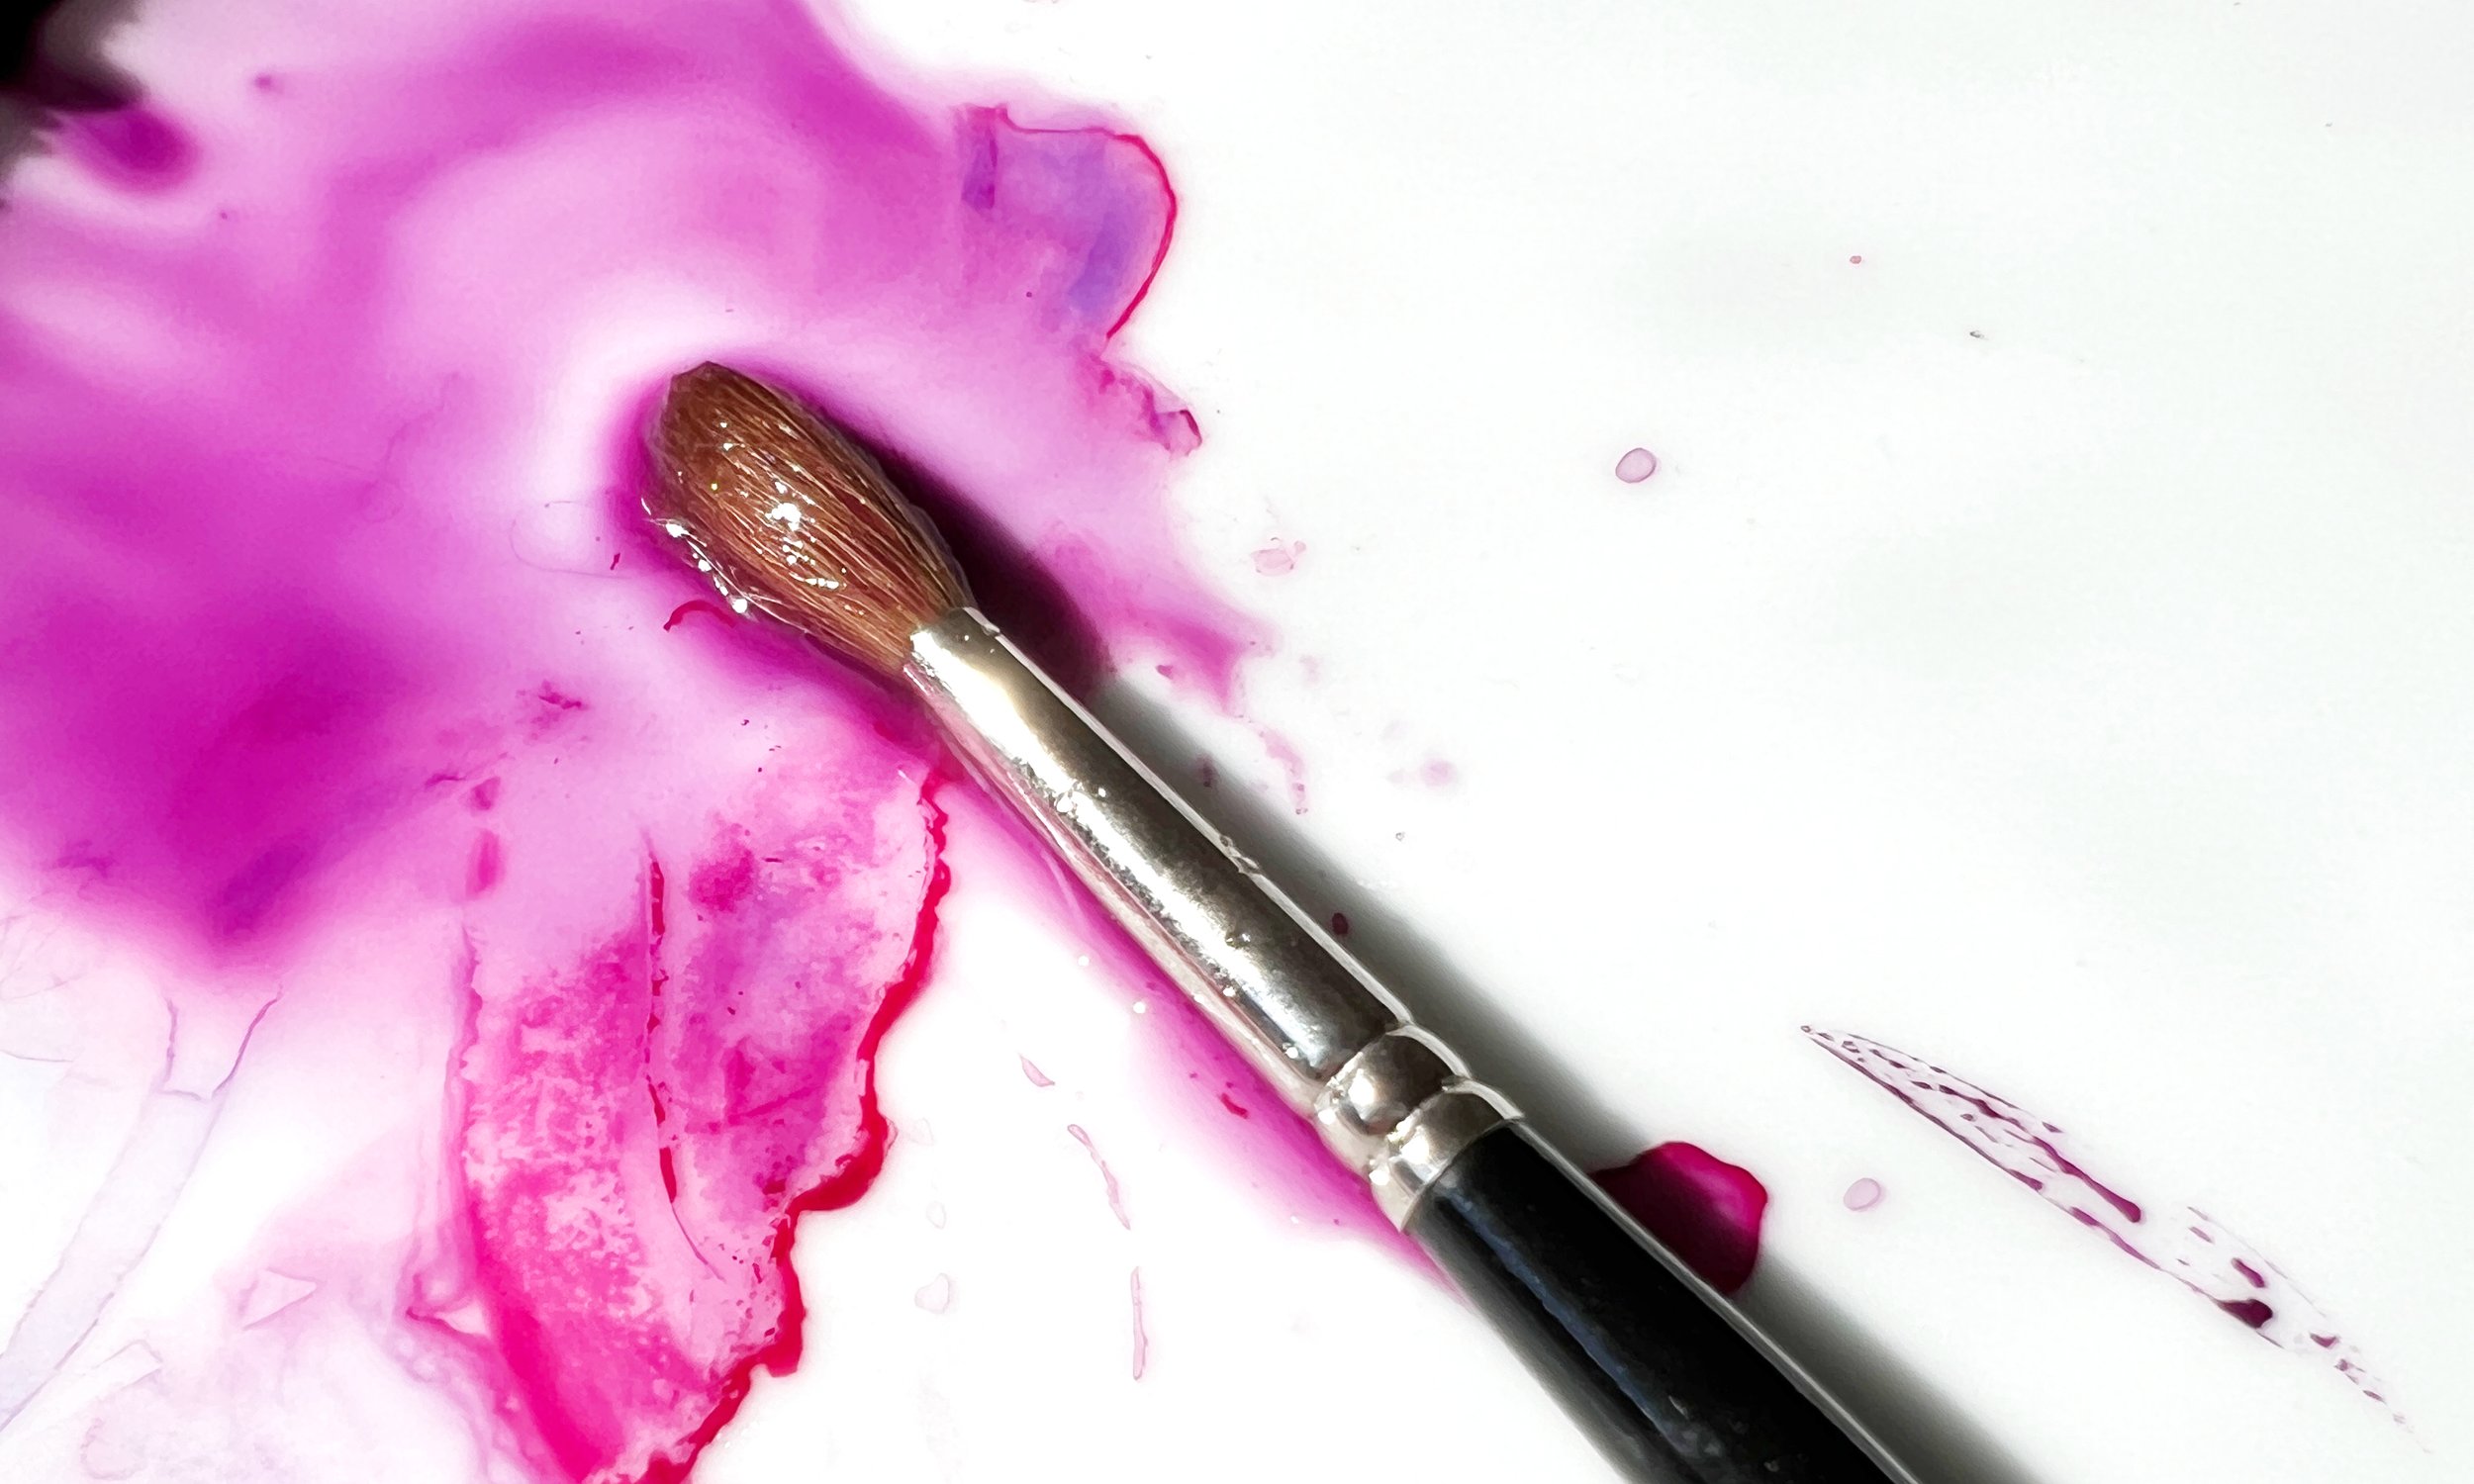
Experiment and mix colors to create dynamic watercolour paintings.
Develop a personal workflow
Developing a personal workflow is crucial for your growth as an artist. It not only provides structure and direction but also empowers you to make decisions with greater confidence. By establishing your own process, you'll feel more in control and less reliant on tutorials, allowing your unique style to flourish. As your workflow becomes second nature, your confidence will grow, enabling you to tackle more complex projects and express your creativity freely.
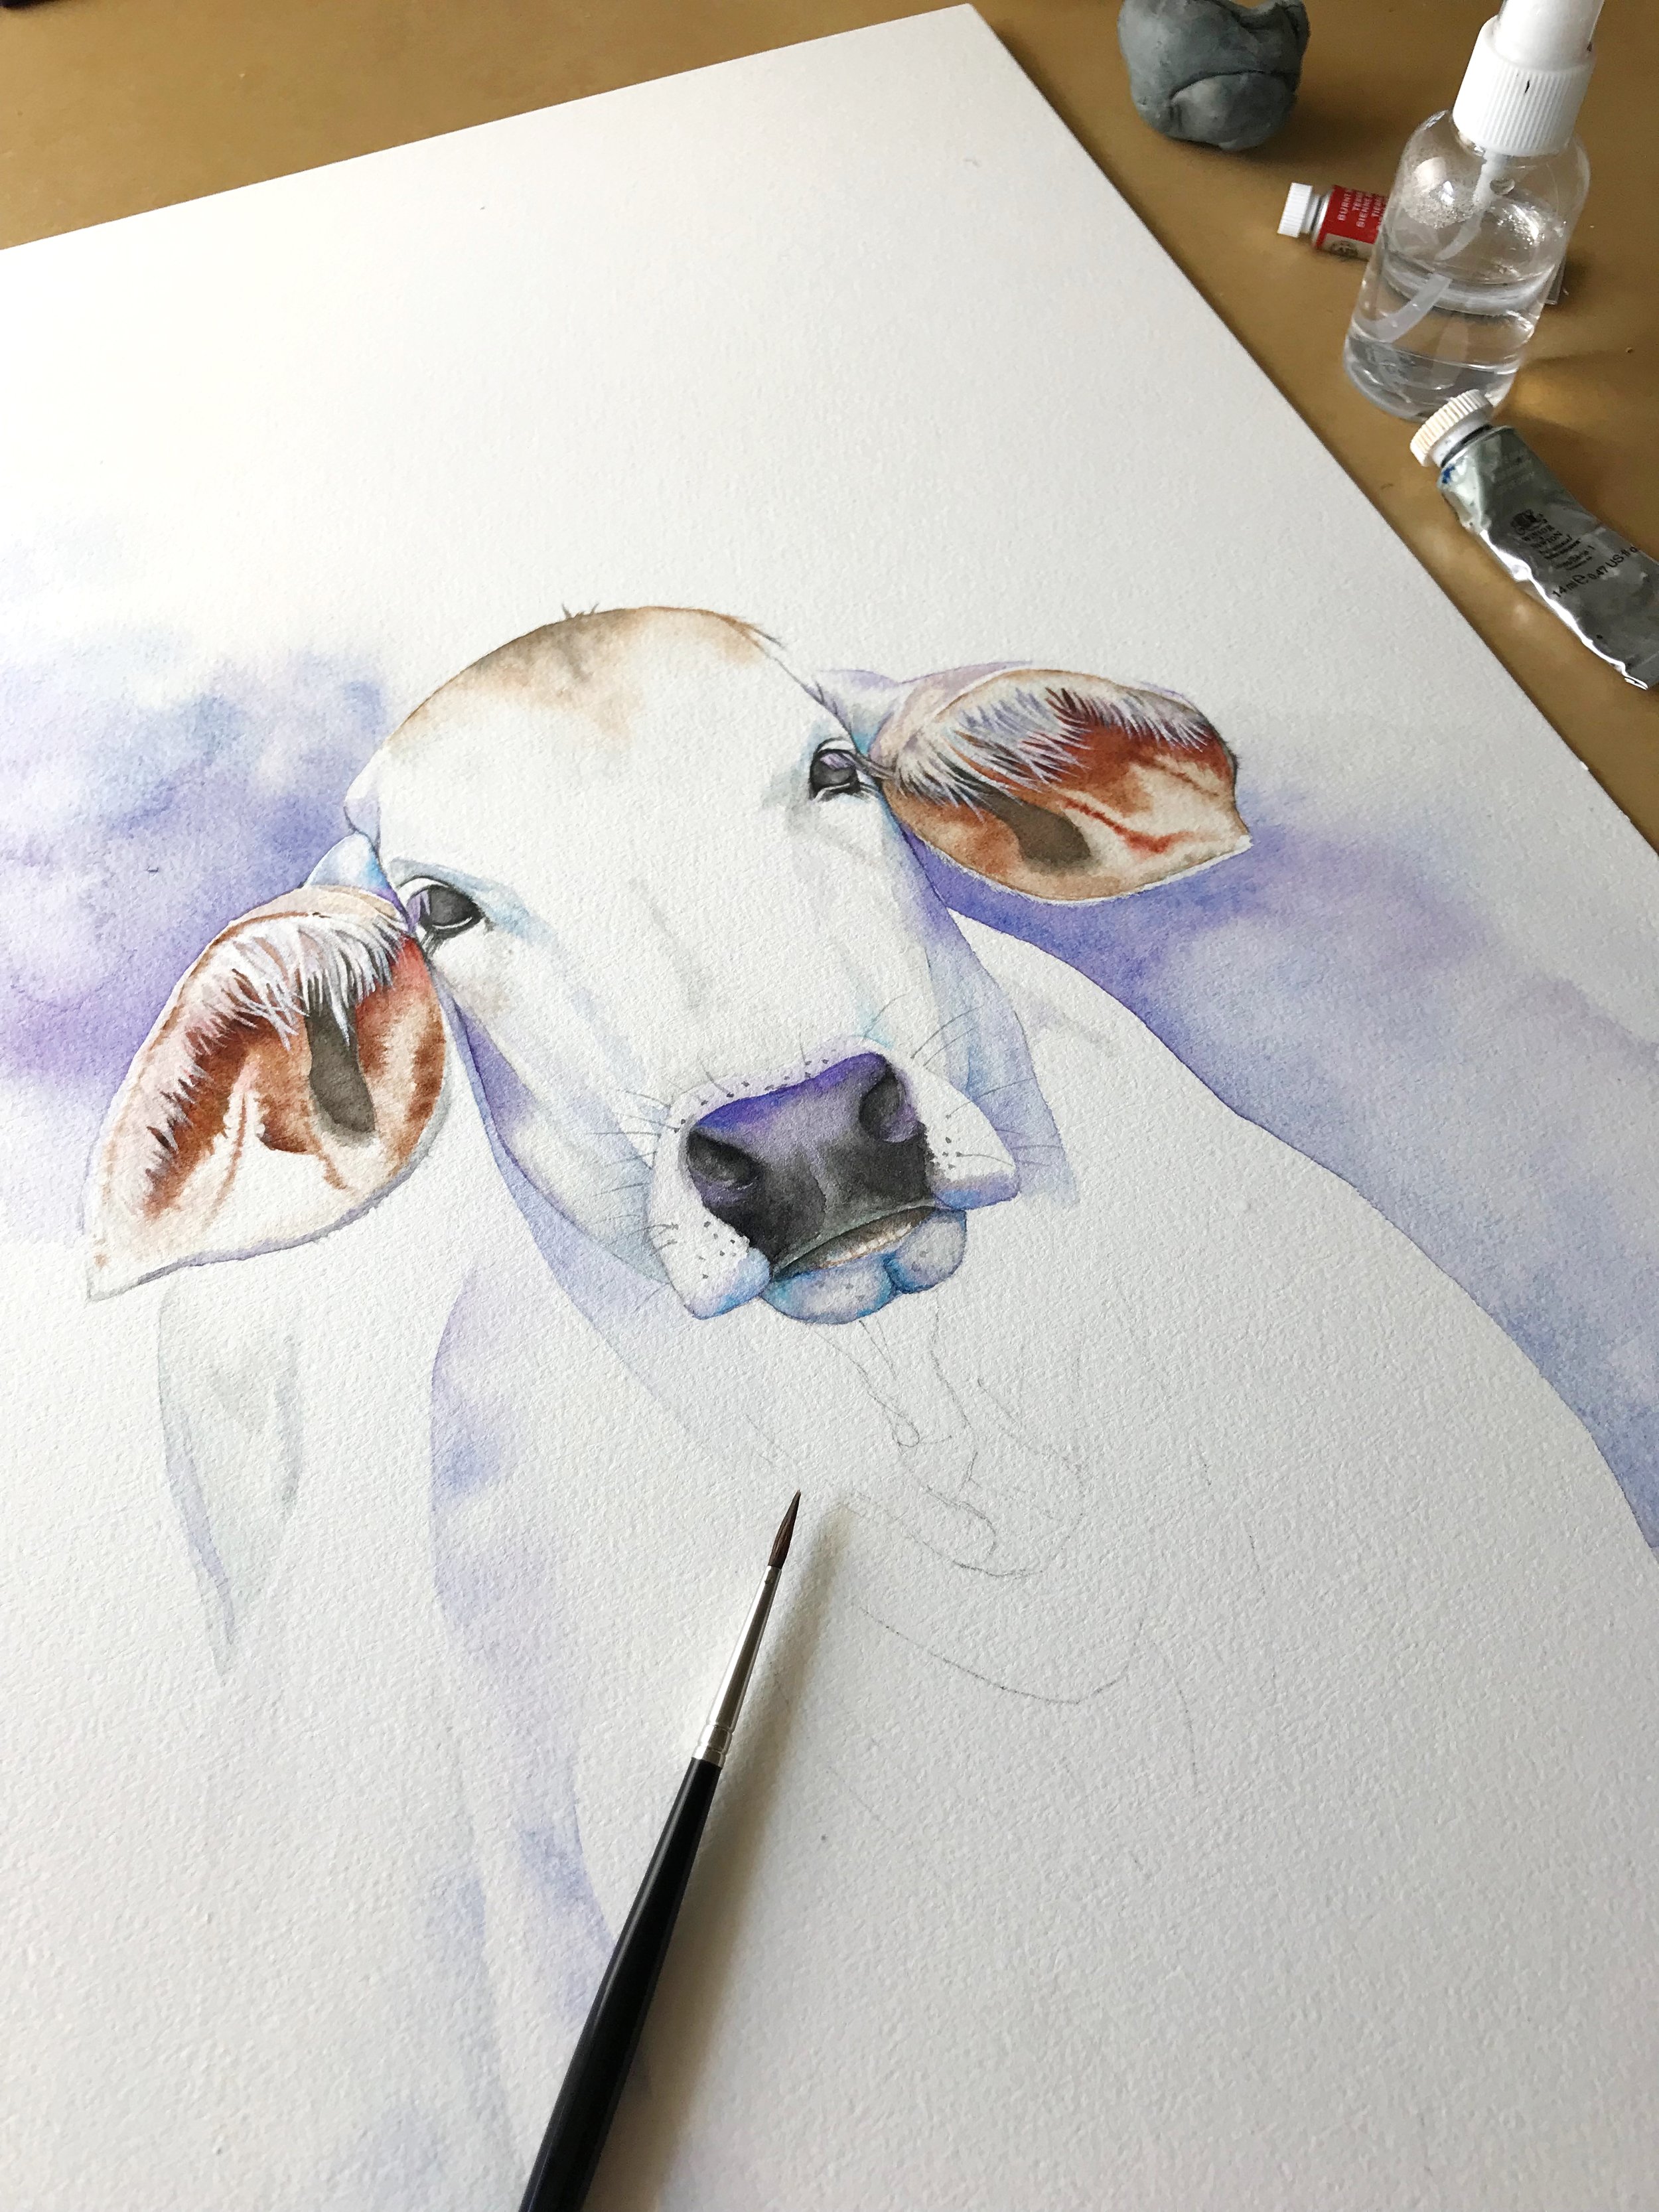
Use a smaller brush for fine details.

Steps to Start Your Own Watercolour Painting
Step 1: Choosing the Right Reference Photo
If you plan to work from a photograph, selecting the right reference photo is crucial for a successful painting. Avoid choosing photos that are poorly composed, blurry, or have unremarkable lighting. These issues can make it difficult to create a compelling and visually appealing painting. Instead, look for a clear, high-quality photo with good lighting, interesting composition, and a distinct focal point.
Spend some time analysing the photo to understand what draws you to it and what story you want to tell through your painting. A strong reference photo can set the foundation for a beautiful and engaging watercolour painting. Ask yourself, "What story do I want to tell through my painting?"
I take a lot of photos, and when I'm sorting through them on my computer to find my next watercolour painting ideas, I look at them as thumbnails. I've found that if a photograph attracts my attention as a thumbnail, it's highly likely that it will help me create a successful painting. This quick visual test helps me identify images with strong composition and focal points, ensuring they have the potential to translate well into a watercolour painting.

I often look at the thumbnails of my photographs when I am choosing reference material.
Step 2: Planning the painting
Thumbnail sketches
Before diving into your watercolour painting, it's essential to plan your composition. If you have chosen your reference photo/s you may need to make some changes and move things around in order to produce a successful painting. One effective way to do this is by sketching some quick thumbnails. These small, simple sketches allow you to experiment with different compositions and ensure that your painting will have a strong visual foundation.
Thumbnails help you identify the best arrangement of elements, balance of shapes, and distribution of light and dark areas. Taking a few minutes to create these preliminary sketches can save you time and frustration later, as it allows you to refine your composition and make confident decisions before you start painting. This step is crucial for developing a well-structured and visually appealing watercolour painting.

Quick thumbnail sketches are invaluable for working out compositions.
Identify Values
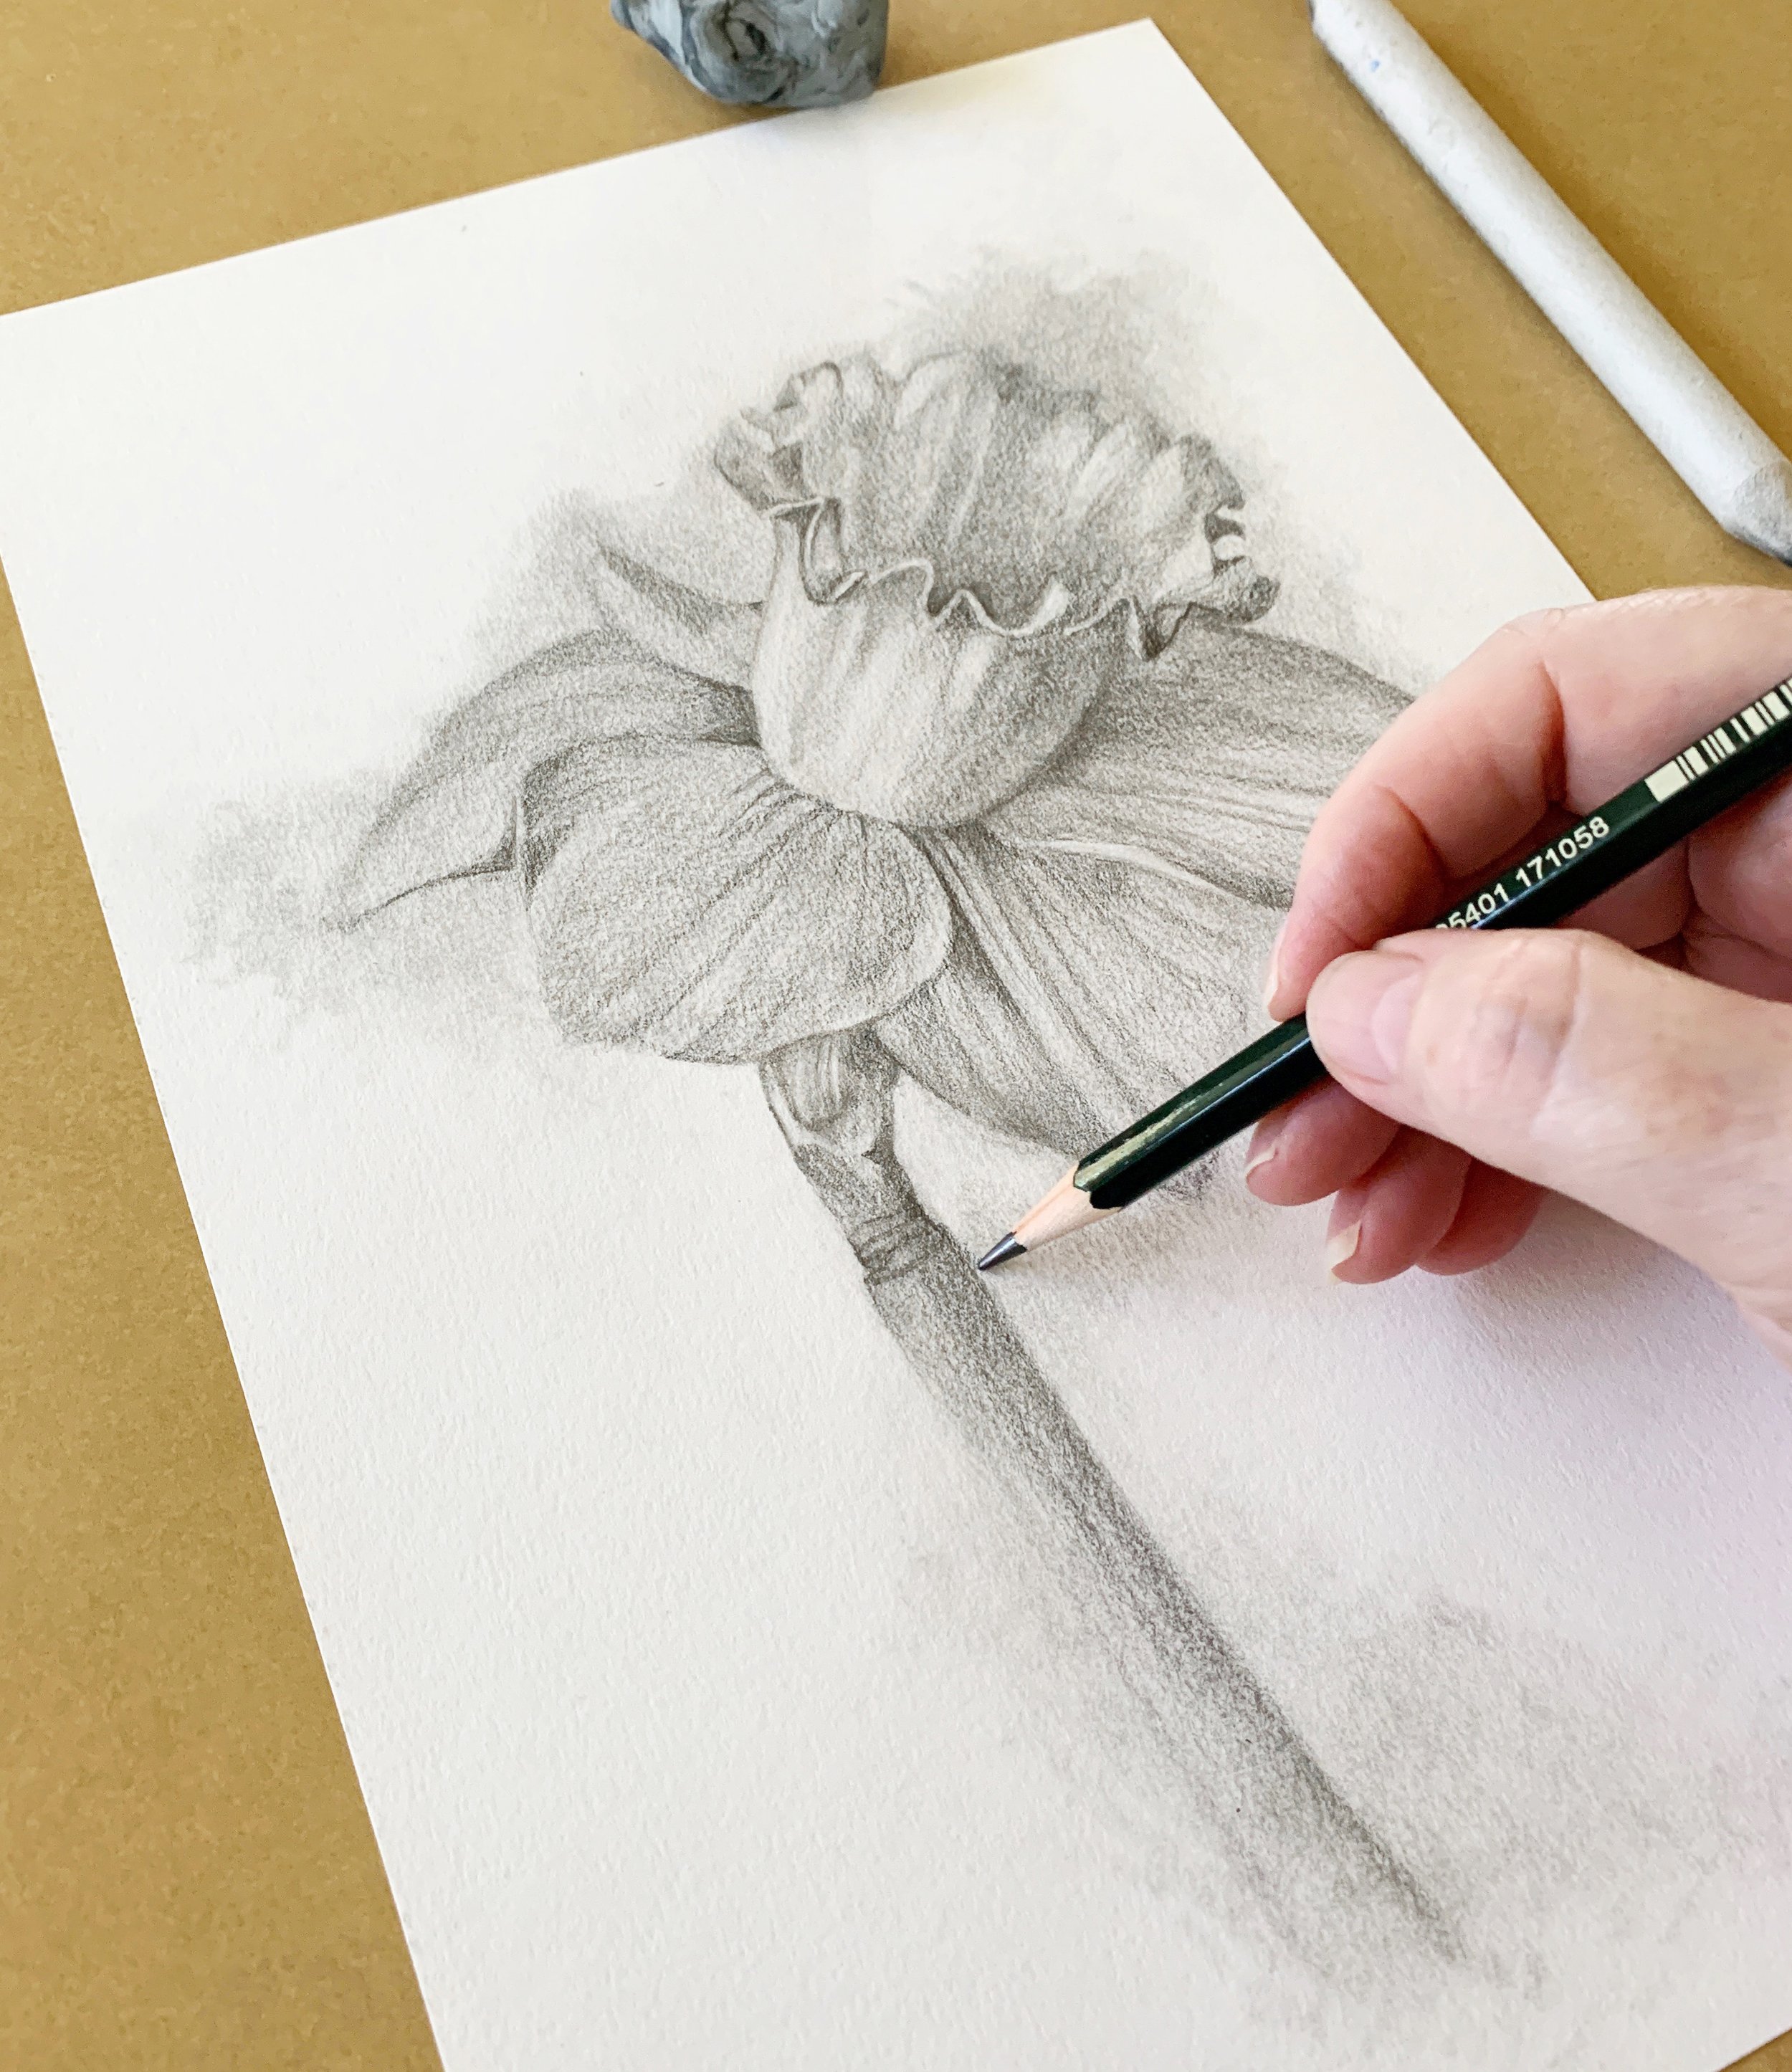
A value drawing of a daffodil painting I did.
Another critical part of planning your painting is identifying the values and key shapes in your reference photo. Values refer to the lightness or darkness of colours, and having a good range of values is essential for creating depth and contrast in your painting. Beginners often struggle with this, resulting in paintings that look flat and lack visual interest. To avoid this, create a value sketch or a value map of your reference photo. Identify the lightest lights, darkest darks, and mid-tones. This will guide you in applying your washes and layers effectively. A strong value structure will make your watercolour painting more dynamic and engaging, helping you achieve a more professional and polished look.
Sometimes, I take the time to do a graphite sketch of my subject before I start my painting. This helps me identify values more easily and also allows me to plan where to place hard and soft edges when I start painting.


Selecting Colours
Choosing Colours for Your Painting
As a beginner in watercolour painting, selecting colours for individual paintings from your palette of watercolour paint can be both exciting and challenging. Below are some tips to help you navigate this process:
Understand Your Palette: Begin by familiarising yourself with the colours in your watercolour palette. Know the characteristics of each colour - its transparency, staining properties, and mixing tendencies.
Consider the Mood and Subject: Think about the mood or atmosphere you want to convey in your painting. Cool colours (blues, greens) often evoke calmness, while warm colours (reds, oranges) can add energy. Consider how these colour choices relate to your subject matter.
Look closely at your reference photos: If you're painting from a reference photo, carefully observe the colours present in the subject or scene. Identify the dominant colours and consider how you can interpret them using your palette - you don't need to replicate them exactly nor do you need to paint every colour you see. Embrace creativity and explore how you can infuse your own artistic interpretation into the colours of your painting.
Plan Your Colour Scheme: Decide on a colour scheme that suits your painting's theme or story. Monochromatic (using variations of a single colour), complementary (using colours opposite each other on the colour wheel), or analogous (using colours next to each other on the colour wheel) schemes can guide your colour choices.
Start with a Limited Selection: As a beginner, it's often helpful to limit your palette for each painting to avoid overwhelming choices. Choose a few key colours that capture the essence of your subject or scene.
Experiment with Colour Mixing: Experiment with mixing colours on your palette. Use colour charts or mixing guides to predict and control the outcome of your mixes. This hands-on approach will help you understand how colours interact and how to achieve the desired hues.
Balance Warm and Cool Colours: Consider balancing warm and cool colours in your painting to create depth and visual interest. Warm colours tend to advance and cool colours recede, which can help in defining space and form.
Trust Your Intuition: Lastly, don't over think it and trust your instincts - enjoy the process of exploring colour in your paintings. Over time, you'll develop a sense of which colours work well together and how to achieve the effects you desire.
Get to know the colours you have purchased.
Plan your Layers
I often sit and think about how I am going to complete a painting before I pick up a brush. Thinking ahead about the layers you’ll need to build up your painting is crucial in watercolour. Start with the lightest values and gradually add darker layers.
Begin by applying the lightest tones and broad washes to establish the basic shapes and composition. This foundation layer sets the tone for the rest of the painting. As you progress, gradually introduce mid-tones to start defining forms and adding dimension. Be mindful of preserving highlights by leaving areas of the paper untouched or using masking fluid to protect them.
When adding darker values, do so carefully and deliberately. It's easier to darken a colour than to lighten it once applied, so build up the intensity in gradual steps. Pay attention to the transitions between light and dark areas, and use techniques like glazing (applying transparent layers of colour) to achieve smooth, subtle gradations.
Remember that each layer should dry completely before applying the next to avoid muddying your colours and to maintain clarity. This step-by-step approach allows you to correct and refine as you go, ensuring that the final painting has a balanced and cohesive look. By planning your layers thoughtfully, you'll create a watercolour painting with depth, richness, and a captivating interplay of light and shadow.
Watercolour Techniques: Essential Methods for Beginners

When I am mentally planning my painting, I think about the techniques I will use to create specific areas. If I plan to include a background, I consider how I will paint it. Will I work on wet paper for a soft, blended look, or do I want a more defined background that requires painting on dry paper?
For subjects like animals, I identify areas that might pose challenges. For instance, how will I paint the fine hair in the ears? Should I simplify this area, and if so, how? I also consider where to use techniques like dry brushing for texture or glazing for depth.
Deciding where to direct the viewer's attention is crucial. I think about which areas should have sharper details and more contrast to draw the eye - usually that's the area that attracted me to my subject. I also plan where I might need to use masking fluid to preserve white areas, or if I can achieve the desired effect without it.
All these considerations run through my mind before I start painting, allowing me to approach my work with a clear strategy and confidence.
Step 3 - Start Painting
Now that you've completed the initial stages, chosen your reference photo, refined your composition, identified values and key shapes, selected your colours, and you have mentally planned your painting - it's time to bring your vision to life on paper.
Take a big breath.
Trust yourself.
It's just a piece of watercolour paper.
Let me repeat that because it's important - it's just a piece of watercolour paper.
Start confidently: Watercolour is not for the faint hearted. Begin by applying light washes to establish the foundational tones and shapes of your composition. Use larger brushes at this stage to let the paint flow freely. Watercolour is known for its fluidity, beauty, and luminosity - embrace these qualities in your painting process.
Build Layers Gradually: Gradually build up layers of colour, progressing from light to dark. Allow each layer to dry completely before adding the next to maintain clarity and prevent unintended mixing of colours.
Employ Planned Techniques: Implement the techniques you planned during the preparation stage. Whether it's wet-on-wet for soft blends or dry brushing for texture, use each technique purposefully to achieve your desired visual effects.
Refine and Detail: As your painting evolves, focus on refining details and enhancing contrast. Pay attention to edges - softening where necessary to create depth and sharpening where needed to define forms.
Step Back and Assess: Regularly step back from your painting to evaluate your progress. This allows you to see the overall composition and make adjustments as you continue to develop your artwork. Painting is tiring so take regular breaks. Don't try to finish your painting in one sitting. I work on some of my paintings over a few days.
Embrace Creativity: Embrace the spontaneity of watercolour painting, allowing colours to blend organically on the paper. Be open to unexpected outcomes that enhance the character and uniqueness of your piece. Watercolour often produces effects you didn't plan for - embrace these surprises. Don't try to control every aspect; instead, let the medium reveal its possibilities and let it surprise you with its potential.
Enjoy the Process: Many beginners become overly concerned with the painting process and fixate on producing successful artwork, often forgetting to enjoy the act of painting itself.
Remember that painting is not just about the final product but also about the journey of creation. Enjoy the process of translating your ideas into a tangible work of art and savour each moment of artistic expression.
Step 4: Celebrating Success and Learning from Setbacks

You’ve finished your painting and you’re thrilled with the result - well done! There is immense satisfaction in seeing the finished painting come together after building it up in layers. Take a moment to reflect on what you did to achieve this successful painting.
If your painting falls short of your expectations, don’t worry. Take a close look at it and analyse where you might have gone wrong. Consider what you can improve on. Remember, you won’t make any progress without making mistakes. Mistakes and failures are valuable learning opportunities. Reflect on where you went astray and don’t hesitate to paint it again - maybe even three times if necessary. Each attempt is a chance to refine your skills and grow as an artist.
How to improve your paintings
Improving your paintings boils down to three essential steps:
Paint.
Paint.
Paint.
No, seriously. The key to improvement is putting in the brush mileage. There are no shortcuts - practice is the only way to refine your skills and develop as an artist.
Here are two more things you can do:
Analyse the Work of Masters: Study and analyse the paintings of master artists. Learn from their compositions, colour choices, brushwork, and use of light and shadow.
Observe and Learn from Artists: Take online classes or workshops where you can observe experienced artists painting. Hone in on their processes, techniques, and problem-solving methods.
There are no shortcuts to improvement - dedicated practice, studying great art, and learning from skilled artists are fundamental to developing your skills as a painter.
Wrapping Up Your Watercolour Journey
Transitioning from guided tutorials to creating original watercolour paintings can be challenging, but it is a journey worth taking. By understanding the common hurdles, developing a personal workflow, and embracing the creative process, you will gradually build the confidence and skills needed to create stunning artwork. Remember to enjoy the process, let go of the outcome, learn from your mistakes, and continually seek inspiration from master artists and fellow watercolour artists.
Happy painting!


